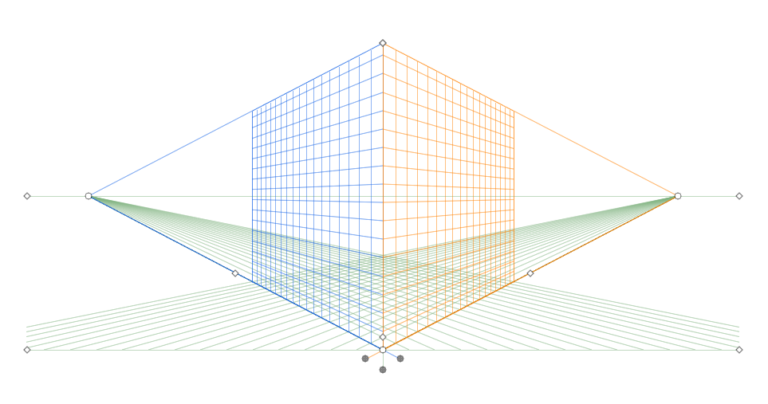
The perspective grid in Illustrator is a useful tool when you are creating 3D graphics that need vanishing points. You can use the grid to create new objects or manipulate existing objects. The tool won’t appear on the final artwork and is only visible while you work in the program. However, you may finish with your vanishing point and need to remove the perspective grid.
Hiding the grid from your project can be more complicated than adding it to the project. To remove the grid, use the shortcut Shift + Control + I on Windows or Shift + Command + I on Mac or press the Escape key. You can also remove the grid using the menu bar or the grid icon in the workspace.
Table of Contents
Remove the Perspective Grid
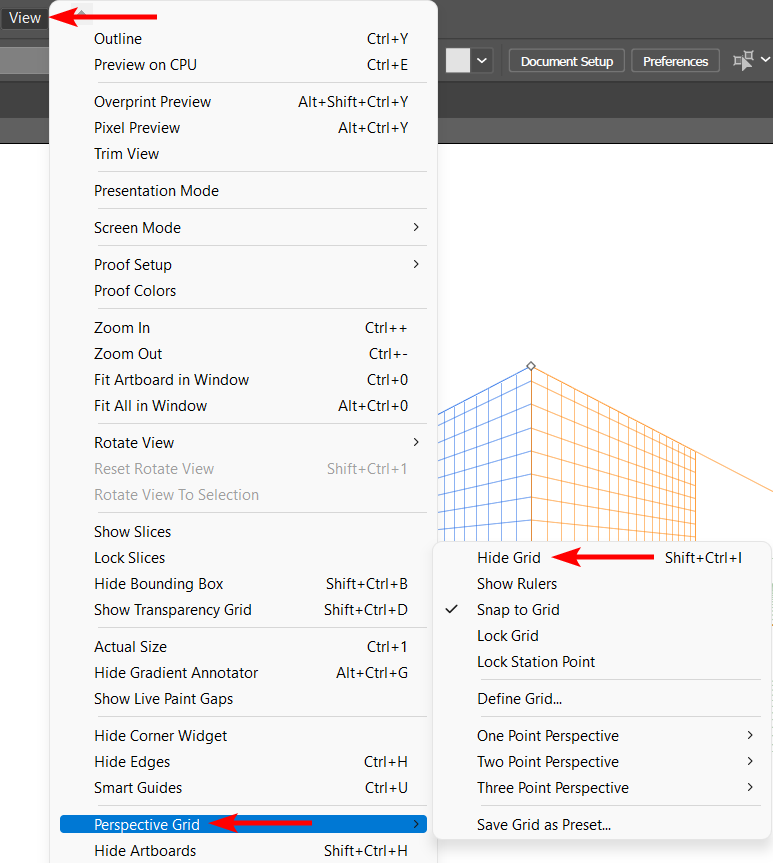
- Click on View in the Menu Bar
- Select the Perspective Grid option
- Click on Hide Grid
- Use the same process to turn the Grid back on
To remove the perspective grid from your project, click on View > Perspective Grid > Hide Grid.

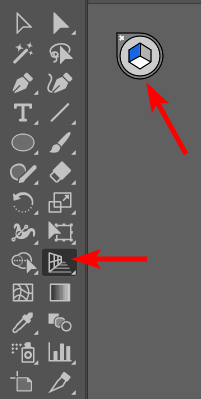
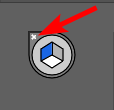
Another way to hide the grid is by locating the small Plane Switching Widget icon that appears next to the Toolbar when the grid is active.

Click on the small X icon to hide the grid.

Shortcut to Remove the Perspective Grid
If you want to hide the perspective grid quickly, you can use the following shortcuts. To add the perspective grid to your page, use the shortcut Shift + P.
Mac
On Mac, you can use the shortcut Shift + Command + I to hide the perspective grid from your project. You can also press the Escape key.
Windows
On Windows, you can use the shortcut Shift + Control + I to remove the perspective grid. You can also use the Escape key to hide the grid quickly.

