
To circle crop in Canva, add a circle frame onto the canvas from the elements tab, then drag and drop your image into the circle.
Cropping into a circle is that easy, but you can also learn a few more tips on resizing and adjusting the image within the frame.
If you need to crop an image into a circle without any additional editing, consider using our online circle cropper. It requires no registration and is completely free.
How to Circle Crop in Canva Step-by-Step
- Open the Elements Tab and Click on Frame
- Click on the Circle Frame
- Resize the Frame on the Canvas
- Select an Image and Drag it Into the Frame
- Double-click the Image to Move It
- Use the Anchor Points to Resize the Image
- Click Off the Image to Confirm the Changes
Follow these steps to create a circle crop in Canva. The process is the same if you want to crop an image into any shape; just change the frame.
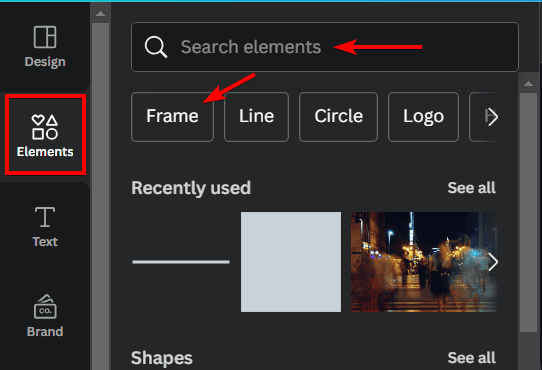
Open the Elements Tab and Click on Frame
First, open the Elements tab on the left-hand side of the workspace. Then, if you see Frame under the quick actions, click on it to see all the available frames. Otherwise, if you don’t see the quick option, type Frame in the search bar and search for the elements.
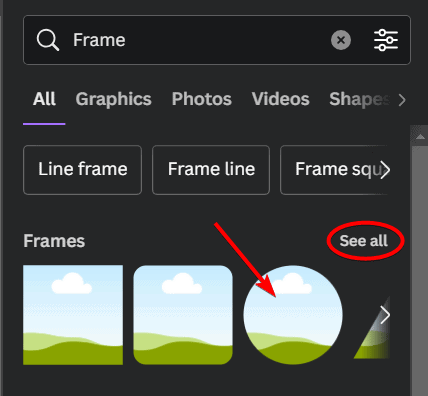
Click on the Circle Frame
When the frame options appear, click on the circle frame under the Frames section. If you don't see the circle frame within the visible options, click See All, and then look through the frames until you find a circle one.
You can also browse through all the frames to find other shapes if needed.
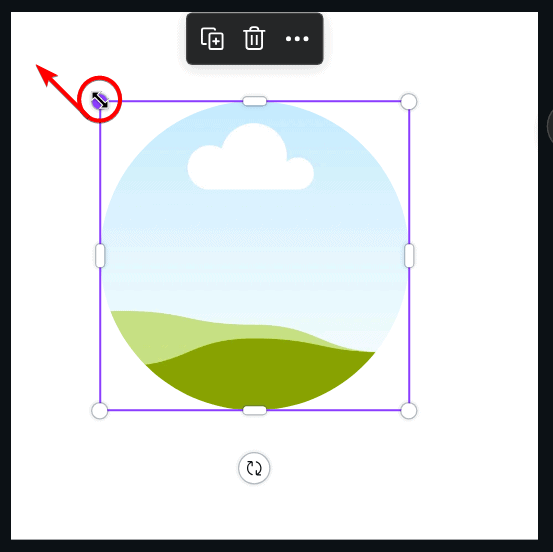
Resize the Frame on the Canvas
Once you click on the frame, it will be added to the canvas at a default size. You can resize it to fit your design needs by dragging the corner anchor points inward or outward.
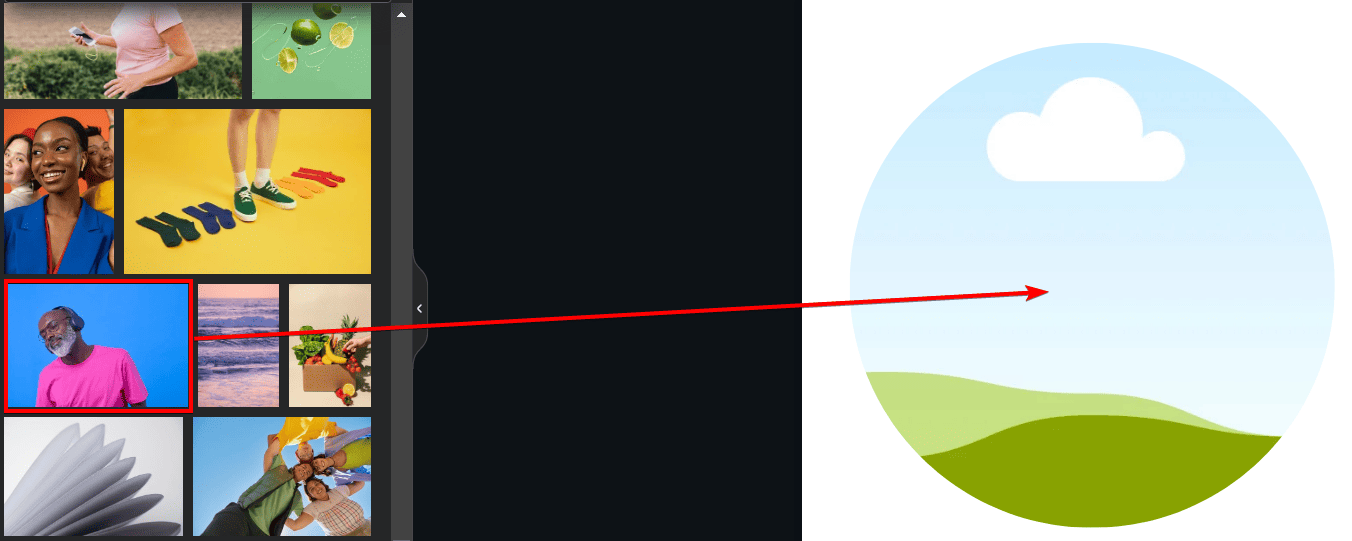
Select an Image and Drag it Into the Frame
Next, find the image you want to crop. You can upload an image from your device using the Uploads tab or search the Elements for Photos and use one of the stock images available.
Once you have your image, click and drag it over the frame before letting go, and it will immediately be placed inside the frame.
Double-click the Image to Move It
Once the image is inside the frame, it may not be positioned correctly. To move the image within the frame, double-click on the image, and you will see the entire photo with semi-transparent areas around the frame. You can then click and drag the image to move it inside the frame.

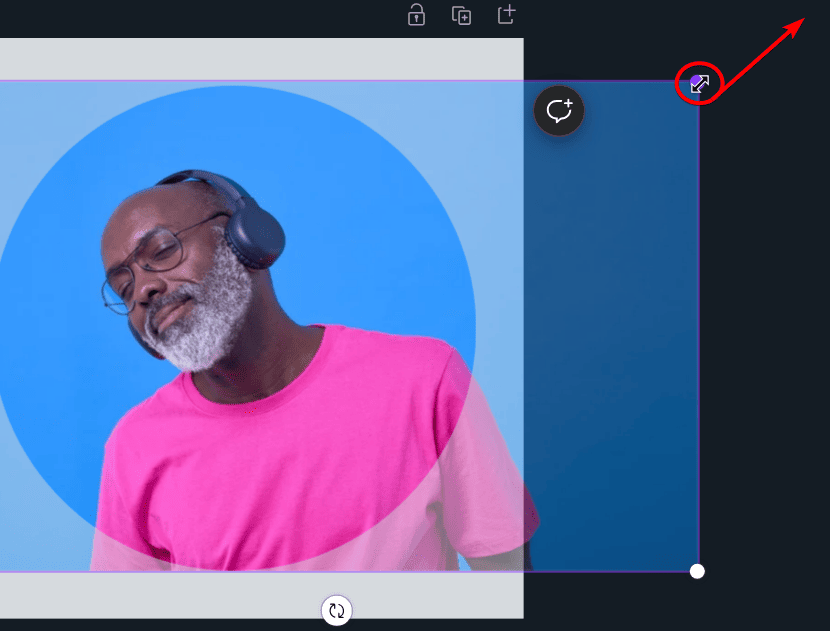
Use the Anchor Points to Resize the Image
If you want to resize the image within the frame, you can use the anchor points around the image and drag them inward or outward to resize the image. You won’t be able to make the photo smaller than the frame, but you can make it bigger.
Click Off the Image to Confirm the Changes
Once you are happy with how the image sits within the frame and the size, you can click off the image on any open space on or next to the design. Your image is now cropped into a circle.
Remember to save the design as a PNG to ensure the background remains transparent and the image is still cropped into a circle after exporting.