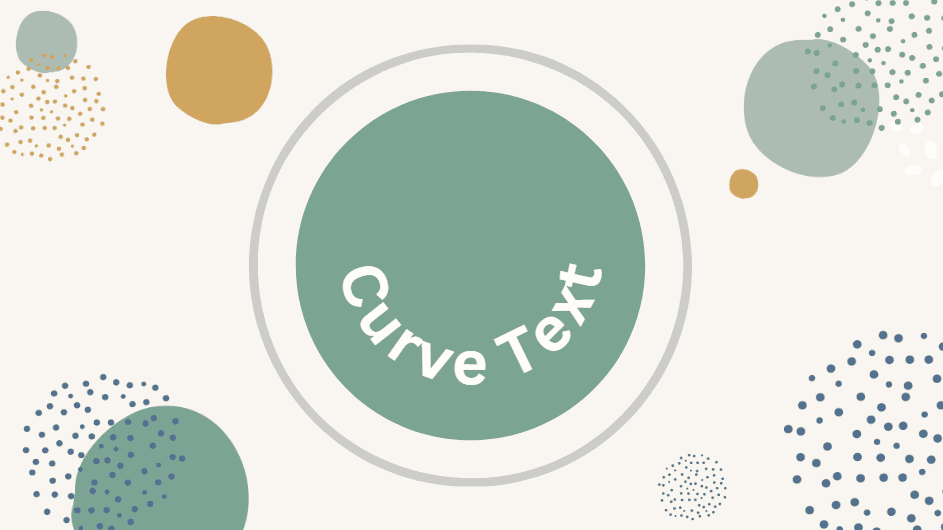
You can add several text effects to your designs in Canva, and one such effect is to curve text.
There is a built-in effect that allows you to easily curve the text up or down and adjust the amount of curve the text has. While the initial settings are basic, you can creatively enhance the curve effect.
Here is how to create basic curved text and some tips and inspiration for taking the effect further.
Step-by-Step to Curve Text in Canvas
- Add Text to the Canvas
- Type in New Text and Format
- Open the Effects Panel
- Select Curve Under the Shape Tab
- Curve the Text Down
- Curve the Text Up
- Check the Canvas
You can curve any text you add to your Canva document, including the heading, subheading, and body text. You may be unable to bend text in a graphic or image element.
Add Text to the Canvas
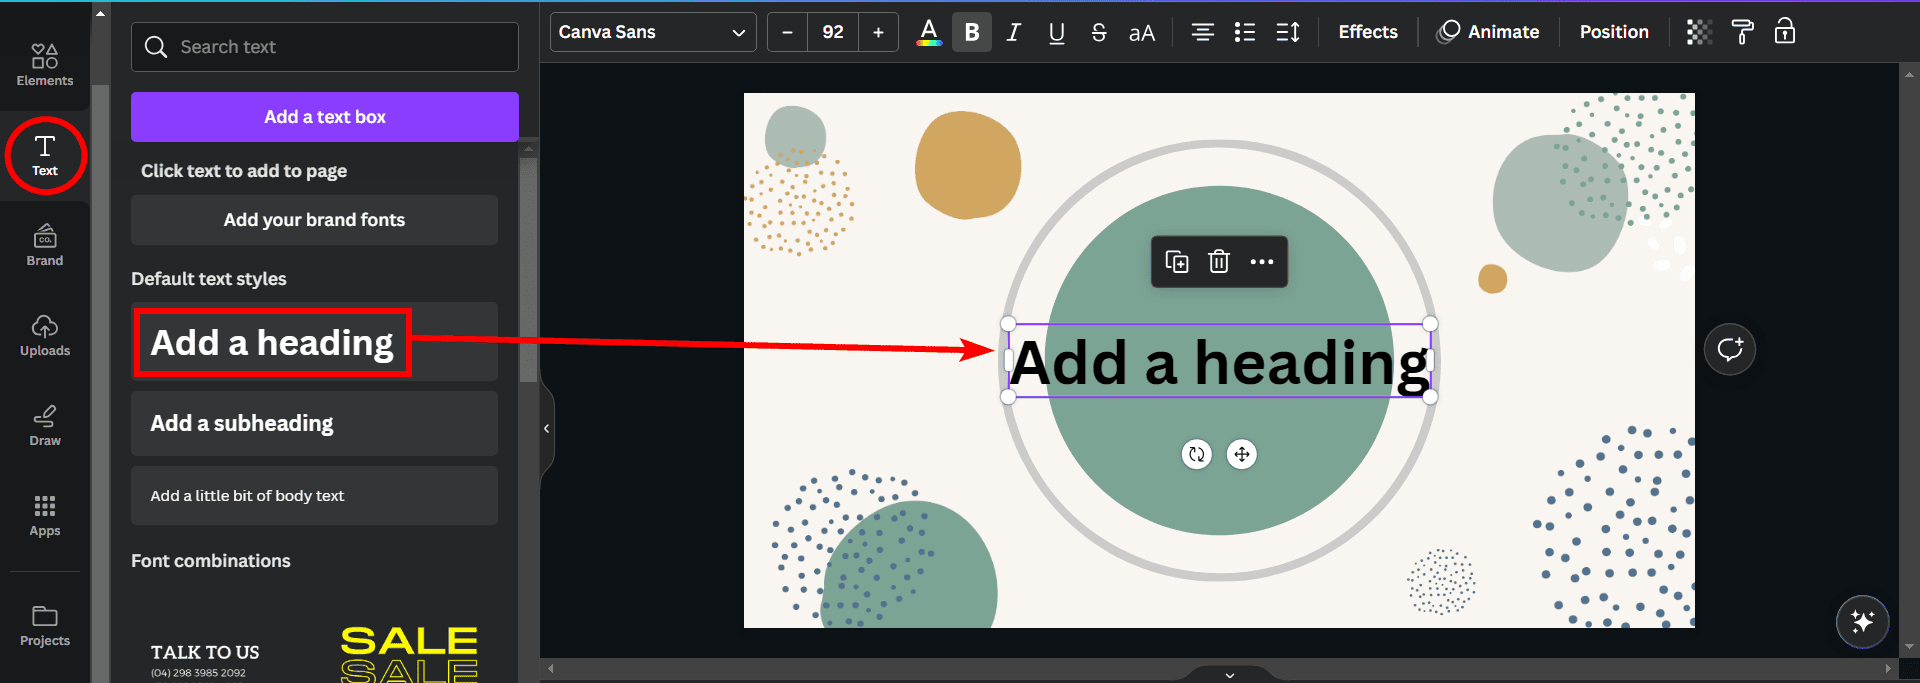
First, you need to add some text to your Canva document. To add text, click on the Text tab in the lefthand options bar, then select the type of text you want. The textbox will be added to the canvas and will contain placeholder text.
Type in New Text and Format
You can click inside the box and type in your new text. At this point, you should also format the text as needed by changing the font, text size, and text color. You can change these elements later, but setting them up first lets you see how the curve effect will look on your text and adjust it as needed.
Use the formatting options in the top settings bar to get the text as you want it.
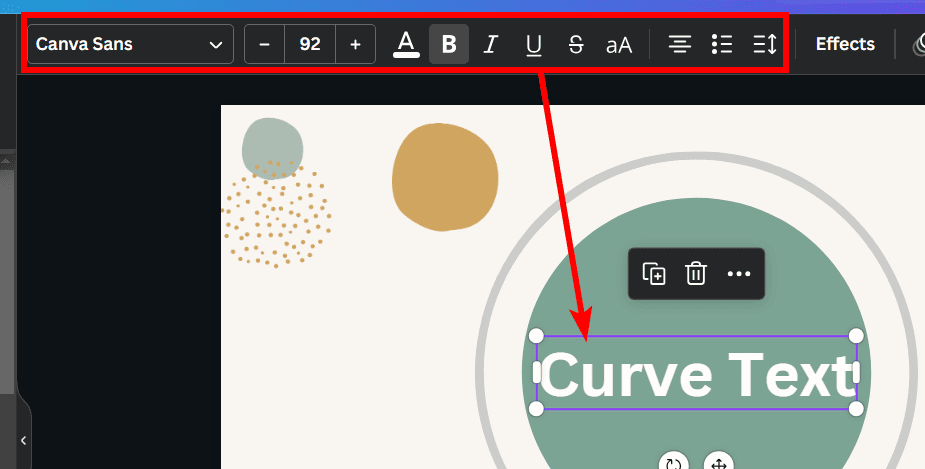
Open the Effects Panel
To add the curve to the text, open the Effects Panel by clicking on Effects in the top settings bar.

Select Curve Under the Shape Tab
The Effects panel opens in the tab on the left-hand side of the document. Scroll down the panel and click on Curve under the Shape Tab. The text curves automatically when you click on the effect.
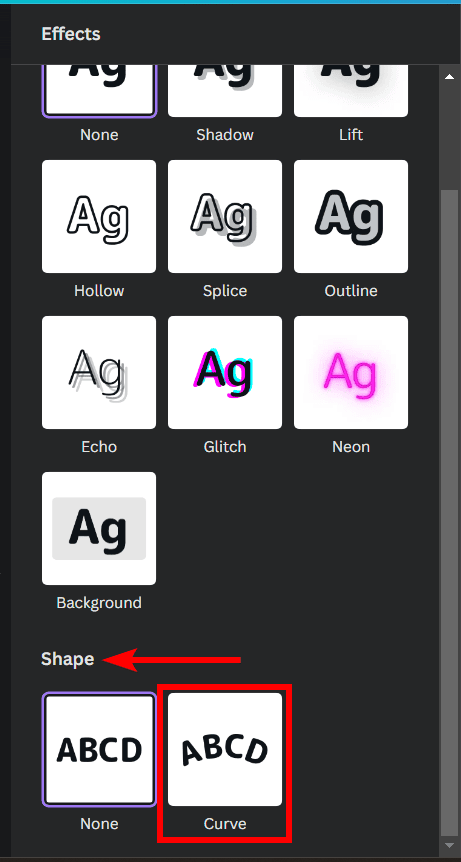
Curve the Text Down
When the curve effect is activated, a Curve slider appears below the effect option. You can use this slider to change the curve’s direction. Move the slider to the right to curve the text down. The further right you move the slider, the more pronounced the curve will be.
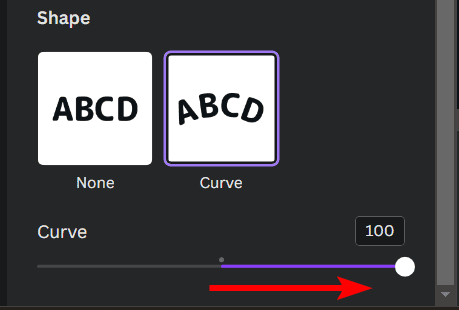
Curve the Text Up
Move the slider to the left if you want the text to curve in the opposite direction. The further you move the slider to the left, the more curved the text will be.
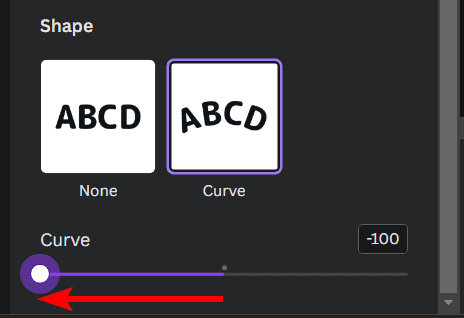
Check the Canvas
Once you have set the curve in the direction you want, you can check the canvas, and your text will be curved.
Additional Tips and Inspiration for Curving Text in Canva
While the Curve effect in Canva only offers a basic curve, you can get more creative using the following tips.
Add an Additional Text Effect
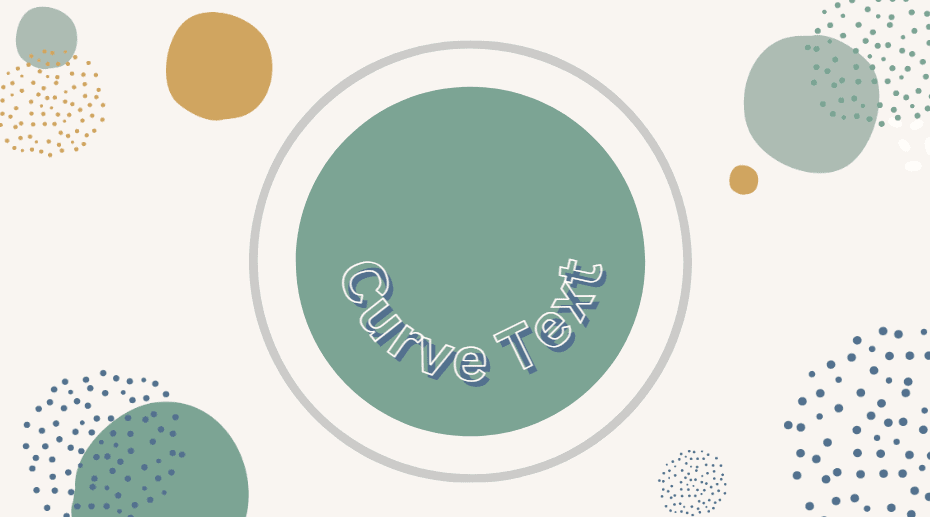
In Canva, you can add another effect to the curved text. You can only use one other effect from the Style tab above the Shape tab. Simply click on the effect you want to add and adjust the settings that appear.
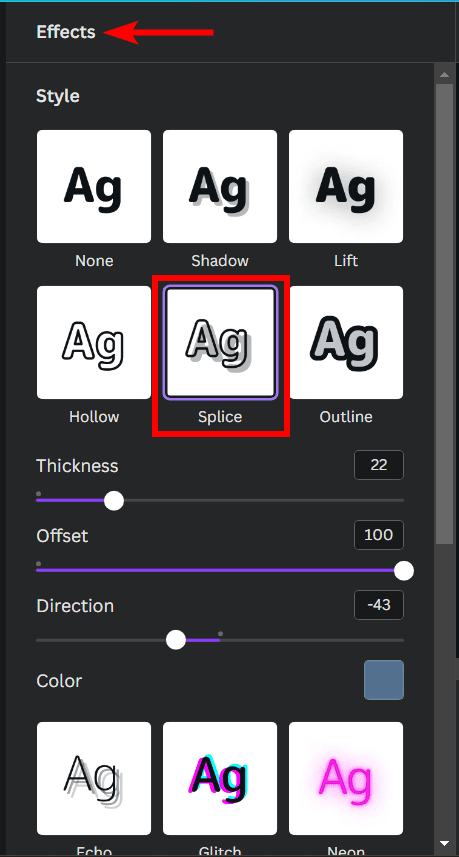
Your curved text will now have an added effect on it.
Curve the Text Into a Circle
You can also create a complete circle with your curved text. To do this, double-click on the text to edit it and type enough words to create a circle.
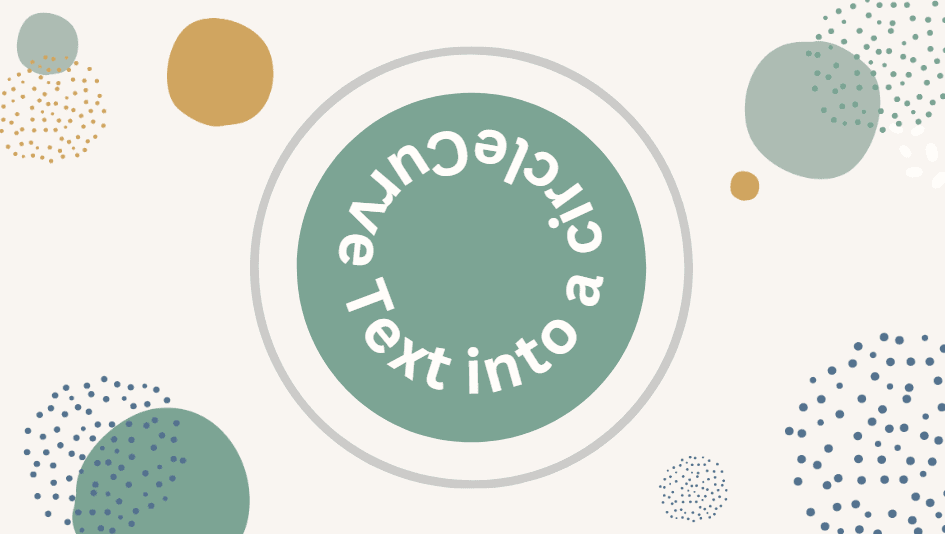
If you don’t want to add more words, you can increase the letter spacing to create a circle. To adjust the letter spacing, select the text by double-clicking on it. Ensure the text is highlighted. Then, click on the Spacing option in the top settings bar.
Then, move the Letter Spacing slider to the right to increase the spaces between each letter.
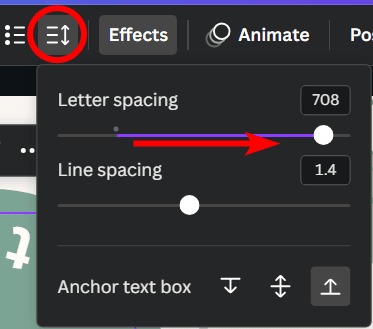
Increasing the spacing moves the curved text into a circle.

Create Wavy Text
You can also create wavy text in Canva. To do this, add two text boxes onto the canvas. Then, type half the sentence in one box and the other half in the second box. Place the two text boxes next to each other.

Then, use the method in the first section to curve each text box. Be sure to curve one box up and the other down. Then, move the two text boxes together to create wavy text.

Use a Template to Curve Text
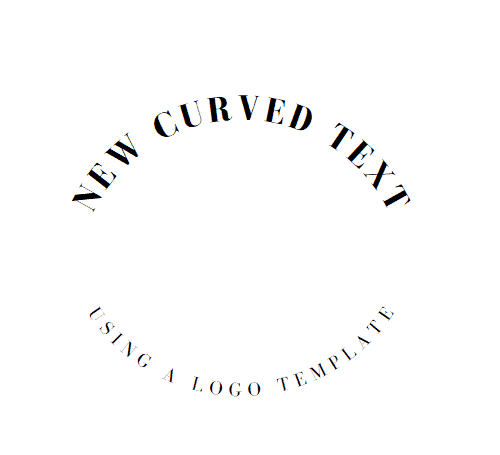
Lastly, you can also use a template to curve text in Canva. On the Canva homepage, go to the Template options and type “Curved text logo” in the search bar. You will find several logos that include curved text in them.
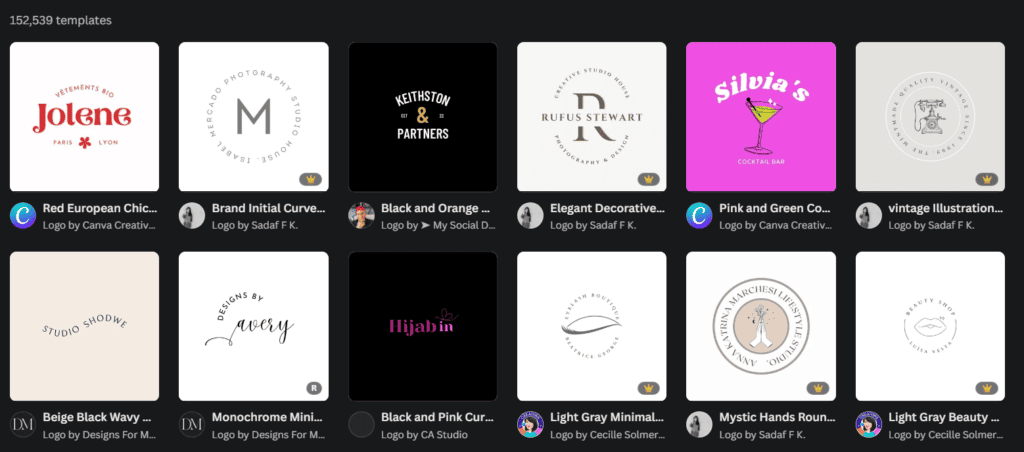
Double-click on a template to select it, and then click on Customize this template.
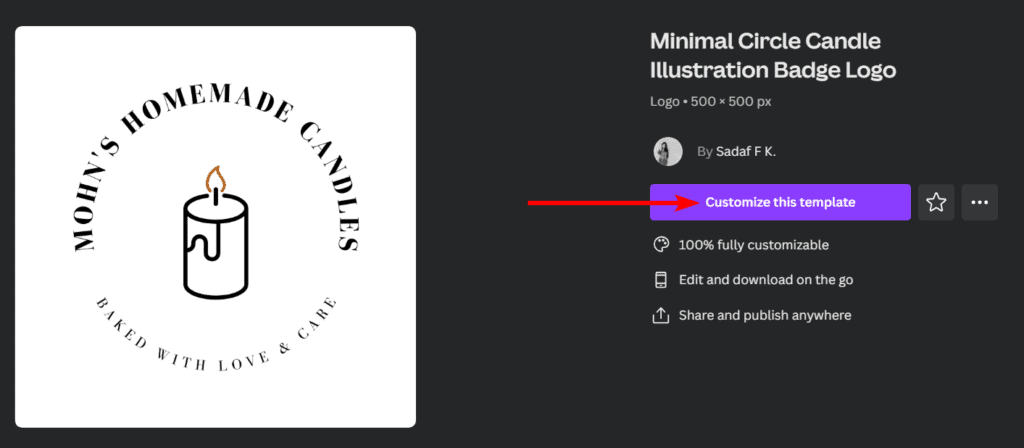
The template will open in the Canva workspace. You can delete any elements of the template that you don’t want. Then, double-click on the text and type in your own text.
