
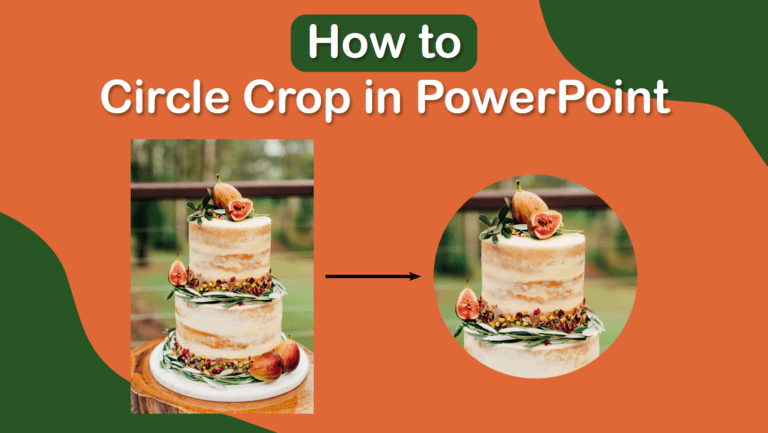
To circle crop in PowerPoint, add the image to your slide, open the Picture Format tab, then crop it into an oval by going to Crop > Crop to Shape. You can then adjust the crop’s aspect ratio to make a circle-shaped crop.
Alternative: If you want to crop one or multiple images into circles quickly and easily, you can also use our web tool.
Overview of How to Circle Crop in PowerPoint
- Add your image to your slide
- Select the image and open the Picture Format tab
- Go to Crop > Crop to Shape and select an oval
- Go to Crop > Aspect Ratio
- Select 1:1 Aspect Ratio Under The Square Section
- Move the image around within the crop
- Confirm the new crop
Step-by-Step to Circle Crop in PowerPoint
There is no straightforward way to crop an image into a circle in PowerPoint, but by adding a few extra steps, you can adjust an oval crop to create a circle crop, and here’s how.
Add Your Image to Your Slide
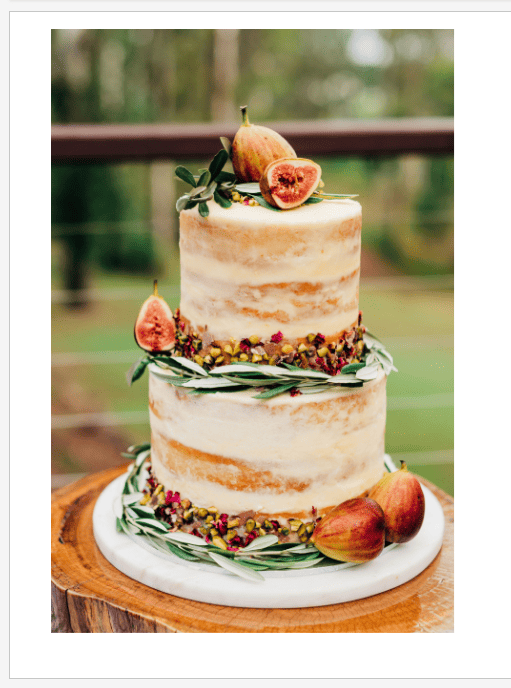
First, add the image you want to crop onto your slide.
Select the Image and Open the Picture Format Tab
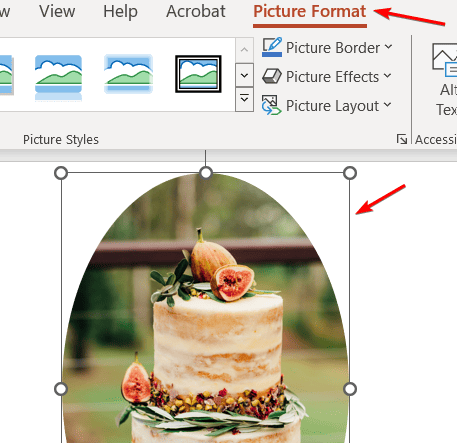
Next, select the image by clicking on it and then open the Picture Format tab from the top menu bar.
Go to Crop > Crop to Shape and Select an Oval

In the picture format tab, click on the drop-down menu next to Crop, then click on Crop to Shape, and select an oval from the shape options in the fly-out menu.
Go to Crop > Aspect Ratio
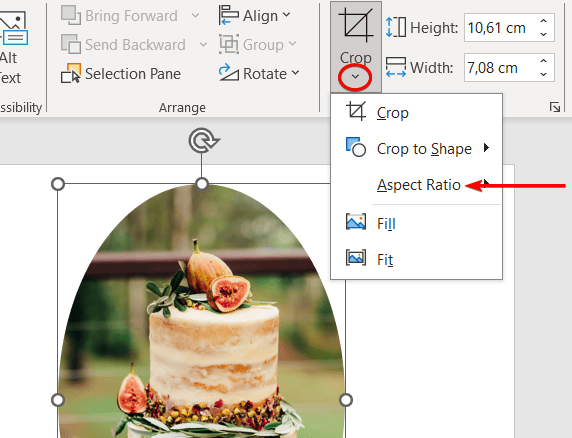
The image will then crop into an oval shape on the slide. To adjust this to a circle, open the Crop drop-down menu again, and this time select Aspect Ratio.
Select 1:1 Aspect Ratio Under The Square Section
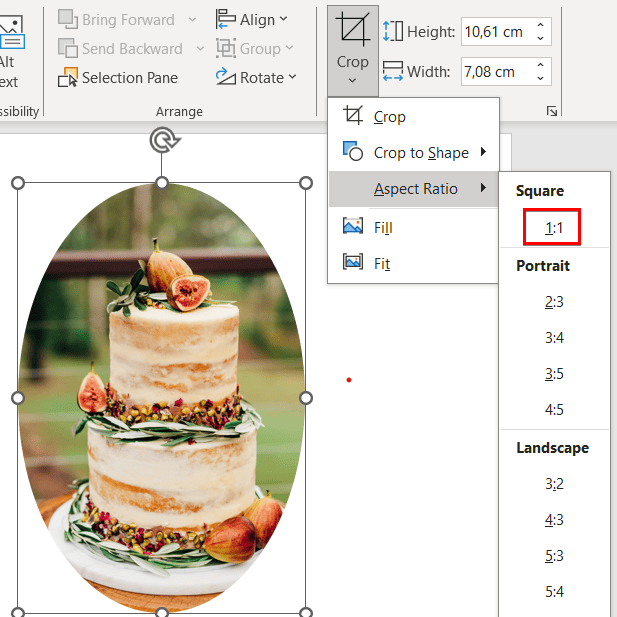
The Aspect Ratio options will appear in a menu on the right-hand side of the workspace. Select the 1:1 aspect ratio under the Square section. Once you click on the aspect ratio, it will close the menu and change the crop to a circle.
Move the Image Around Within the Crop
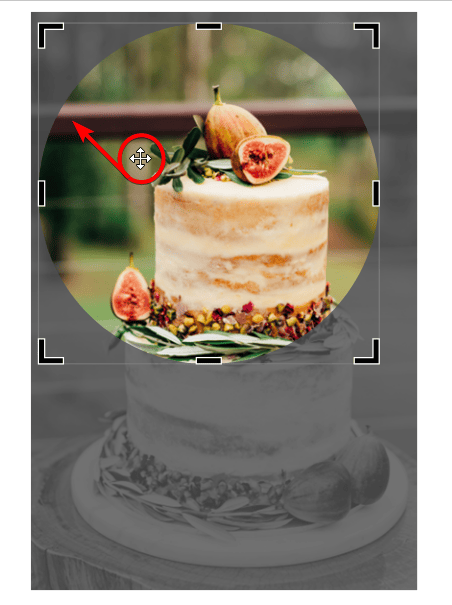
Now that your image is cropped into a shape, you can move it around within the crop frame. When you exit the Crop Options menu, the image should still be selected, and then simply click and drag it around to fit inside the frame as you’d like.
Confirm the New Crop

Press Enter or click outside the crop frame to confirm the new crop. You now have your image cropped into a circle in PowerPoint.