
Adding an image into the middle of the page is as simple as using the Insert function. However, you may need to fit an image to the page, which means that it covers the entire page.
This feature is useful if you want to use a pattern as a background or to create a cover image at the start of the document. Here is how to fit the picture across the page using the Image Options.
Table of Contents
Overview of Fitting an Image to Page in Google Docs
- Go to Insert > Image
- Select the image and click Open
- Select the image in Google Docs
- Open the Image Options
- Under Text Wrapping, select Wrap Text
- Adjust the Wrap Settings
- Under Position, select Fix Position on Page
- Resize the image to fit the page
Step-by-Step to Fit an Image to the Page in Google Docs
By default, images added to Google Docs are placed in the middle of the document between the text. The default settings don’t allow you to simply resize the photo to fit up to the edges of the page. To fit the image, you need to change the Image Options.
I will show the process using a photo of a white flower from Unsplash.
Go to Insert > Image
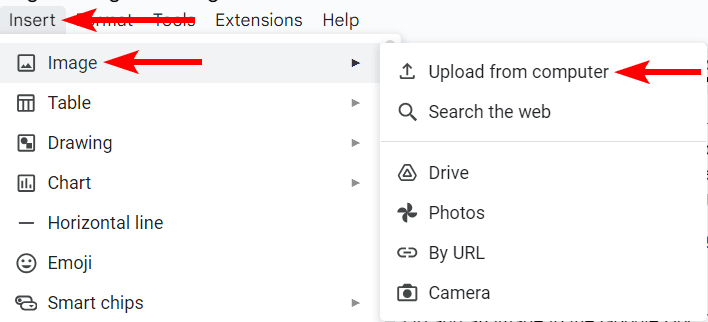
First, you need to add an image to the Google Doc. To do this, put your cursor on the page you want the image to fit to and then go to Insert > Image, you can then choose the source where your image is saved. I will select Upload from Computer.
Locate the Image and Click Open
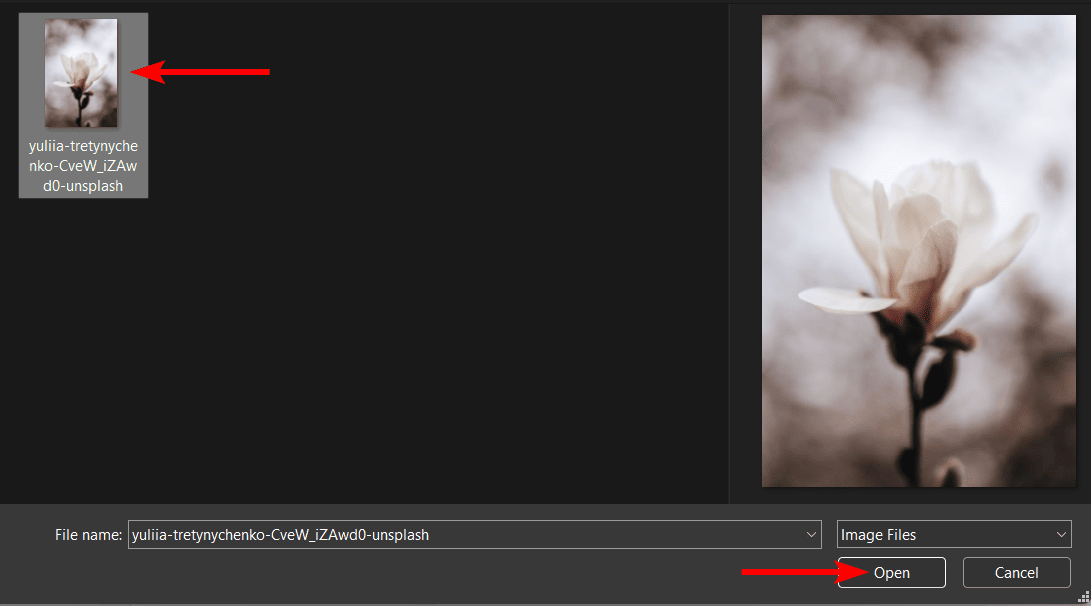
Use your Explorer or Finder to locate the image from your device. Once you find the photo, select it and click Open.
Select the Image
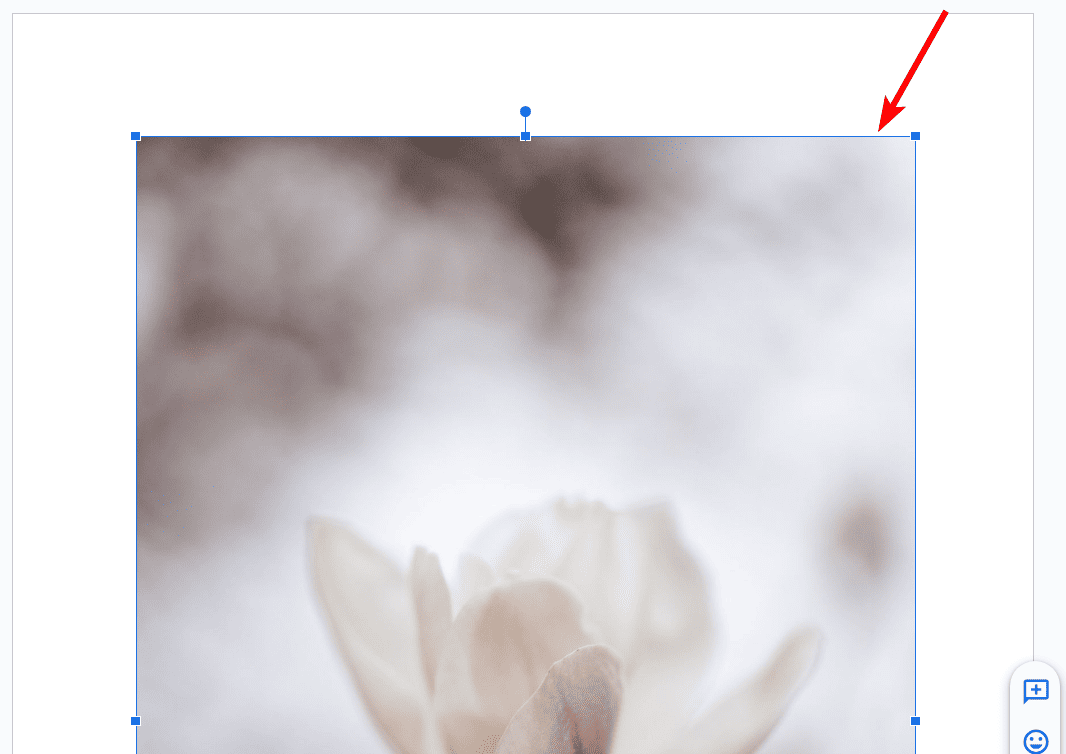
The image will open up in Google Docs and will be placed in the center of the document. Select the image by clicking on it.
Open the Image Options
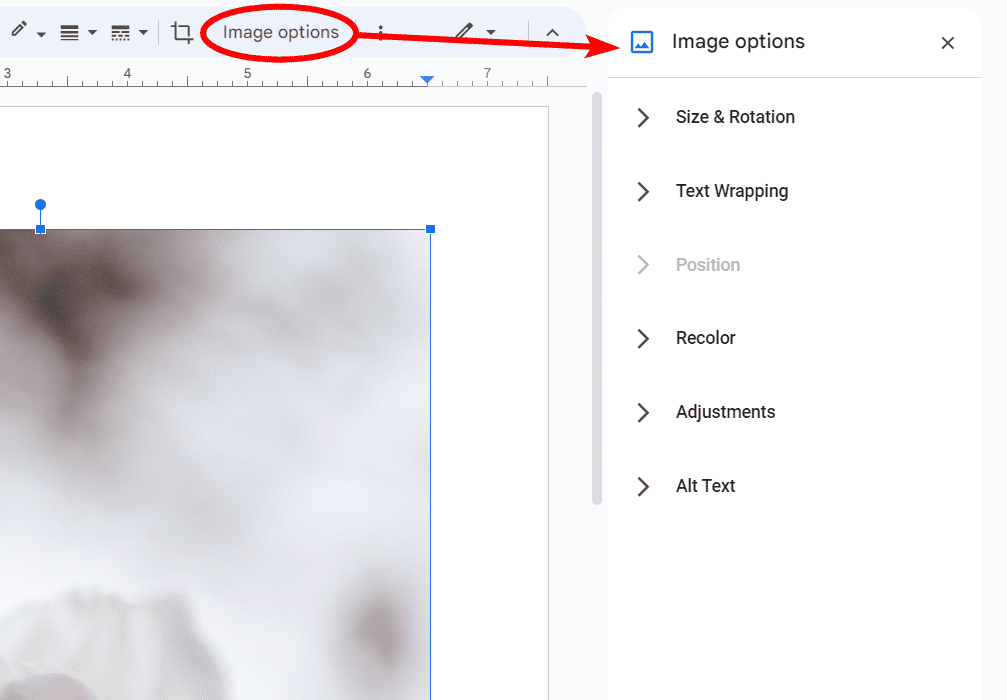
Once you have selected the photo, you can then click on Image Options in the top menu bar. This opens the Image Options setting panel on the right-hand side of the document.
Under Text Wrapping, Select Wrap Text
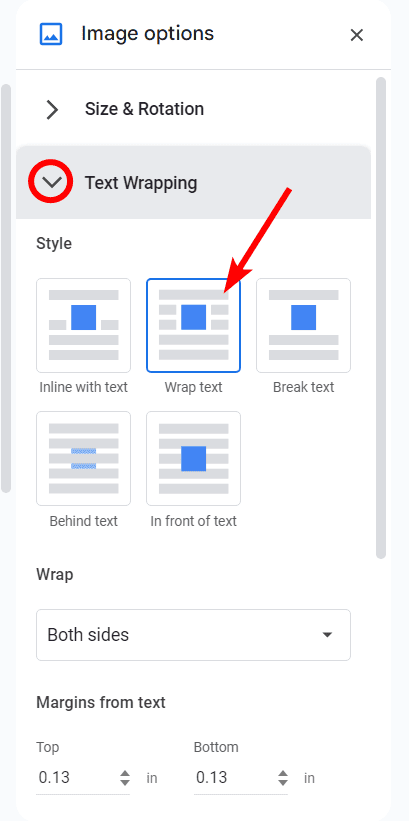
In the Image Options panel, open the Text Wrapping tab, and set the Style to Text Wrap.
Adjust the Wrap Settings
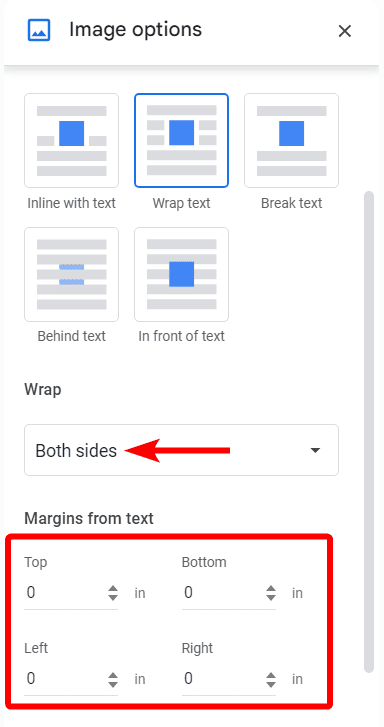
Once you select the Wrap Text option, you can adjust the settings that appear further down in the panel. First, set Wrap to Both Sides. Then, under Margins from Text, set all the margins to 0.
Under Position, Select Fix Position on Page
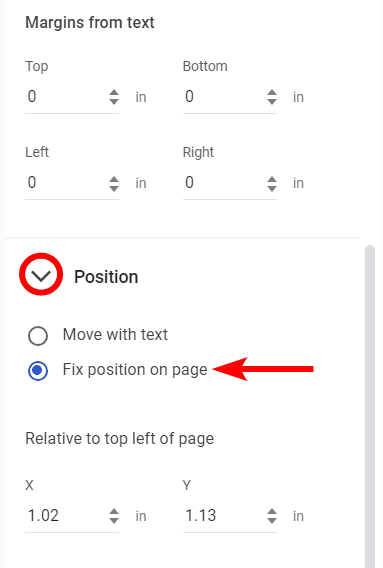
Next, open the Position tab and set the position to Fix position on page.
Resize the Image to Fit the Page
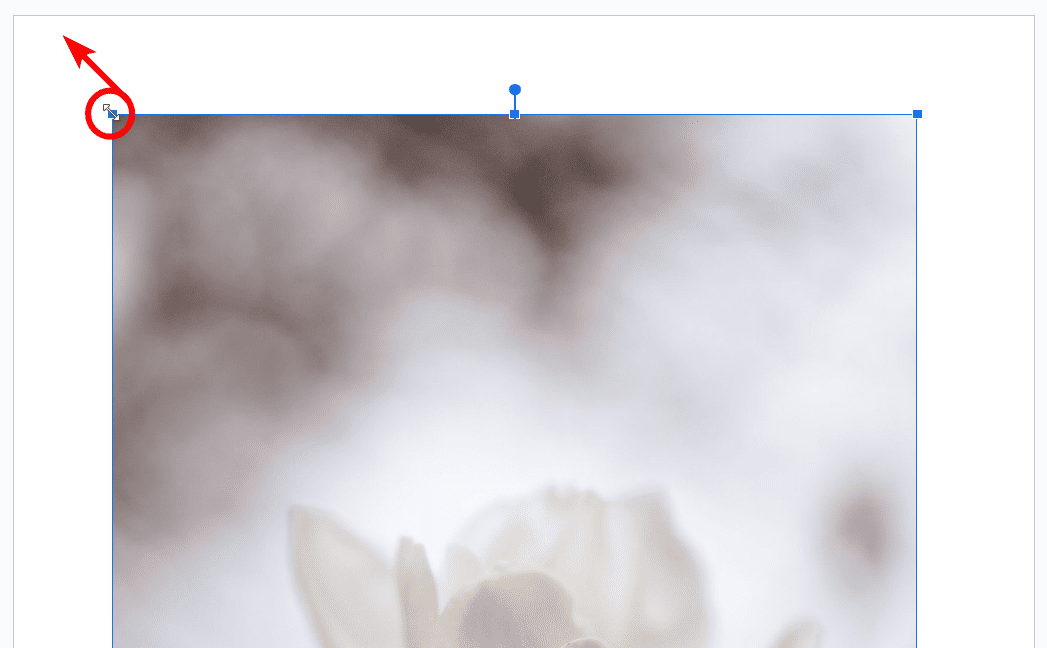
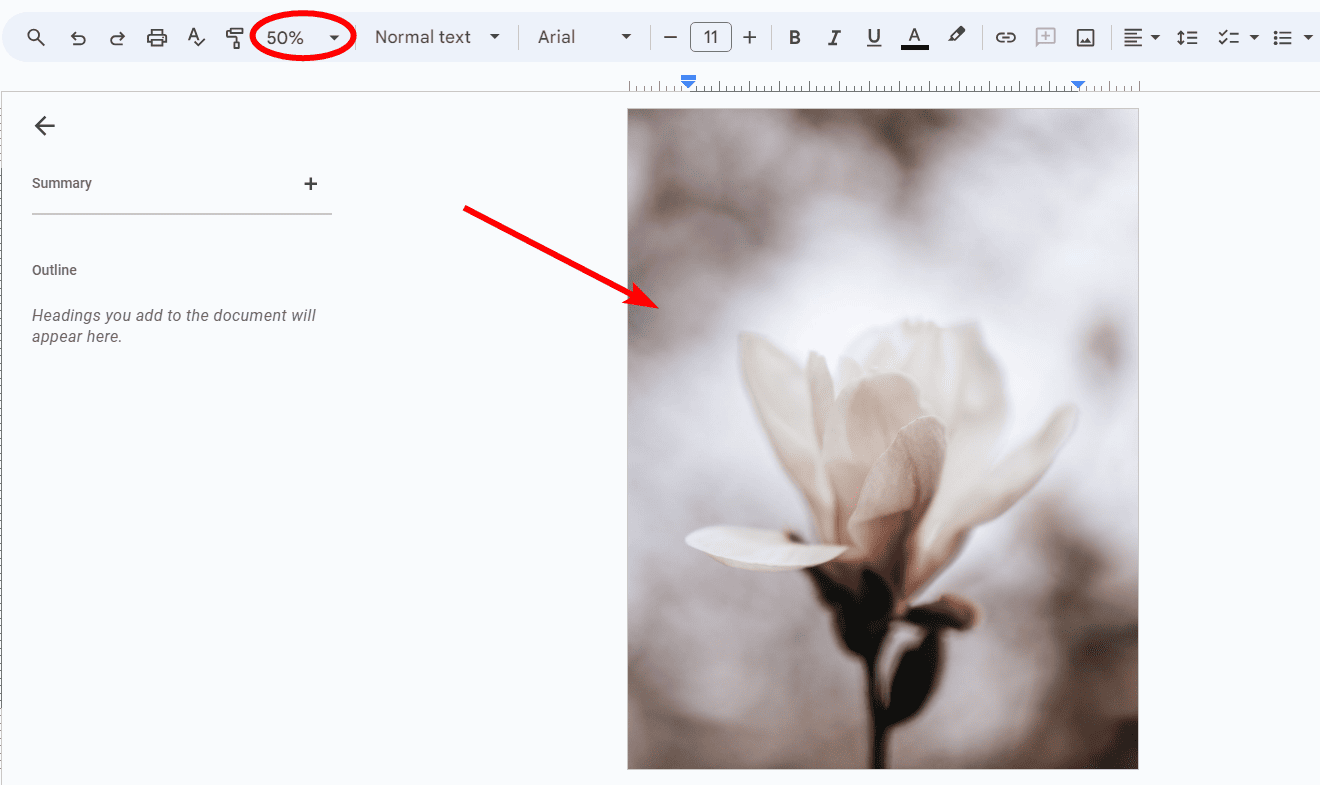
You can now use the corner handles around the image to resize it by dragging each handle to a corner of the page to fit the picture across the entire page.
Check the Document
The image will now fit over the entire page. To see the entire photo, you may need to zoom out to view the entire document page.
Tools:
- Google Docs