
To crop an image in Word, add an image to the document, then select it and open the Picture Format tab. In the Size section, click on Crop, select the Crop option, and then use the crop handles on the image by pulling them inward or outward. Click on the crop icon or press Enter to confirm the crop.
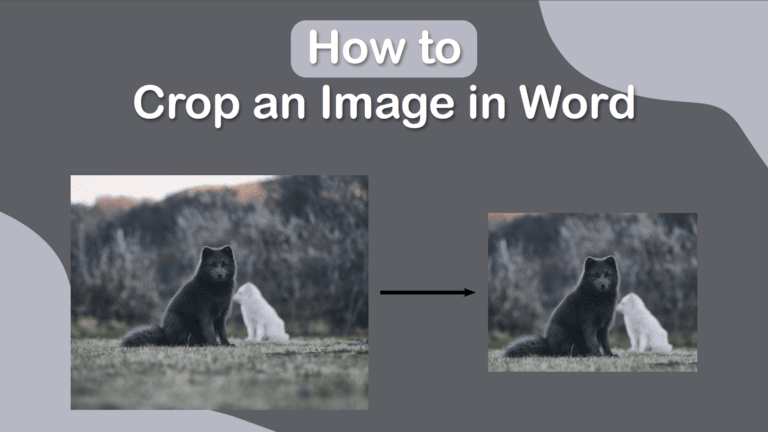
Cropping an image in Word is easy and practical if you need to cut a picture quickly during your workflow. You don’t need fancy editing software, and it only takes a few minutes.
Overview of How to Crop an Image in Word
- Add your image to the Word document
- Select the Image and open the Picture tab
- Under the Size section, click on the Crop icon
- Adjust the crop handles on the image as needed
- Press Crop or Enter to confirm the crop
Add Your Image to the Word Document

First, add your image to your Word document and place it where you want it.
Select the Image and Open the Picture Format Tab
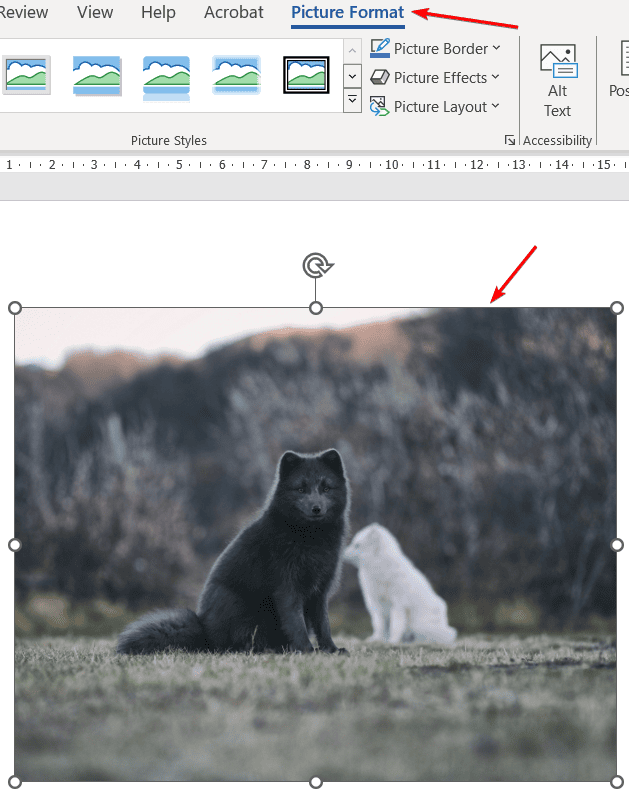
Then, select the Image and open the Picture tab from the top Menu bar.
Under the Size section, click on the Crop icon
In the Picture options, find the Size section and click on the Crop icon. This will automatically activate the Crop tool, and the crop handles will appear on the image.
Adjust the Crop Handles on the Image as Needed
Next, drag the crop handles inward to crop the image. You can trim one side at a time by dragging the middle crop handle or use the corner crop handle to trim two adjacent sides simultaneously.
Press Crop or Enter to Confirm the Crop

Once you have the image cropped as you would like, click on the Crop icon in the Size section again or press Enter to confirm the crop, and you will have a cropped image in Word.