

Adding images to a Microsoft Word document can increase its size tremendously. The good news is – you can compress those images to save disk space and make them easy to share. This tutorial will show you how to compress images in Word in three easy steps.
Total Time: 2 minutes
Table of Contents
Open the Document
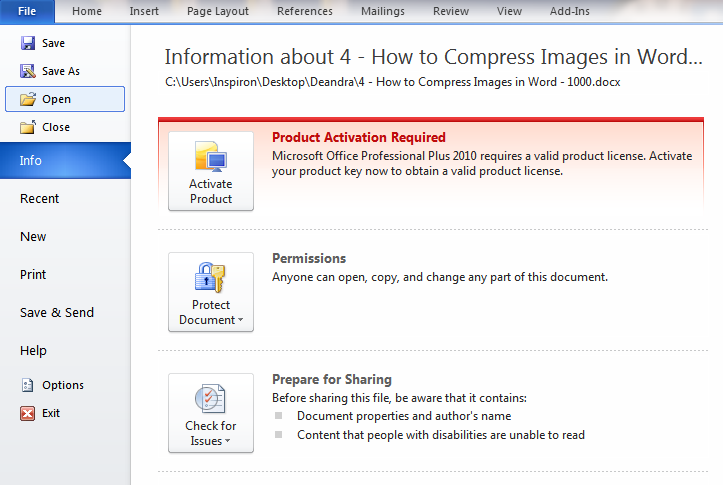
First, open the Word document with the image you want to compress. To do this, go to File, select Open, and choose the document with the images.
Select the Picture
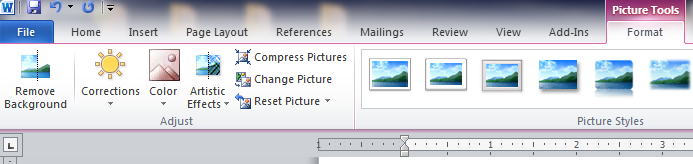
Next, click on the image to reveal Picture Tools in the Format menu of the main toolbar.
Compress the Picture
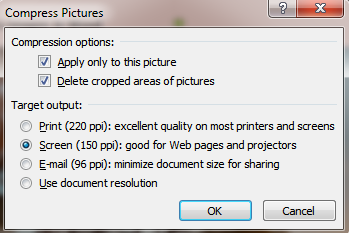
Next, select Compress Pictures, then choose your preferred Target Output from the options provided in the pop-up window that appears. Click OK to compress the picture. If the reduced size quality is unreadable, undo the action, and select a larger resolution.
There you have it – how to compress images in Word. We hope you found this tutorial helpful.