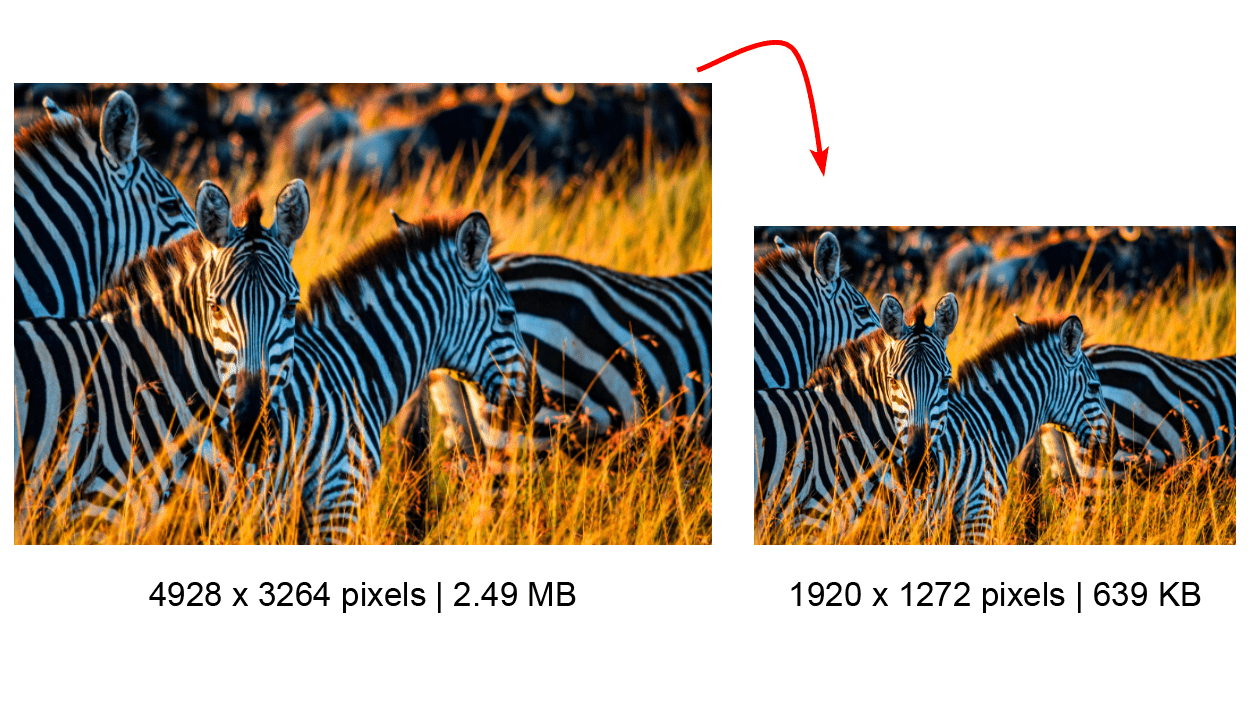
There are times when you may have a large folder of images that you need to batch resize. For instance, when working with pictures for the web, you must ensure the photos are the correct size for uploading. The resizing process works by creating one function that runs through all the images and saves them in a new location.
You can bulk resize images in Photoshop using two methods. The first is by creating an Action, which gives you more control over the final size and dimensions of the images. The second method uses the Image Processor in Photoshop, which is the faster method but gives you less control over the final files.
Table of Contents
Short Overview of Steps
- Open one image in Photoshop
- Open the Actions panel
- Create a new action
- Resize the image by going to Image > Image Size
- Export the image
- Press Stop on the Action
- Start a Batch Process by going to File > Automate > Batch
- Select the newly created Action and run it
How to Batch Resize in Photoshop
To batch-resize images in Photoshop, you can create an action that saves each step of resizing an image. Then you can use the automate function to run the steps in the action over multiple pictures without needing to start the action on the individual photos.
Total Time: 4 minutes
Open one image in Photoshop
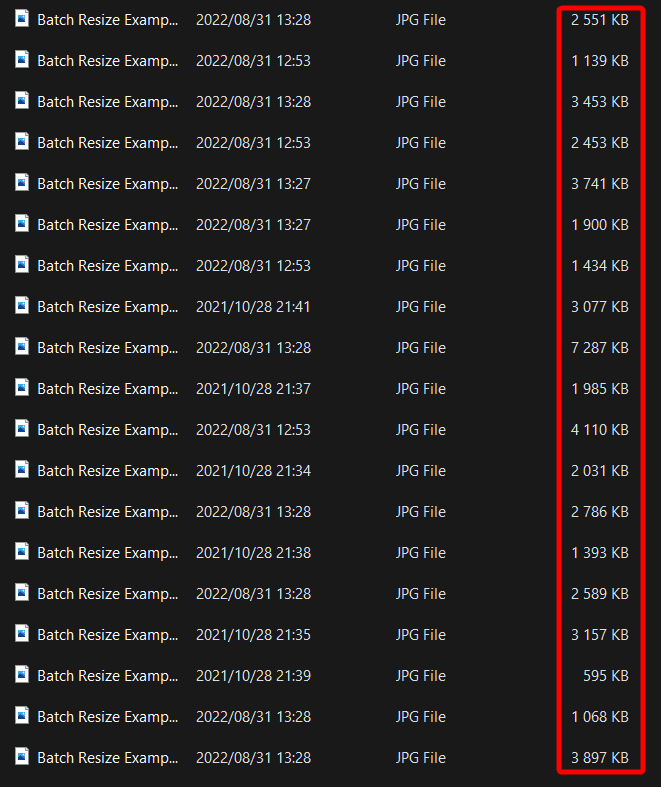
When batch-resizing images in Photoshop, you don’t need to open all the files that need to be resized, as this is problematic when you have hundreds of photos. You can check the size of your images in your explorer or finder window before you begin. Then, to start the process, open one image file in Photoshop.
Open the Actions panel
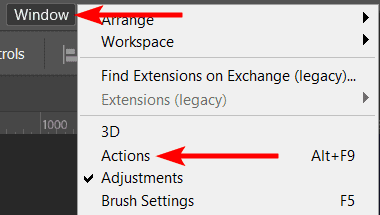
Next, open the Actions panel by clicking Window > Actions or using the shortcut Alt + F9 on Windows and Option + F9 on Mac.
Add new action
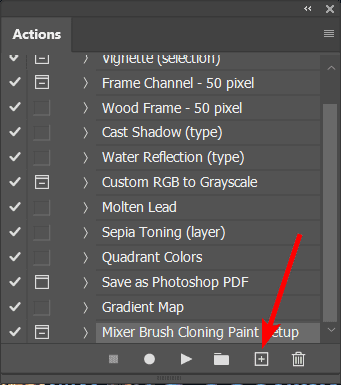
When the Actions panel is open, you will notice various default actions. You can create your own by clicking on the plus sign at the bottom of the panel.
Start new action
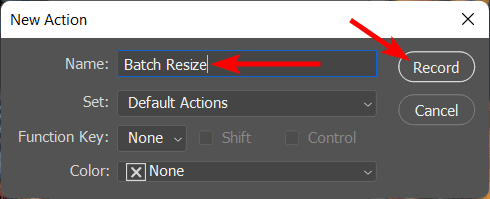
Add a name in the new action window and click Record.
Resize the image
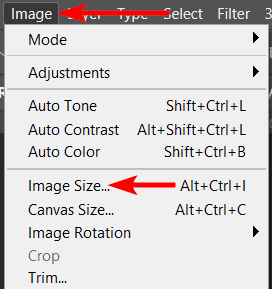
Resize the image by clicking on Image > Image Size. Or use the shortcut Alt + Control + I on Windows and Option + Command + I on Mac.
Set the width, height, and resolution
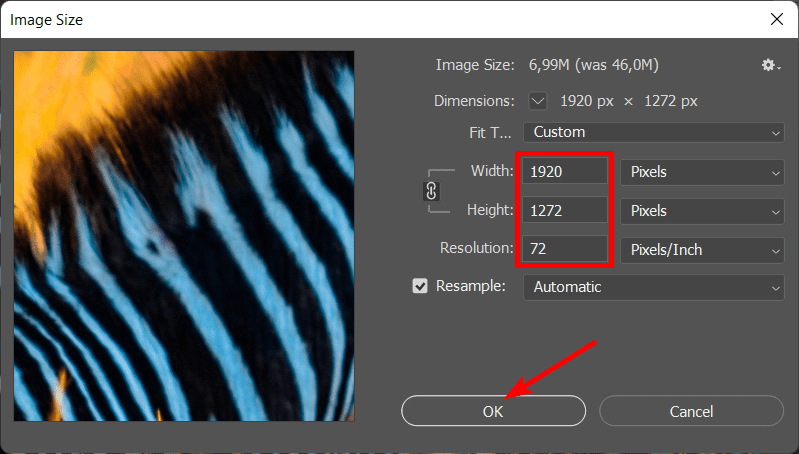
Change the width and height amount to the new size you want. You can also change the resolution. When you finish setting the size, click OK.
Export the image for the web
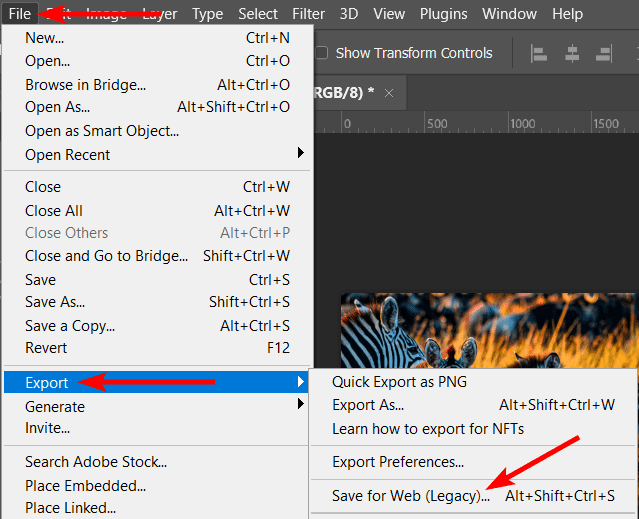
Next, save or export the file as you’d like. If you are resizing the images for the web, then click on File > Export > Save for Web (Legacy) or use the shortcut Shift + Alt + Control + S on Windows and Shift + Option + Command + S on Mac.
Save the file
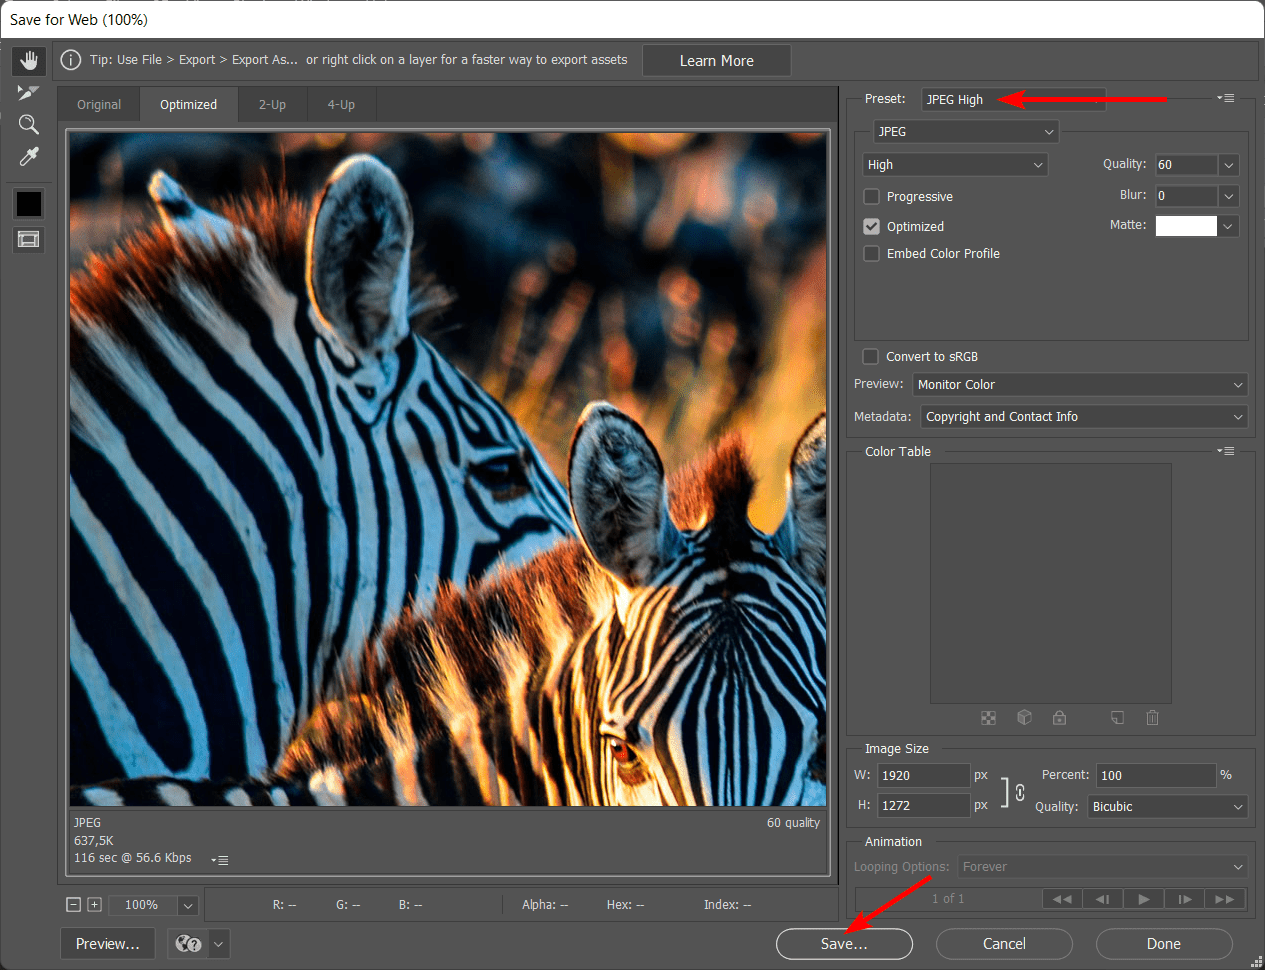
Choose the file type you want to save the image under Preset, then click Save.
Stop the action recording

Once you’ve selected the folder on your computer to save the image and are back in the Photoshop workspace, click the Stop icon in the Actions panel to turn off the recording.
Start an automated process
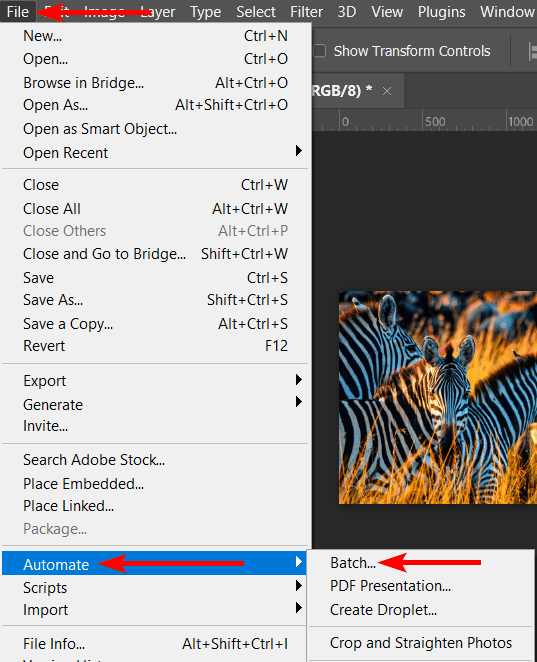
Now, you can go to File > Automate > Batch.
Choose the automated settings
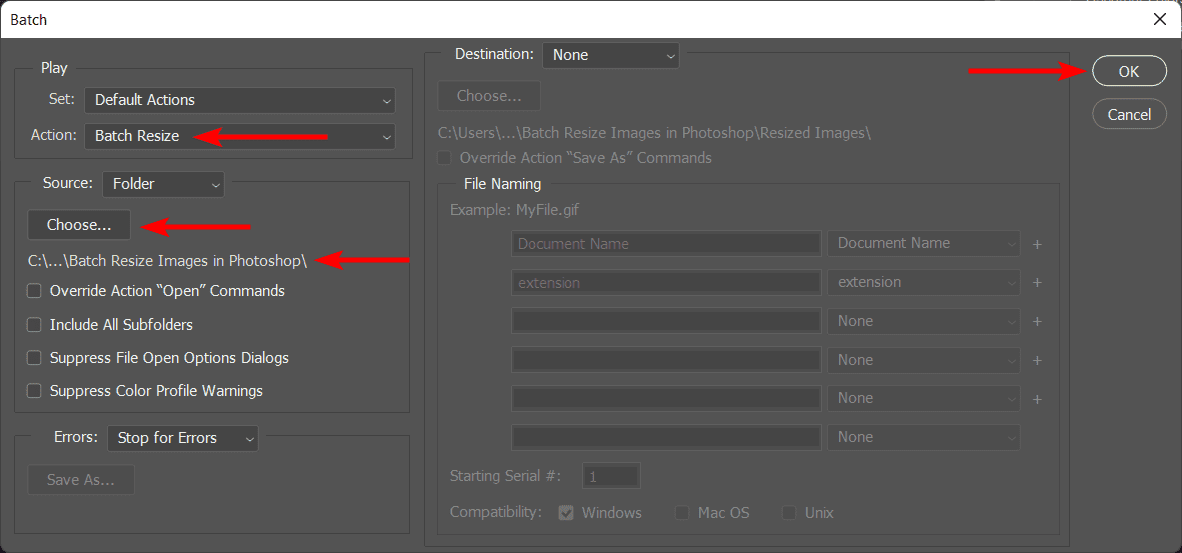
In the panel, choose the action you have just created under Action. Select the Source folder, which contains all the images you want to bulk resize, then click OK.
Let Photoshop run the process
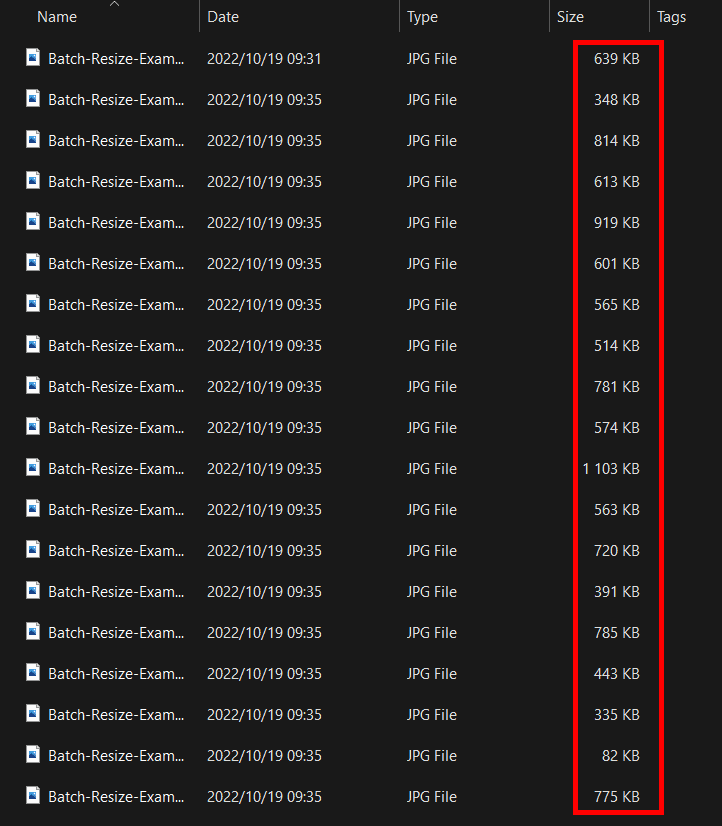
Photoshop will run through the various images, resizing them and saving them into the folder in which you saved the first image. You can see the smaller file sizes in the new folder.
Supply:
- Adobe Photoshop
Tools:
- Adobe Photoshop
How to Bulk Resize Using Image Processor in Photoshop
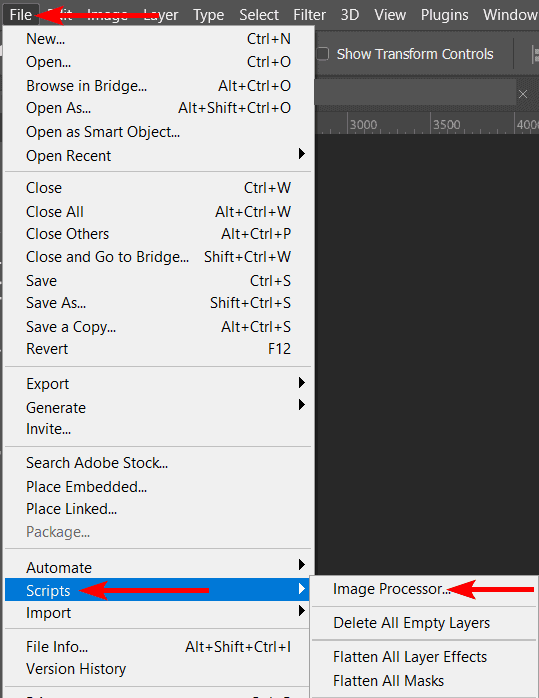
Another faster way to batch resize images is using the Image Processor method. To use this function click on File > Scripts > Image Processor.
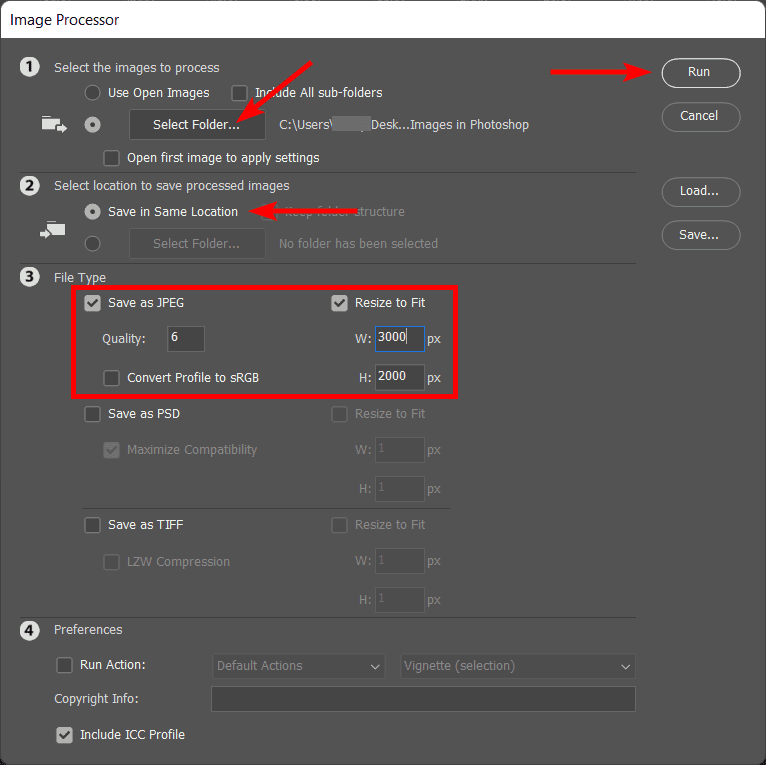
Choose the Folder where your large images are, then either choose to save the new photos in the same folder or a new folder.
Choose the File Type that you want the photos to save as and the new size you want them to be. This process works better on pictures of the same orientation, so split your landscape, portrait, and square-shaped images before running this process.
Once your settings are correct, click Run.
Photoshop takes a few moments to run the processes, and you’ll find resized images in your chosen folder.

👍 Support Us: Subscribe to our channel and help us continue providing these tutorials.
🌟 Regular Updates: We publish how-to videos for Photoshop regularly!
🔧 Expert Guidance: Learn Photoshop from our professionals and uncover exclusive tips!