There are two ways to center an image in Photoshop. You can either use the smart guides while moving the image yourself, which is useful if you want to quickly drag a layer to the center, or you can use the Align panel, which works best when centering multiple layers simultaneously.
Whether you're working on a graphic design project, creating social media posts, or simply want to make sure your image is perfectly centered, here are two effective ways to center your picture to make your design well-balanced and visually appealing.
Table of Contents
Two Ways to Center an Image in Photoshop
There are multiple ways to center an image in Photoshop, but here are the two quickest ways to perfectly center the layer without you guessing the center. These processes work for any elements you need to be centered, including shapes, text, and more.
For both examples, I will use this picture of a lone tree in the middle of a foggy field from Unsplash.

Center an Image Using the Smart Guides
Smart Guides are, as the name suggests, guides that help you align your elements on the canvas. These guides are pink lines that appear temporarily as you move an object around the page. You can use these guides to line up an object to another element or the canvas.
When a pink link appears, your object is lined up with something like the vertical or horizontal center. While the Smart Guides should appear automatically, you may need to turn them on first to benefit from the feature.
Step 1: Open Your Document
Start by opening the project with the image you want to center in Photoshop. You can do this by going to File > Open and selecting your project. To center a picture, you should have your photo on a document with a background.
In my case, I have added the image to a gradient background and added some text on the page. I want my image to be centered along with the heading text. However, I want the small body text to remain in the bottom right corner.

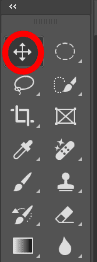
Step 2: Select the Move Tool (V)
Click on the Move Tool in the Toolbar or press V to activate the tool. The Move Tool allows you to select and move any elements on your document.
Step 3: Turn on Smart Guides
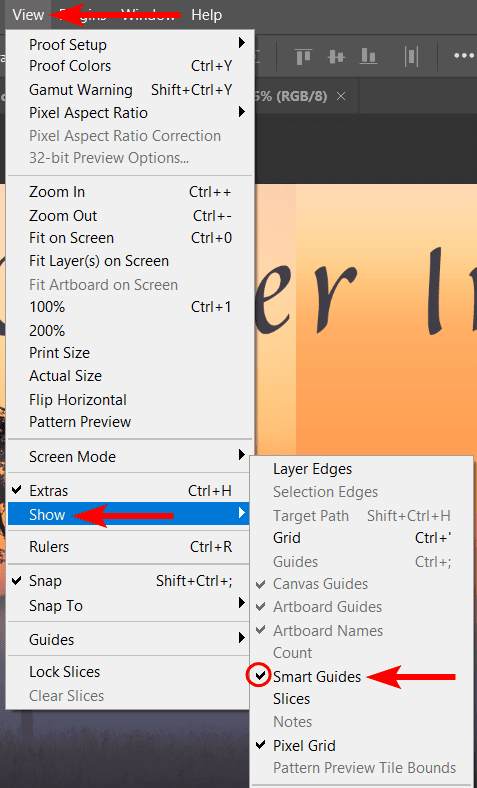
To ensure that Smart Guides are active, go to View > Show > Smart Guides. Make sure there's a checkmark next to Smart Guides. If there is no checkmark next to the option, click on it to turn on the guides. This will ensure the Smart Guides appear when you move your image around.
Step 4: Align Horizontally and Vertically
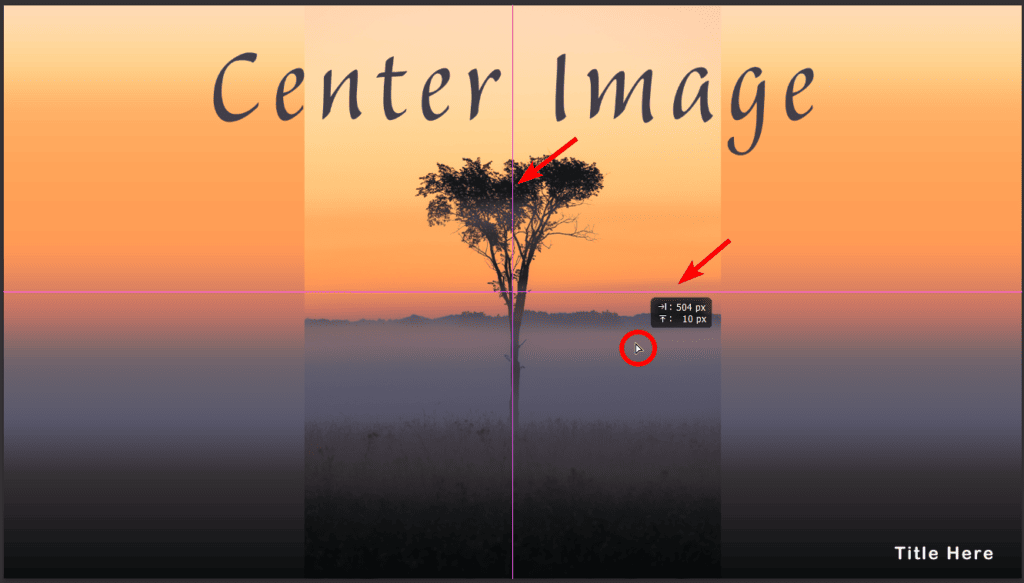
With the Move Tool still active, click and drag the image to the horizontal center of the canvas. As you move the picture, the pink Smart Guides will appear, indicating when you reach the horizontal center of the document to help you position it precisely in the center.
After reaching the horizontal center, drag your image to the vertical center of the canvas. The vertical guide will appear when you reach it. You can move the image around slightly until the Smart Guides create a cross in the middle of the canvas. This means you have the photo in the exact center.
Step 5: Release the Mouse
Once your image is centered horizontally and vertically within the canvas, release the mouse button. Your photo is now perfectly centered.

Center an Image Using the Alignment Tools
If you don’t want to manually line up the image and wait for Smart Guides to appear, you can simply use the Alignment Tool options to move the layer to the horizontal and vertical centers. However, users often forget to “Select All,” and missing this step means the buttons are greyed out.
Step 1: Open the Document
First, open the document you want to center in Photoshop, following the same steps as in the previous method.
Step 3: Activate the Move Tool (V)
Activate the Move Tool by selecting it in the Toolbar or pressing V.
Step 4: Select the Image Layer
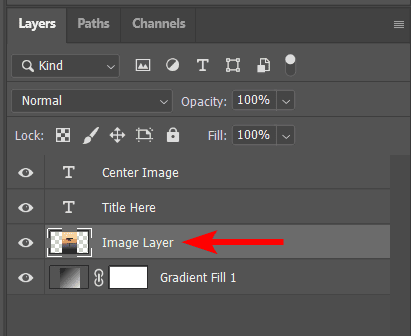
To ensure you only center the photo and not the other elements on the page, select the image layer by clicking on it in the Layers Panel. You can select multiple layers if you want to center a few simultaneously.
Step 5: Select All to Select the Entire Canvas
The crucial step in the process is to select the entire document. This tells Photoshop what you want the layer to be centered on, which is the canvas. If you skip this step, the Align options will be greyed out.
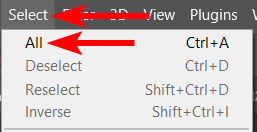
To select the document, go to Select > All or use the shortcut Control + A on Windows or Command + A on Mac.
Step 6: Center Horizontally and Vertically
In the Upper Settings Bar (when the Move Tool is active), you will see the alignment options, which are icons of blocks with lines through them. To align the photo in the exact center of the page, click the Horizontal Center Align button. Then, click the Vertical Center Align button.

Step 7: Deselect Your Image
The entire canvas will still be selected, so to deselect it, use the shortcut Control + D on Windows or Command + D on Mac. Your image will now be perfectly centered, and only the layer or layers you selected to center will be aligned in the middle. The other elements will remain in their original positions.
Whether you prefer to use Smart Guides for a quick alignment or take advantage of the precise control offered by the Alignment Tools, Photoshop provides the tools you need to ensure your images are perfectly centered on your canvas.
👍 Support Us: Subscribe to our channel and help us continue providing these tutorials.
🌟 Regular Updates: We publish how-to videos for Photoshop regularly!
🔧 Expert Guidance: Learn Photoshop from our professionals and uncover exclusive tips!