To change the language in Photoshop on Windows, you need to follow three processes, depending on your device and current preferences.
First, set the language within the Creative Cloud desktop app, then change the language in Photoshop by re-installing the program and adjusting the preference settings. If you can’t find the desired language in the Creative Cloud or Photoshop app, then you will need to change the language on your device.
While that may seem complicated, it’s simple when you follow it step by step.
Table of Contents
Change Language in the Creative Cloud Desktop App
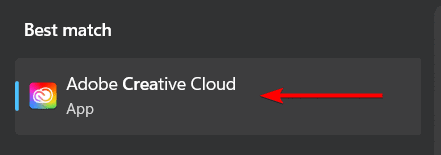
Open the Creative Cloud desktop app from the Start menu or the taskbar.
Click the Account icon at the top-right corner and select Preferences.
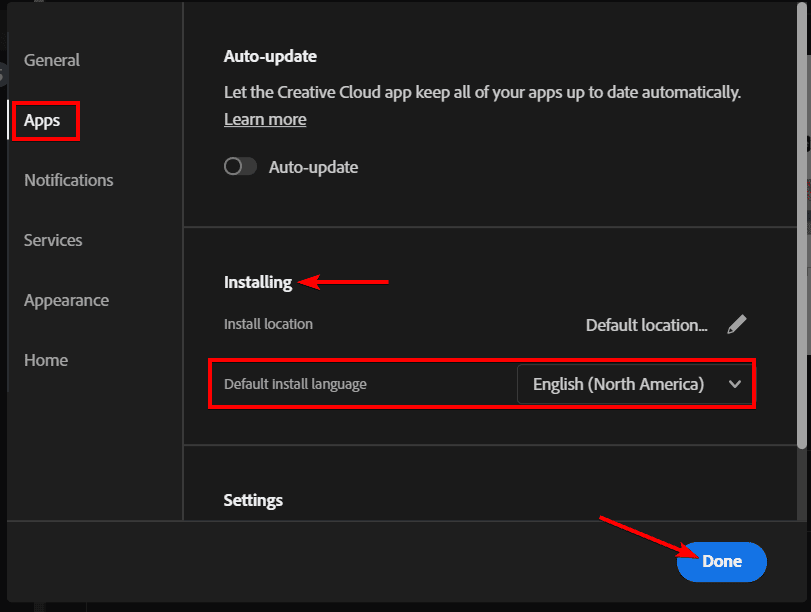
Open the Apps tab on the left side and choose the language you want from the Default Install Language drop-down menu. Click Done to save your changes.
Change the Language in Photoshop by Re-Installing the Program
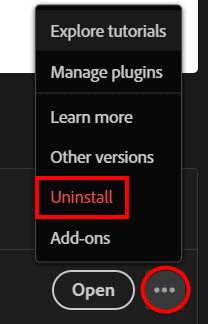
Then, Uninstall the app by clicking on the three dots next to the Photoshop app and selecting Uninstall.
Once the program has been uninstalled, click on Install next to the program to re-install it with the new language.

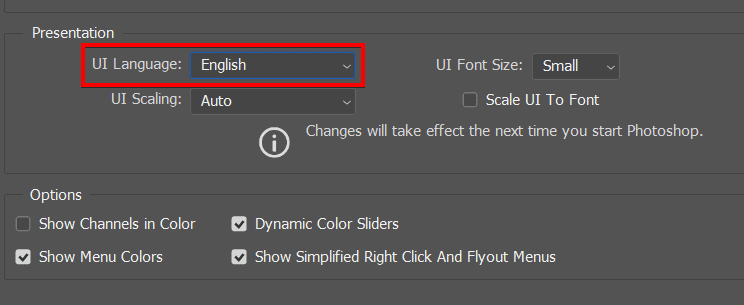
Next, open Photoshop and go to Edit > Preferences > Interface.

In the Interface tab, change the UI Language to the new language of choice.
Close and re-open Photoshop to confirm the changes
Troubleshooting: Change the Language on Your Windows Device
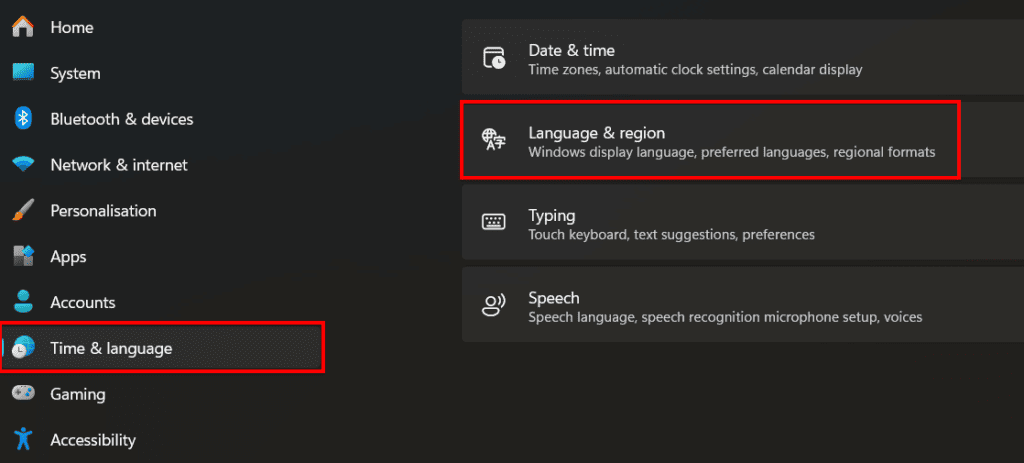
If the language didn’t change or you couldn’t find your desired language, go to Start > Settings > Time & language and select the Language & Region option.
If your account supports it, you can select a new language from the Windows Display Language menu. Otherwise, click on Add a Language next to Preferred Languages to install a new language. Once complete, follow the first two sections again to install the new language in Photoshop.

👍 Support Us: Subscribe to our channel and help us continue providing these tutorials.
🌟 Regular Updates: We publish how-to videos for Photoshop regularly!
🔧 Expert Guidance: Learn Photoshop from our professionals and uncover exclusive tips!