To create a mosaic in Photoshop, make a contact sheet using up to 100 resized images before editing the contact sheet and combining it with the main image. Lastly, you can add some finishing touches to the mosaic to create a cohesive composition.
While this may seem complicated, it’s a relatively straightforward process once it’s broken down into steps, which I do in this article to show you how to create your own mosaic using an image of your choice and up to 100 individual photos for the tiles.
Table of Contents
Step 1: Prepare the Mosaic Images
The first step is to prepare the small images you will use for the mosaic. You must resize them to the same dimensions and save them in a folder. Ensure the pictures are diverse in colors and textures and have the same orientation (landscape or portrait). Ensure the number of images is divisible by itself. For example, 100 photos is 10 x 10.
I am using images of dogs for a creative mosaic from Unsplash.
Open Photoshop and go to File > Scripts > Image Processor.
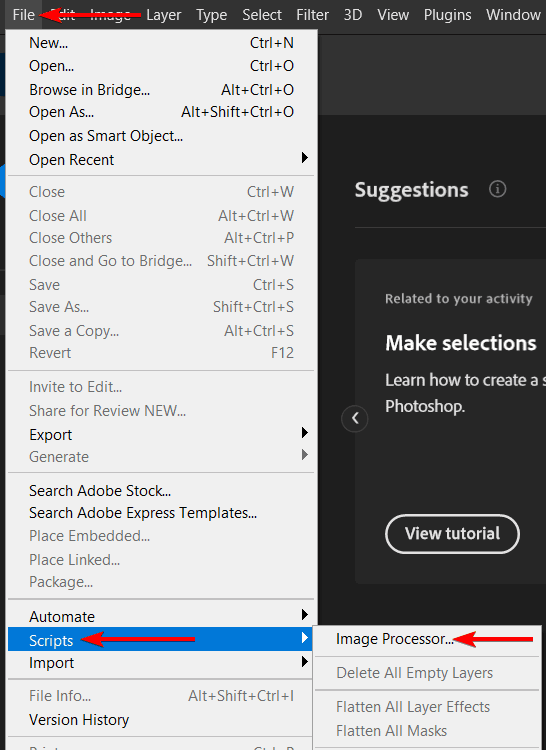
In the Image Processor dialog box:
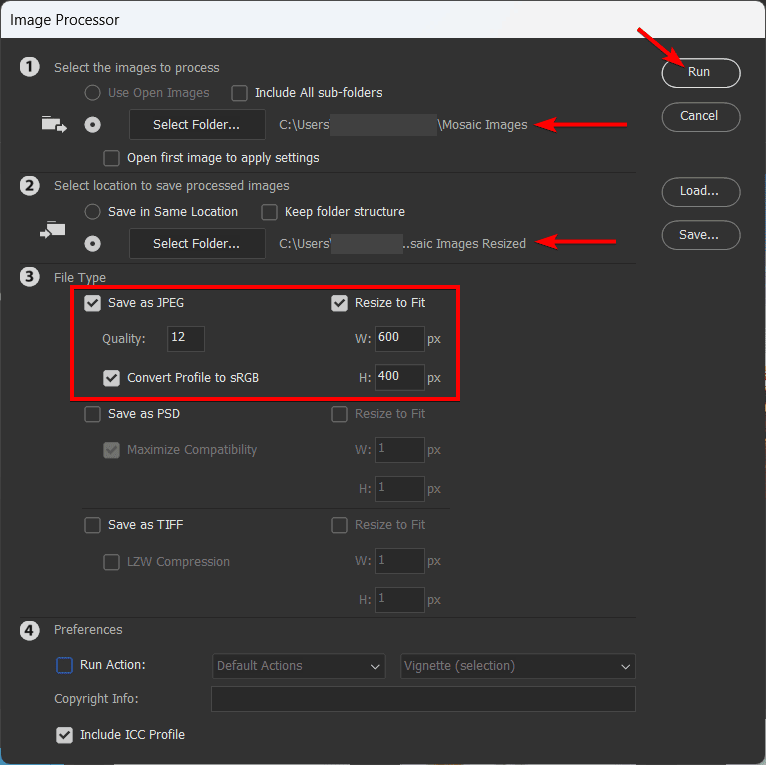
- Click on Select Folder and choose the folder that contains your images.
- In the Save In section, click on Select Folder and choose a new folder where you want to save the resized images.
- In the File Type section, choose JPEG as the format and set the Quality to 12 (maximum).
- In the Resize To Fit section, enter the width and height you want for your mosaic images. For example, you can use 400 pixels by 400 pixels for square images or 600 pixels by 400 pixels for rectangular images. Make sure the Convert Profile to sRGB box is checked.
- Click on Run and wait for Photoshop to process all the images.
When the process is done, you will find the resized images in the new folder that you created.
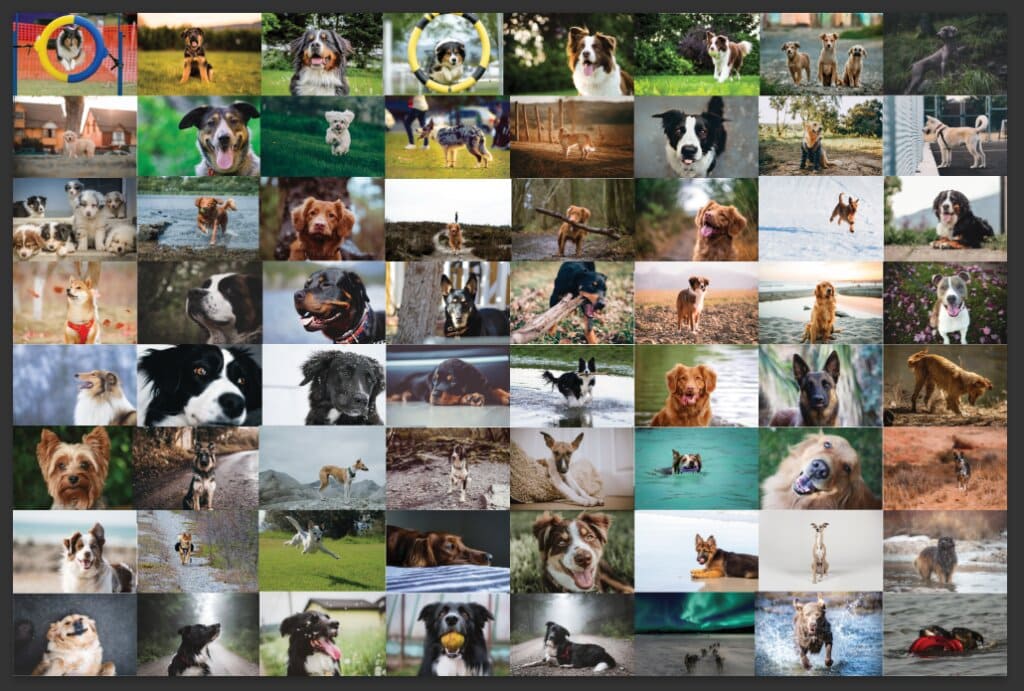
Step 2: Create a Contact Sheet
A contact sheet is a single image that contains all the small images arranged in a grid. You will use this contact sheet as the base for your mosaic. To create a contact sheet in Photoshop, follow these steps:
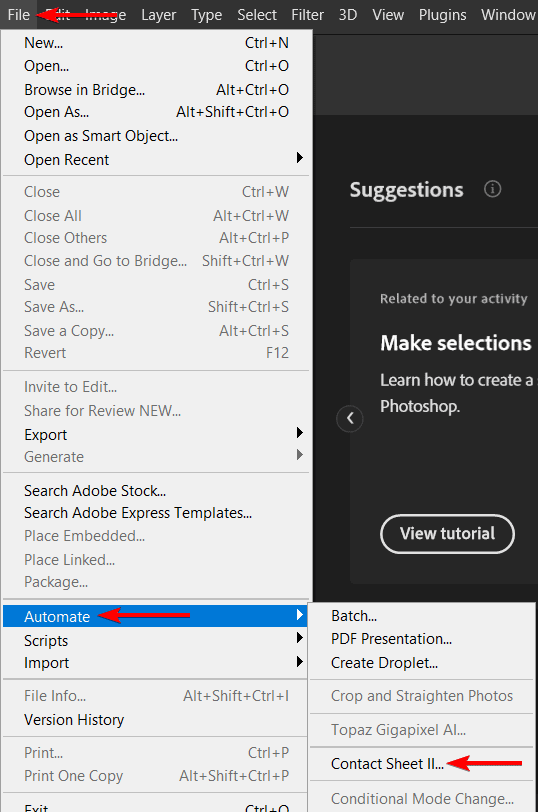
Open Photoshop and go to File > Automate > Contact Sheet II.
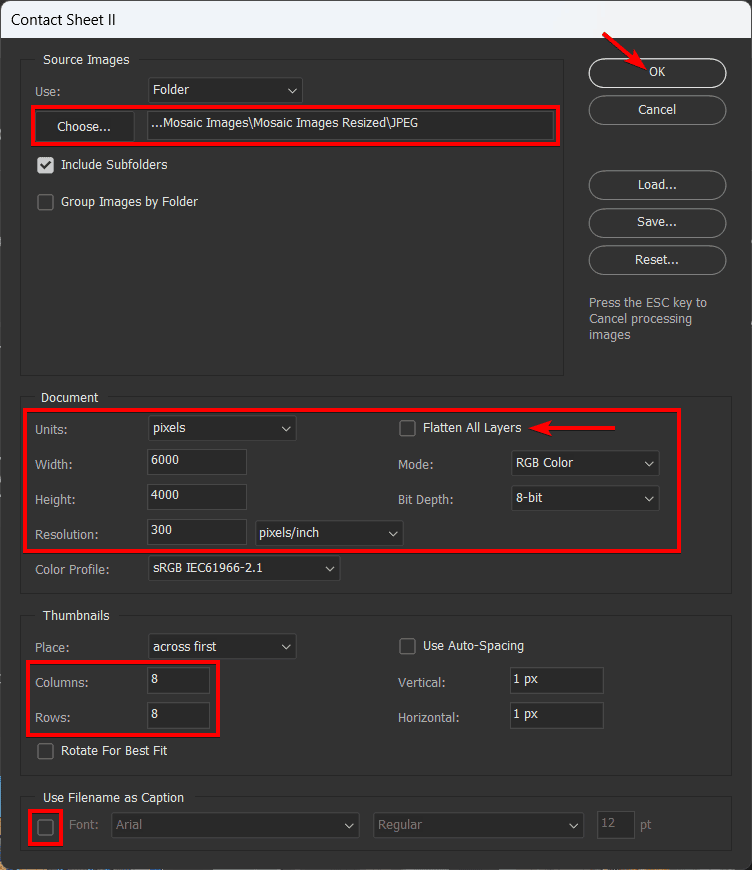
In the Contact Sheet II dialog box:
- Click on Choose and select the folder that contains your resized images.
- In the Document section, enter the width and height you want for your contact sheet. For example, you can use 4000 pixels by 4000 pixels for a square contact sheet or 6000 pixels by 4000 pixels for a rectangular contact sheet. Set the Resolution to 300 pixels per inch and the Mode to RGB Color.
- In the Document section, uncheck the box that says Flatten All Layers. This allows you to edit the images within the contact sheet.
- In the Thumbnails section, enter the number of columns and rows you want for your grid. For my 64 images, I will set 8 and 8.
- Make sure the Use Filename as Caption box is unchecked.
- Click on OK and wait for Photoshop to create the contact sheet. You will see a progress bar at the bottom of the dialog box.
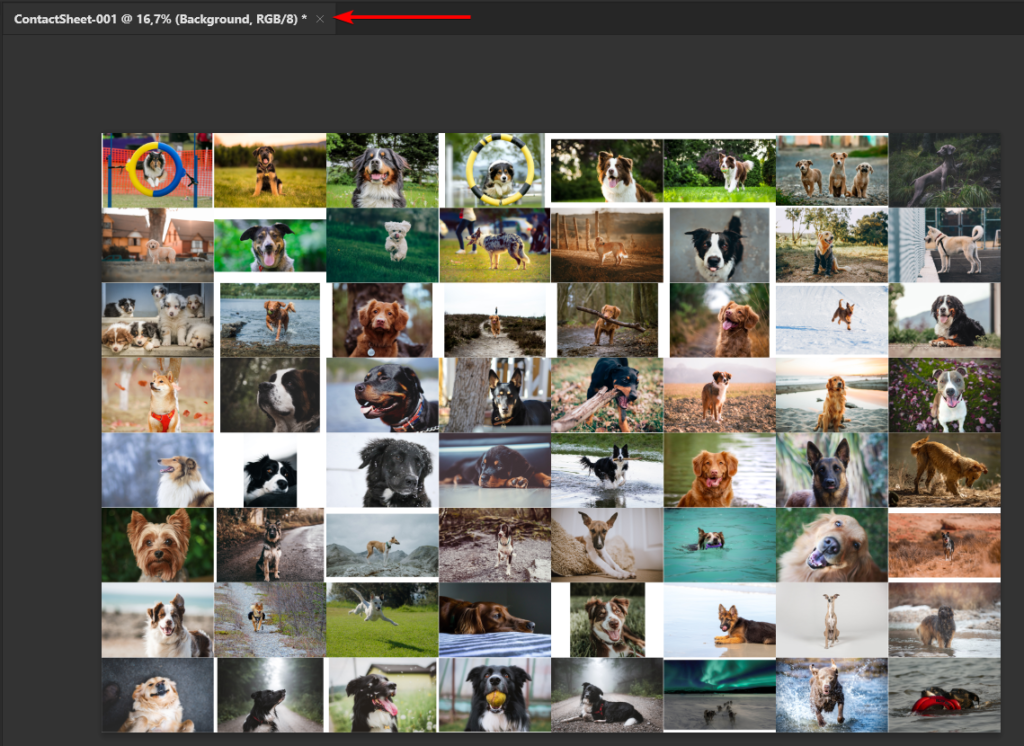
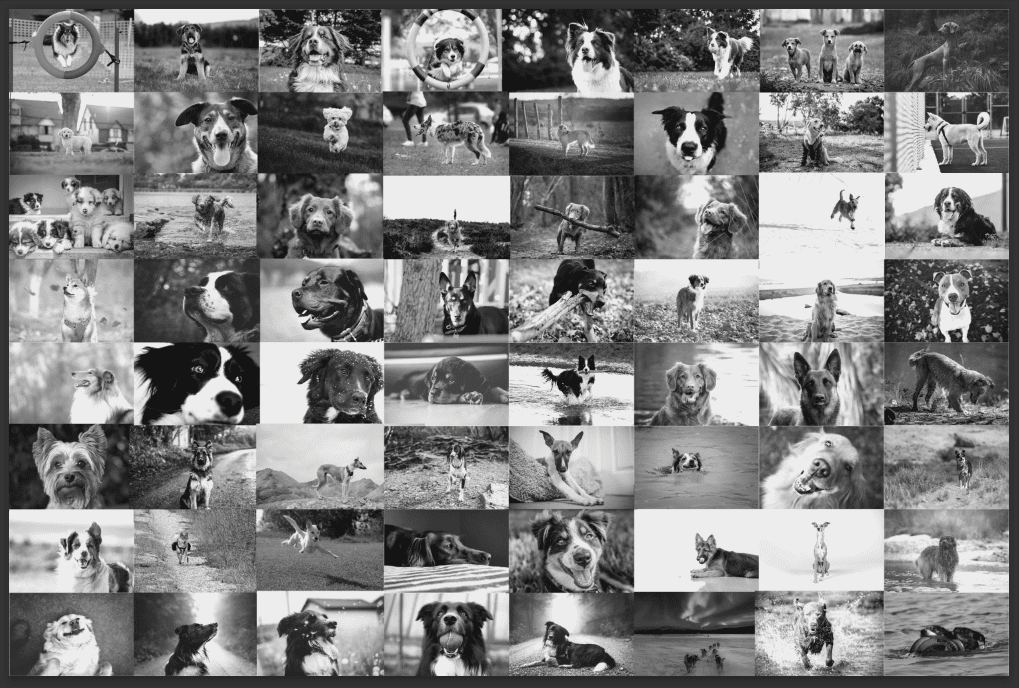
When the contact sheet is ready, you will see it in a new tab.
In some cases, there may be white spaces around some of the images. You can now edit these images individually to fill up the spaces. Select an image, then access the Transform Tool using Control + T on Windows or Command + T on Mac. Resize the image by dragging the anchors to fill the space.
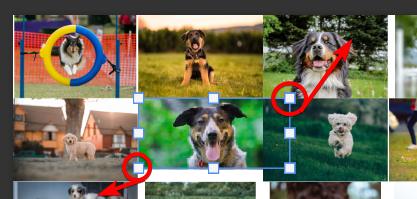
Resize all the images with spaces around them until there are no spaces between them.
Step 3: Adjust the Contact Sheet
The contact sheet is the key to a successful mosaic, and for it to work well with your image, you should edit the contact sheet so the pictures match better. You can add any edits and adjustments to your contact sheet based on your pictures. Here are a few options.
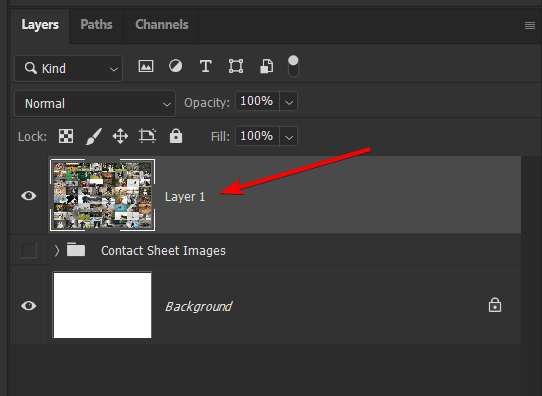
First, create a merged copy of the contact sheet to work on by pressing Shift + Control + Alt + E on Windows or Shift + Command + Option + E on Mac. You can then add the remaining layers to a group and hide it.
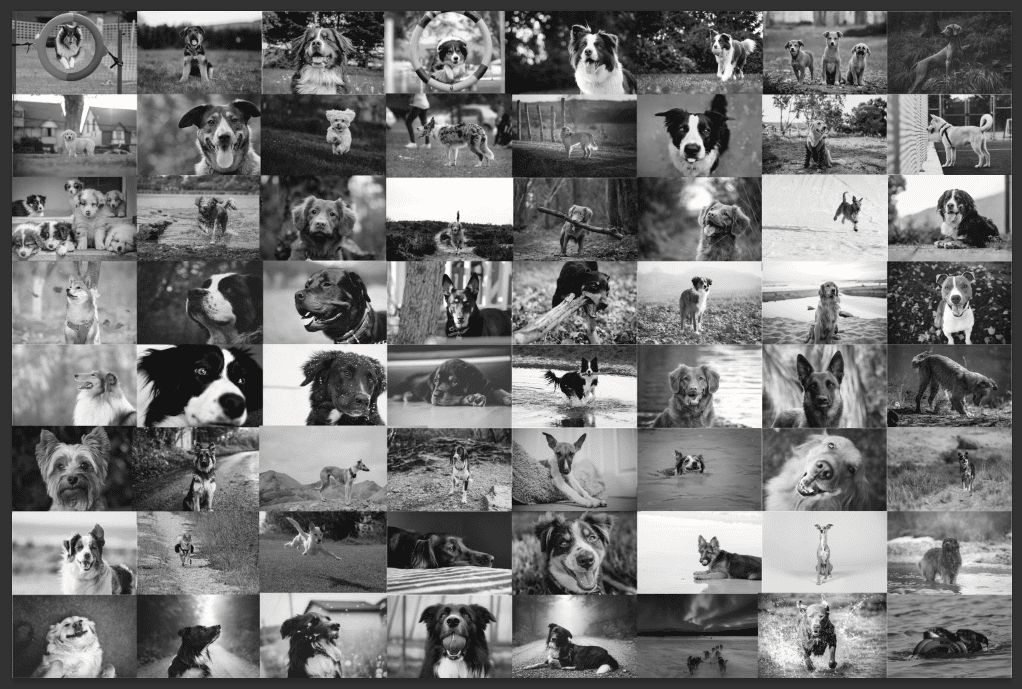
Then, go to Image > Adjustments > Desaturate.
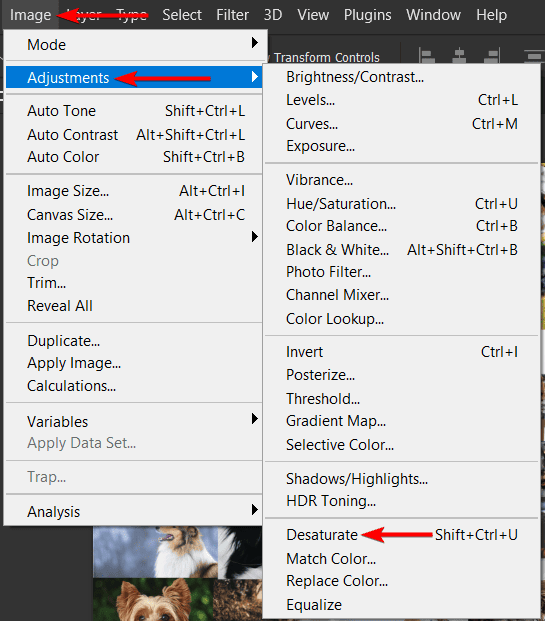
This will remove the colors from the contact sheet and make it grayscale.
Next, go to Image > Adjustments > Levels. This will open the Levels dialog box, where you can adjust the brightness and contrast of the contact sheet. Drag the black and white sliders to the edges of the histogram, and drag the gray slider to the middle.
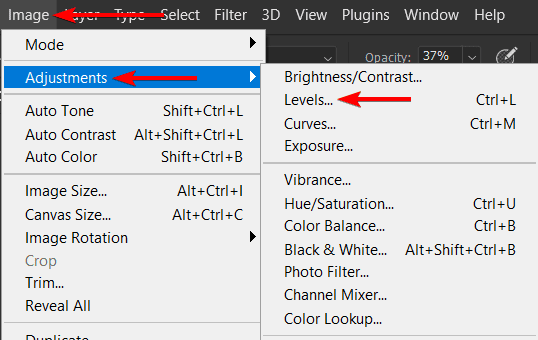
This will increase the contrast and make the contact sheet more defined.
To fine-tune the contact sheet, you can also use other adjustment tools, such as Curves or Brightness/Contrast. The goal is to make the contact sheet clear and sharp but not too dark or light.
Step 4: Combine the Contact Sheet and the Main Image
The next step is to combine the contact sheet and the main image you want to recreate with the mosaic. Open your main image in Photoshop. Remember, choose a simple and recognizable image that is not too busy or detailed. For example, you can use a logo, a symbol, a portrait, or a landscape.
I am using this image of a woman in a black top portrait from Unsplash as the main image.
You can combine the contact sheet and the main image in two ways, either using a pattern or as separate layers.
Method 1: Add the Contact Sheet as a New Layer
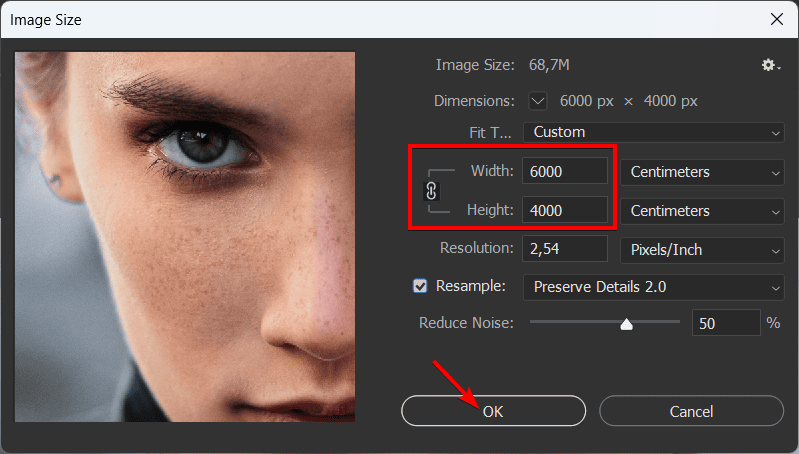
Open the main image in Photoshop and resize it to the same dimensions as the contact sheet. You can use the Image Size tool by going to Image > Image Size and adding the correct dimensions.
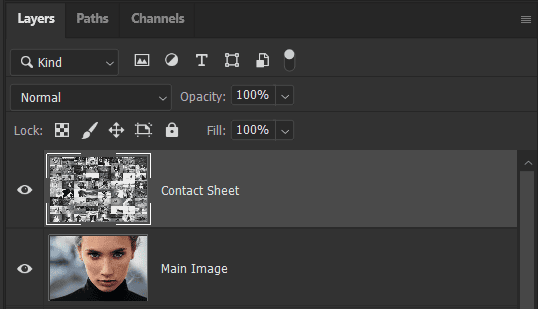
Next, drag the contact sheet tab onto the main image tab and drop it. This will place the contact sheet as a new layer on top of the main image layer.
Method 2: Add the Contact Sheet as a Pattern
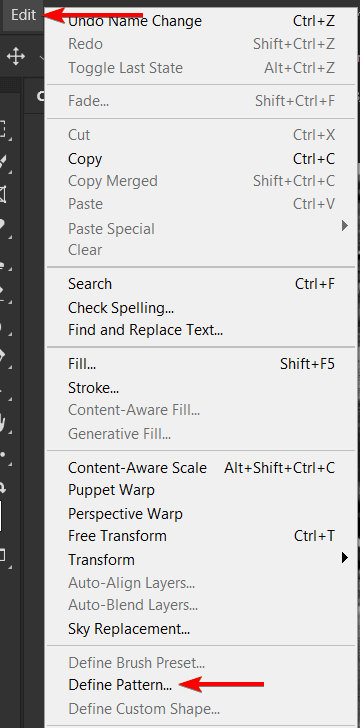
The second method creates a pattern using the contact sheet. To do this, select the contact sheet and go to Edit > Define Pattern.
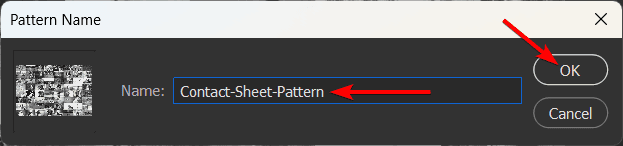
Add a name for the pattern and click OK.
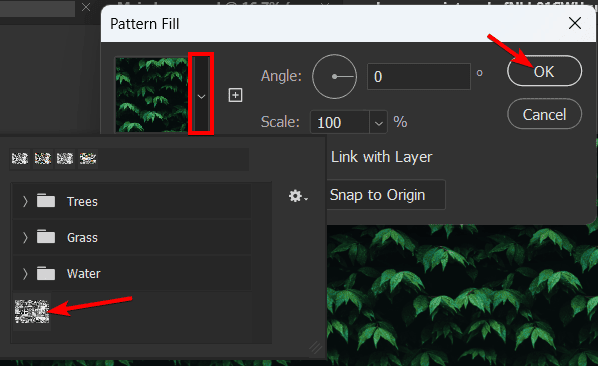
Then, open your main image in Photoshop, click on the Create a new fill or Adjustment layer icon in the layers panel, and select Pattern.
Select your contact sheet under the pattern options.
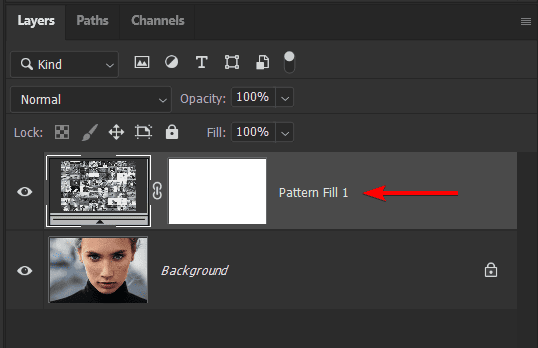
The contact sheet will be added as a pattern fill layer above your main image.
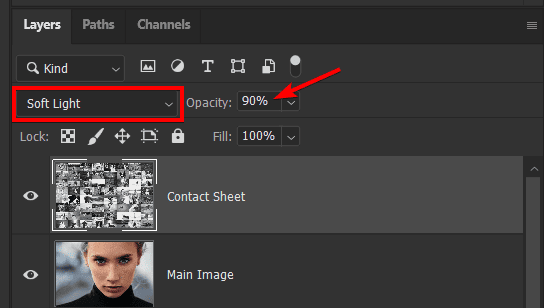
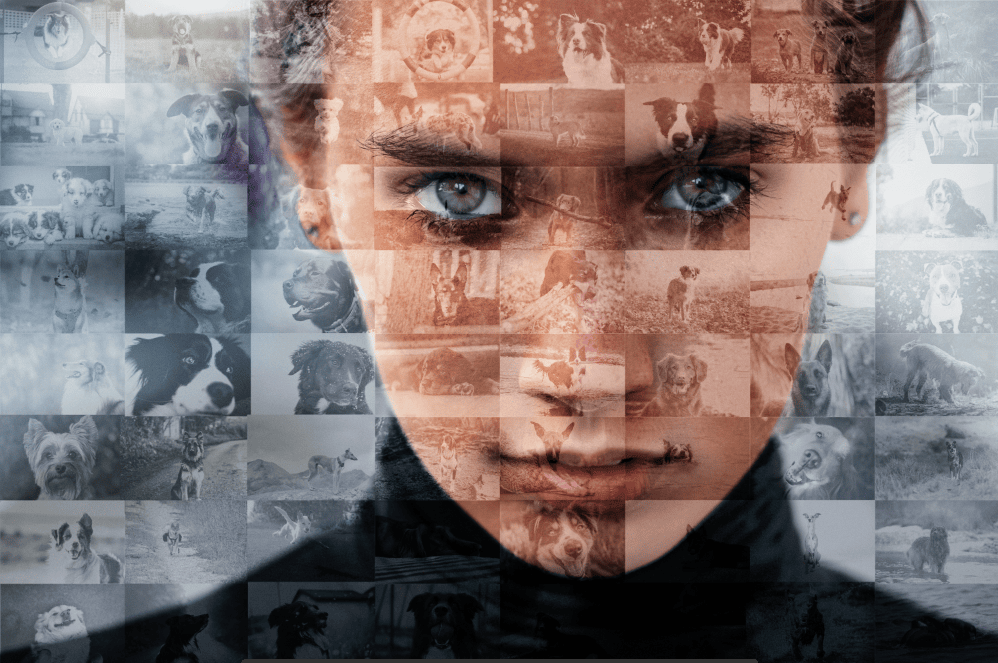
Step 5: Adjust the Blending Mode to Blend the Layers
Once the layers are in the same document, change the blending mode of the Contact Sheet layer to Overlay, Multiply, or Soft Light. This will blend the contact sheet into the main image layer and create the mosaic effect.
Then, adjust the opacity of the contact sheet layer to control the intensity of the mosaic effect. You can use the slider at the top of the layers panel to do this. The lower the opacity, the more visible the main image will be. The higher the opacity, the more visible the contact sheet will be. Find a balance that suits your preference.
Once you have blended the layers, you can add some finishing touches if needed, such as sharpening the mosaic using Filter > Sharpen > Smart Sharpen or Filter > Sharpen > Unsharp Mask. You can also add a border using Edit > Stroke or the Layer > Layer Style > Stroke.
Once you are happy with your edits, you will have created a mosaic in Photoshop.
👍 Support Us: Subscribe to our channel and help us continue providing these tutorials.
🌟 Regular Updates: We publish how-to videos for Photoshop regularly!
🔧 Expert Guidance: Learn Photoshop from our professionals and uncover exclusive tips!