To apply a filter to all the layers in GIMP, you first need to apply the filter to one layer, then use the shortcut Control/Command + F to repeat it for the remaining layers. The other way is to merge your layers before adding a filter, but you should take a few extra steps in that method.
While GIMP may need certain workarounds for some functions, here are my top 2 ways to apply a filter to all layers in GIMP. These methods are still quick and easy.
Table of Contents
Option 1: Add A Filter And Repeat The Command
The first method is to apply the filter to each layer manually. However, you don’t need to find and adjust the filter settings each time. You can use two simple shortcuts to repeat the command.
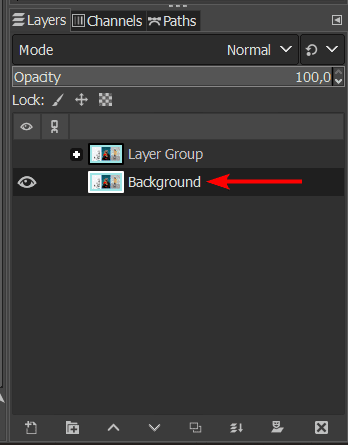
First, select a layer to add the filter to. Here, you will set the parameters of the filter, and these settings will be copied to all the layers. Click on the layer you want to add the filter to first.
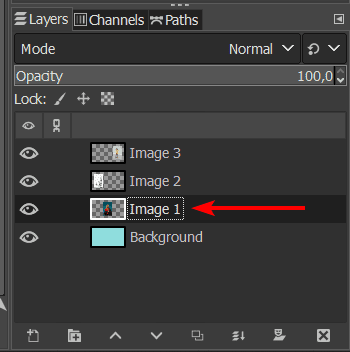
Once the layer is selected, you can add the filter by going to the Filters menu and selecting one of the filter groups.
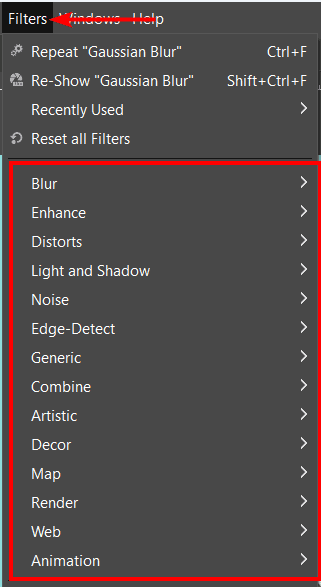
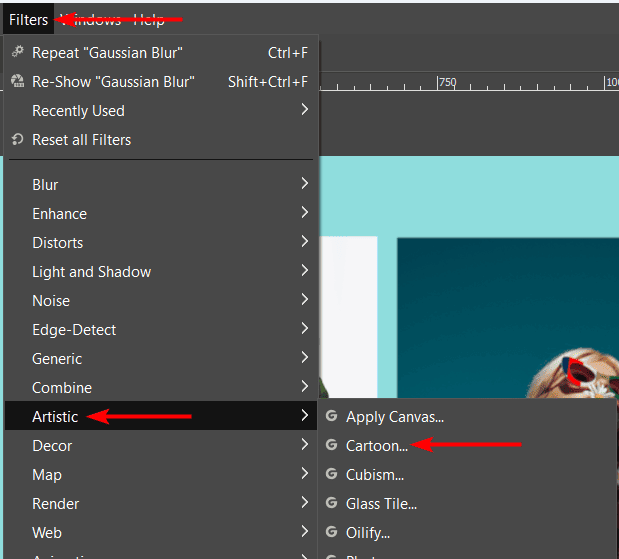
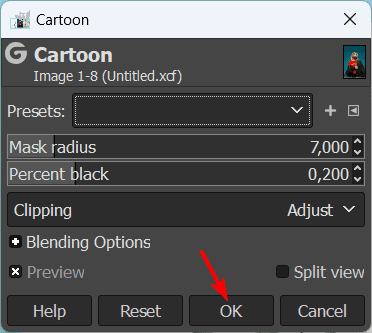
You can click on the arrow next to a filter group to look through the filters and select the one you want to use. Here, I will open the Artistic filter group and select the Cartoon filter.
Once you select a filter, a pop-up window appears, allowing you to adjust the filter's settings, the settings will be different for each filter, and you can see the effect on the canvas as you make the adjustments.
Change the settings as needed, and remember these will apply across all your layers. Click OK when you are happy with the effect.
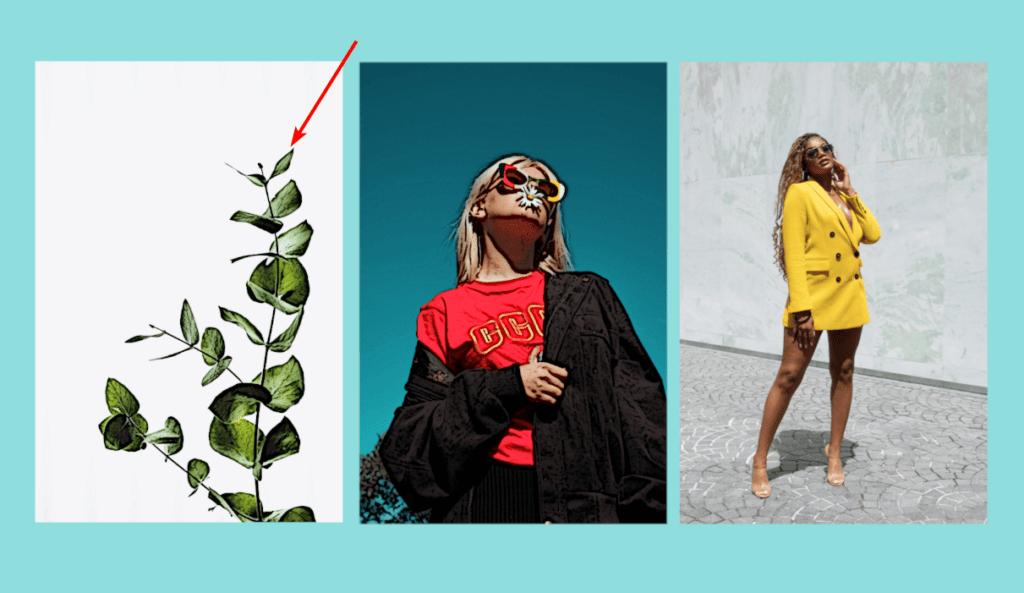
You will now see the filter applied to one of your layers, but the rest aren’t affected.

To add the filter to the remaining layers, click on the next layer or access it by clicking on your current layer and pressing the up or down arrow key.
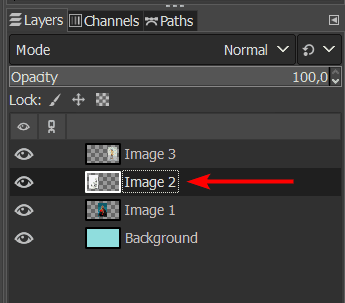
Once the new layer is selected, you can go to Filters > Repeat “Cartoon” (the filter you used will be shown here) or use the shortcut Control + F on Windows or Command + F on Mac.
Note: If you want to access the filter settings each time to adjust before applying the filter, use the shortcut Shift + Control + F on Windows or Shift + Command + F on Mac.

The layer you selected will now have the filter applied with the same settings.
You can continue using the up or down arrow to access each layer and the Control/Command + F shortcut to apply the effect until you have added it to all the layers.

Option 2: Merge All Layers Before Adding A Filter
If you don’t want to add the filter to each layer separately, you can merge the layers and then add the filter. However, you can’t go back and undo merging layers, so take a few precautions first.
When you are ready to add the filter to all the layers, you must merge the layers together. Since this can’t be undone, either wait until the end, when you are certain you won’t need to edit the layers individually again, or copy each layer and place them in a layer group in case you need to go back and edit them.
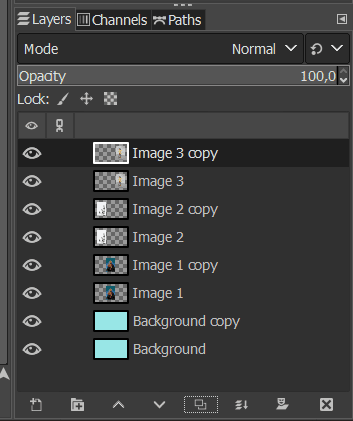
To copy a layer, select it and press the Duplicate layer icon at the bottom of the Layers Docker or use the shortcut Shift + Control + D on Windows or Shift + Command + D on Mac.
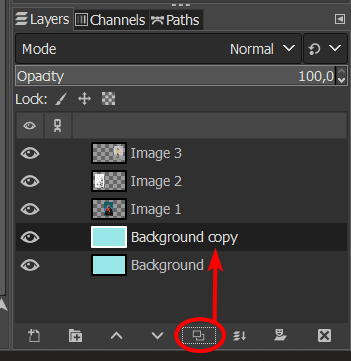
Continue duplicating each layer using the icon or the shortcut until you have a replicate of all the layers in the Layers Docker.
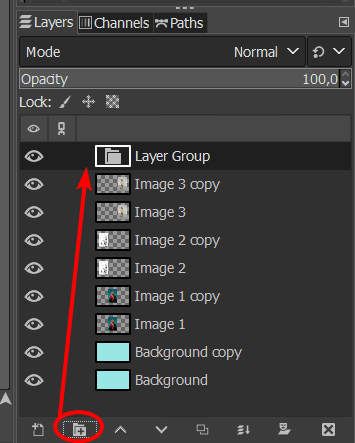
You can add the duplicates to a layer group to keep the docker organized. First, create a new group by clicking on the Create a new layer group icon.
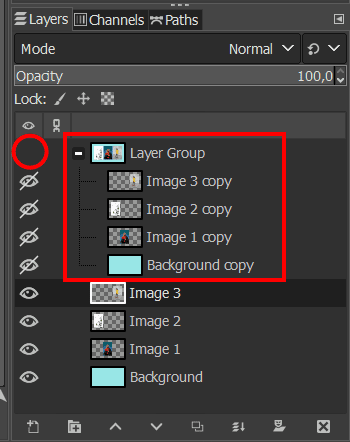
Then, drag each copied layer and drop it onto the group to move the layers into the group folder. Next, hide the group by clicking on the eye icon next to the layer. The eye will disappear, and all the contents in the group become hidden on the canvas.
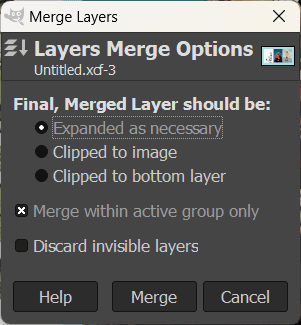
You can now close the group and work with the original layers. To start, you must merge the layers by right-clicking on any layer and selecting Merge Visible Layers from the menu.

Adjust the merge settings as needed, ensuring you leave Discard invisible layers unchecked. I recommend setting it to Expanded as necessary to avoid clipping any content.
You now have one layer to work with.
Select the merged layer, then go to Filters > Artistic > Cartoon (or choose the filter you want).
Your filter is added to all the layers, which is the merged layer.
👍 Support Us: Subscribe to our channel and help us continue providing these tutorials.
🌟 Regular Updates: We publish how-to videos for GIMP regularly!
🔧 Expert Guidance: Learn GIMP from our professionals and uncover exclusive tips!