There are two methods to crop an image in GIMP. You can either use the "Cropping Tool" or use the Selection to crop.
We'll cover both ways in this short guide.
However, if you need to crop an image online, check out our free online image cropper. It requires no registration and can handle various shapes.
Total Time: 2 minutes
Table of Contents
Crop Images in GIMP Using the Cropping Tool
GIMP gives you multiple options to crop an image. For the sake of simplicity, let's take a look at some of the easiest ways through which you can achieve a cropped image in GIMP.
Using the "Cropping Tool" is by far the simplest approach. All you have to do is click on the Cropping Tool and drag it across the image you want to manipulate.
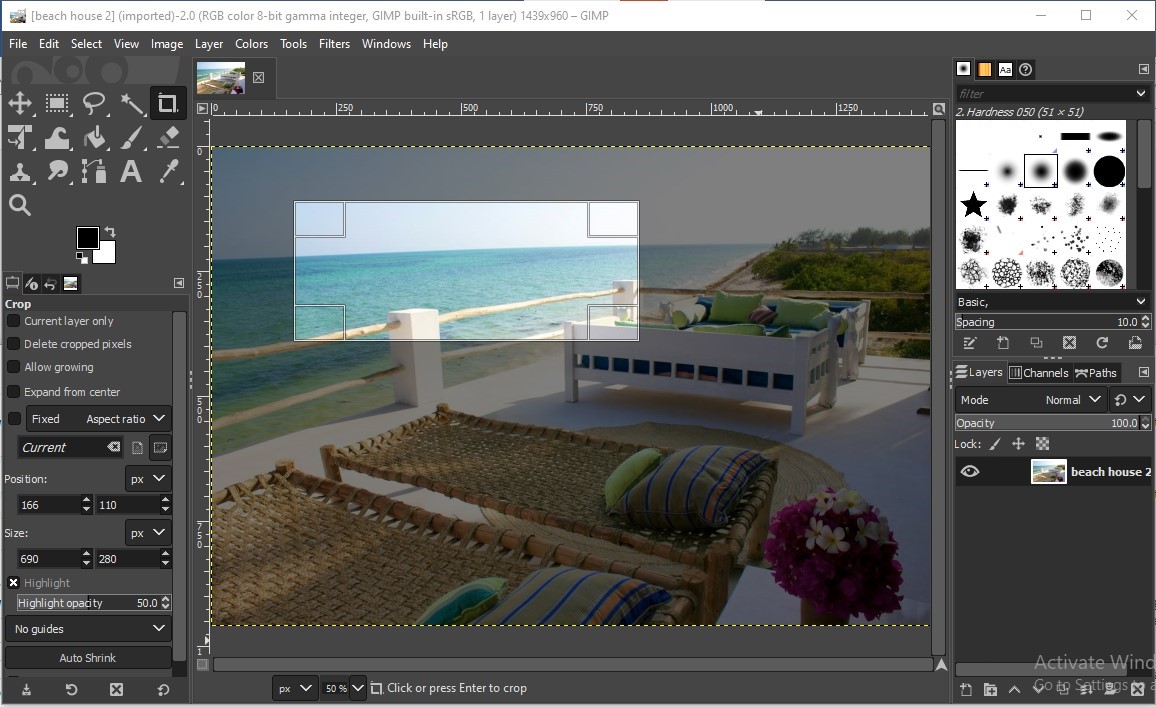
You can find the cropping tool at the top left corner of your image as shown below:
Once you click on the cropping tool, it's loaded onto your cursor. All you have to do now is click the left mouse button on any part of the image you want to manipulate and drag the resulting crop area as you desire.
You can then manipulate the edges of this area to fit exactly to the size you want to crop.
Once done, simply click Enter, and your image will be cropped to size.
Save Your Image
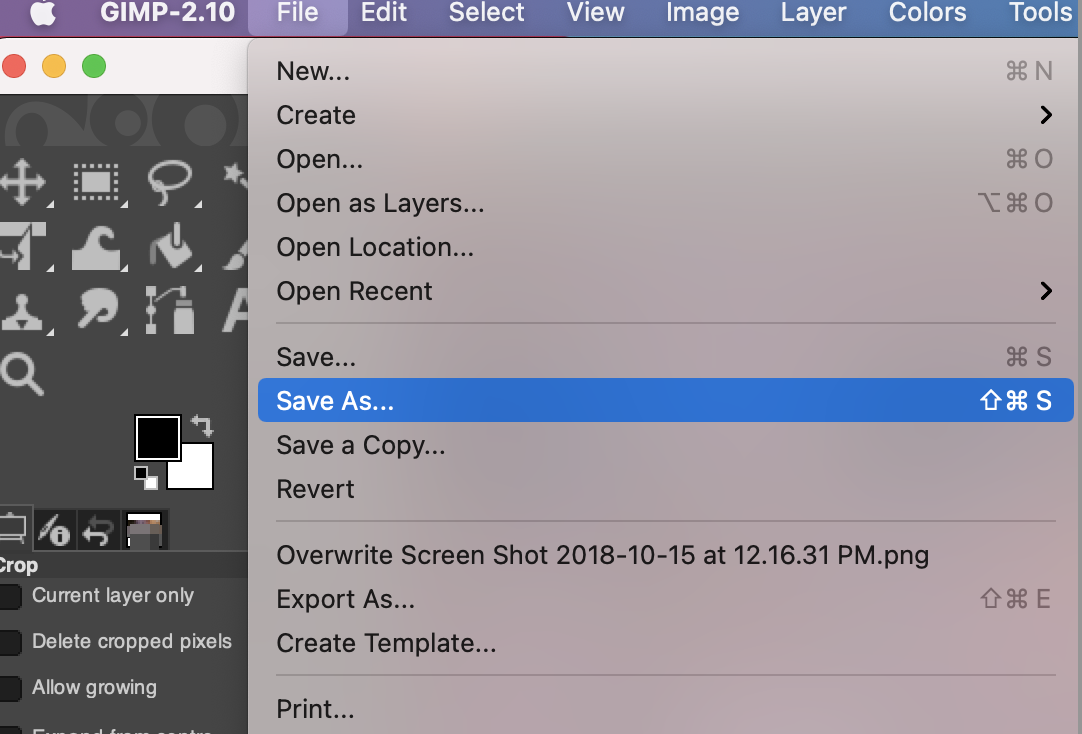
Once you click Enter, your image will be cropped to the desired size. The next step involves saving the image. To do that, you need to go back to the GIMP tool, click on the File button again, and then go to Save As and save the image where you want it to be on your hard drive.
Crop Images in GIMP Using the Selection Tool
Another simple way through which you can crop images in GIMP is by using the selection tool.
Begin by doing all the basic stuff, such as loading GIMP and choosing the image you want to manipulate. From there, here are the steps you need to follow to crop an image in GIMP using the Selection Tool.
Choose the Selection Tool
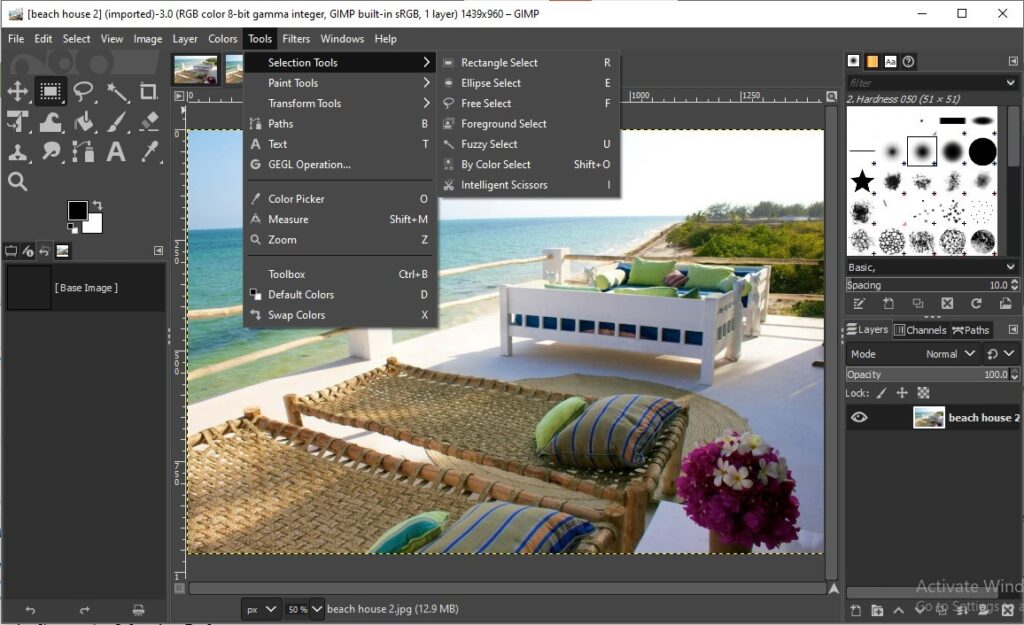
There is a toolbar at the top of your GIMP tool, and one of the options there is Tools. Once you click on that, it gives you a drop-down menu with Selection Tools as one of the options (the first option on GIMP 2.10).
Hover your cursor over that option. You will get another drop-down menu that gives you an assortment of tools such as Rectangular Select and Ellipse Select, among many others.
Choose the Tool You Would Like to Use
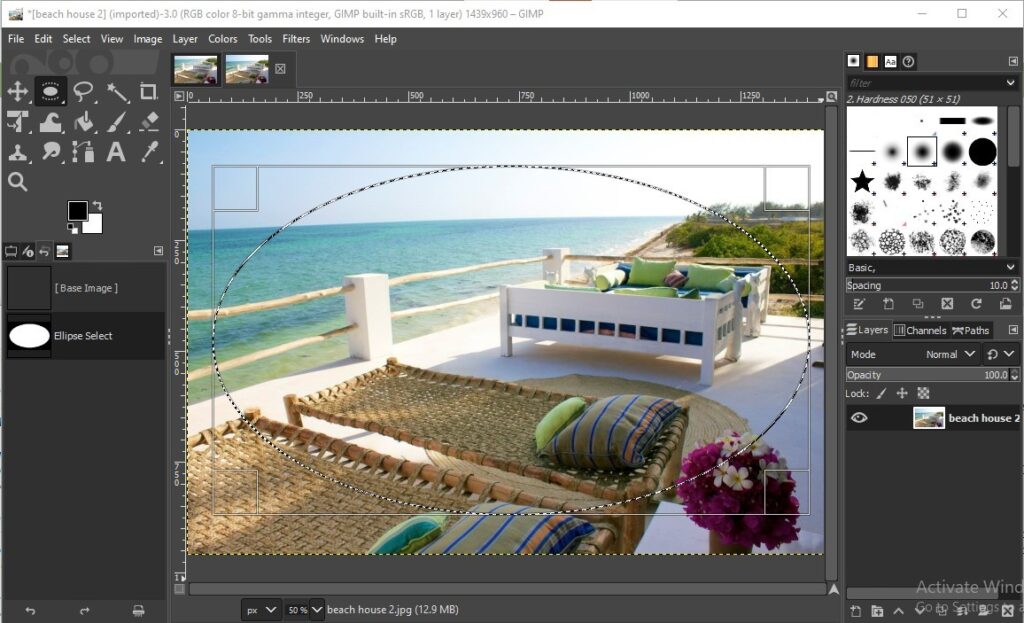
Depending on how you want the image manipulated or cropped, simply choose the tool you want to use. Let's try the Ellipse Select option as an example.
Drag and Crop
Just as before, simply drag the tool across the image to include parts of the images you want to be cropped in.
Crop and Save
Unlike before, when using Selection Tools, you can't just click Enter to get the desired result. In this case, you have to go back to the top toolbar on your GIMP tool and select the option that says Image.
In the drop-down menu that appears, you will see an option that says Crop to Selection. That's what you need to choose.
From then on, the process of saving the image is very much the same as before. There you have it, a couple of easy ways to learn how to crop an image on GIMP.
👍 Support Us: Subscribe to our channel and help us continue providing these tutorials.
🌟 Regular Updates: We publish how-to videos for GIMP regularly!
🔧 Expert Guidance: Learn GIMP from our professionals and uncover exclusive tips!