You can make GIMP brushes by changing an image or a drawing to grayscale mode and saving the document in the GIMP brush format in the correct location. This is a great technique to learn if you can't find the right brush in the program or if you want to create a custom stamp or brush for your project.
Whether you want to use an image or a custom drawing, here are two easy ways to make a brush in GIMP.
Table of Contents
Method 1: Using An Image to Make a Brush in GIMP
This method creates a brush using an image or a section of an image that you choose. You can use any image, and you will end up with a stamp-like brush that you can stamp onto the canvas.
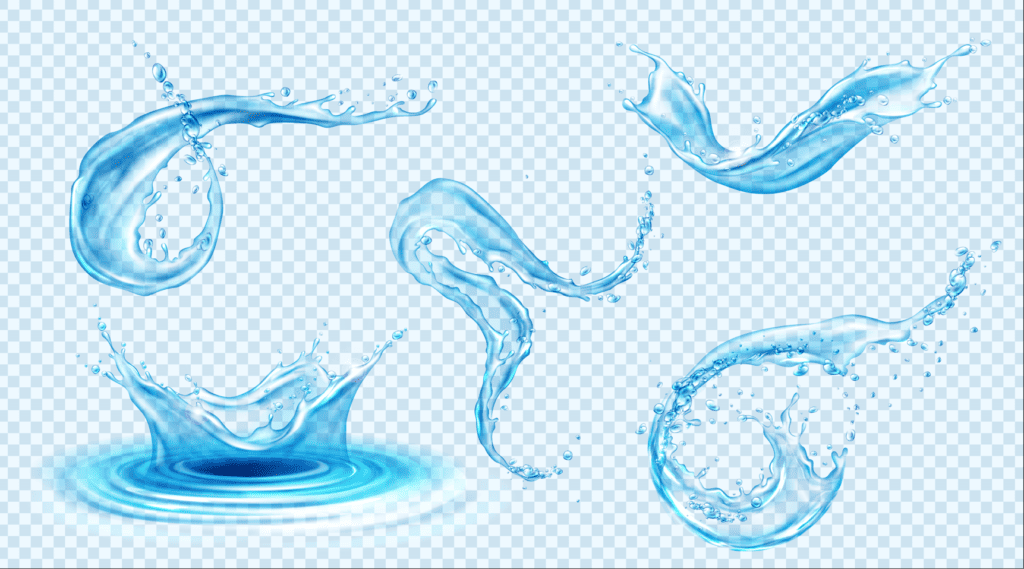
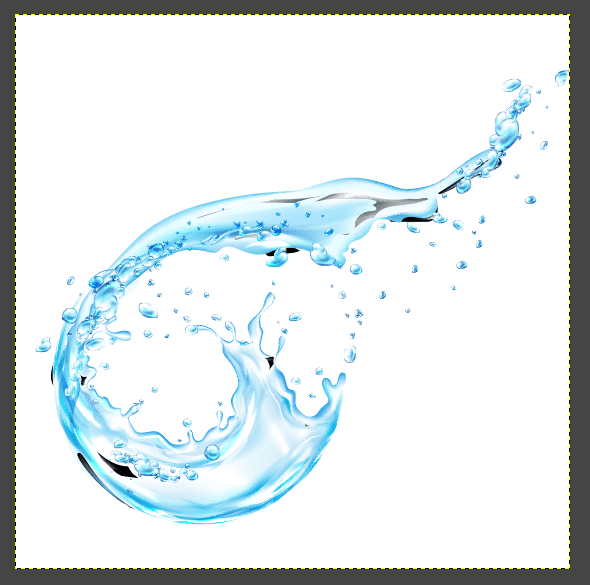
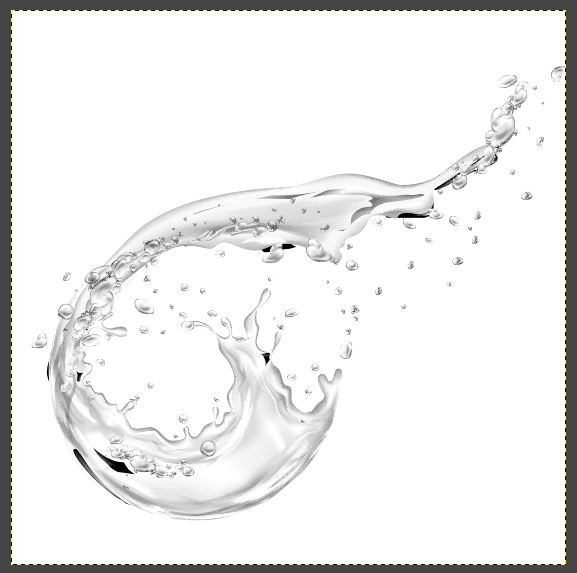
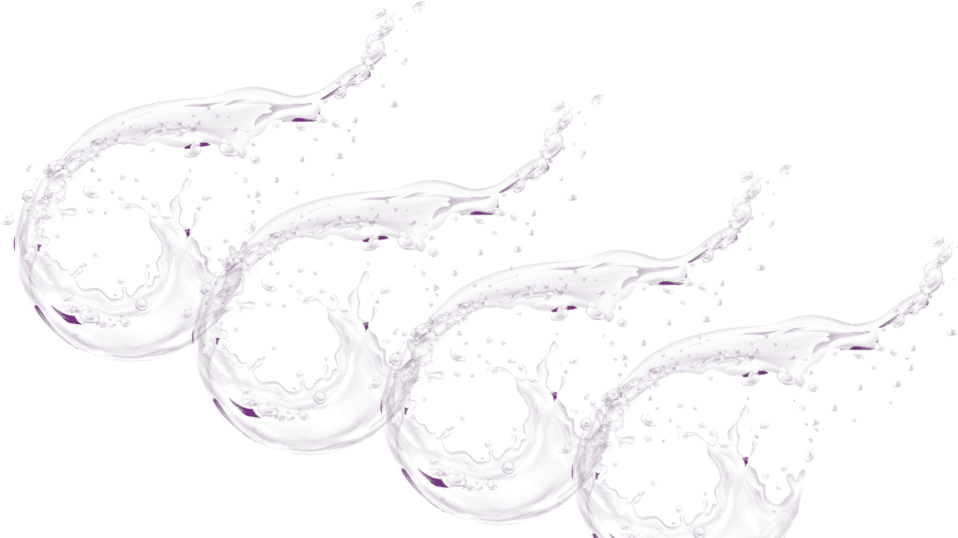
While you can use any image to make a brush in GIMP, it’s easier to use an image with a white or transparent background. To demonstrate, I will use one of these water splashes from this Image by upklyak on Freepik.
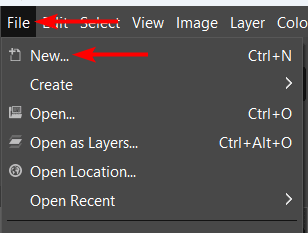
To create the brush, create a new document in GIMP by going to File > New or pressing Control + N on Windows or Command + N on Mac.
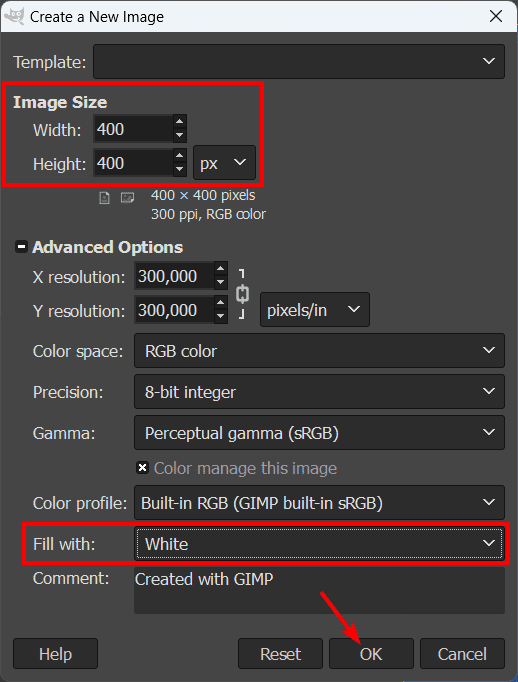
In the Create a new image window, set the document size to a square at a small size. I set it at 400px by 400px. Then, set the Fill with to White. Click OK to create the document.
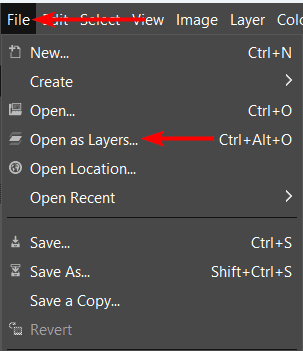
Then, open your image in the document by going to File > Open As Layers or use the shortcut Control + Alt + O on Windows or Command + Option + O on Mac. Locate the image in your files and click to open it.
Once your image is open as a layer, resize it to fit on the square canvas using the Scale Tool (Shift + S).
Next, you need to turn the image to the grayscale color mode. You need to do this step even if you are working with a black-and-white image, or your brush won’t take on the foreground color when you use it.
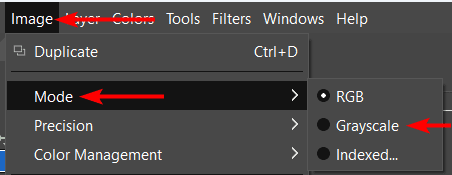
To change the color mode, go to Image > Mode > Grayscale.
Your image will now turn grayscale on the canvas. If you have this image on a white background like I do, then you are ready to create the brush.
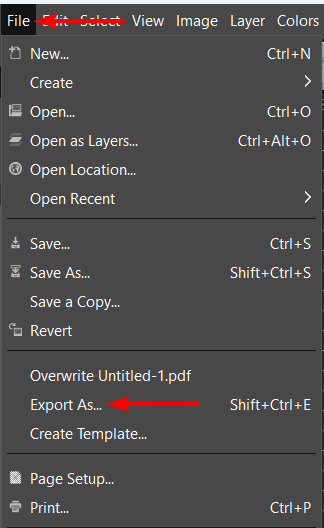
You can now save your image in a brush format to ensure that GIMP reads it as a brush. Take note of where to save the brush to ensure it shows up in your Brush docker. To save the brush, go to File > Export As or use the shortcut Shift + Control + E on Windows or Shift + Command + E on Mac.
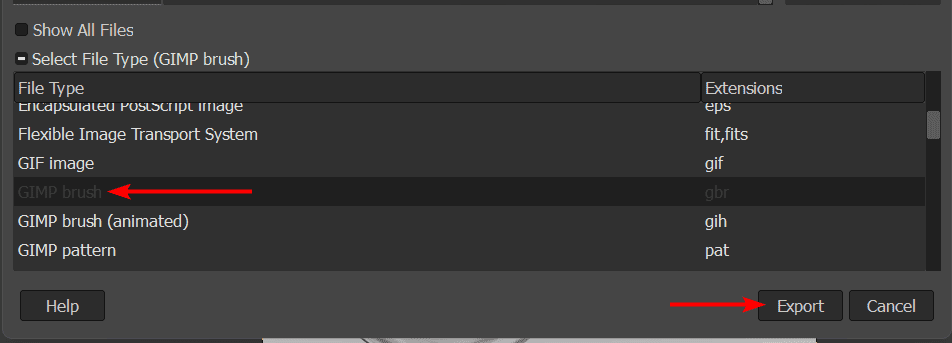
In the export window, open the Select File Type menu at the bottom and select GIMP Brush (gbr). You can set the save location here or save it anywhere on your device. In my case, I couldn’t find the correct save location this way, so I will show you how to move it in the next step.
Click Export to save the file.
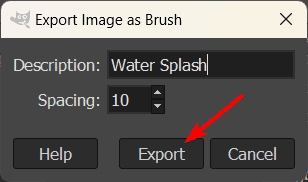
In the Export Image as Brush window that appears, type in a name for your brush and set the brush spacing. The Spacing determines how much space is left before the brush pattern repeats itself. Then, click Export again.
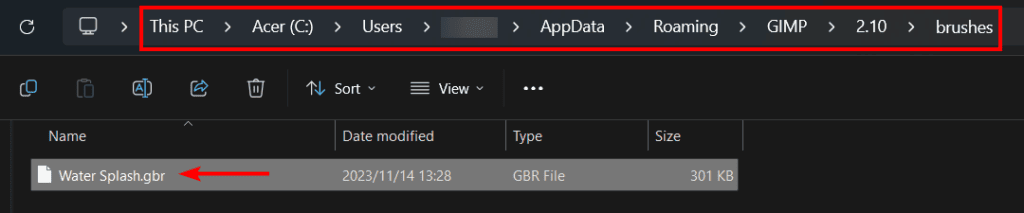
Now, since it’s not always possible to locate the folder in the Export window, locate the saved brush on your device, then copy/cut it and save it in the GIMP brush folder. Follow the menu path based on your device below to find the folder.
- Windows: C:\Users > [Your Name] > AppData > Roaming > GIMP > 2.10 > brushes
- macOS: Users > [Your Name] > Library > Application Support > GIMP > 2.10 > Brushes
- Linux: Home > [Your Name] > .gimp-2.10 > Brushes
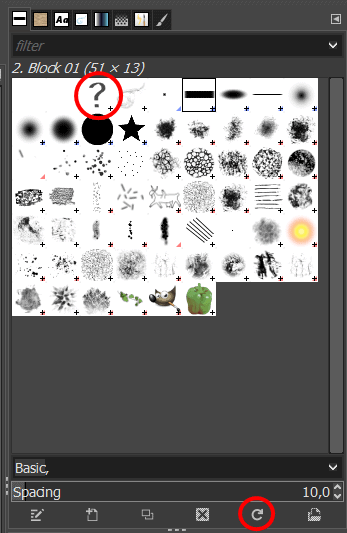
Once the brush file is in the folder, you can now access it in GIMP. You don’t need to restart the program, so open the program again and locate the brush docker. Then, click the Refresh icon at the bottom of the Brush docker.
Note: If you can’t see the brush docker, go to Windows > Dockable Dialogs > Brushes or use the shortcut Shift + Control + B on Windows or Shift + Command + B on Mac.
Once you refresh the docker, you will find your brush in the options.
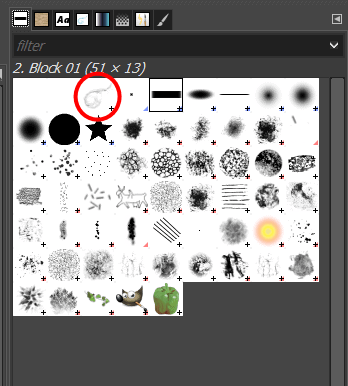
You can now select the Brush Tool, your brush, and then click once to stamp it on the page or click and drag to use it as a brush.
Note: You can adjust the brush settings and spacing in the Tool Options docker.
Method 2: Using a Custom Drawing to Make a Brush in GIMP
When creating a custom drawing to create a brush, the process is similar to the above method, with a few differences. I will summarize the repeated points, so check the first section if you are unsure how to complete a point.
First, create a new square document at 400px x 400px with a white background.
Once you have your document, zoom in and use brushes, pencils, or any other tools to create the custom brush you want.

Then, go to Image > Mode > Grayscale to turn the document to grayscale.

Follow the export instructions in the above step, and move the saved brush to the GIMP brushes folder. You can add as many brushes as you’d like here.
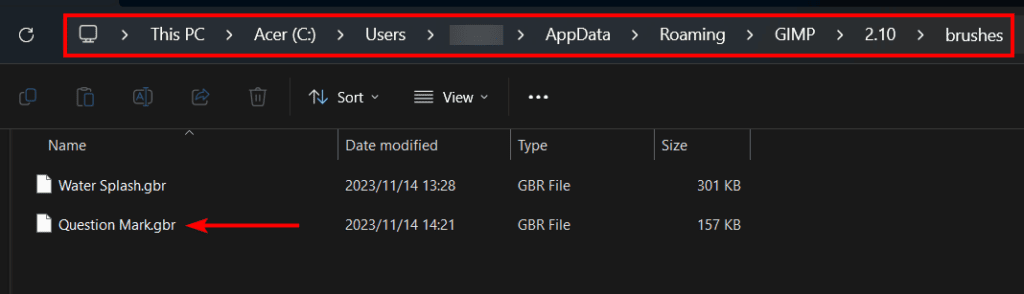
You can now refresh your brush panel, and you will see your custom-drawn brush in the panel.
You can now adjust the brush settings and use your new brush as a stamp or paint as a brush to use in your projects.

👍 Support Us: Subscribe to our channel and help us continue providing these tutorials.
🌟 Regular Updates: We publish how-to videos for GIMP regularly!
🔧 Expert Guidance: Learn GIMP from our professionals and uncover exclusive tips!