Converting your text to an editable shape in Photoshop will allow you to easily customize your text, combine it with other shapes, or even use it as an image mask.
This is also a great idea if you are planning to hand off a design file to a print shop of another designer so that they don't need to have the original fonts.
Fortunately, it's super easy to do!
Table of Contents
How to convert text to a shape in Photoshop
- Open your Photoshop project file
- Type your text in the desired font
- Select the text you want converted
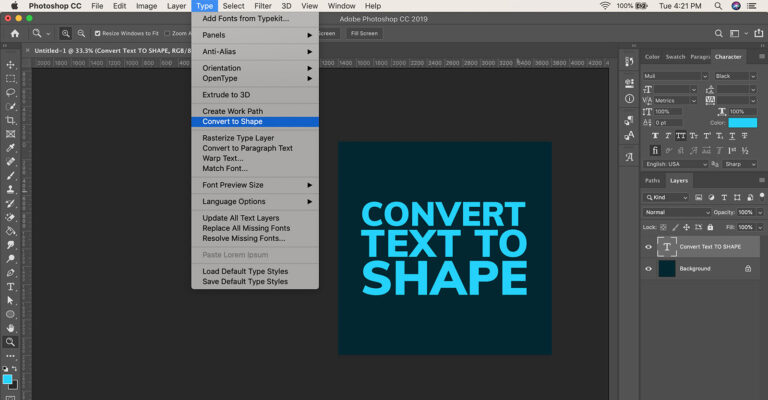
- From the top menu, click Type > Convert to Shape
Why do we need to convert text to shapes?
One of the most common reasons why we convert text into a shape is for logo and branding purposes.
Once you finalize the lettering, spacing, font, and word choice, you can convert the text into a shape to then insert the shape into any number of projects without needing to redo those customizations.
Converting text into a shape also allows us to edit the text in new ways.
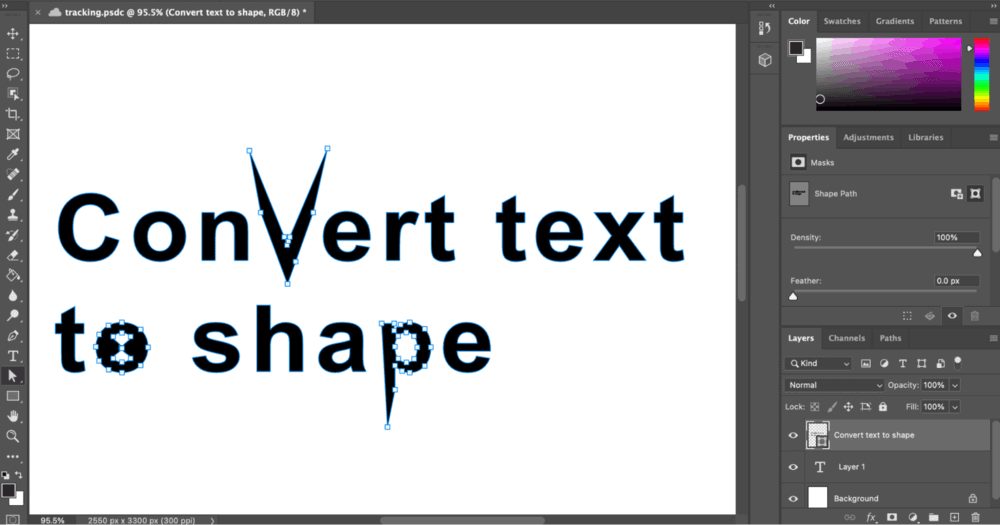
As shown in this screenshot, when text is converted into a shape you can make individual adjustments to the letters.
This allows you to make changes without having to use the Brush Tool to draw them out.
How to convert text to shapes:
Unfortunately, there are no key shortcuts to converting text to shapes.
Luckily, it is a very simple process that can be done quickly.
- Select the text you wish to convert by either selecting from the Layer Panel or using the Type Tool (T)
- In the top menu click Type, then Convert to Shape
- From there, you can make individual adjustments to the new shape by clicking the Direct Selection Tool (Shift + A) and moving the shape as you please.
How to save as a custom shape preset:
If you are creating text that you plan to use frequently, or even just more than once, it may be useful to save the custom shape as a preset.
Here is how you can save your shape as a custom preset:
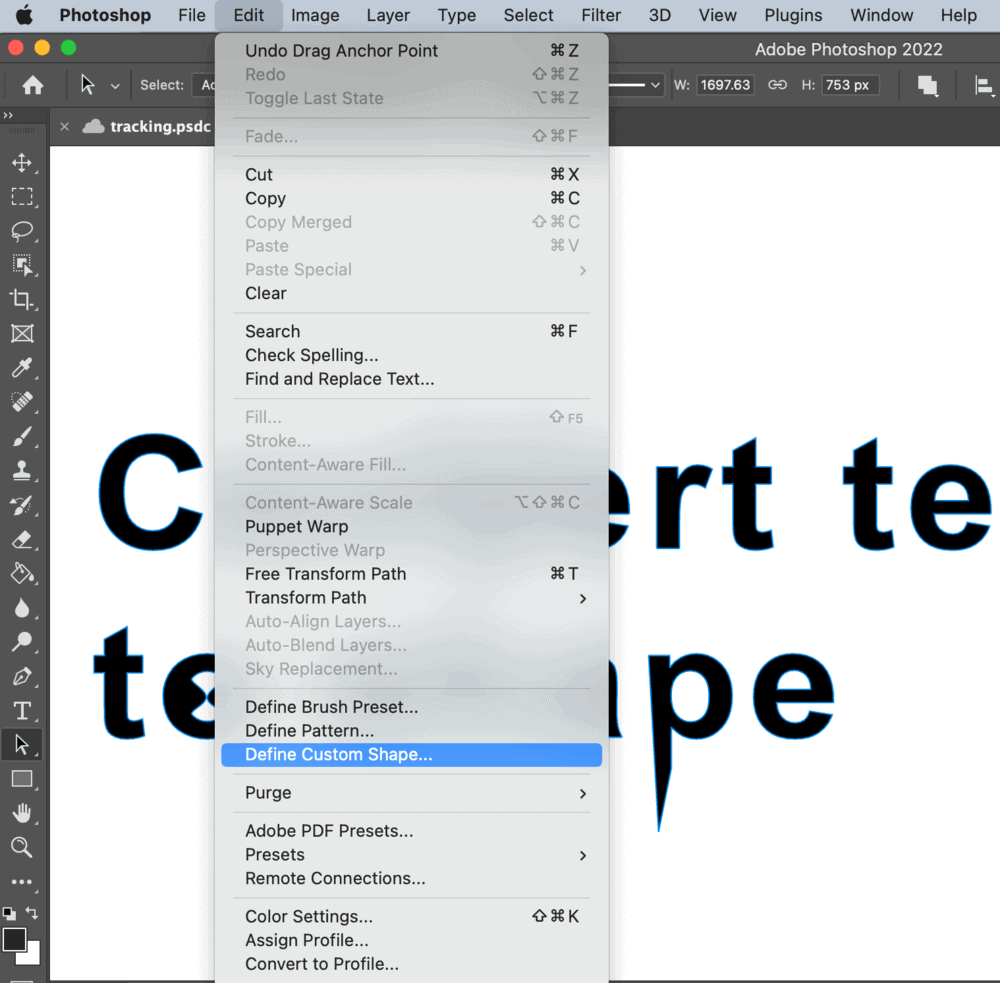
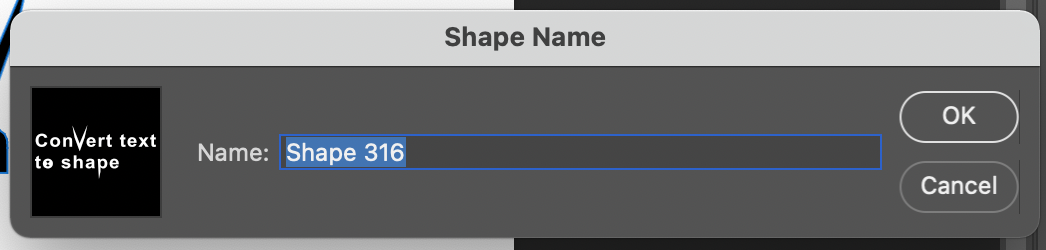
- Once you’ve finalized your shape, select the shape by clicking the shape layer
- In the top menu, click Edit then click Define Custom Shape as shown above
- Name your shape preset and click OK
Pro-tip: If you are planning on saving a large number of preset custom shapes, be sure to name them properly so you are able to keep track of what you saved.
How to use the custom shape tool:
Once you’ve finished saving your shape as a preset, you now need to learn how to use it.
Custom Shapes are saved within the Photoshop application.
As such you will be able to use your custom shape on any new project, even if you didn’t save the original project where you made the shape.
To find your saved shape, you need to select the Custom Shape Tool (U).
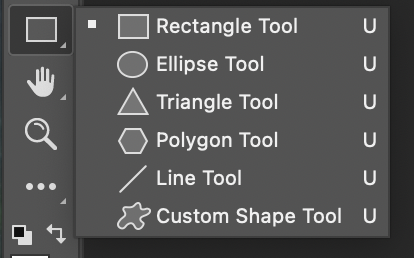
After you select the Custom Shape Tool, you will see a Shape Box appear in the top panel.
From here you can select your Custom Shape:
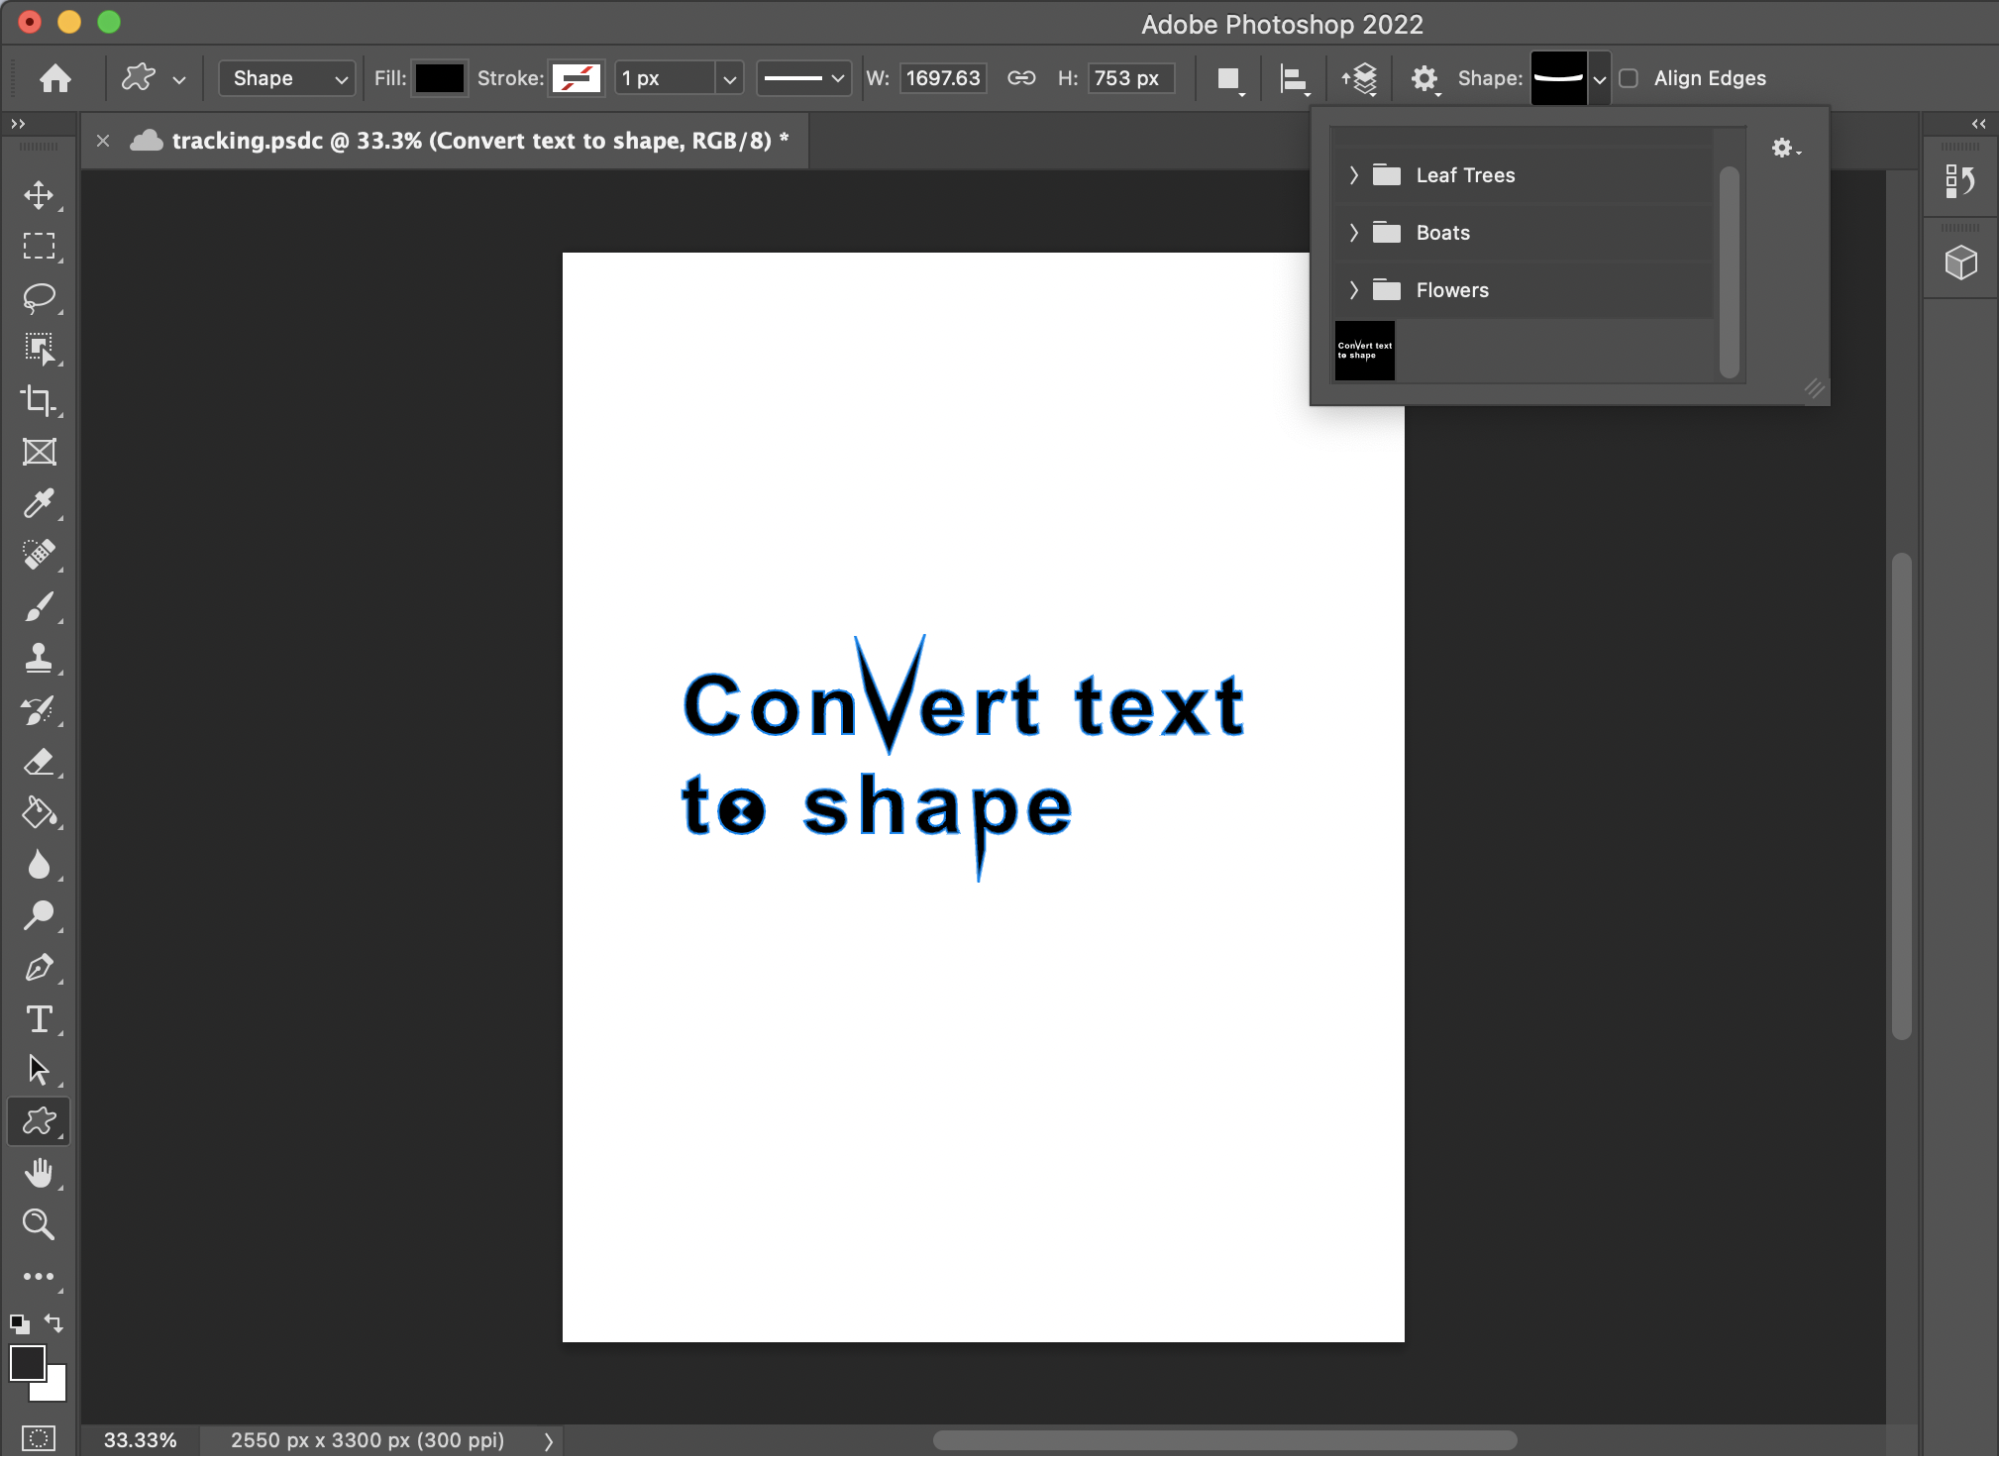
You will find in addition to any saved custom shapes, there are also preset shapes from Adobe already included.
Feel free to take time and explore the shape options made available to you.
After a while, you may find your custom shapes slots are filling up. Once you finish using a shape we recommend deleting its saved preset.
Here is how to delete a saved preset shape:
- Select the Custom Shape Tool (U)
- In the shape selecting box, Right Click the shape you wish to remove
- From the pop-up box, select Delete Shape
Custom shape preset color adjustment
You will find when creating a shape from a saved preset, the color will typically be auto-filled black or whatever color you have selected at the time.
Luckily, it is very easy to adjust the color of a preset shape:
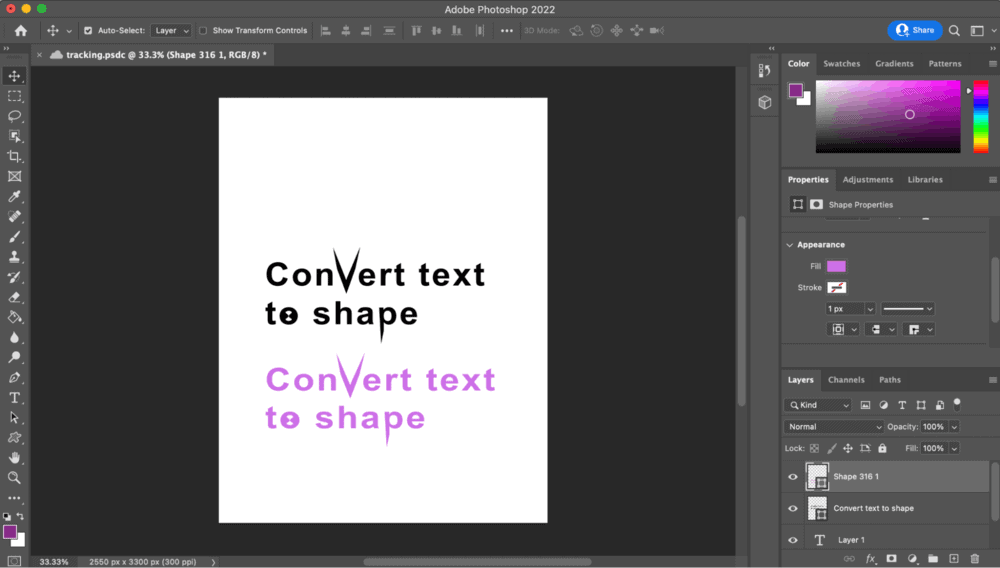
How to adjust the color of a preset shape:
- Select the shape layer you wish to adjust
- In the Properties Panel, under Appearance, you will see a Fill and Stroke option
- Fill will change the color of the space within the shape
- Stroke will change the color of the borderlines of the shape
Custom shape prest size adjustment:
Now that you have your saved preset shape, in the color you desire, it’s time to resize and move as you please.
Moving a preset shape is the same as moving any other shape in Photoshop.
- Click the shape you wish to adjust from the layer panel
- Select Free Transform (Command + T)
- From there, move the shape using the White Border Boxes until you find the most desirable position/size
👍 Support Us: Subscribe to our channel and help us continue providing these tutorials.
🌟 Regular Updates: We publish how-to videos for Photoshop regularly!
🔧 Expert Guidance: Learn Photoshop from our professionals and uncover exclusive tips!