To efficiently crop a circle in Photoshop, the Elliptical Marquee tool is your go-to option.
In this article, we'll guide you through the simple steps to accomplish this task.
Additionally, for those seeking a straightforward solution without additional editing needs, our online circle cropper tool offers a quick and hassle-free alternative.
In Photoshop, follow these steps, which are further described below:
- Change the image settings
- Select the Elliptical Marquee tool
- Shift and drag
- Select the area outside of the circle
- Crop image
- Save your image.
Total Time: 14 minutes
Table of Contents
Change Image Setting from Background
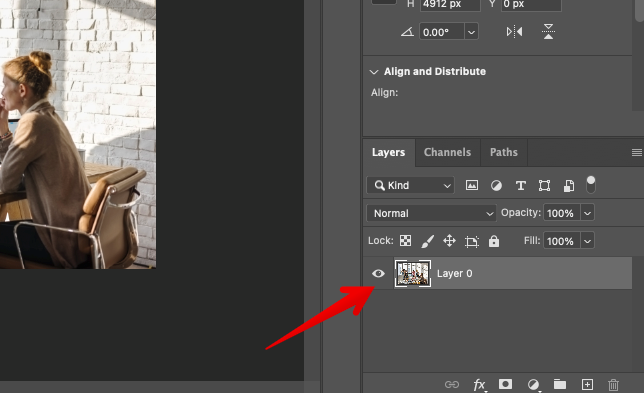
The first thing you want to do is ensure that your image isn't sitting on the "Background Layer."
Like so:
You will need to convert that image setting from "Background" to "Normal." The biggest issue here is that to crop a circle in Photoshop, you will need to surround the image you are working on with transparency, and Photoshop doesn't allow you to do that with background layers.
Converting the image from a background layer to a normal layer depends on the Photoshop version you are using. Since we are using Photoshop CC, all you have to do is click on the "Lock Icon" next to the image settings on the right of your program window.
As soon as you do that, you will notice that your image designation has changed from "Background" to "Layer 0," which means it's been converted into a normal layer.
Select the Elliptical Marquee Tool
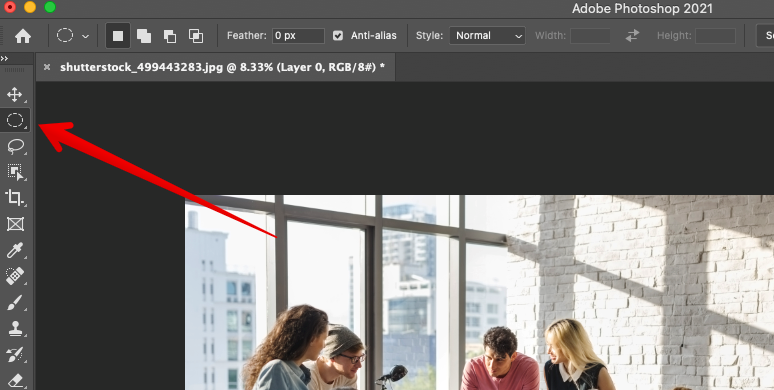
The next step is to select the "Elliptical Marquee tool," which can be found on the left-hand side of your program window. The thing is, though, the "Elliptical Marquee tool" is nestled behind the "Rectangular Marquee Tool."
To get to the right marquee tool, you need to right-click on the "Rectangular Marquee Tool" if you are using a Windows PC, but if you are using a Mac, you need to press and hold the CTRL key and click. You will see a menu that has the "Elliptical Marquee Tool" option among the choices. Simply choose that by clicking on it.
SHIFT and Drag
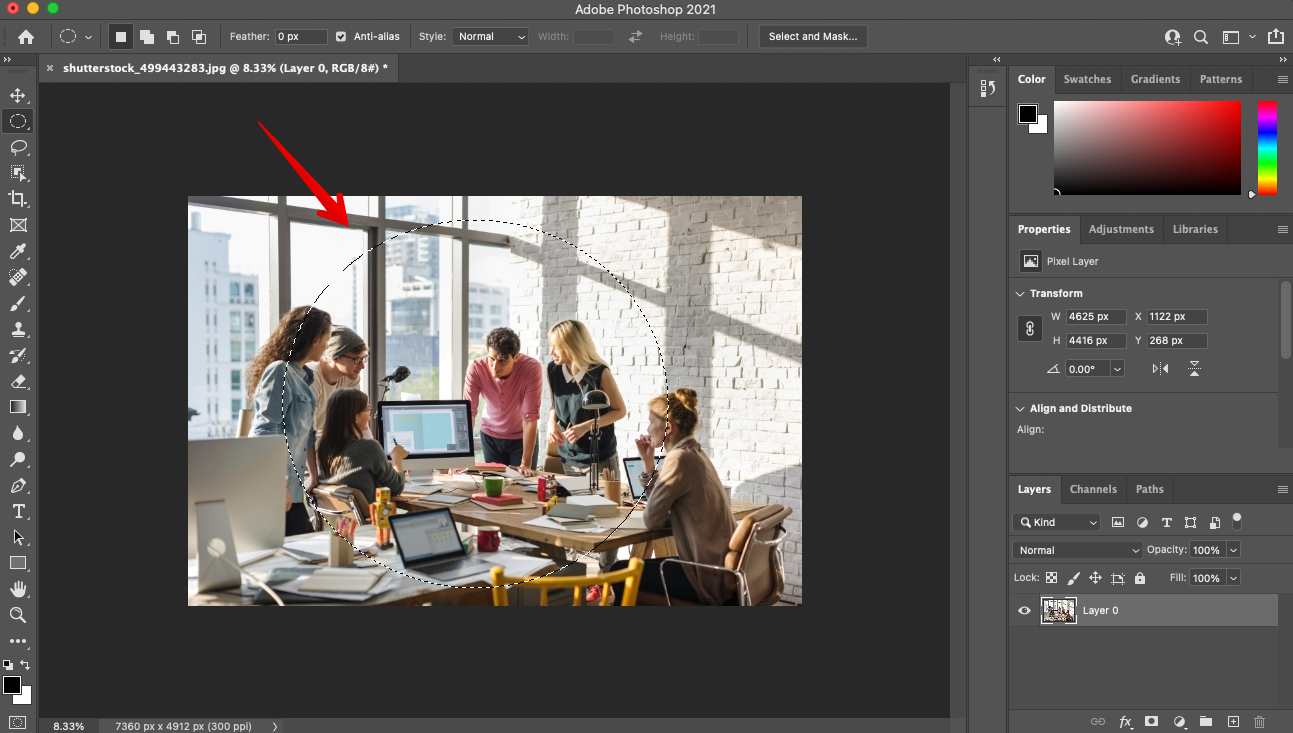
To draw a circular outline on the image you loaded on Photoshop, you need to press and hold the SHIFT key, then simply click and drag the Elliptical Marquee Tool over the portion of the image you want to crop into a circle.
You have to remember to keep the SHIFT key held down as you create the circle to your satisfaction. This ensures that you get a perfect circle.
Once you have created a big enough circle, simply let go of the SHIFT key. From then on, you can click inside the created circle to drag it over the image and put it in the desired location.
Everything inside that circle is what you will keep after you crop the image, so make sure that it's exactly where you want it to be.
Select the Area Outside of the Circle
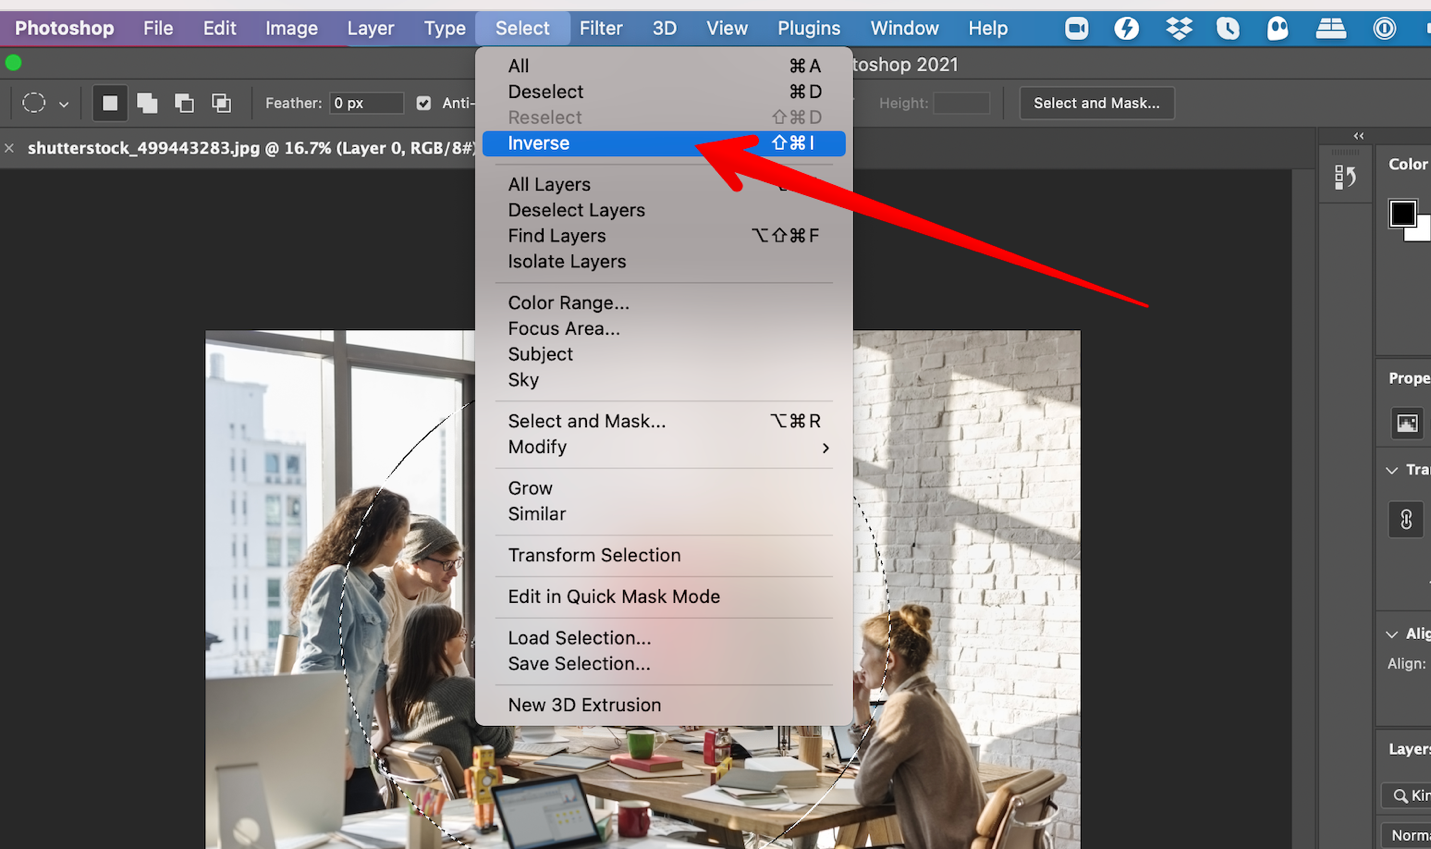
By placing the circle over the area you want to keep, you are essentially "Selecting" that area.
However, to crop out everything else around that circle, you need to "Deselect" what's inside the circle and "Select" everything else outside it.
To do this, simply go back to the top toolbar in your program window and click on "Select." A drop-down menu will appear; choose "Inverse."
That essentially selects everything else outside of the circle. Once that is done, simply click the backspace key on Windows PC and Delete it on Mac. That will eliminate everything outside the circle, leaving you with a checkerboard and white background and the circular image within it.
Remove the Selected Outline and Crop
Next, you need to remove the selected outline (the checkerboard area). To do this, simply go back to the "Select" menu at the top of the window and click "Deselect" on the drop-down menu that shows up.
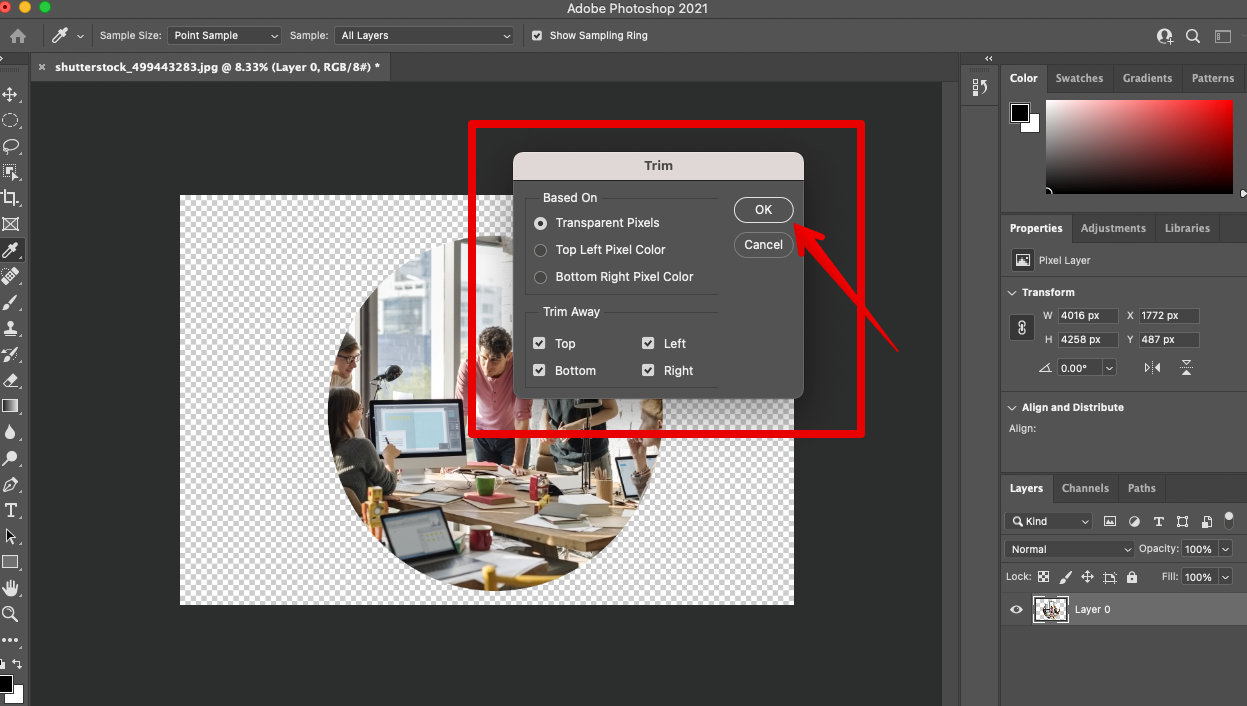
To crop out the transparent area, you need to click on "Image" at the top tools bar menu and select "Trim" from the drop-down menu that appears.
A "Trim" dialogue box will appear. Simply choose "Transparent Pixels" and ensure that all the necessary boxes (Top, Bottom, Left, and Right) are checked so that all these sections are trimmed away from your circle image.
Click "Okay," and the excess transparent areas will be instantly trimmed away from your circle image.
Save Image
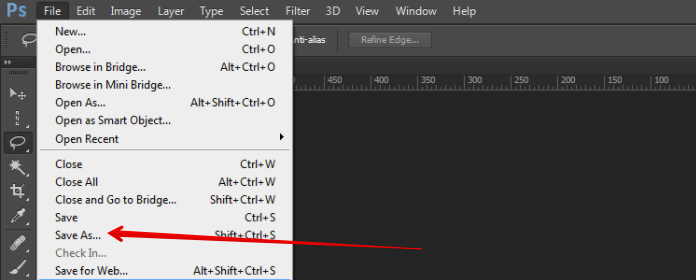
To save the image of the circular crop you want, be sure to do so in .PNG. You might be tempted to save it in .JPEG format, but that doesn't support transparency, and therefore all your work will have gone to waste.
Simply click on "File," then go to "Save As," and choose the .PNG format.
And there you have it; with the help of this Photoshop tutorial, you have just learned how to crop a circle in Photoshop.
👍 Support Us: Subscribe to our channel and help us continue providing these tutorials.
🌟 Regular Updates: We publish how-to videos for Photoshop regularly!
🔧 Expert Guidance: Learn Photoshop from our professionals and uncover exclusive tips!