Photoshop is the go-to graphic design tool anytime you need to edit photos, do a bit of digital art, or design a website from scratch. If you haven’t used it before, you’ll likely find the learning curve a little steep. This tutorial explores how to flip an image in Photoshop in a few easy steps.
Total Time: 2 minutes
Table of Contents
Select the Image You Want to Flip
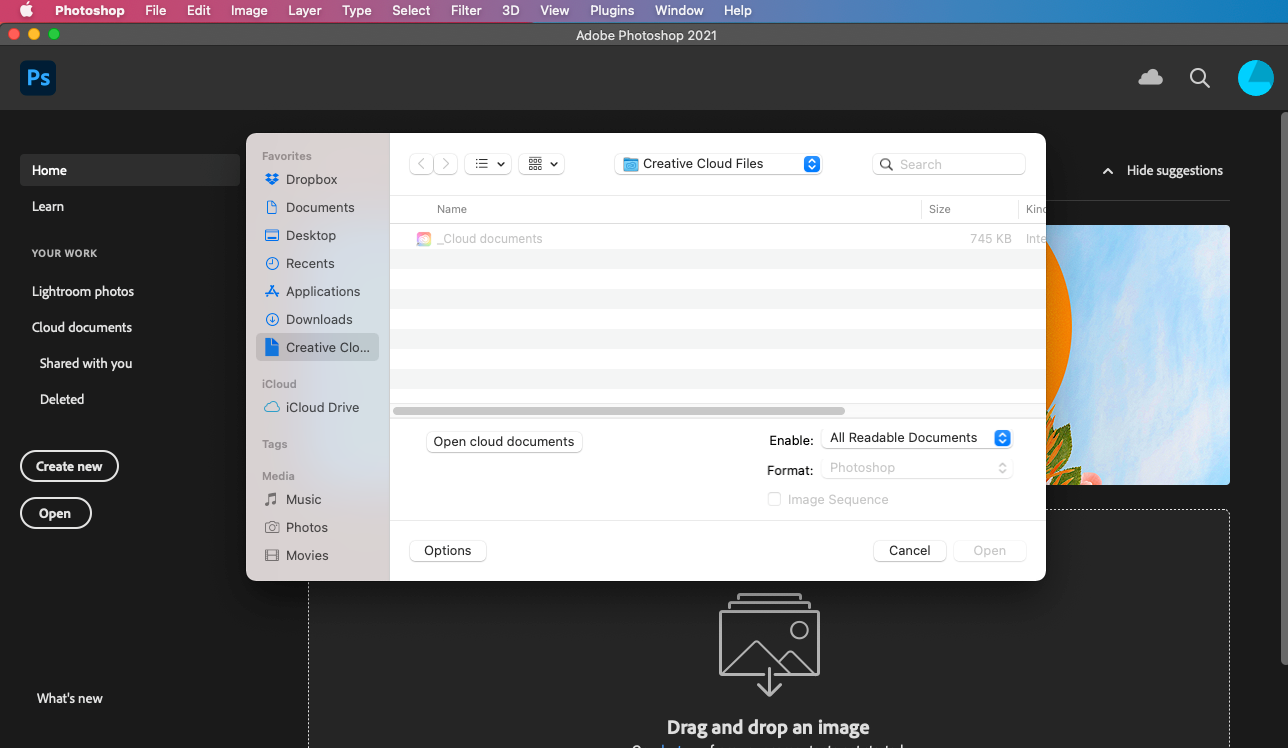
Open the Photoshop software and select “File” from the main toolbar. Then, select “Open” from the list of options displayed. Next, choose the specific image you want to flip. Once you do, you’ll then need to click on the “Open” button at the bottom of the window to import your file.
Rotate the Image
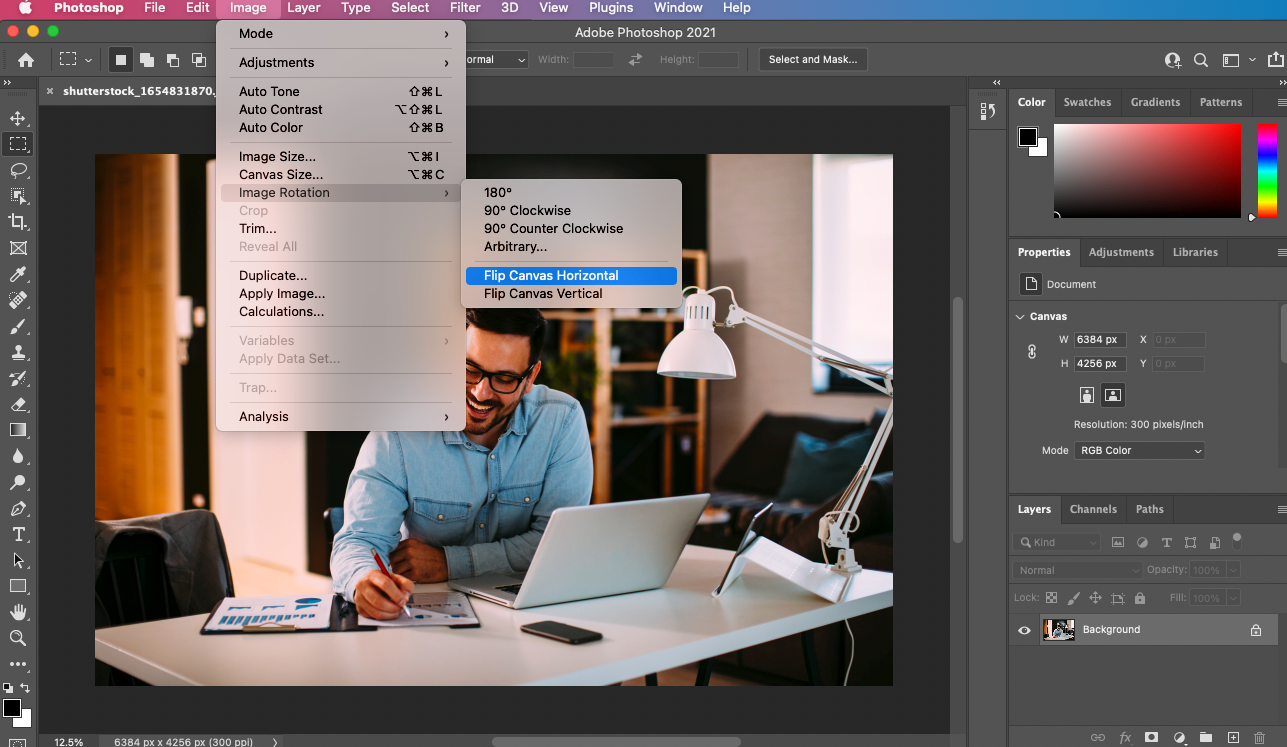
Once you’ve successfully imported your file, go to the “Image” menu on the main toolbar at the top of your screen. Next, select “Image Rotation” in the list of options provided. On the resulting sub-menu, select “Flip Canvas Vertical” or “Flip Canvas Horizontal” to flip the image.
Save the Image
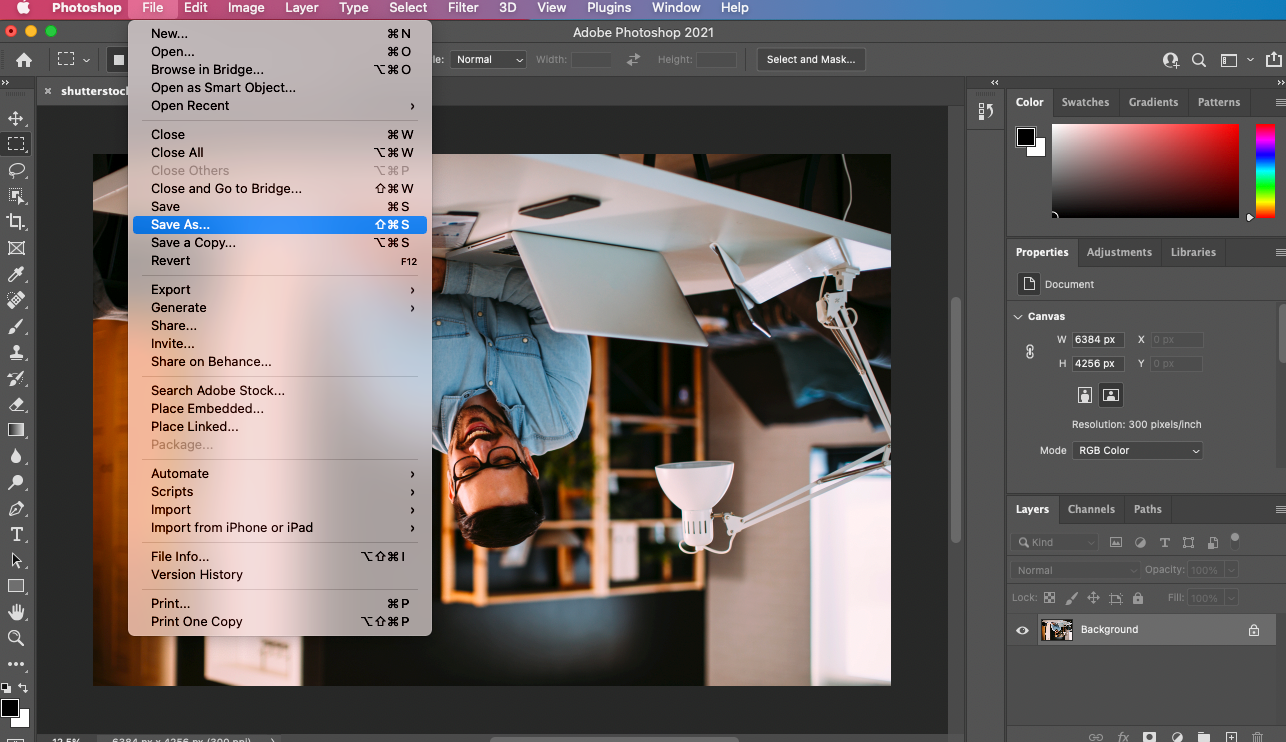
Once you have your flipped image, you’ll want to save it. To do this, go to the “File” menu on the main toolbar and select “Save As” from the list of options displayed. On the resulting window that appears, type in a different name from the one provided to save the new flipped version of the image.
Alternatively, you can use the existing name to overwrite the non-flipped image if you no longer need it.
There you have it – How to flip an image in Photoshop. It’s that easy.
How to Flip an Image Layer
Flipping an entire image is one thing. Flipping a particular layer of that image is an entirely different ballgame. For instance, you may need to flip some lines of text, a watermark, or a logo on what would be the “foreground” of a larger image. Here are three ways to go about it.
Method 1: Using the Transform Function

First, you’ll want to use the select tool to highlight the specific image layer you want to flip. Next, go to the “Edit” menu on the main toolbar and select “Transform” from the list of options provided. On the sub-menu that appears, select “Flip Vertical.”
This option flips the specific image layer you had selected. The unselected portions of the image will remain as they were.
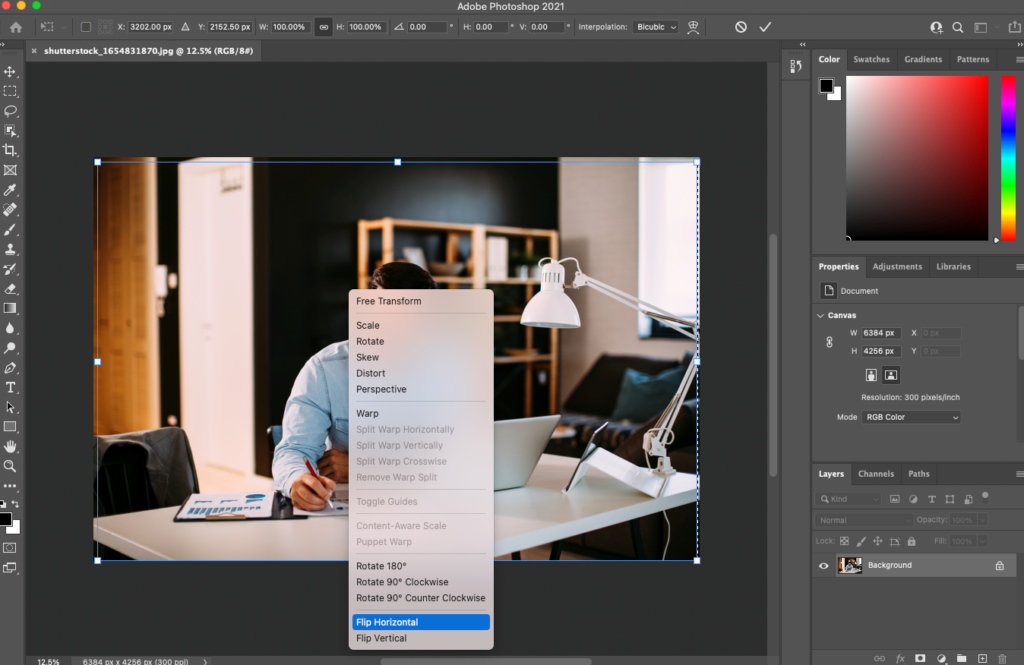
Method 2: Using the Free Transform Function

The other option would be to use the Free Transform function. Once again, you’ll need to select the specific image layer you want to flip and then go to the “Edit” menu on the main toolbar. From the list of options displayed, select “Free Transform.”
A transform box will then appear around the selected image layer. Move your cursor inside the box, and then right-click on it to display a drop-down menu. Select your desired flip-type – horizontal or vertical – from the options provided.
Method 3: Using Free Transform Mode
To use your Photoshop canvas in Free Transform mode, press Ctrl + T on your computer keyboard. Next, right-click on the image layer you want to flip to display a list of menu options. Select “Flip Horizontal” or “Flip Vertical,” depending on what you want to achieve.
Keep in mind that flipping an image in Photoshop isn’t the same thing as rotating an image. To avoid confusion, think of flipping an image as looking at it in a mirror. This explains why there are only two possible ways to flip an image – a vertical flip or a horizontal flip. Rotating an image, on the other hand, is a little like tilting your head to view it at a different angle.
👍 Support Us: Subscribe to our channel and help us continue providing these tutorials.
🌟 Regular Updates: We publish how-to videos for Photoshop regularly!
🔧 Expert Guidance: Learn Photoshop from our professionals and uncover exclusive tips!