There are many reasons why you may need to split an image, whether it’s to add selective edits to your photo or to save the image as pieces. You may need to cut an image in half or into a few pieces to upload as a carousel or in multiple posts on Instagram. Luckily, Photoshop offers numerous ways to do this.
No matter the reason for splitting an image, my top three ways to do this are using the Slice Tool, Marquee Tool, and Ruler Tool. Once you have cut the picture, you can keep the image intact or place the different pieces on separate layers depending on your end goal.
Here are the complete steps to split an image using these three methods.
Table of Contents
Split an Image with the Slice Tool
The Slice Tool is found under the Crop Tool and works by splitting the photo into pieces without actually cropping the image. The result is simple lines that determine where the picture is split, and only during export are the segments divided and saved as separate files.
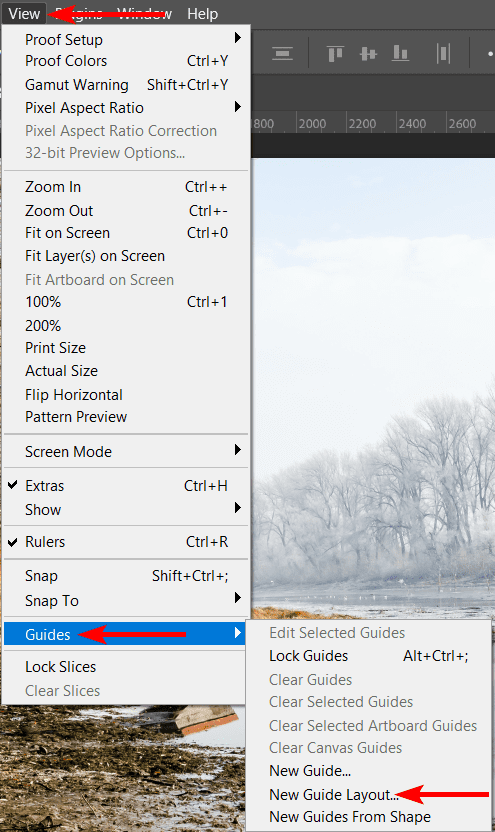
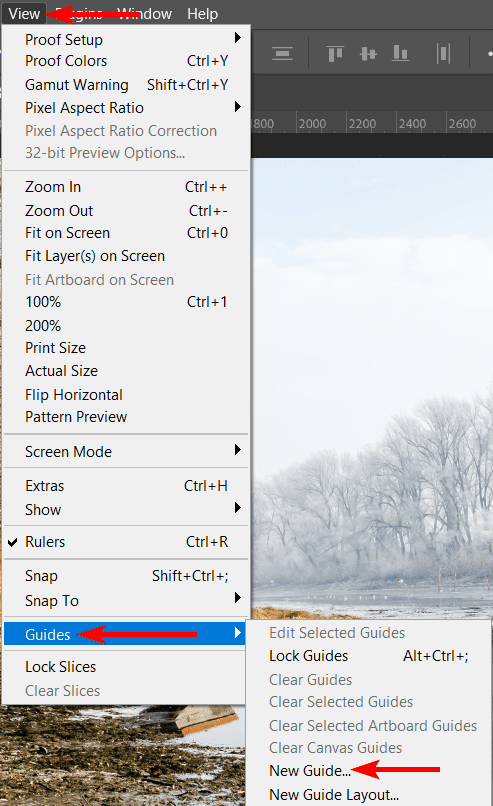
To accurately split the image, you must create guides on the page to mark where the image will split. To do this, add a guide layout by clicking on View > Guides > New Guide Layout.
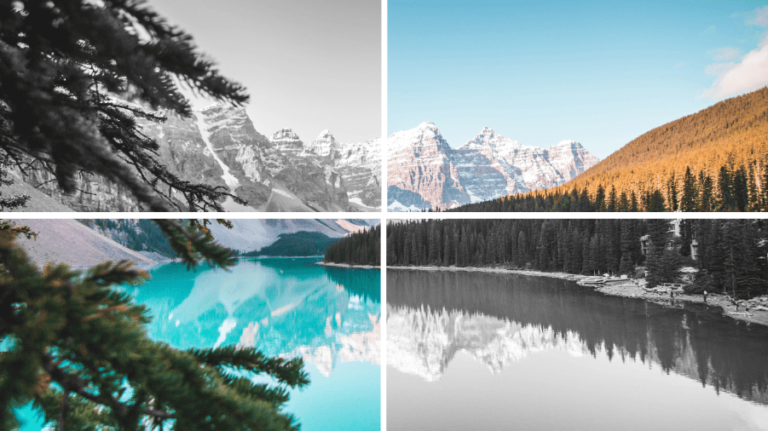
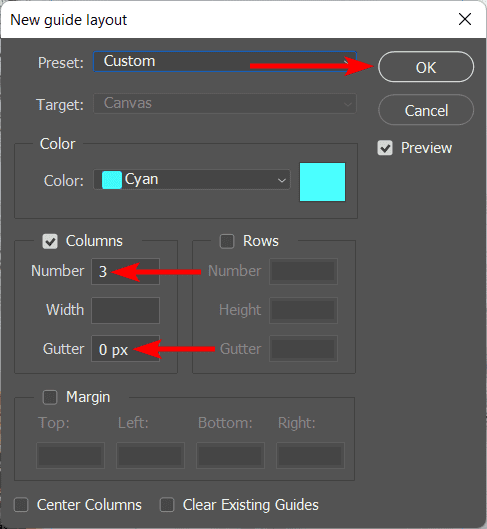
In the new guide layout box, add the number of guides you want by changing the number of rows and columns. If you want to split your image into three vertical sections, add 3 into the Columns box. Make sure you set the Gutters to 0 px. Click OK when you have added the number of columns and rows you want.
The guides appear as Cyan lines on the image. You can move on to slice the photo if the placement is correct.

Create the slices by selecting the Slice Tool, which you will find by holding down on the Crop Tool.
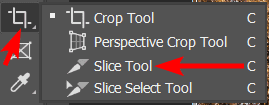
When you have selected the tool, there are a few settings you can change in the bar at the top, known as the Options Bar. All you need to focus on is the button that says Slices From Guides. Click this button to turn the guides you created into slices.

The slices will show as a darker blue over the original guides you created.

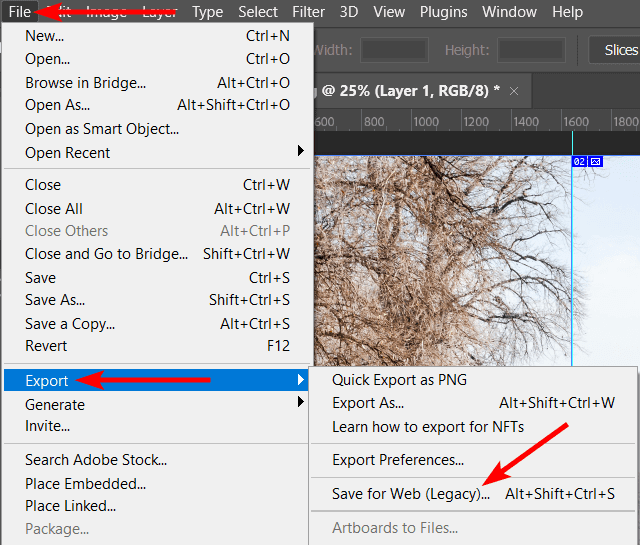
The slices are only helpful when you save the pieces as individual files. So, you need to export these pieces individually. The easier way to do this is by clicking on File > Export > Save for Web (Legacy) or using the shortcut Shift + Alt + Control + S on Windows or Shift + Option + Command + S on Mac.
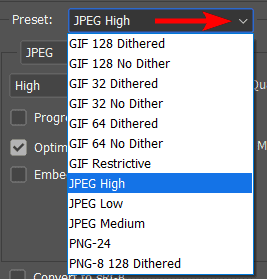
Use the Preset drop-down menu to select the file type you want to save the image as.
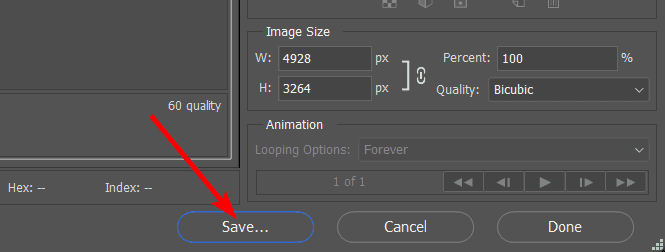
Then click Save at the bottom of the window.
When the save as window opens, name the file, select the folder to save it in, and use the drop-down menu at the bottom to select All Slices.
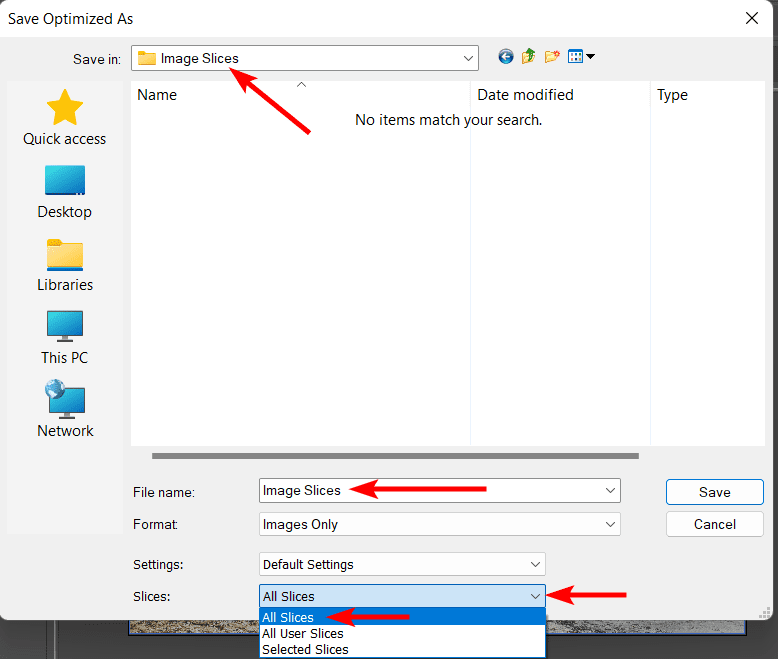
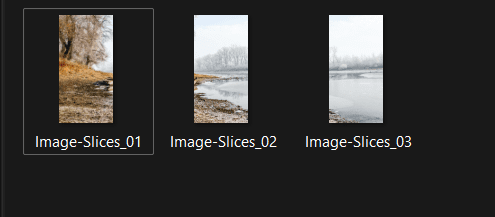
The pieces of the image will be saved as separate files.
Split an Image with the Marquee Tool
When you want to edit half of the image (or a section) without affecting the rest of the image, it’s better to use the Rectangular Marquee Tool. This tool creates a square or rectangular selection to which you can then apply edits or cut and paste onto a separate layer.
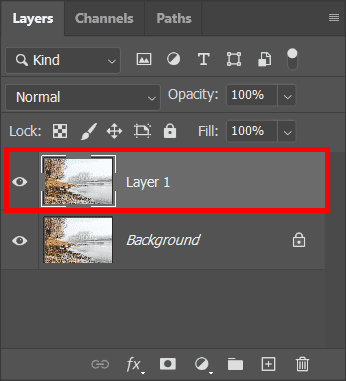
Create a duplicate of your image layer using the shortcut Control + J on Windows and Command + J on Mac to keep the original image layer untouched.
Then, use a Guide to find the center of the image if you want to cut the image in half or edit half of the image. Click on View > Guides > New Guide.
If you want to place the guide vertically in the center of the image, click on Vertical and then type 50% into the position box.
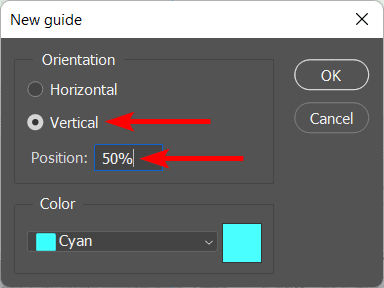
After clicking OK, the guide is placed in the center of the image.

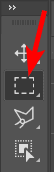
To create the selection, find the Rectangular Marquee Tool in the toolbar or press M to select it.
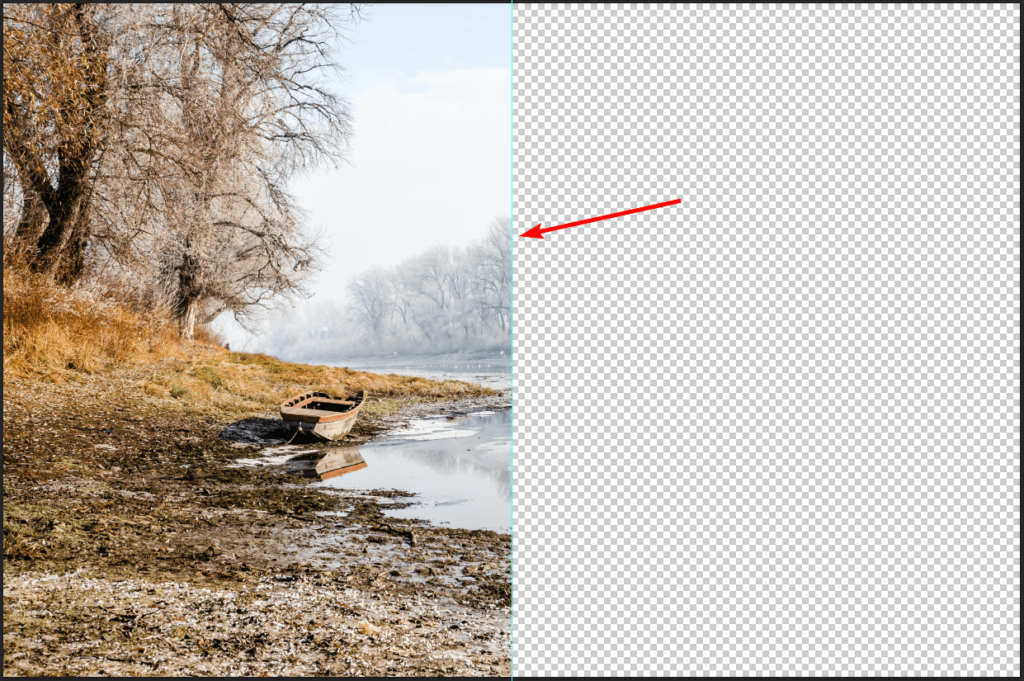
With the tool selected, click and drag on the image to create the selection around half of the image, using the cyan line as a guide to get the selection halfway.

If you want to copy this selection to a new layer, you can press Control + J on Windows or Command + J on Mac. The selection is copied onto a new layer, and you will only see the selected half by hiding the rest of the layers. You can repeat the process for the other half of the image if you want that piece on a separate layer.
If you don’t want to cut the image but instead edit the half, you can skip the step above and simply add any edits you wish to, and they will only appear on the half you have selected.

Split an Image with the Ruler Tool
The last method uses the Ruler Tool, which is a helpful feature to measure your photo and add elements in specific areas of the image.
Once your picture is open in Photoshop, ensure the Ruler is visible around the photo using the shortcut Control + R on Windows or Command + R on Mac.

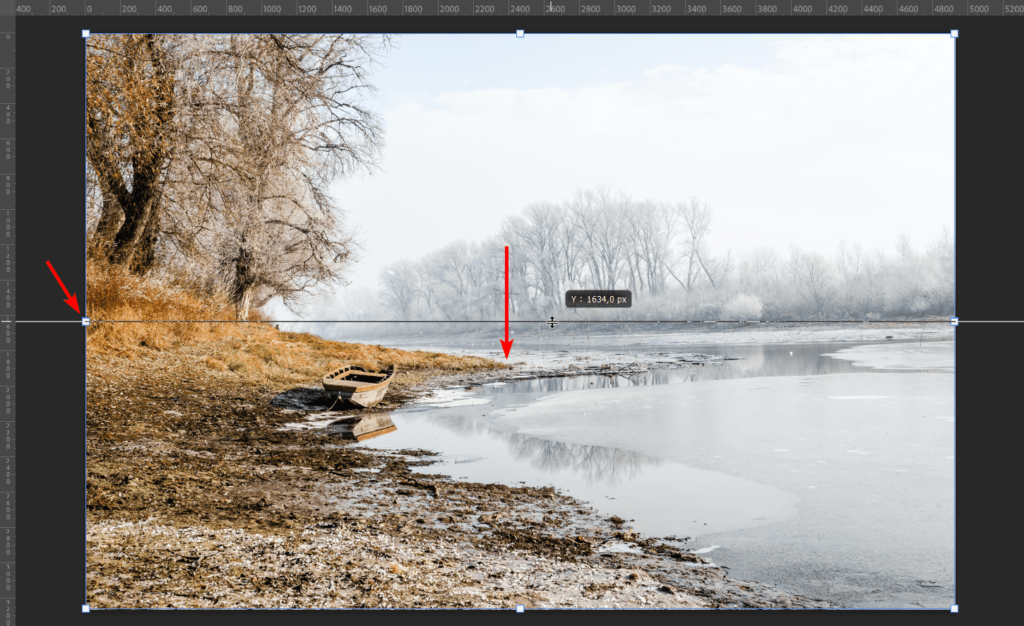
If you want to find the vertical or horizontal center of the image, a quick way to do this is by opening the Transform function, which creates a block around the photo to resize or manipulate it. Use the shortcut Control + T on Windows or Command + T on Mac. You’ll see two square blocks on the edges of the image in the horizontal and vertical centers.
You can use these blocks as a guide or look at the numbers on the ruler to find specific spots in the image. Once you know where you want to create your selection, you can add a guide by clicking on one of the rulers and dragging it down onto the image.
Clicking on the top ruler creates a horizontal guide. Drag the guide to where you’d like to place it and let go to add it to the image. Use the transform block for guidance.
Clicking on the left ruler creates a vertical guide. Drag it to where you want to place it.

You can now use either of the top two methods to split the image. You can use the Rectangular Marquee Tool to create four selections that you copy onto separate layers for individual editing. Remember to make the selection on the original layer each time and not the new layer with a section cut-off. You will see the separate layers in the panel on the right.
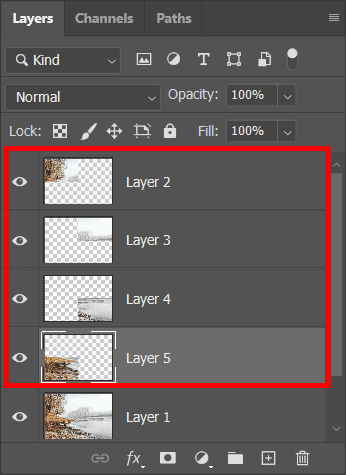
You can move each piece separately and add different edits to each layer.

👍 Support Us: Subscribe to our channel and help us continue providing these tutorials.
🌟 Regular Updates: We publish how-to videos for Photoshop regularly!
🔧 Expert Guidance: Learn Photoshop from our professionals and uncover exclusive tips!