If you don’t like the current fonts available in GIMP, you can add new fonts to use in your projects. It’s straightforward to install fonts in GIMP, and you only need to install the font once, and it will be available until you uninstall the font from your device.
Whether you are using Linux, Windows, or Mac, you can install the new fonts in two ways. The first method installs the font on your device, making it available across all your programs. The second method allows you to only add the font to GIMP, and these fonts won’t be available in other programs.
Table of Contents
How to Install Fonts on Your Device
The first method to add a font to GIMP is to install the font on your device. All installed fonts will be available in GIMP if the correct folder is selected. Follow the next section to check the folders that GIMP uses for fonts.
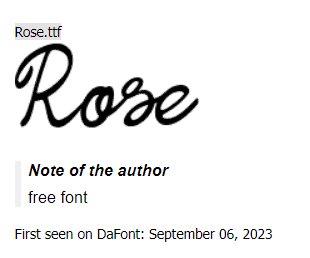
Before installing the font, you must download it to your device. Follow the instructions in the last section to find websites to install fonts and the process of downloading the font.
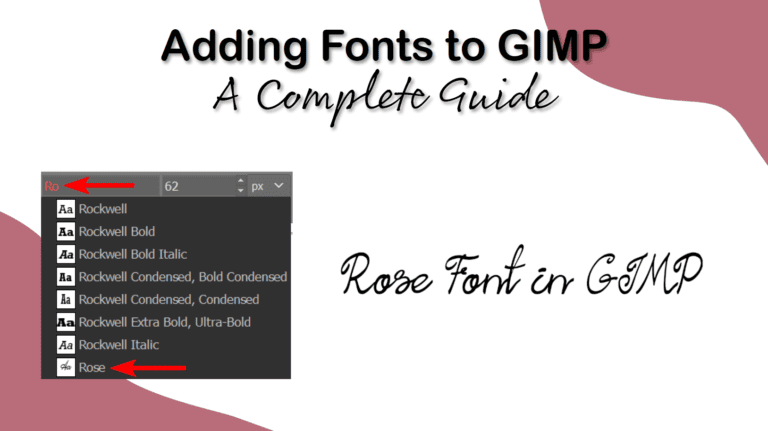
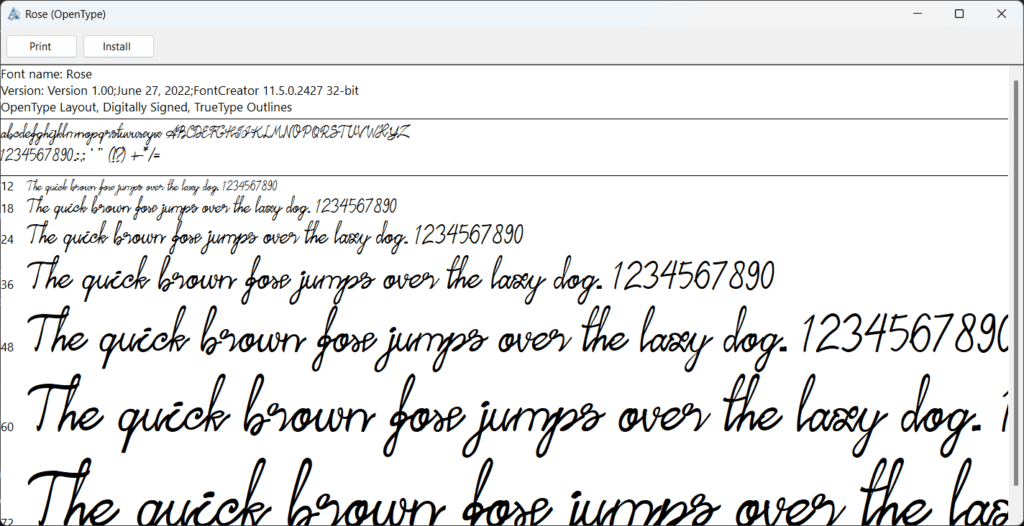
I have downloaded this Rose font from DaFont to use for this tutorial.
Step 1: Unzip the Font Folder
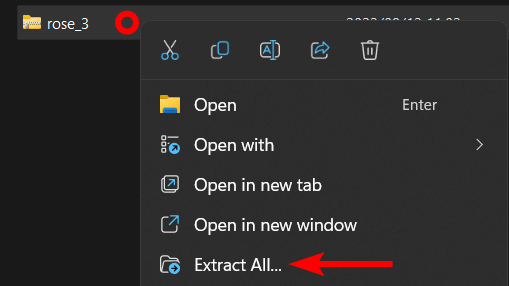
Certain fonts come in zipped folders and, in some cases, have multiple variants of the font, such as an Italic or Bold version. First, unzip the folder.
- On Windows: Right-click and select Extract All
- On Mac: Double-click on the folder
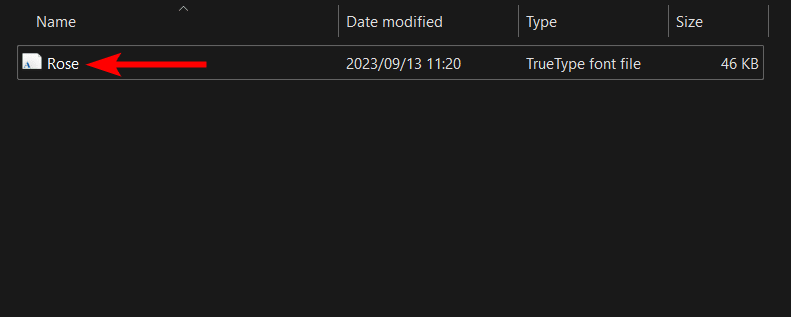
Once the folder is unzipped, open it. You will see the font file(s) and sometimes a license document.
Step 2: Install the Font on Your Device
You can now install the font onto your device using the process depending on your system.
On Windows
Double-click the font file to open it. A window will appear showing the font.
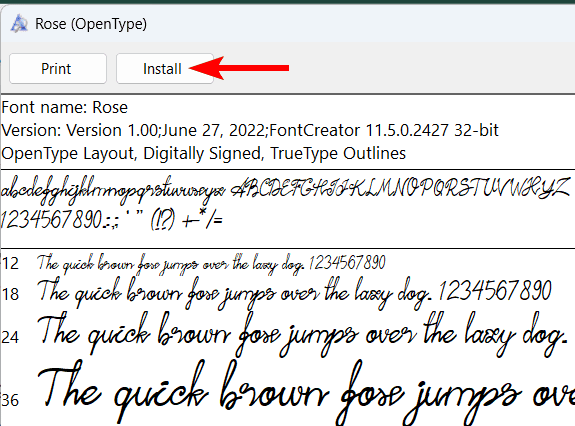
Then, click Install and give your device time to install the font.
Note: If you are installing multiple font files, you can select them all, then right-click and select Install, and they will all be installed simultaneously.
On Mac
Open the unzipped file, then double-click on the font. This opens the font preview window, where you can click on Install. The font will then be added to your Font Book app and available to use in your applications.
Step 3: Restart GIMP
Once you have installed the font on your device, you may need to restart GIMP if it was open while you were installing the font. Simply close and then open the program to restart it.
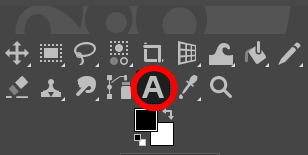
Once you have restarted GIMP, you can select the Text Tool.
Then, begin typing the font name to locate it in the font drop-down menu.
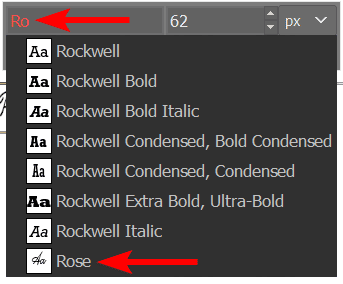
You can now use the font in your projects.

How to Install Fonts In GIMP Only
If you don’t want to install a font on your device and only want to use the font in GIMP, you can use this method. This process also lets you see which font folder GIMP uses to ensure your installed fonts are in the right place.
Use this process to troubleshoot if you followed the steps above and still don’t have the new font in GIMP.
Step 1: Open GIMP Preferences
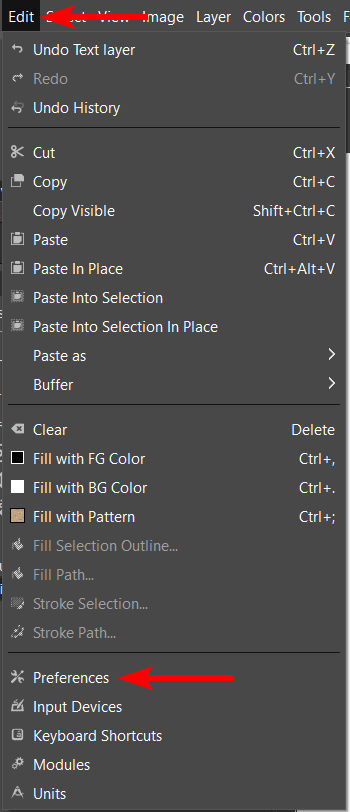
To start, open GIMP and the preferences panel by going to Edit > Preferences.
Step 2: Open the Font Folders Tab
Next, scroll down the list of tabs on the left-hand side and open the Folder tab.
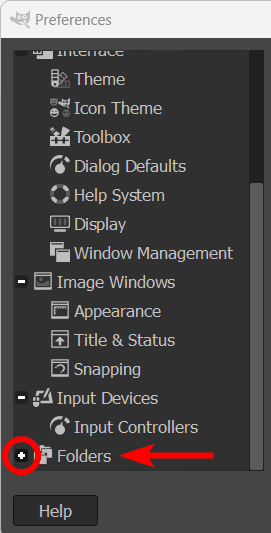
Scroll through the folder options and click on Fonts to open the Font tab.
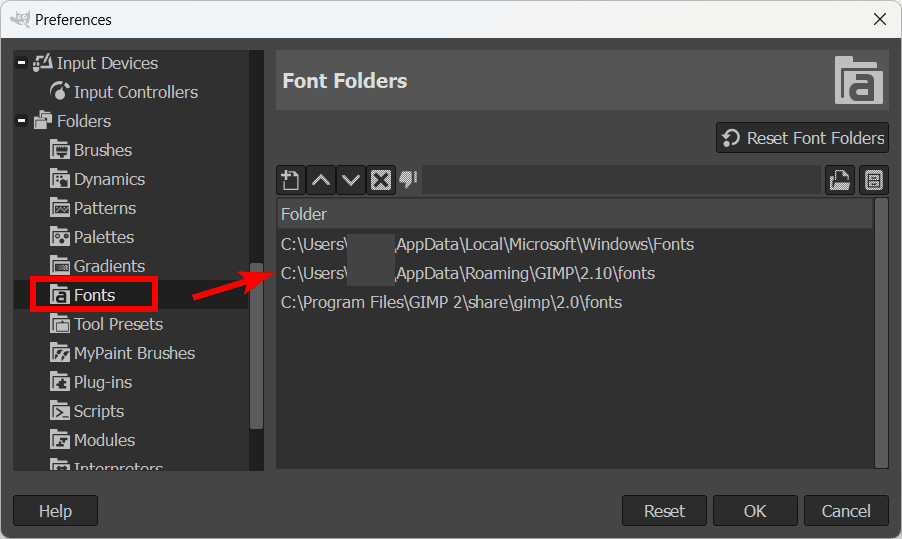
Step 3: Select the Fonts Folder
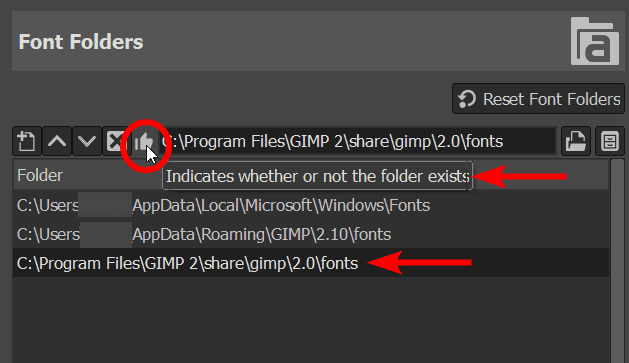
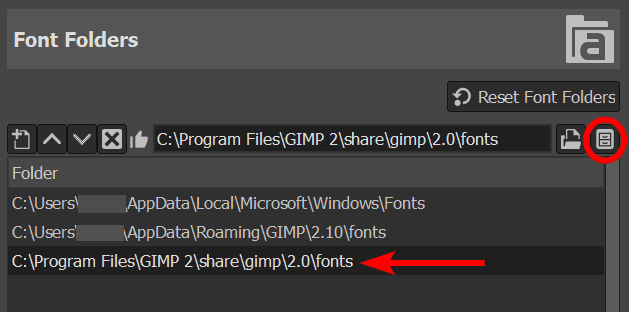
You will then see a list of the folders that GIMP is accessing to find font files. You can click on a folder and check the icon above to see whether the folder still exists. If the folder was deleted from your device, this will cause an error, and you will need to use a different folder.
Step 4: Open the GIMP Fonts Folder
Open the GIMP fonts folder in Explorer of Finder by clicking on the show file location icon at the top right of the panel.
You will find a list of all the fonts installed only in GIMP. Or the folder may be empty if you don’t have any fonts installed exclusively on GIMP.
Step 5: Copy and Paste the Font File Into the Folder
You can now copy and paste the downloaded font file into the folder. You can then restart GIMP, and you should have the font installed in the program to use in your projects.
How to Download Fonts to Your Device
Before you add a font to GIMP, you need to have the font file downloaded onto your device. GIMP uses the FreeType 2 font engine to read fonts, and this enables you to use the following font types in the program:
- TrueType fonts (including collections)
- OpenType fonts (TrueType & CFF variants)
- Type 1 fonts
- X11 PCF fonts
- CID-keyed Type 1 fonts
- PFR fonts
- BDF fonts
- SFNT-based bitmap fonts
- CFF fonts
- Windows FNT fonts
- Type42 fonts (support is limited)
You can download any fonts within these formats, and GIMP will recognize them. There are many websites where you can find free and licensed fonts to download. A few of my favorite sites to find new fonts are:
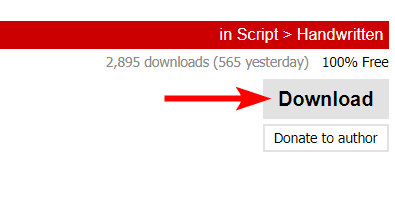
Once you find a font you like, check the license to ensure you can use it in your project. Then, find the download button and click it to download the font to your device.
👍 Support Us: Subscribe to our channel and help us continue providing these tutorials.
🌟 Regular Updates: We publish how-to videos for GIMP regularly!
🔧 Expert Guidance: Learn GIMP from our professionals and uncover exclusive tips!