There are many reasons you may need to move a selection in GIMP, whether you want to move the actual selection you created or the pixels within the selection. However, the move function sometimes won’t work as you’d like it to, and this could be due to different settings being changed.
Here are a few common reasons why the move tool isn’t moving the selection as you wanted it to and how to fix them.
Table of Contents
How to Fix the Issue
If you can’t move your selection, follow these tips to fix the issue. These are useful when you want to move the actual selection or the selected pixels.
Selection Box Not Showing
If you haven’t used a Selection Tool before, you may not be able to see the selection once you create it. Or, if you have seen the selection box before and it suddenly disappeared, the reason is probably one setting that needs to be changed.
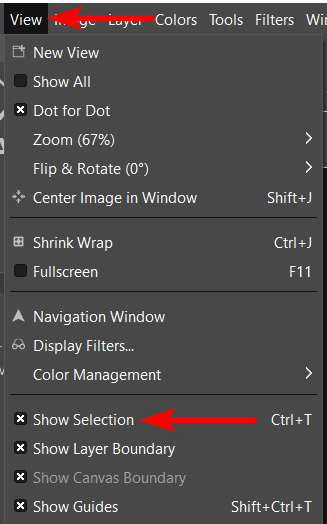
To ensure that the selection box shows when you create a selection, go to View > Show Selection. The box next to this option should have an X to show it’s active.
You can also press Control + T on Windows or Command + T on Mac to toggle the visibility of the selection box on and off when a selection tool is active.
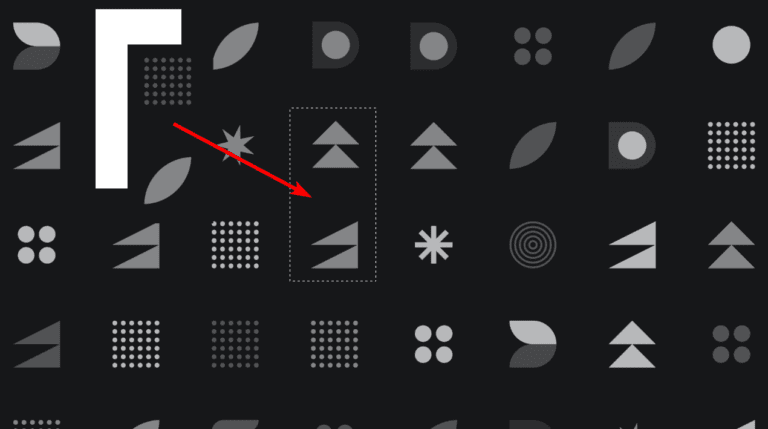
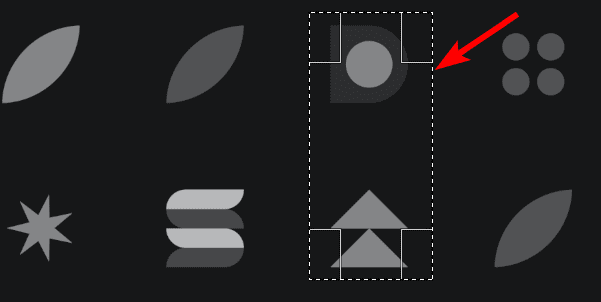
You will now see the selection box, indicated by the marching ants pattern, on the canvas once you create a new selection.
Moving the Selection Box Rather Than the Pixels
There are two common reasons why you want to move a selection. Either you want to move the selection you created to cover different pixels, or you want to move the pixels inside the selection box.
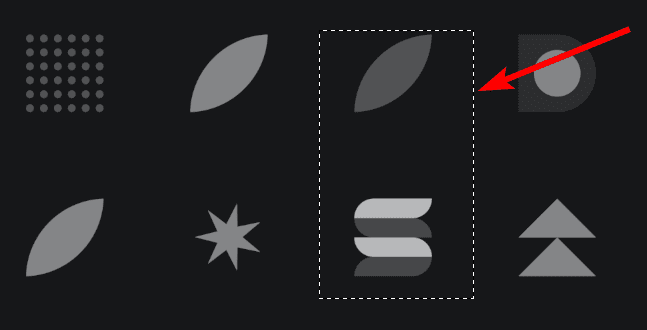
By default, if you have the selection visibility off, once you create a selection, you can click and move the selection to move the box rather than the pixels. This is helpful when you need to align the selection better before moving the pixels.
However, once your selection is in position, you may want to move the pixels. To do this, you must first view the selection using the instructions in the previous section or press Control + T on Windows or Command + T on Mac.
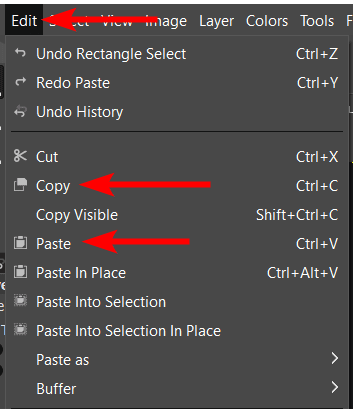
Then, to move the pixels, you must copy them onto a new layer. To copy and paste the pixels, go to Edit > Copy and then Edit > Paste. Or use the shortcut Control + C, then Control + V on Windows or Command + C, then Command + V on Mac.
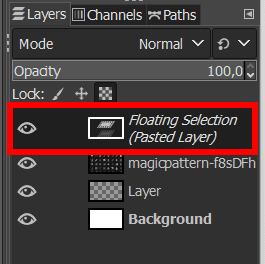
This copies the selection and adds it as a floating layer, indicated by the temporary layer in the Layers Docker.
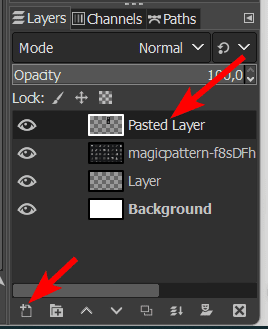
Before you can move the copied selection, you need to anchor it to a new layer. To do this, keep the floating layer active and create a new layer by clicking on the New Layer icon at the bottom of the Layers Docker. The selection is then pasted on the new layer.
You can then select the Move Tool (M) and move the selection as you’d like.
Floating Layer Not Activated
If your goal is to cut the selection and move it from the original layer, you may have forgotten to float it before trying to move it.
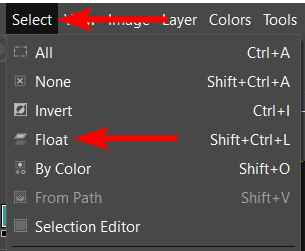
Once you have created the selection, go to Select > Float or use the shortcut Shift + Control + L on Windows or Shift + Command + L on Mac.
Once the selection is floating, you can select the Move Tool (M) and move the selected pixels as you’d like.
Move Selection Not Active
If you are trying to move the selection box instead of the selected pixels, you may have selected the Move Tool and had nothing happen when you click and drag on the selection. This may be because you haven't changed the Move Tool setting to Move Selection.
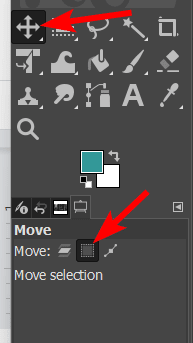
To change this setting, activate the Move Tool (M) and then change the setting at the top of the Tool Options Docker by clicking on the selection icon.
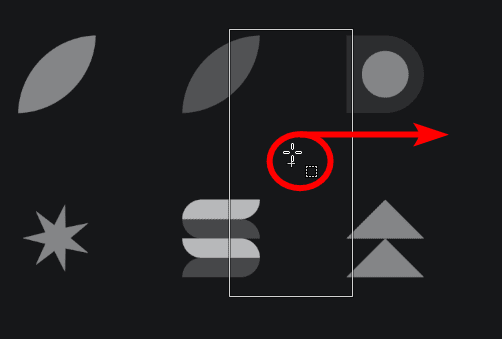
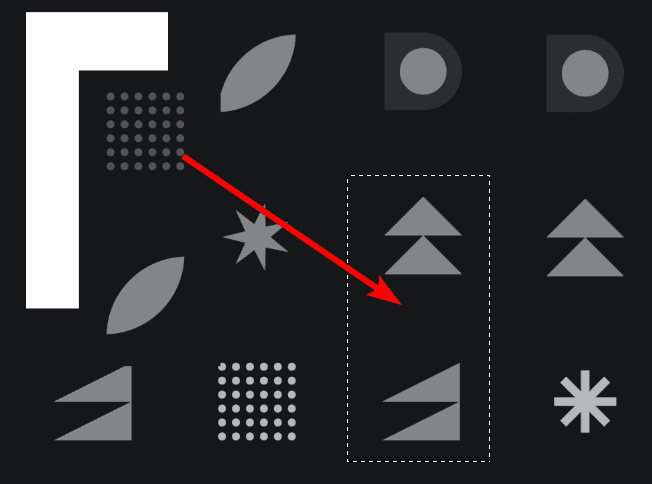
You can then move the selection box around the canvas as needed.
👍 Support Us: Subscribe to our channel and help us continue providing these tutorials.
🌟 Regular Updates: We publish how-to videos for GIMP regularly!
🔧 Expert Guidance: Learn GIMP from our professionals and uncover exclusive tips!