Knowing how to center a layer in GIMP is essential to create a well-balanced layout design. Centering objects allows you to line up elements correctly without needing to guess where the center of the canvas or another object is.
You can center any layer to another object's center or the entire canvas. However, there are a few things to note before centering an object so that it centers correctly.
Table of Contents
How to Prepare Your Item to Center It
To center a layer, you need to ensure you have the correct layer selected, and you need to ensure that your layer is cropped to only fit the contents. If you don’t have these elements set up correctly, you may experience problems centering a layer.
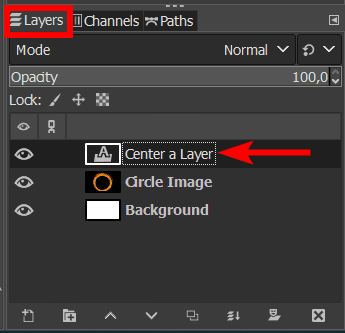
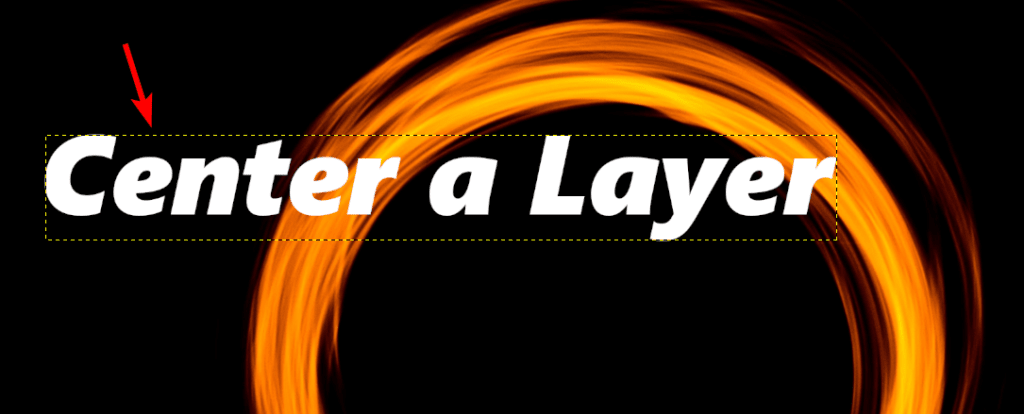
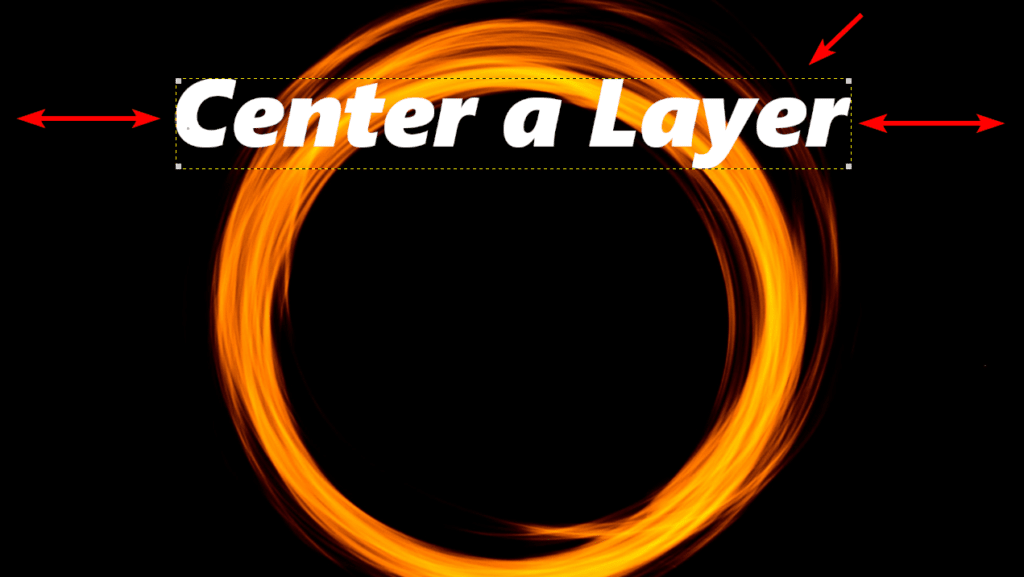
For example, I want to center my text in the center of the canvas so it lines up well with the circle in the image I’m using as my background. When I select the text layer, you can see the entire layer marked by the yellow dotted lines. The layer is larger than the text itself.
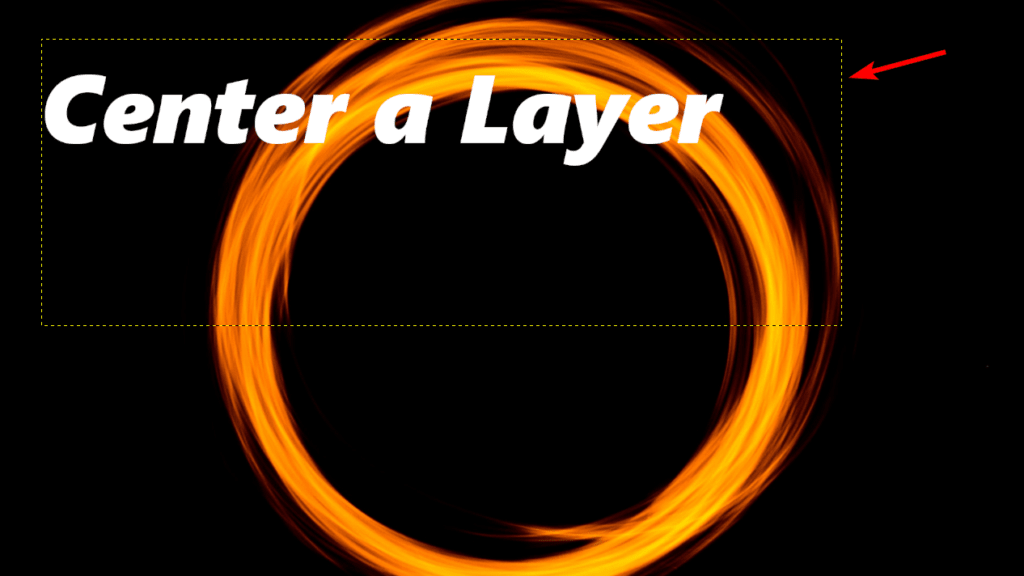
If I were to use the methods below to center the text horizontally and vertically, it still wouldn’t sit in the center of the canvas. This is because the entire layer is centered and not just the content on the layer.
To prepare this layer to center it, I must select it by clicking on the layer in the layers panel.
Note: If you want to center the layer to an active layer, you will need to select the layer you want it centered on and then select the layer you want to center using the alignment tool, which is described in the next section.
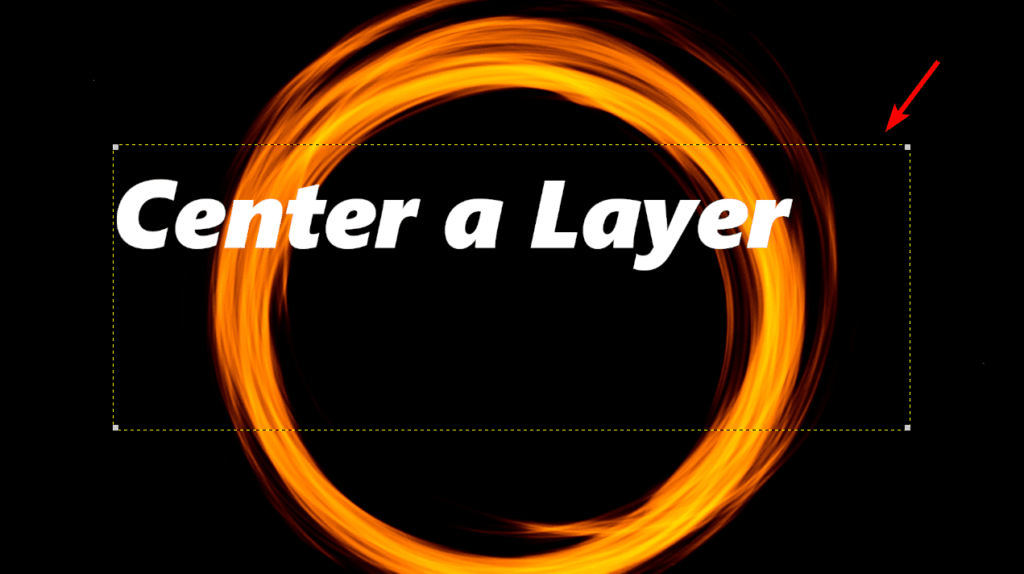
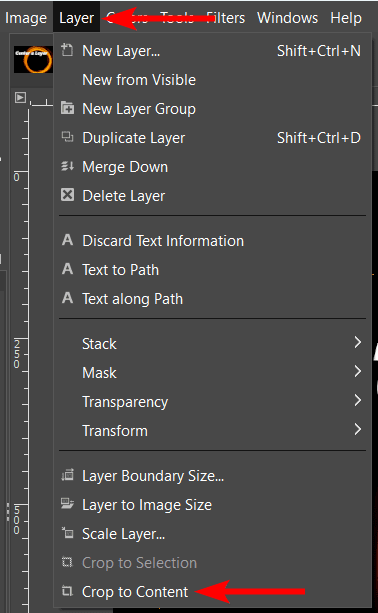
Once the layer is selected, crop the layer to the contents so the bounding box sits directly around the contents. You can do this by going to Layer > Crop to Content.
You will see the bounding box now sits directly around the text. This will work on any layer by cropping the layer right to the pixels on the layer, meaning you can use this on shapes or graphics on a transparent background.
You can now move on to center the layer without any problems.
How to Center a Layer Horizontally in GIMP
To center the layer horizontally, ensure you have selected the layer and cropped it to the contents if needed. Then, activate the Alignment Tool. There are three ways to access this tool.
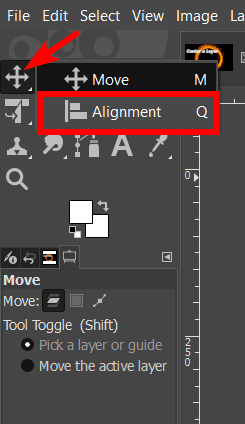
You can find the tool in the tools panel, but it’s hidden behind the Move Tool. To select the Alignment Tool, click and hold on the Move Tool until a menu pops up, then select the tool. You can also press Q to activate the tool quickly.
The third way to access the tool is by using the menu path by going to Tools > Transform Tools > Align.
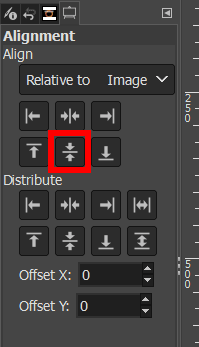
Once the tool is active, you will see the tool options appear in the panel below the tools panel.
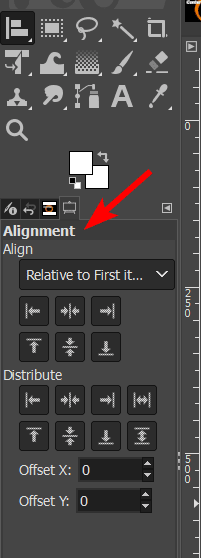
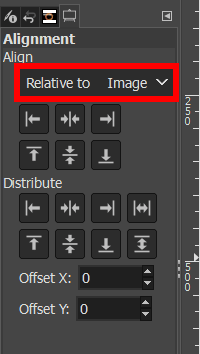
Then, set the Relative To option depending on what you are centering the layer to. See the last section to learn what each option means.
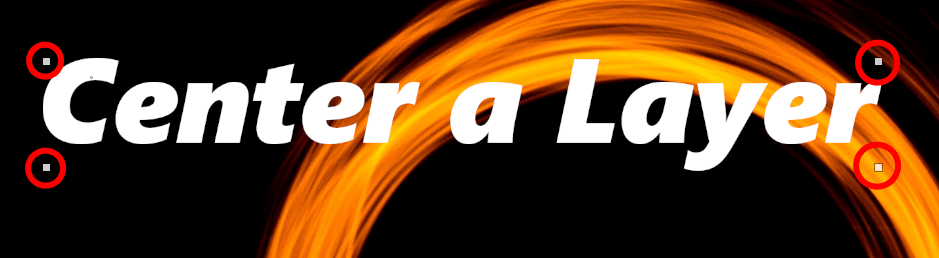
Click on the layer on the canvas that you want to center to ensure it’s correctly selected. The selected layer will have four white blocks around it to show that it’s selected with the alignment tool. This is the layer that will be centered.
Then, to align the layer horizontally, click on the Align center of target icon.
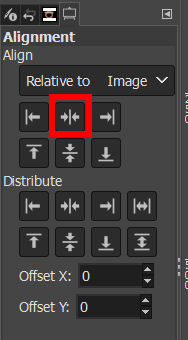
The layer will automatically move to the horizontal center of the target you selected, which is the background image in my case.
How to Center a Layer Vertically in GIMP
To center a layer vertically, you can follow the same steps as above but click a different icon. First, open the Alignment Tool by clicking on the tool from the tools panel or pressing Q.
Then, set the Relative To option as needed and click on the layer again to ensure it’s selected properly.
Center the layer vertically by clicking on the Align middle of target icon.
The layer will automatically move to the vertical center.
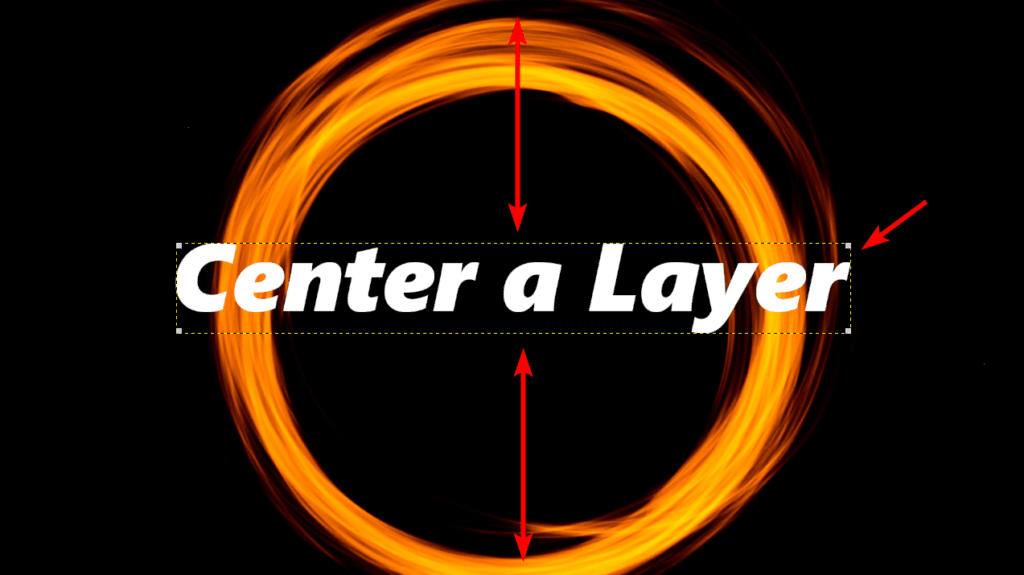
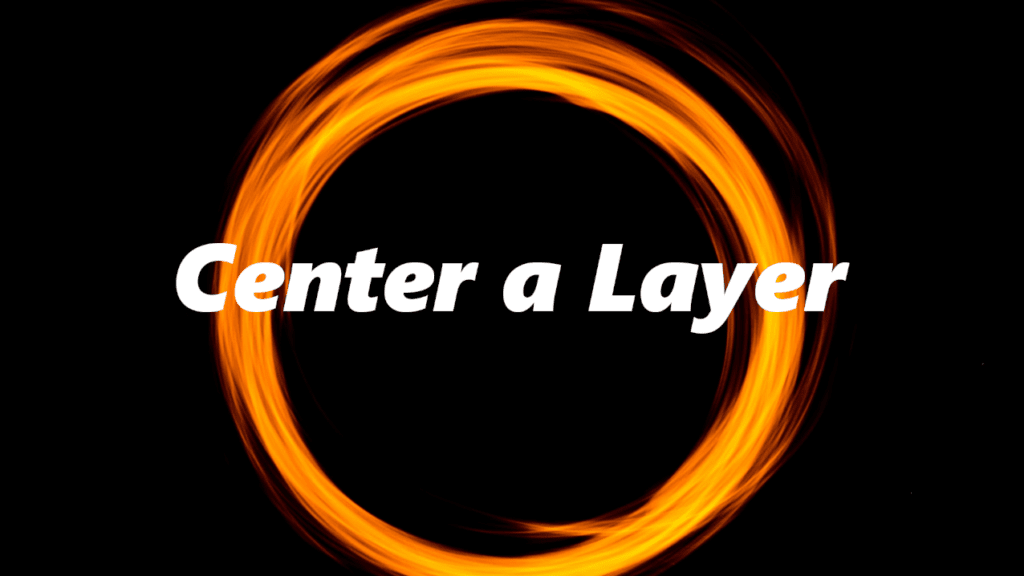
Once you have clicked on both icons, you will center the object to the exact center of the canvas or the object you were centering it to.
Relative To Options to Choose From
When centering an object, you can select various objects to center the object to. These options are found under the drop-down menu next to Relative To in the Alignment panel.
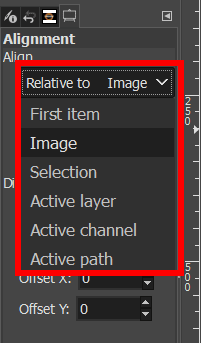
The options work as follows:
- First Item: The object will align to the first object that was selected when multiple objects are selected by holding the Shift key.
- Image: The object is aligned to the image on the canvas.
- Selection: The object is aligned to an active selection on the canvas.
- Active Layer: The object is aligned to the layer that has been selected in the layers panel.
- Active Channel: The object is aligned to the active channel that contains a selection.
- Active Path: The object is aligned to an active path on the canvas.
👍 Support Us: Subscribe to our channel and help us continue providing these tutorials.
🌟 Regular Updates: We publish how-to videos for GIMP regularly!
🔧 Expert Guidance: Learn GIMP from our professionals and uncover exclusive tips!