
To Crop in Krita, you simply need to select the Crop Tool, adjust the settings, and then drag the crop box to cut the image or layer. Creating a simple crop is easy in Krita, but you can take it further by using the settings to create a more specific crop.
Here is the simple process to crop an image in Krita, which gives you a freehand crop to create a custom aspect ratio and cut the entire picture. If you want to customize the crop by cropping a layer, a frame, or setting a specific aspect ratio, follow along in the last section to learn all the settings you can use.
Also consider using our online image cropper, if you quickly want to crop an image without further edits.
Step-by-Step Guide to Using the Crop Tool in Krita
- Activate the Crop Tool
- Click on the Canvas
- Adjust the Crop Settings
- Adjust the Crop Box
- Press Enter to Accept the Crop
- Check the Canvas
Here are the 5 easy steps to quickly crop an image in Krita. I will demonstrate the process using this baby raccoon walking on lawn grass image from Unsplash.
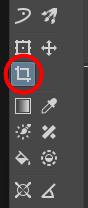
Activate the Crop Tool
First, select the Crop Tool from the toolbar on the left or press C to access it.
Click on the Canvas
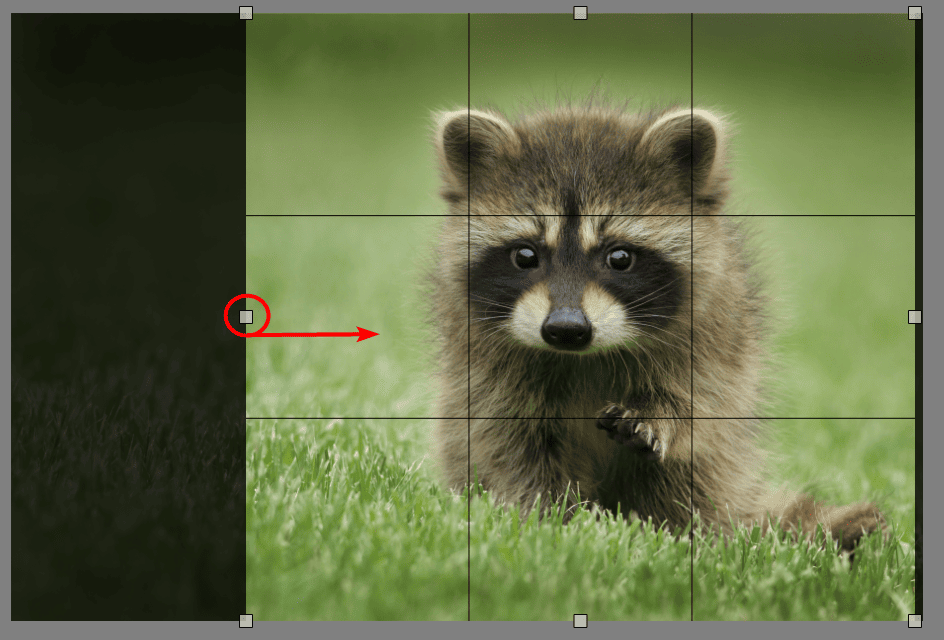
Once the tool is active, you can either click and drag out to create the crop box over the content you want to keep or simply click on the canvas to add the crop box to the edges of the image.
Adjust the Crop Settings
Next, you can adjust the crop settings as needed. You can skip this step if you want to crop the image with a free aspect ratio. Otherwise, locate the settings in the Tool Options docker on the right side of the workspace. You can follow the next section to learn what all the settings do.
Note: If you don't see the Tool Options docker, go to Settings > Dockers > Tool Options to open the docker.
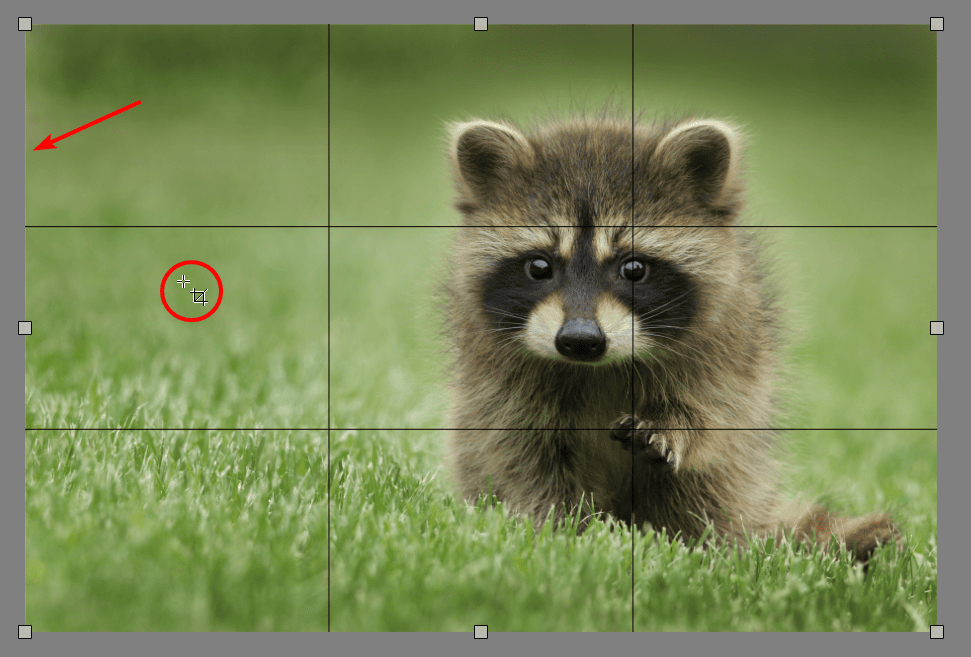
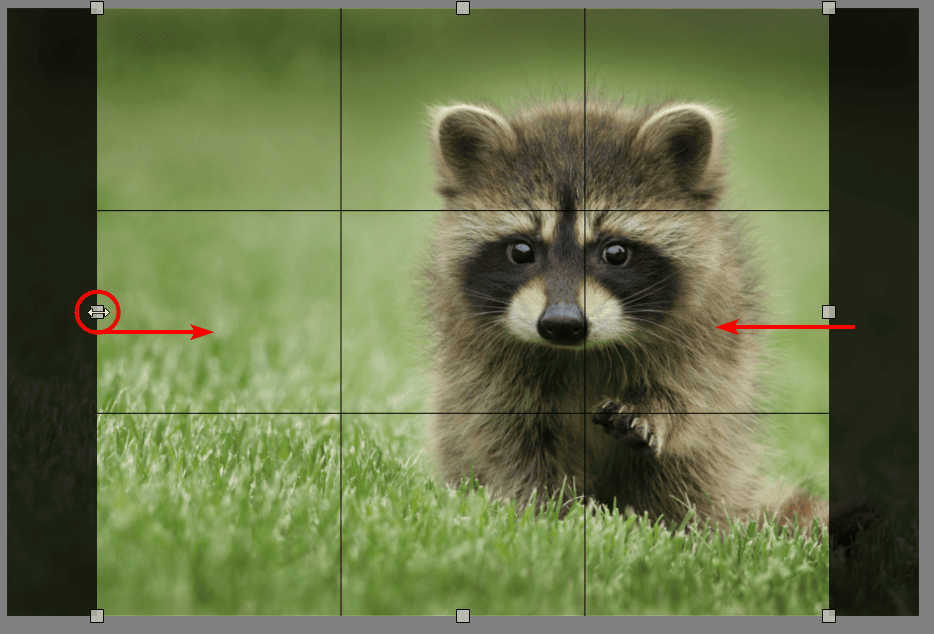
Adjust the Crop Box
Next, you can click on any side of the crop box and drag the handles inward to crop the image. Move the box until you are happy with the crop. Everything inside the box in full color will be kept, while everything outside the box with the transparent overlay will be cropped.
Press Enter to Accept the Crop
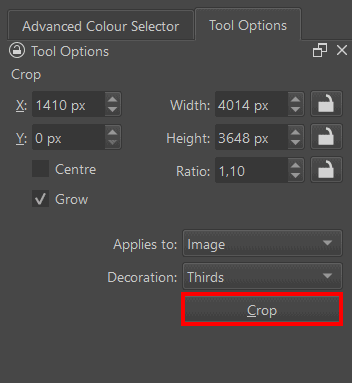
Once you are happy with the crop, click on the Crop button in the Tool Options docker or press Enter to confirm the crop.
Check the Canvas
Your image on the canvas will now be cropped. Since the picture was the base of the canvas, the entire canvas is cropped to the image size. Follow the next section to discover how to cut a layer or only the image on a larger canvas.
Understanding the Crop Tool in Krita
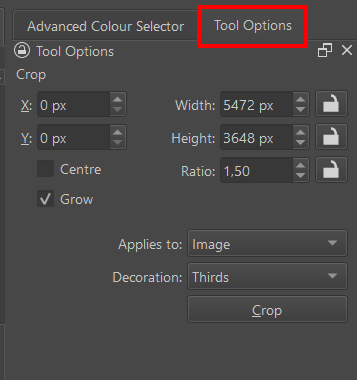
When using the Crop Tool in Krita, you can adjust a few settings to have more control over the end result of your crop. Here is a breakdown of the settings found in the Tool Options docker when the Crop Tool is selected.
Firstly, the X and Y boxes refer to the X and Y axis of the image. You can add a pixel value in one or both of these boxes to crop the side of the image based on how many pixels you add. The X-axis works with the horizontal axis of the image, while the Y-axis is the vertical axis.
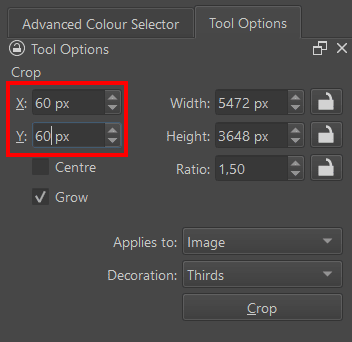
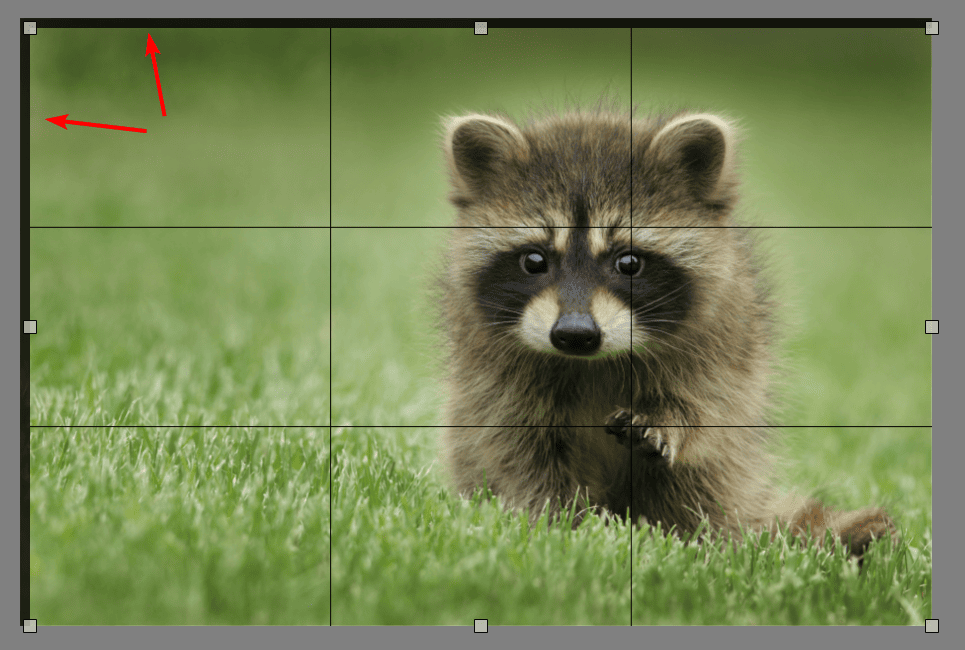
For instance, if I input 60px into both boxes, the crop box will move 60 pixels inward on the left and the top of the image.
Below the axis boxes are two check boxes with Center and Grow.
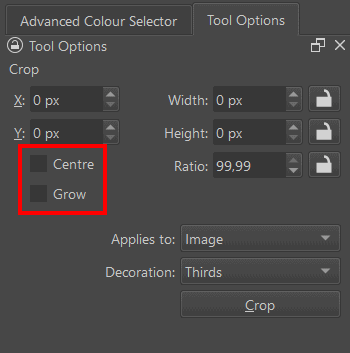
Firstly, checking Center ensures that the crop will keep the center point fixed, so if you drag one side of the crop box, the opposite side will be adjusted to keep the center point set.
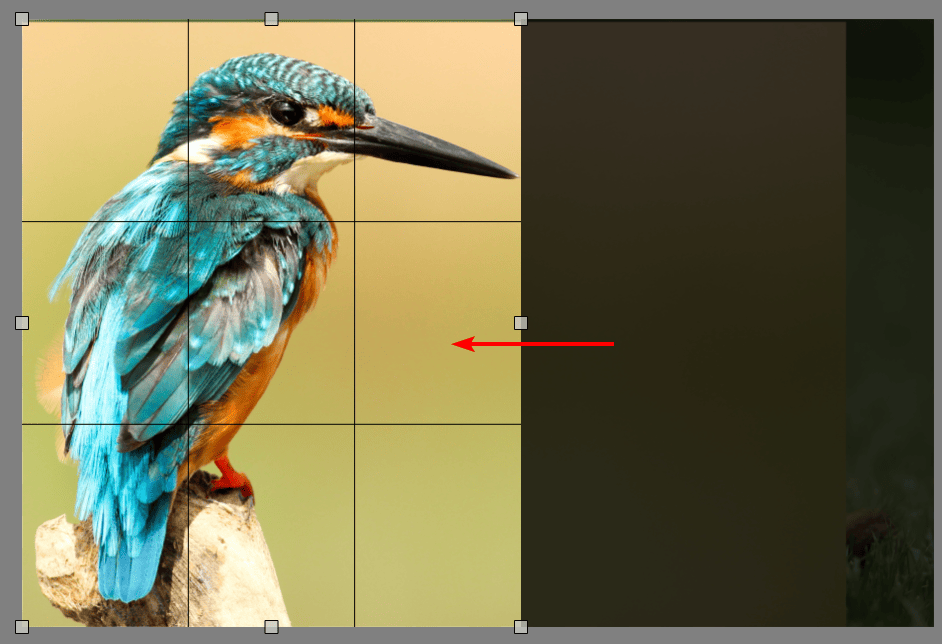
Next, the Grow option allows you to extend the canvas beyond the original size if you like. Once you check the Grow box, you can extend the crop box beyond the image borders.
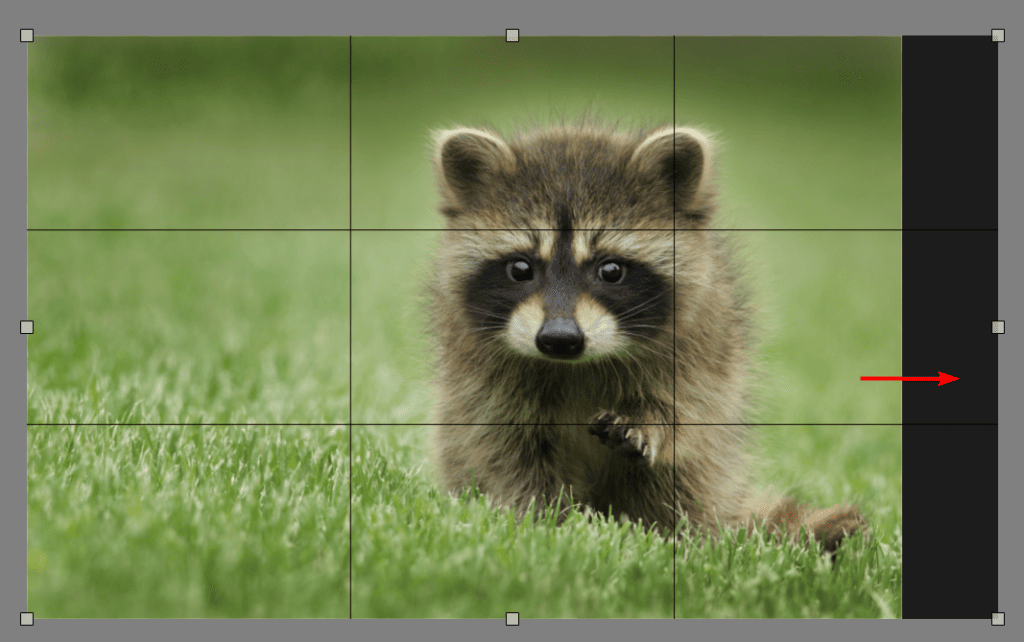
If you confirm the crop beyond the borders of the image, the extra space will be filled with transparent pixels.
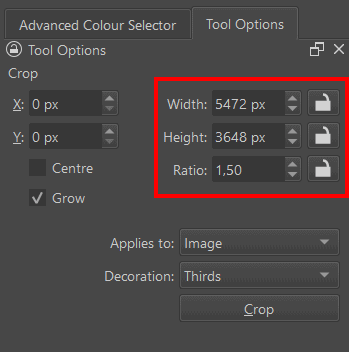
On the right side, you have the Width, Height, and Aspect Ratio boxes. You can use these boxes to see the image size and ratio, and you can set an exact size and ratio for the crop if you’d like.
You can lock the size or ratio box using the lock icon on the right to keep the set size even when cropping. This works when moving the crop box around for the width and height or to keep a set aspect ratio even when cropping pieces off the image.
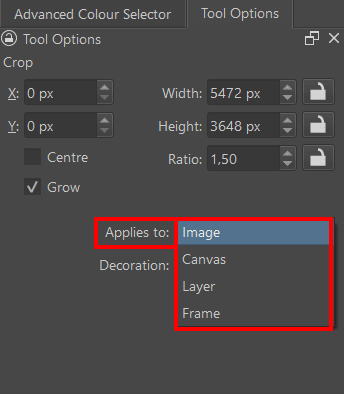
You also have an option to set what the crop applies to using the drop-down menu next to Applies to. This setting lets you choose whether to crop the Image, the Canvas, a Layer, or a Frame. Select the option you’d like, and you can crop that element while leaving the rest unaffected.
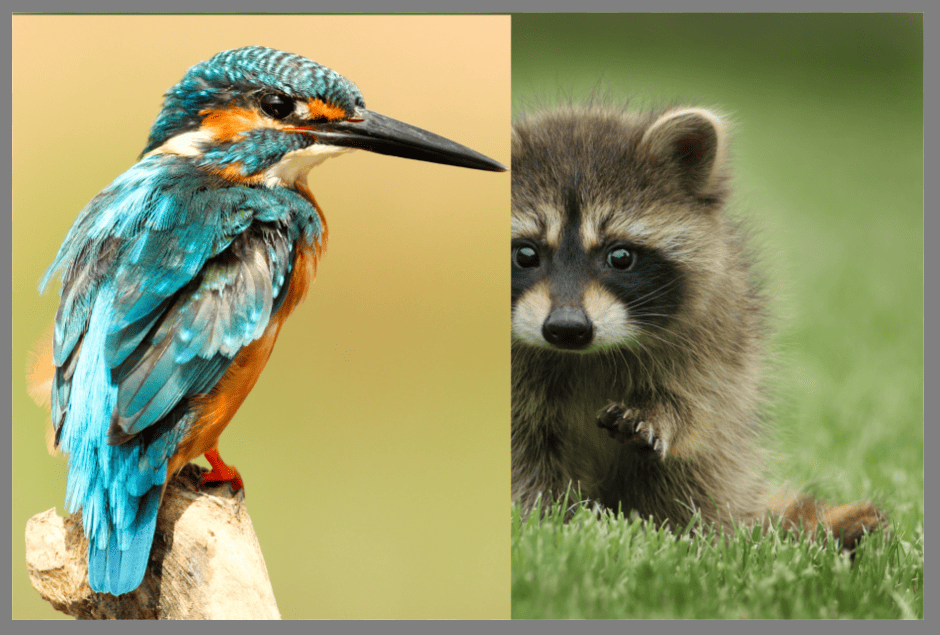
For instance, if I added a layer over the first image, I can choose only to crop that layer.
As a result, the top layer is cropped, but the bottom image remains at its full size.
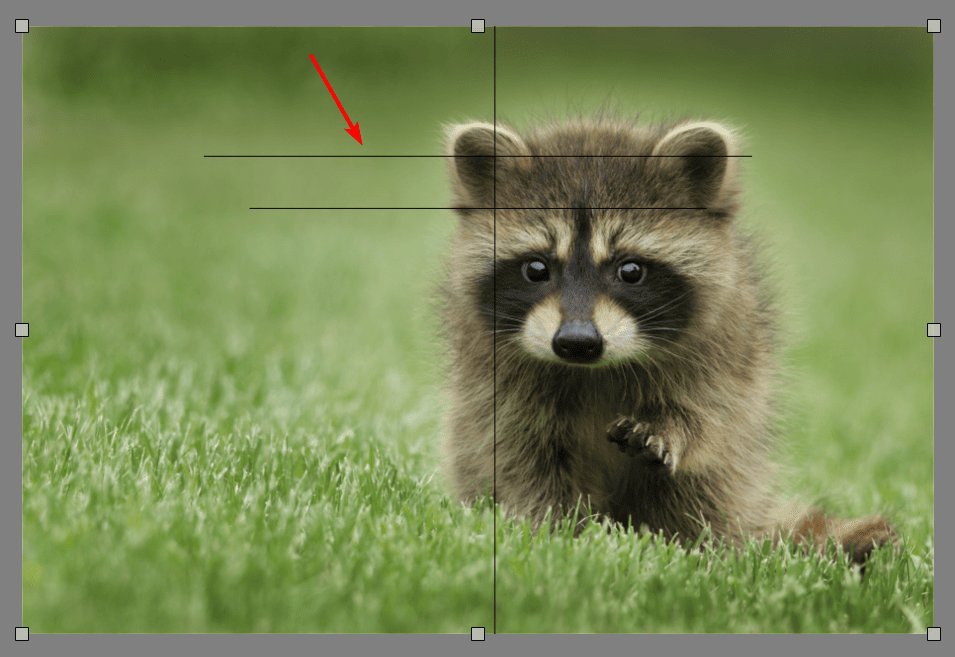
Lastly, you can adjust the Decoration setting using the drop-down menu. This setting allows you to choose what is on the overlay crop box. You can select None, Thirds, Fifths, Passport Photo, or Crosshair.

The decoration helps you compose the details within the image. For example, if you are cropping an image for your passport, you can select the option, and it will place lines to help you line up your subject correctly for the necessary guidelines for passport photos.
👍 Support Us: Subscribe to our channel and help us continue providing these tutorials.
🌟 Regular Updates: We publish how-to videos for Krita regularly!
🔧 Expert Guidance: Learn Krita from our professionals and uncover exclusive tips!
