

When creating selections in Krita, there are various tools you can use, which usually mimic the selection options from other popular design and drawing programs. One important distinction in Krita is that the program doesn’t have a Lasso Tool, but the Freehand Selection Tool is the equivalent and works in the same manner.
Note: The tool was previously called the Outline Selection Tool but was changed to the Freehand Selection Tool from version 4.4.2 and later.
Here is everything you need to know about the Freehand Selection Tool in Krita.
Table of Contents
What Is the Freehand Selection Tool and How to Access It
The Freehand Selection Tool creates selections by allowing you to freely draw a selection around objects or an area on the canvas. The selection starts when you start drawing, and you can drag around the page until you want to end the selection.
You can end the selection by meeting the starting point or ending it anywhere. However, if you finish the selection anywhere, it will continue until it meets the start point using a straight line.
Once you have drawn the selection, the marching ants pattern appears, and you can add edits to the selected area without affecting the rest of the canvas. This is helpful when you only want to add brush strokes to a particular area or cut out a rough section of an image or drawing.
To access the Freehand Selection Tool, click on the icon in the toolbar. There is currently no shortcut to access this tool.
How to Use the Freehand Selection Tool in Krita
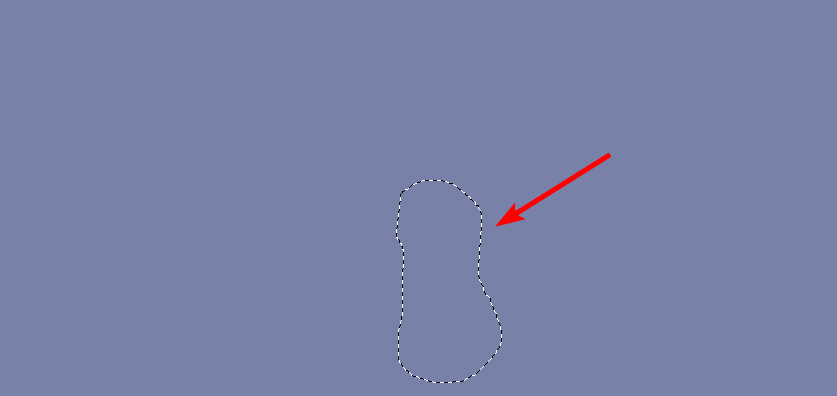
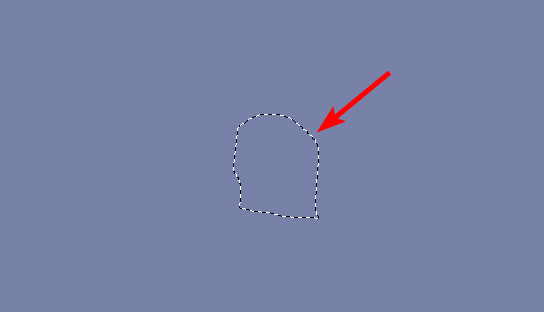
Once the tool is active, you can create the selection on your canvas by clicking and dragging to draw the selection in the desired shape.
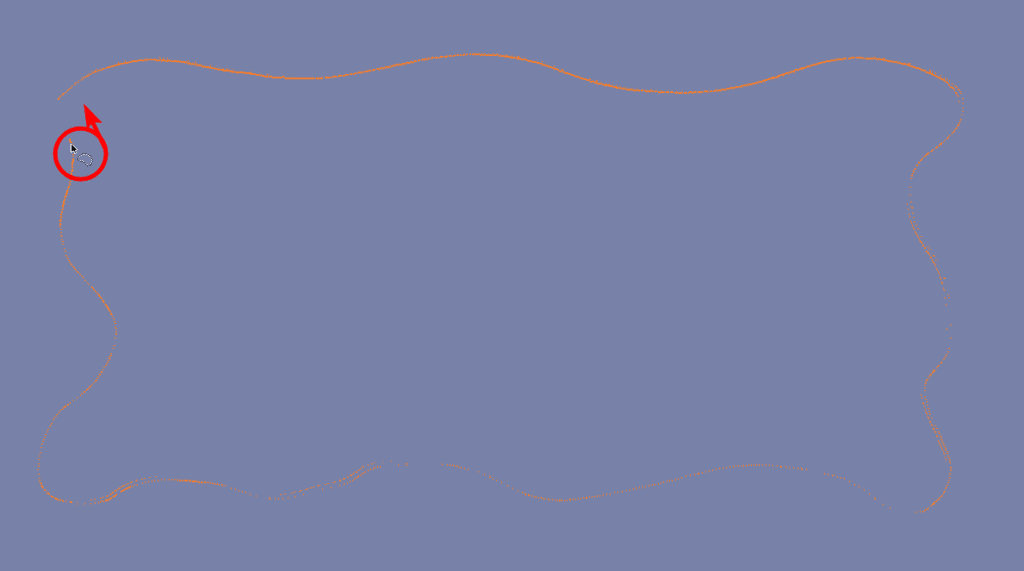
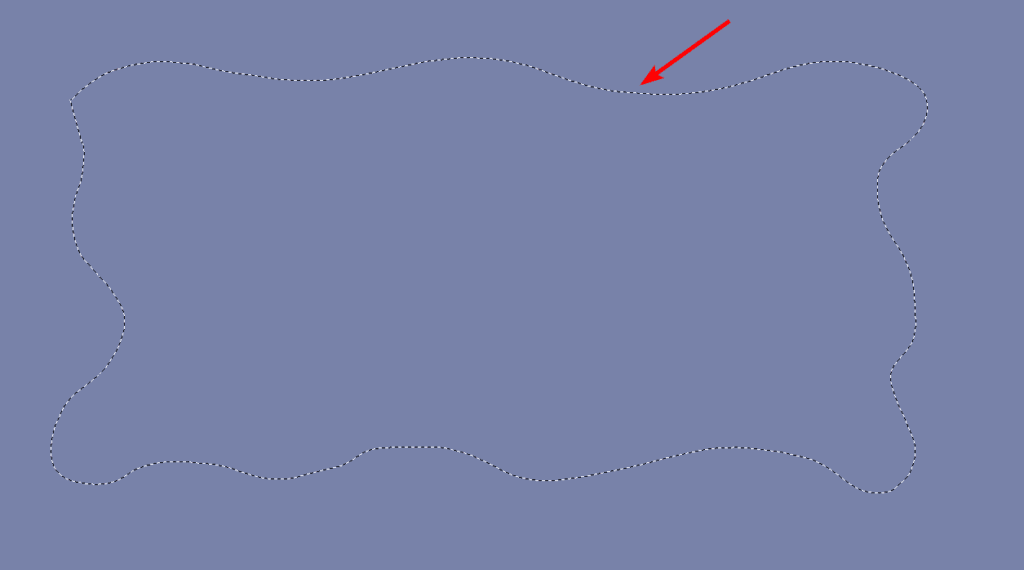
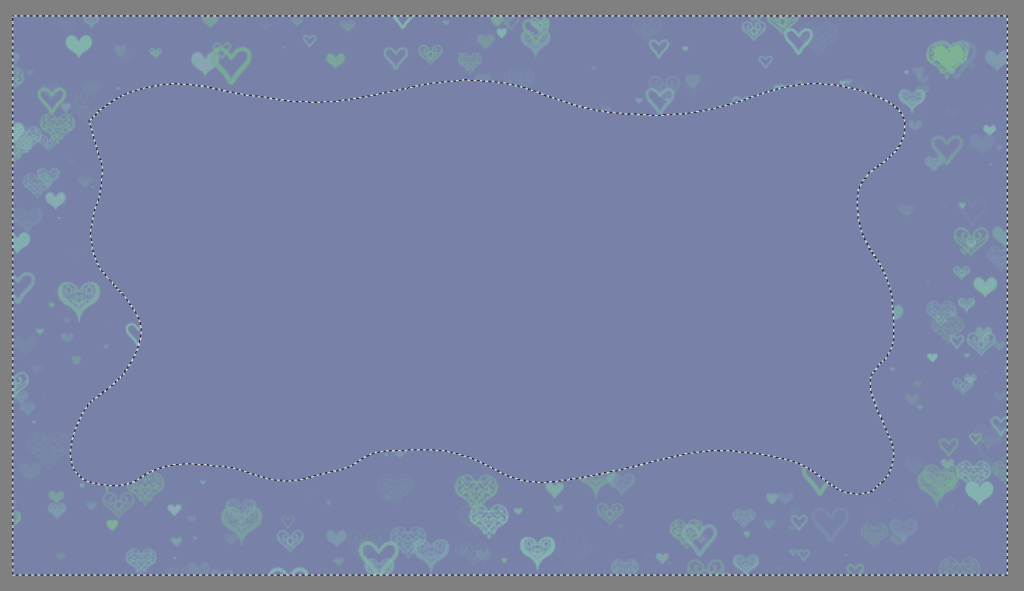
Once you close the selection or let go of the mouse, you will have a marching ants pattern showing the selected area. Here the section in the middle of the canvas is selected.
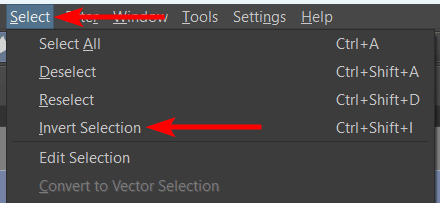
If you want the opposite selected, you can invert the selection. For instance, I want the edges of the canvas selected, so I need to invert it. To do this, go to Select > Invert Selection. You can also use the shortcut Shift + Control + I on Windows or Shift + Command + I (Mac).
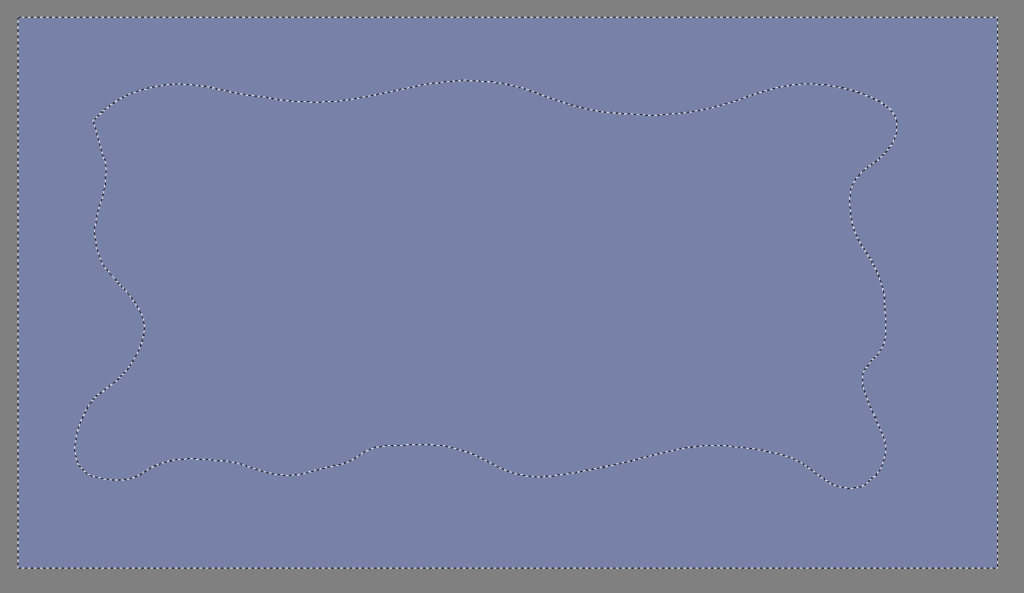
The selection is now around the edges of the canvas.
You can now edit the area within the selection as you want. You can cut the selection out, duplicate it, or add brush strokes to it. I will use the Heart Stamp to create a border for demonstration.
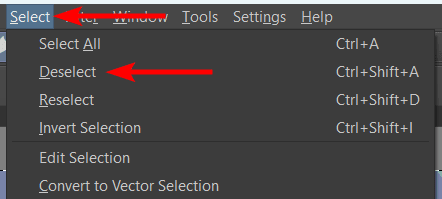
Once you have edited or added to the selection, you can deselect it by going to Select > Deselect or using the shortcut Shift + Control + A on Windows or Shift + Command + A on Mac.
You have successfully used the Freehand Selection Tool to edit a specific area on the canvas.

Shortcuts and Hotkeys When Using the Tool
Using the tool is as simple as clicking and dragging. However, there are a few shortcuts and hotkeys to know when using the tool to get the most out of this feature.
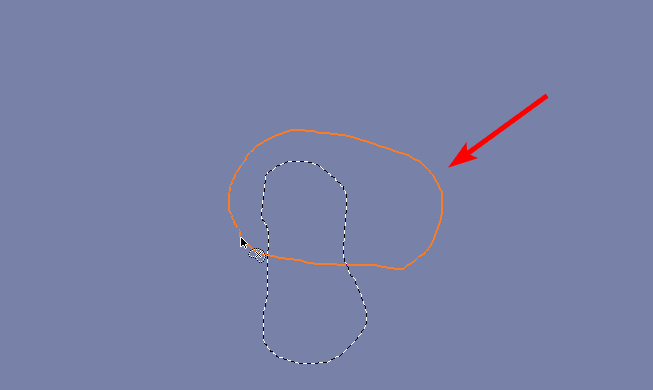
To add to a selection, hold in Shift while clicking and dragging to add to the selection. You can extend the selection or add a new one linked to the initial selection. You can let go of Shift while drawing, and the selection will continue adding until you let go of the mouse.
To subtract from the selection, hold in Alt on Windows or Option on Mac while clicking and dragging. The same rules apply as the add to selection function.
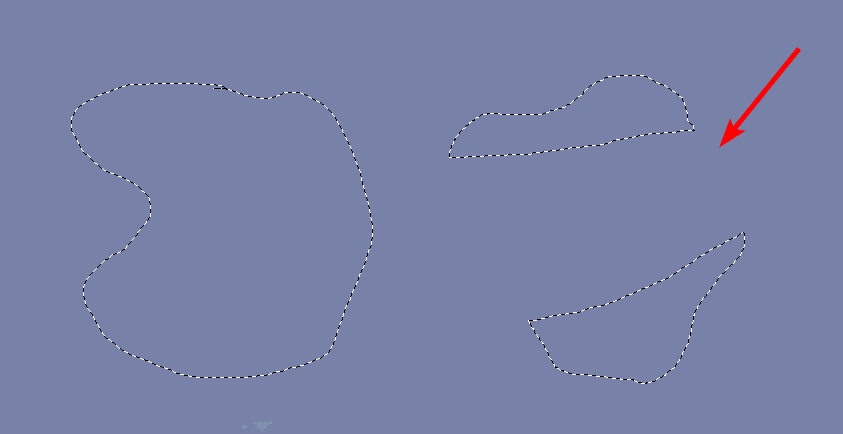
To replace the selection, hold in Control on Windows or Command on Mac. The same rules apply as above.
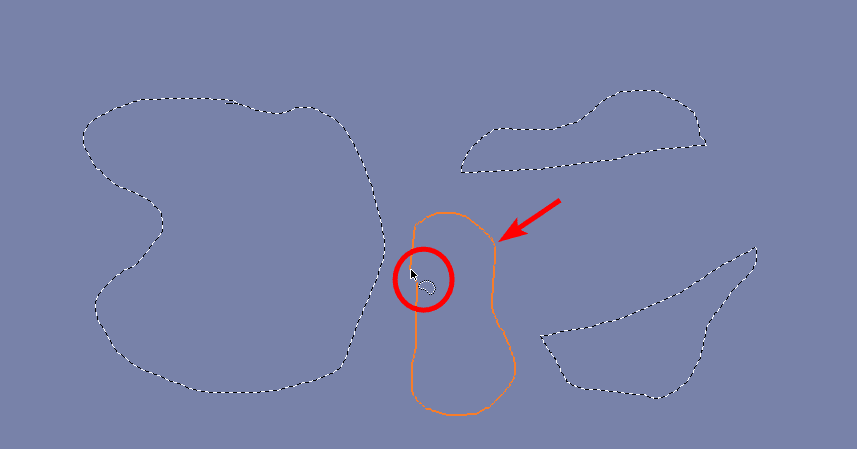
To intersect the selection with a new selection, hold in Shift + Alt on Windows or Shift + Option on Mac while clicking and dragging. The same rules as above apply.
Tool Options When Using the Freehand Selection Tool
When the Freehand Selection Tool is active, you have a few options to adjust in the Tool Options Docker.
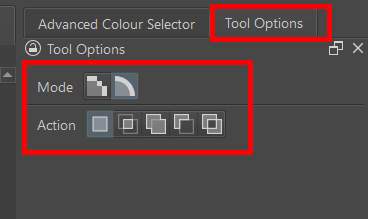
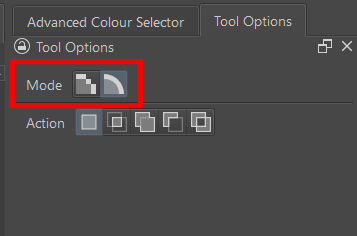
You can select the Mode to use the selection tool between Vector and Pixel. The first option is Pixel mode, which lets you modify selections containing pixel information, such as images.
The second option is the default, which is Vector mode, and this mode enables you to adjust the selection using vector anchor tools.
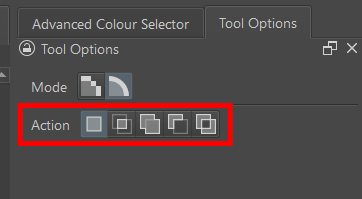
Below the mode are the various actions available, covered in the previous section. You can activate an action here instead of using a hotkey. The actions are in order from left to right.
Replace, Intersect, Add, Subtract, and Symmetrical Difference.
How to Edit the Selection
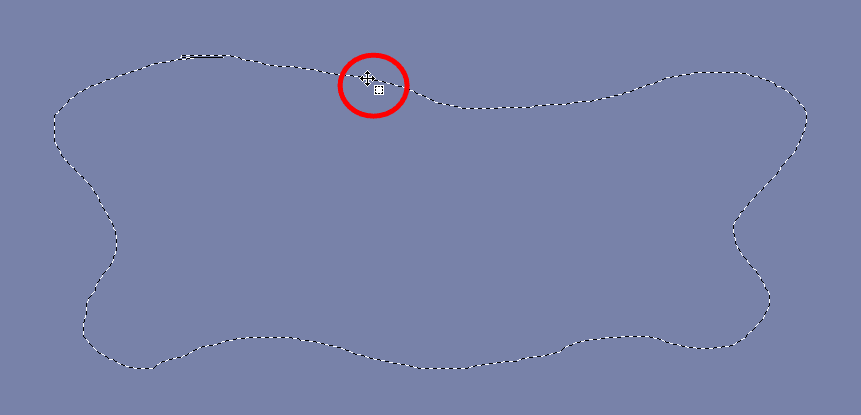
Once you have created a selection, you can edit it in a few ways. Firstly, you can move the selection by hovering the mouse over the marching ants pattern until the move icon appears. Then, click and drag to re-position the selection on the canvas.
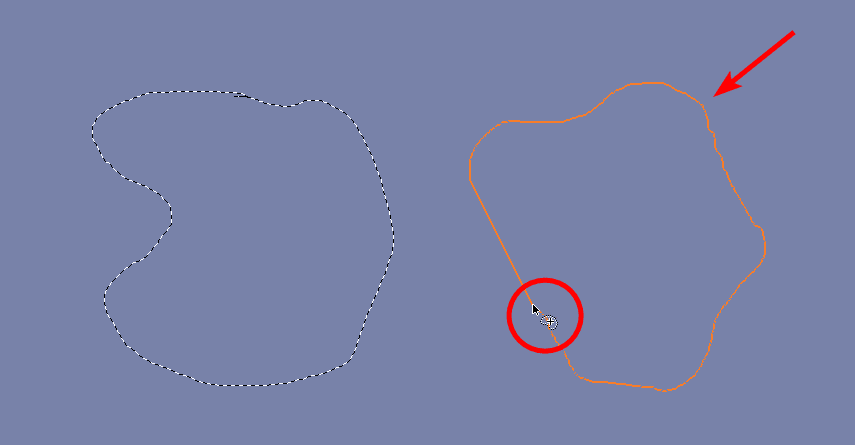
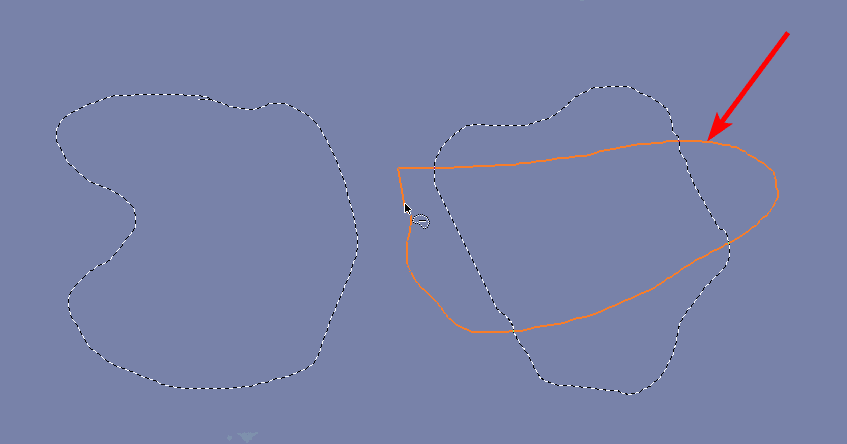
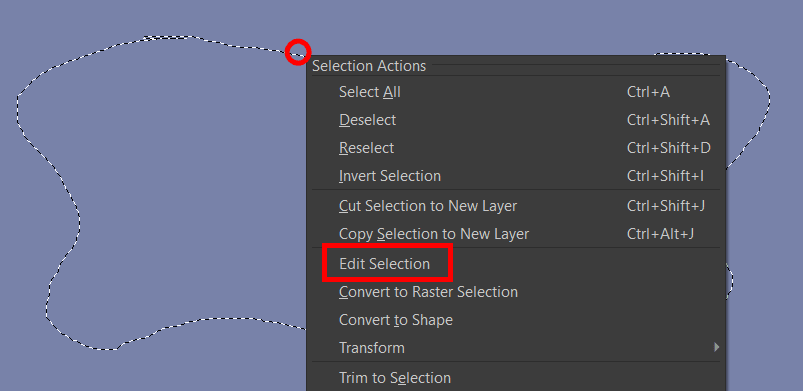
You can also right-click on the selection and choose Edit Selection. This gives you more options to adjust the selection, such as resizing it.
👍 Support Us: Subscribe to our channel and help us continue providing these tutorials.
🌟 Regular Updates: We publish how-to videos for Krita regularly!
🔧 Expert Guidance: Learn Krita from our professionals and uncover exclusive tips!
