

When using any of the Selection Tools in Krita, you can transform the selection in many ways. You can move it, resize it, or rotate it. This is a helpful function if you want to target specific areas on the image or drawing to turn without affecting the rest of the layer.
You can use this method to rotate a specific area or duplicate a selection and then turn it to mirror the area. This process allows you to reflect objects to complete the layout or drawing symmetrically.
I will be rotating one shape on a layer with multiple shapes to demonstrate.
Table of Contents
Overview of Rotating a Selection in Krita
- Activate the selection tool of choice
- Create a selection on the canvas
- Right-click and select Transform > Transform Tool
- Hover outside the transform box until the rotate icon appears
- Click and drag to rotate the selection
- Press Enter to accept the rotation
- Deselect the selection
How to Rotate a Selection in Krita Step-by-Step
You can use this method on any layer to selectively rotate objects. This helps if you have added several shapes to a layer and only want to rotate a few shapes, as rotating the layer will rotate everything.
I will rotate the center mountain shape while leaving the rest of the mountains as they are. All the shapes were added on the same layer, so I can't select an individual shape to rotate by rotating the layer. I will need to use a selection tool.
Activate the Selection Tool of Choice
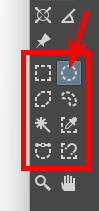
First, you need to activate one of the selection tools. This depends on what you want to select on the canvas. You can choose a set shape selection tool, such as the Rectangular, Elliptical, or Polygonal Selection Tool. You can also select any of the freehand, color-based, or magnetic selection tools.
I want to create a circle, which means I will select the Elliptical Selection Tool.
Create a Selection on the Canvas
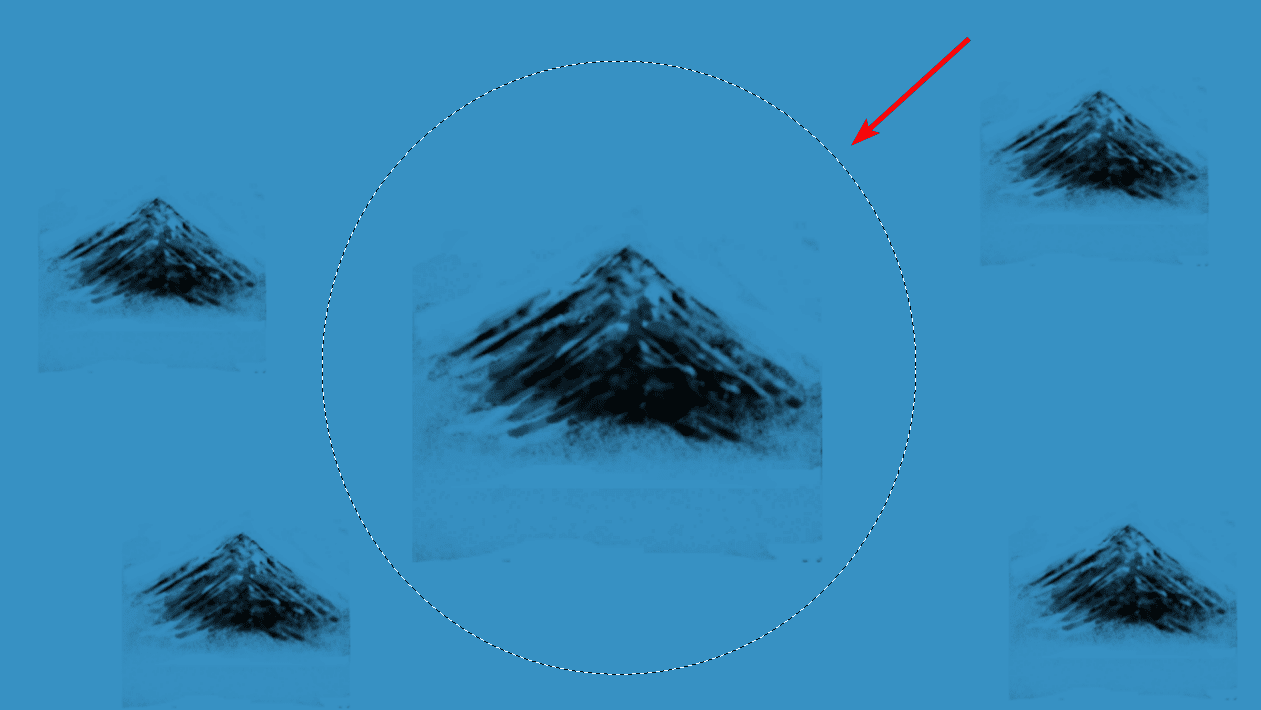
Once you have activated the selection tool you need, you can create the selection on the canvas. The method to create the selection will differ slightly depending on which tool you choose. However, generally, you will click and drag on the page to make it.
Right-Click and Select Transform > Transform Tool
Ensure you are happy with the selection. Remember, everything inside the selection will rotate, and it will be moved from the background. This means that the rotation may leave an open space if it doesn’t line up correctly.
When your selection is in place, right-click or Control + click inside the selection, then go to Transform > Transform Tool. You can also use the shortcut Control + T on Windows or Command + T on Mac.
Hover Outside the Transform Box Until the Rotate Icon Appears
Activating the Transform Tool changes the selection into a transform box. This may seem like the selection has gone, but it hasn’t. Now to rotate the selection, hover your mouse just outside the Transform box until you see the rotate icon appear.
Click and Drag to Rotate the Selection
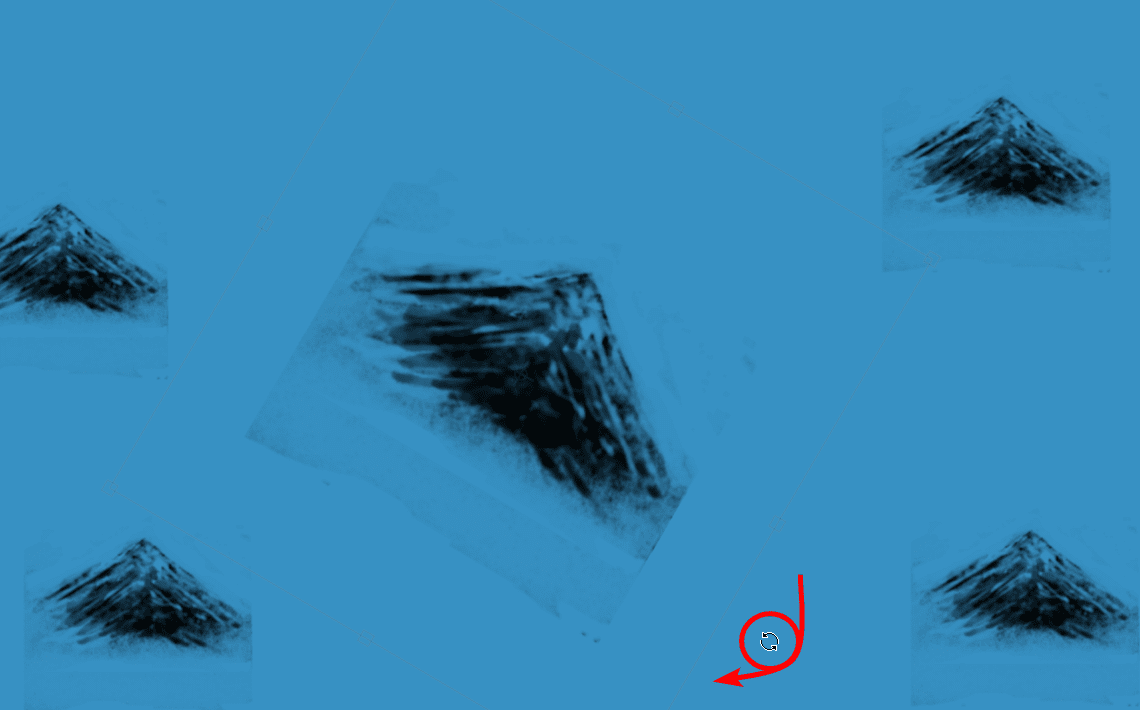
When you see the icon, you can click and drag up to rotate the selection anti-clockwise or drag down to turn the selection clockwise. Wait a moment after dragging to give the program time to move the pixels.
Press Enter to Accept the Rotation
Once you have rotated the selection enough, press Enter to confirm the transformation.
Deselect the Selection
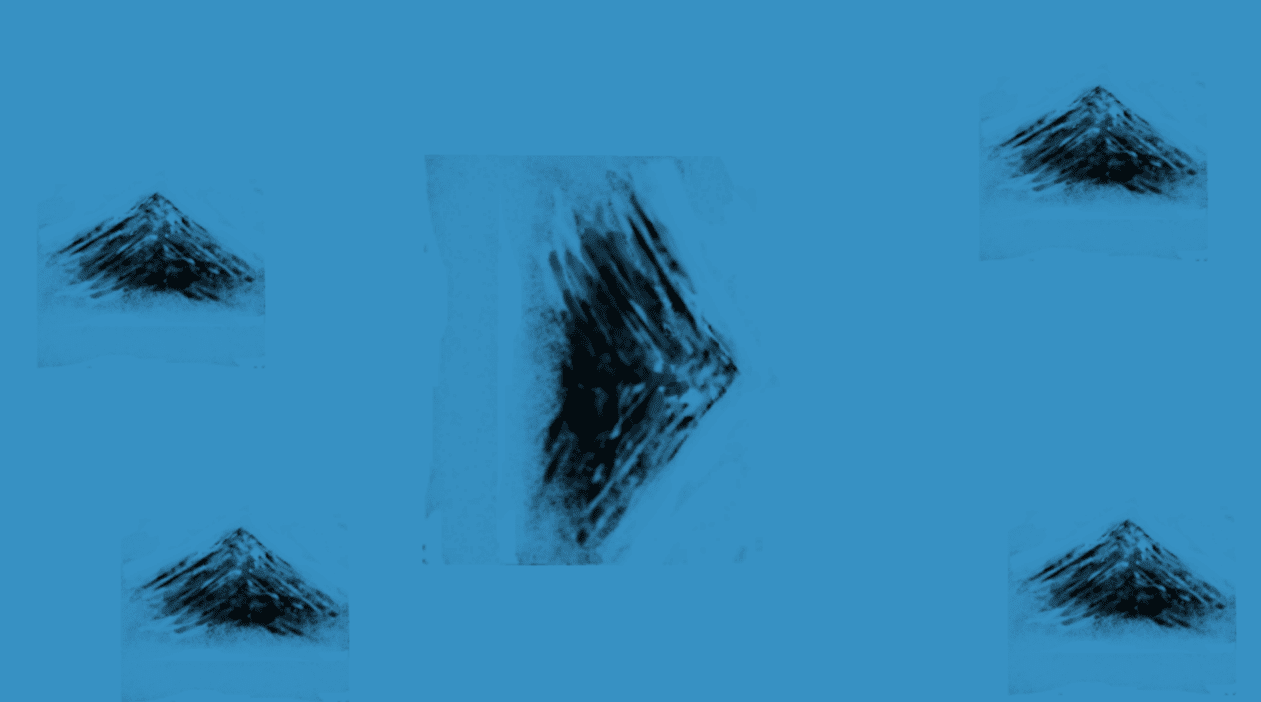
Your selection has been rotated, and you can now deselect the selection by pressing Shift + Control + A on Windows or Shift + Command + A on Mac. You will now have the pixels turned in your desired direction without affecting the rest of the photo or layer.
Tools:
- Krita
👍 Support Us: Subscribe to our channel and help us continue providing these tutorials.
🌟 Regular Updates: We publish how-to videos for Krita regularly!
🔧 Expert Guidance: Learn Krita from our professionals and uncover exclusive tips!
