
When creating digital drawings, you may not always have a steady hand, especially depending on the type of device you are using.
Luckily, as a digital drawing tool, Krita offers settings to use line smoothing in your workflow. You can adjust this setting at any time to help you create various lines on your canvas.
No matter what device you are using, you can use this setting to stabilize your brush. However, line smoothing does slow down the brush flow.
Table of Contents
How to Draw With Line Correction
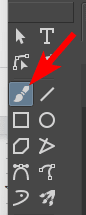
- Select the Brush Tool (B)
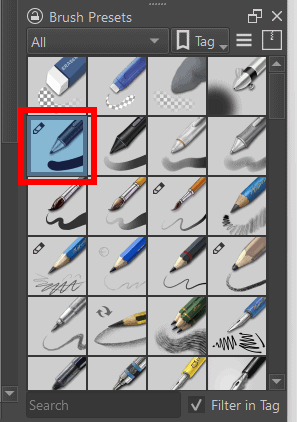
- Choose a brush preset
- Turn on Anti-Alias in the Brush Settings window
- Set the Stabilizer in the Tool Options Docker
- Draw smoother lines on the canvas
When you need to create smoother lines while using the freehand brush tool, you can easily adjust a few settings and create straighter lines with less jagged edges. I will demonstrate this using a mouse to show you how smooth you can get your lines even with a shaky device.
First, select the Brush Tool from the toolbar. You can also use the shortcut by pressing B to access the freehand brush.
Then, choose a brush preset from the preset docker. The stabilizer works with any brush.
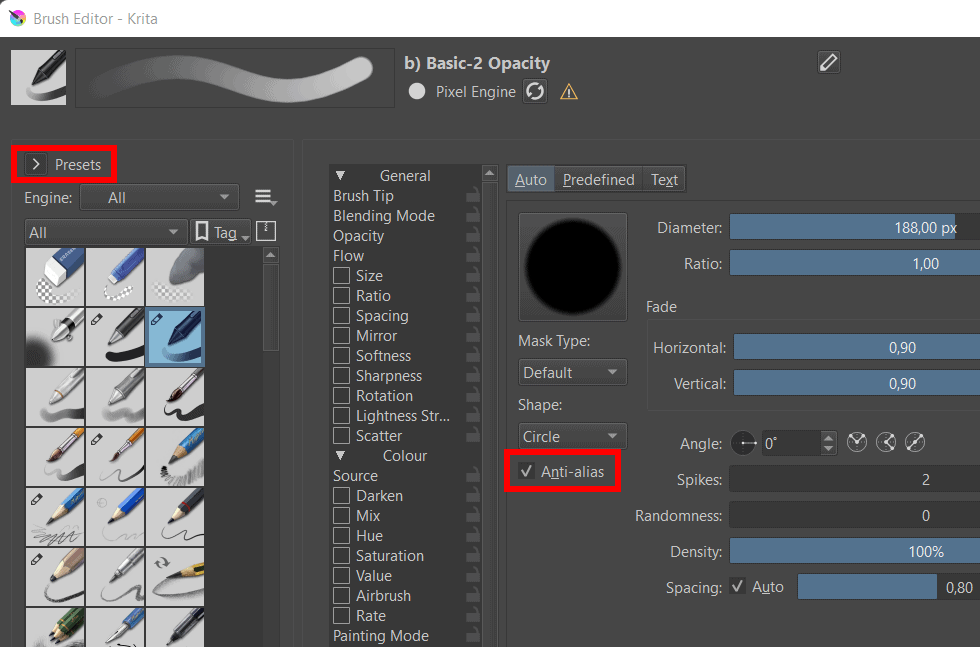
Then, check if the brush has the option to toggle anti-alias on and off, and if it does, turn it on to remove jagged edges from the brush strokes. Go to the brush settings by clicking on the Edit brush settings icon in the top settings bar.

Open the Presets tab on the left if you want to try other brushes or choose a different one. Then find the Anti-alias option (if the brush has one) and ensure the box is checked to keep the option turned on.
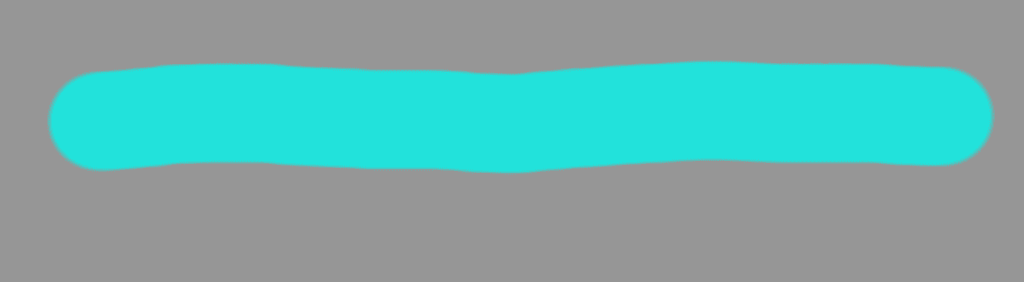
Exit the window and draw a line as straight as possible. Here is how my line turned out while I was trying my best to draw a smooth line. The anti-alias option helps prevent the small jagged edges, but my line is still shaky.
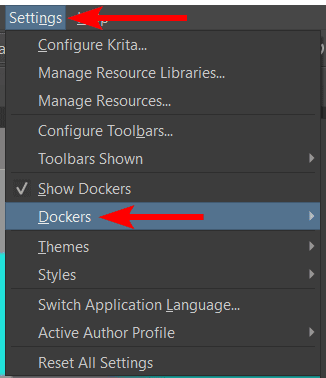
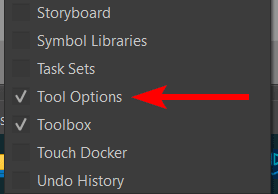
Now, go to the Tool Options docker to add the smoothing effect. If you can’t find the docker in your workspace, go to Settings > Dockers > Tool Options. You’ll find it near the bottom of the list.
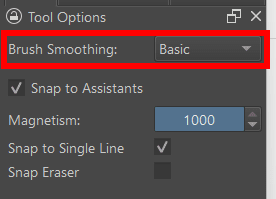
In the Tool Options Docker, find the Brush Smoothing option, which has a drop-down menu next to it.
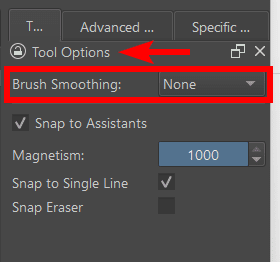
There are a few options, which I will explain in detail in the next section. For now, select Stabilizer from the options.

Then, increase the Sample Count and Delay sliders by moving them to the right. The higher these two options are set, the more smoothing the brush will have. Remember that the smoother the brush is set, the more lag you will get while drawing.
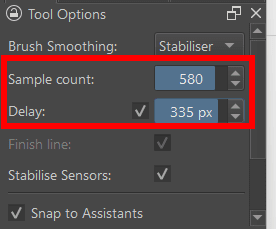
Now, when you draw on the canvas, you will notice a large circle around your brush tip. This indicates the amount of delay on the brush.

Click and drag to create a smooth line on your canvas. Notice the difference between the two lines I have drawn using a mouse. The bottom line is with the Stabilizer option selected, the Sample Count at 500, and the Delay at 335 px.

Adjusting How Your Lines Will Be Corrected
The Stabilizer Smoothing option is the most extreme of the options, especially when setting the Sample Count and Delay relatively high. This option may slow down the brush stroke too much for your workflow.
However, there are other options to choose from which may work better for your project. Here are the various options and the available settings.

None (No Smoothing)
The smoothing is set to None by default. When no smoothing is set, the brush stroke appears exactly how you draw it on the tablet or mouse. This creates the fastest line.

Basic Smoothing
Basic Smoothing applies a slight amount of smoothing to the brush to remove hints of jaggedness. This setting works best for smoothing the input from older tablets that create slightly jagged lines.
Weighted smoothing
Using the following settings, you can use Weighted Smoothing to control the amount of smoothing you want on your lines by either making the effect weaker or stronger.

Distance
The distance determines how far the brush needs to move before the first paint is drawn. This translates to how many actions the device receives before the paint appears on the canvas.
Stroke Ending
The stroke ending setting determines how accurate the line is in reaching the last position of the cursor when the brush is lifted. This creates a straight line between the starting and end point of the line you draw.
Smooth Pressure
Turn on smooth pressure to apply smoothing based on the pressure input.
Scalable Distance
Turn on scalable distance to ensure the previous settings are scaled along the zoom amount.
Stabilizer
The Stabilizer option takes an average of all the inputs to create a smooth line. This option is different from weighted smoothing because it always completes the line.
When the stabilizer option is set, a secondary line appears around the brush tip, and the circles will be behind your cursor while painting.
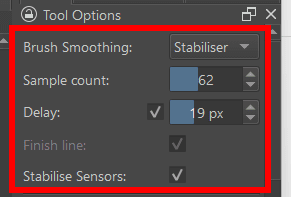
Sample Count
The sample count is the strength of the smoothing.
Delay
This setting determines the amount of dead zone that sits around the cursor. Use this zone to have more control when creating sharp corners.
Finish Line
Check this option to make sure the line is finished.
Stabilize sensors
Use this setting to ensure the input, including the speed, tilt, and pressure, is smoother.
👍 Support Us: Subscribe to our channel and help us continue providing these tutorials.
🌟 Regular Updates: We publish how-to videos for Krita regularly!
🔧 Expert Guidance: Learn Krita from our professionals and uncover exclusive tips!
