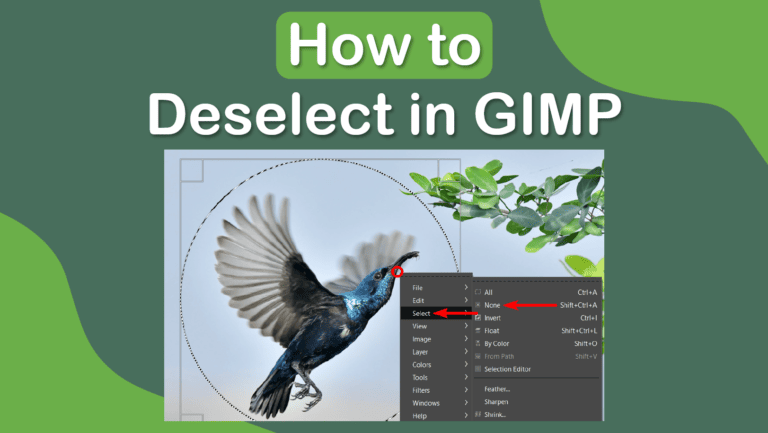
To Deselect a selection in GIMP, you can use one of four methods, with the keyboard shortcut Shift + Control + A on Windows or Shift + Command + A on Mac being the quickest.
However, once you are finished with an edit, you need to know how to delete the selection so you can continue working on the rest of the picture, and here’s how to do that.
Table of Contents
4 Ways to Deselect in GIMP
There are four main ways to deselect a selection in GIMP, and the method you use depends on your workflow and preferences, as they are all quick and effective. These methods work for all of the selection tools.
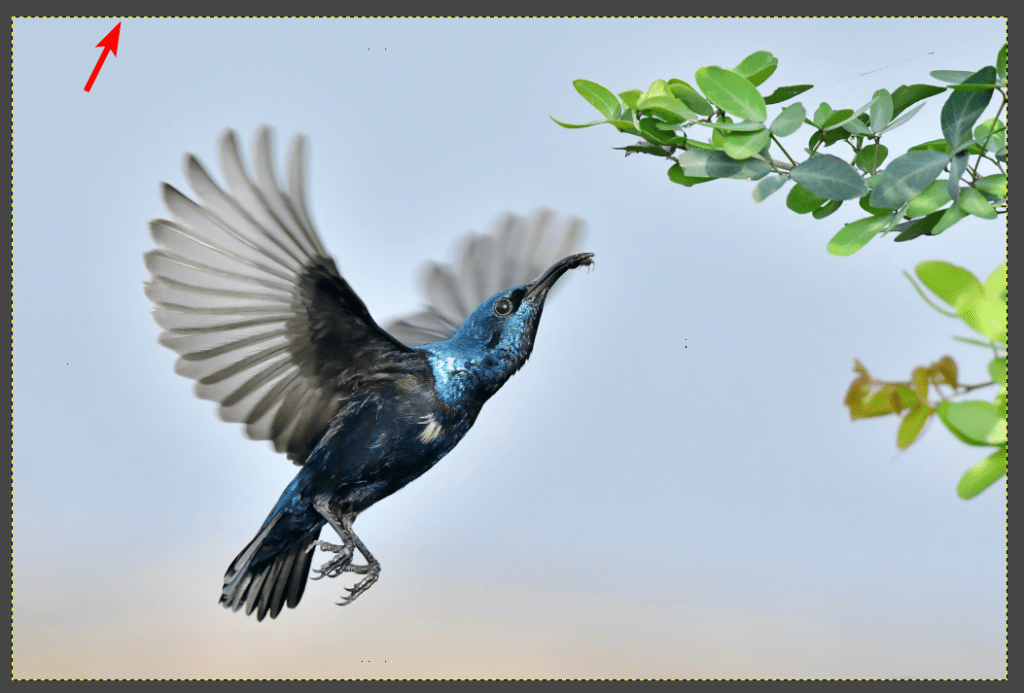
I will demonstrate these methods using this Purple Sunbird in flight image from Unsplash.
1. Using the Keyboard Shortcut
The quickest way to deselect in GIMP is to use the keyboard shortcut. This method works best as you can use it while any tool is active, and it won’t disturb your workflow. The shortcut is:
On Windows: Shift + Control + A
On Mac: Shift + Command + A
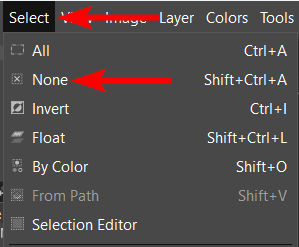
2. Using the Menu Path
The next method is to use the menu path by going to Select > None. This removes all the selections on the canvas if you have created more than one selection at a time.
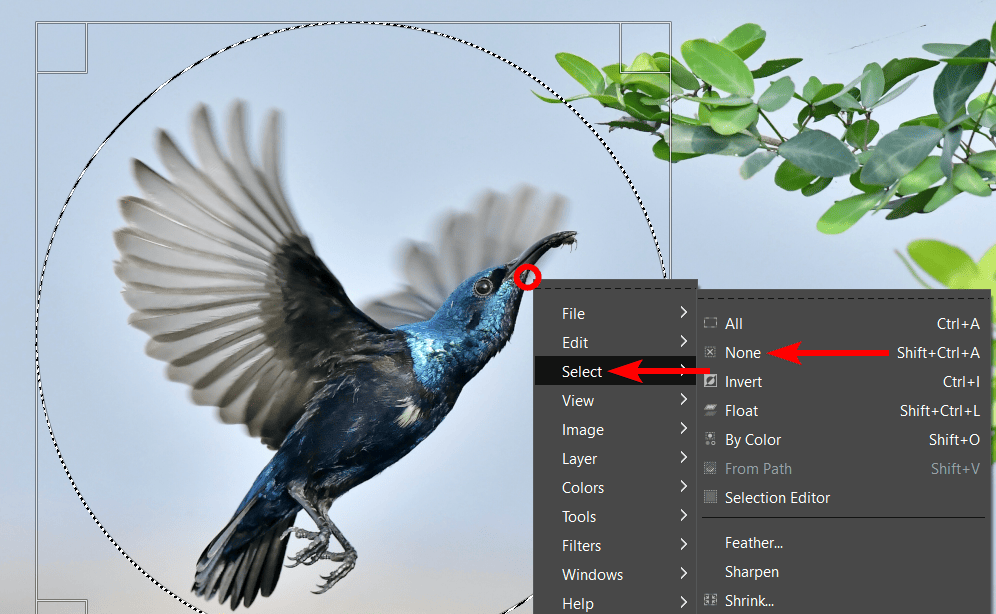
3. Using the Pop-Up Menu
This method is similar to the menu path, but you can access it directly on the canvas. To use the pop-up menu, right-click anywhere on the canvas and then go to Select > None.
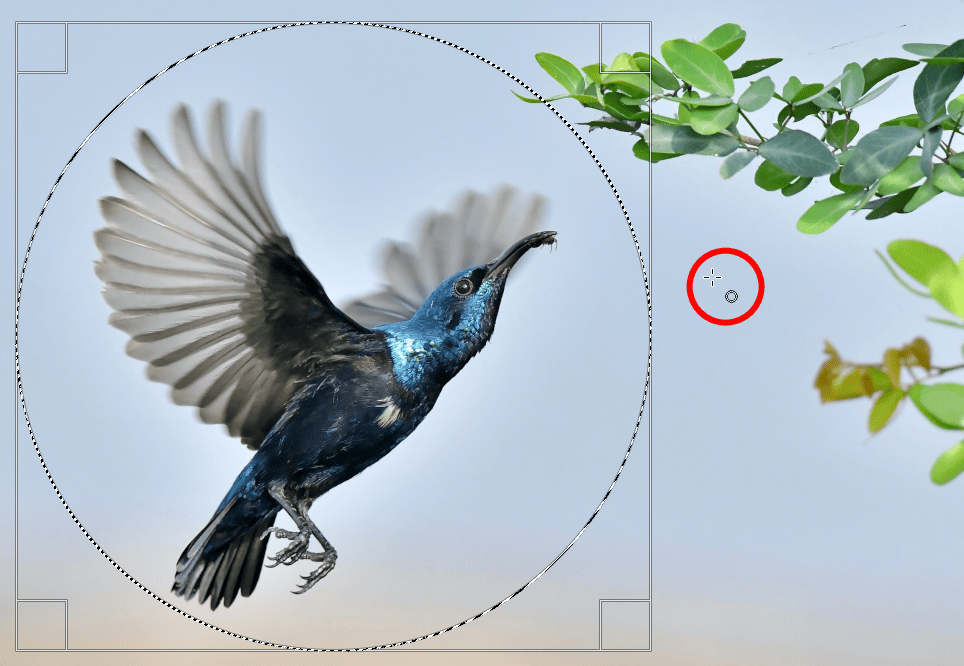
4. Clicking Outside the Selection
Lastly, you can also deselect a selection by simply clicking on any part of the canvas outside of the selection. You can only use this method while you have a selection tool active, which makes it easy to delete your current selection and create a new one.
How to Disable the Layer Boundary Selection
If you have tried the deselect methods above and still see a selection around the image, this is likely the layer boundary selection. This is a standard feature in GIMP that shows which layer is selected, indicated by a yellow and black dotted line around the layer boundaries on the canvas.
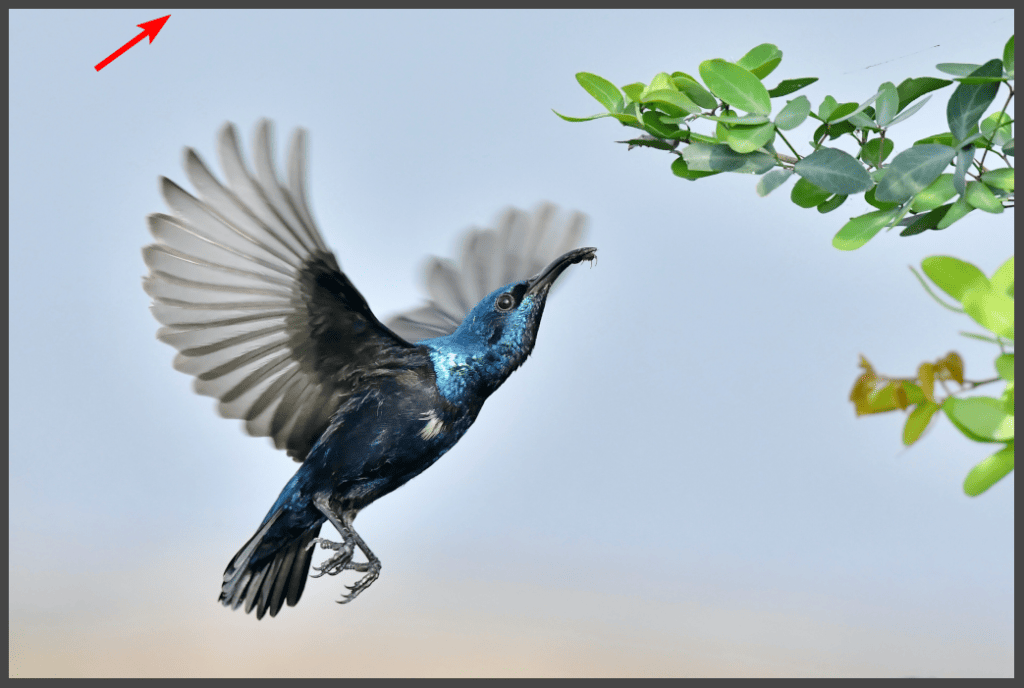
You can turn off this boundary line so that it doesn’t show on the canvas if you’d like. To turn off the layer boundary selection, go to View > Show Layer Boundary.
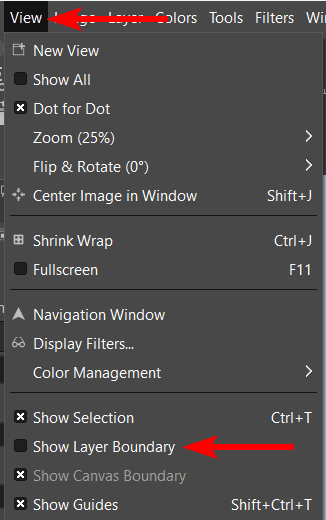
Ensure the box next to it doesn’t have an x inside, and the layer boundary will be disabled.
👍 Support Us: Subscribe to our channel and help us continue providing these tutorials.
🌟 Regular Updates: We publish how-to videos for GIMP regularly!
🔧 Expert Guidance: Learn GIMP from our professionals and uncover exclusive tips!