Whatever the cause of the missing toolbars or individual tools, here are all the ways you can restore your GIMP workspace to view all the panels and toolbars you need to continue designing.
Table of Contents
How to Show Toolbox to Restore Missing Tools
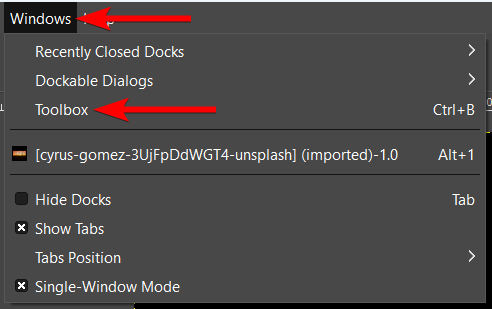
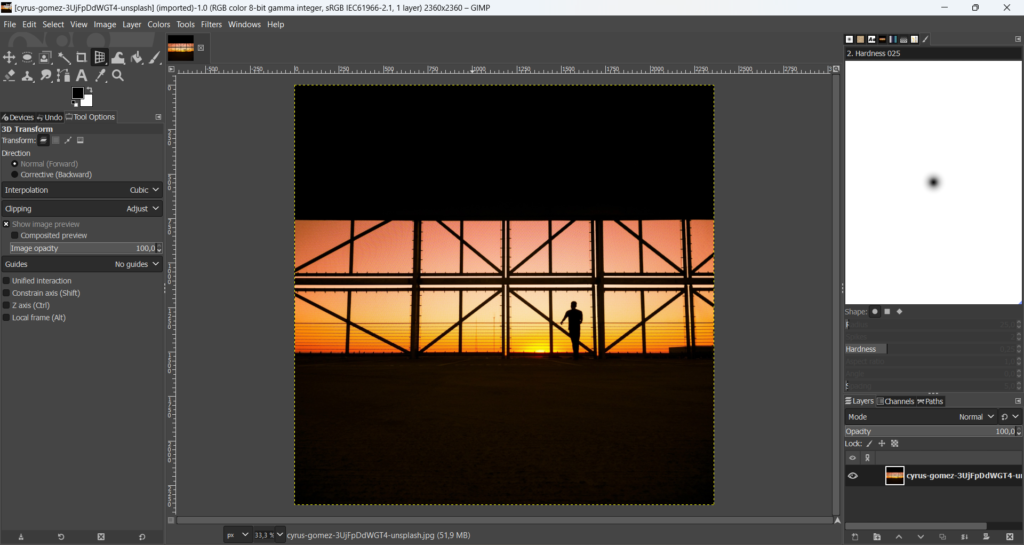
One of the most important docks in GIMP is the toolbox, which contains all the necessary editing tools such as Crop, Text, Shape tools, and more. If this dock is closed accidentally or hidden, you can re-open it easily.
To show the Toolbox dock, go to Windows > Toolbox. You can also use the shortcut Control + B on Windows or Command + B on Mac.
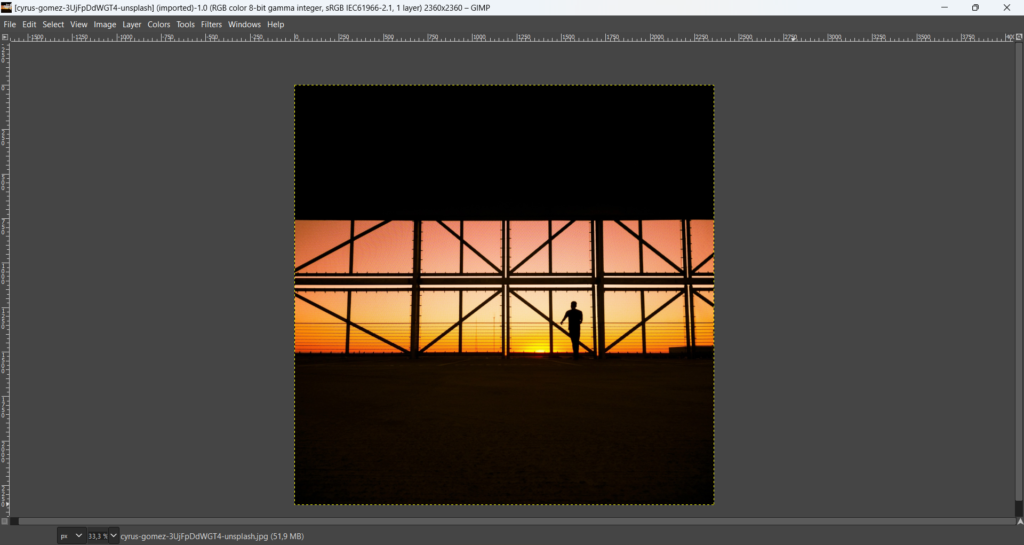
After following the menu path or using the shortcut, the Toolbox will be visible on the left-hand side of the workspace.

If this method doesn’t work and the Toolbox is still hidden, you can use the next method to restore all the panels or the last section to reset the entire GIMP workspace.
How to Restore All The Panels (Hidden Docks)
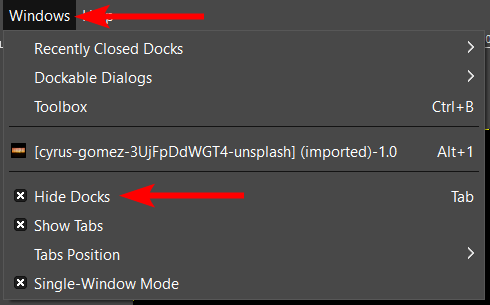
GIMP has the option to hide all the docks, which allows you to focus on the project in the workspace without tools and settings distracting you. This mode means you can’t see any docks except for the menu bar.
You can access this mode by pressing Tab on your keyboard. If you want to exit the mode and view all the panels again, you can exit the mode by going to Windows > Hide Docks or pressing Tab to toggle back to the normal mode.
You will now be able to see all the open panels once more.
How to Open an Individual Panel (Dockable Dialogs)
If your panels are visible in the workspace, but there is a panel that is missing that you need to use, such as the Tool Options or the Brushes dock, you can open individual toolbars.
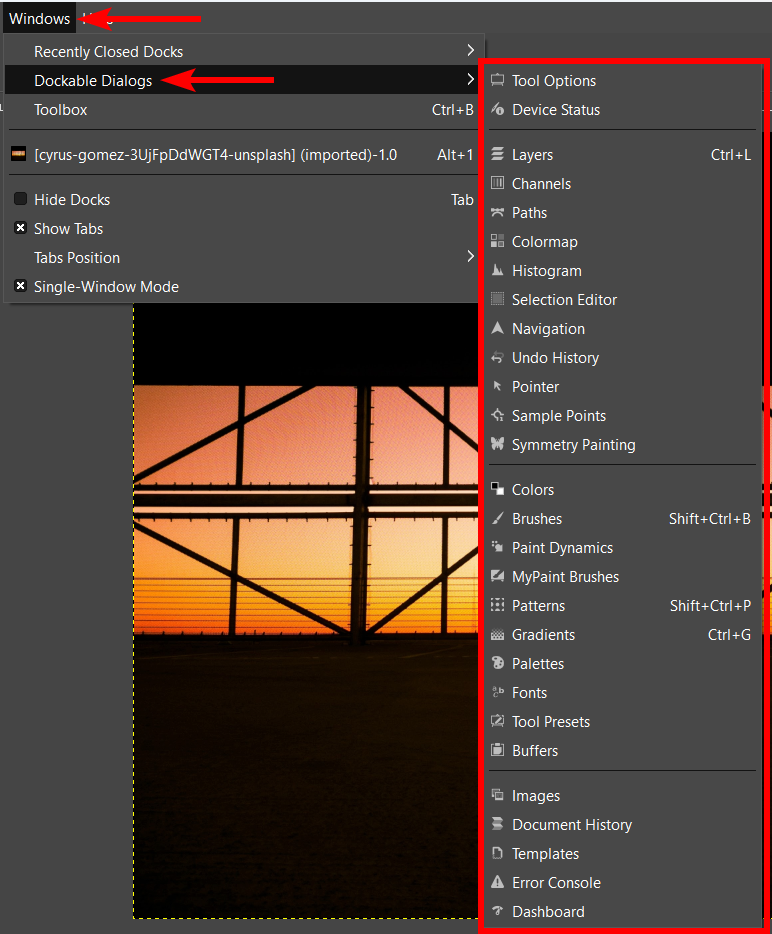
To open a specific toolbar in GIMP, go to Windows > Dockable Dialogs and select the dock you want to open by clicking on it. A few docks have shortcuts to open them, which you will see next to the dock name.
How to Reset the GIMP Workspace to Default
If you have tried the methods above and you still can’t open or find the dock you need, you can reset the workspace to the default workspace. This method will revert the space to the original one that was visible when you first downloaded the program.
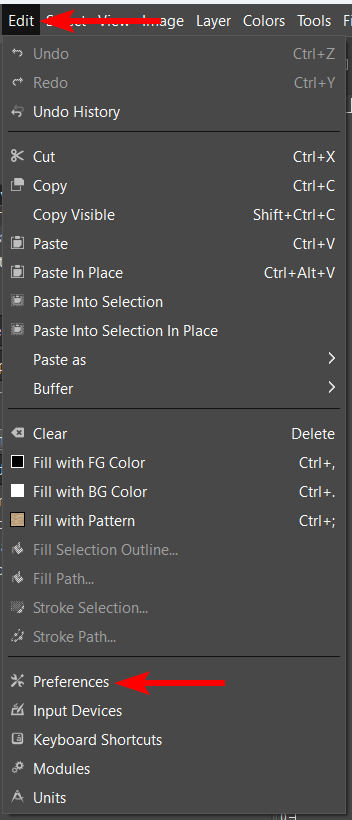
To reset the GIMP workspace, go to Edit > Preferences. This will open up the various settings you can adjust in the program, such as the display and system resources options.
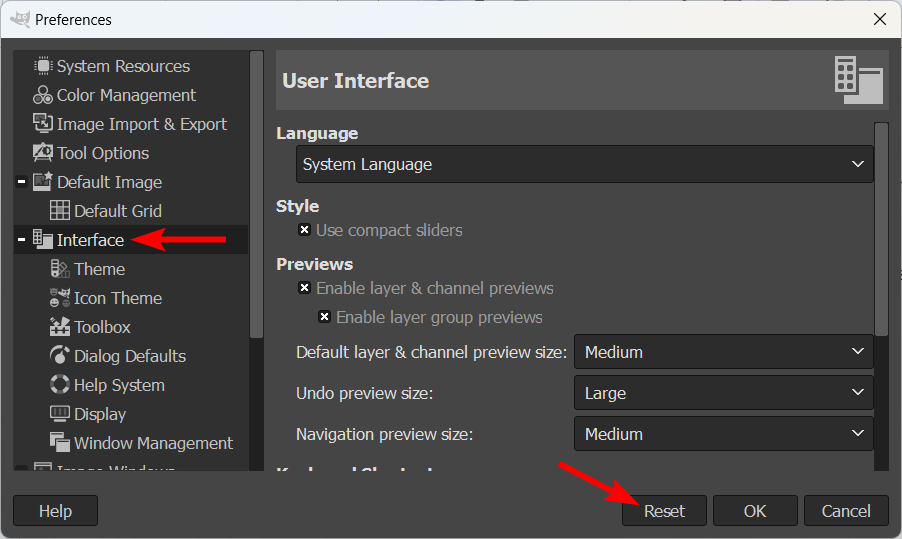
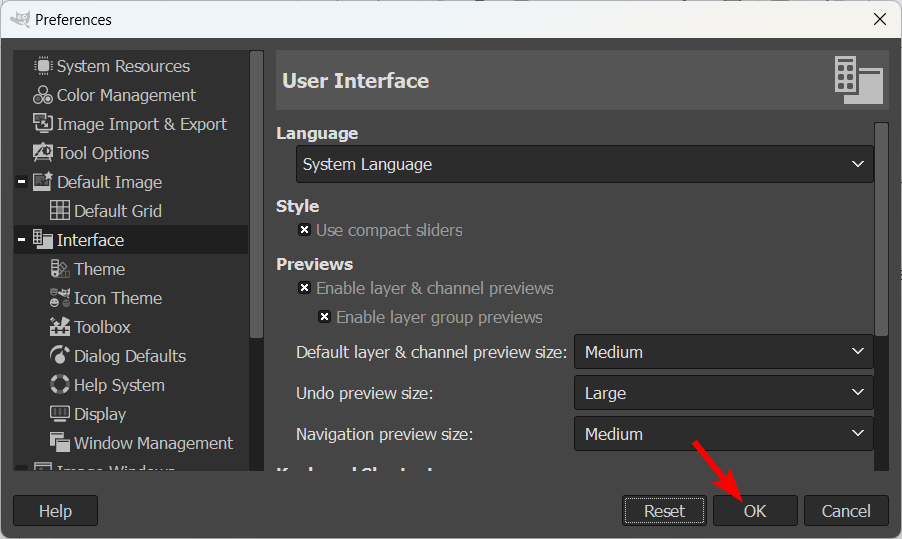
You can move through the different tabs in the Preferences Panel to reset any areas you’d like. To reset the interface containing the panels, open the Interface tab, then click Reset in the bottom right corner.
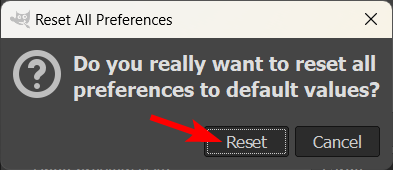
You will then be asked to confirm the reset. Click on Reset again to confirm.
Then, click on OK to close the dialog box.
GIMP will notify you that you must restart the program to see the changes. Exit and re-open GIMP to see the interface restored to the default settings, which should show you all the necessary docks.
👍 Support Us: Subscribe to our channel and help us continue providing these tutorials.
🌟 Regular Updates: We publish how-to videos for GIMP regularly!
🔧 Expert Guidance: Learn GIMP from our professionals and uncover exclusive tips!