
There are three methods to move patterns in Illustrator, depending on how you want to move the pattern.
- You can use the Tilde key shortcut, which lets you move the pattern within an object in small increments.
- You can use the Transform panel to drastically move the position of the pattern by inputting the exact new position you want.
- You can use the Move Tool to set a new position for the pattern using the exact positioning.
When using these methods, there are a few things to note, such as ensuring the tool settings are set to move the pattern only and not the object. Here’s how.
Method 1: Using the Tilde Key
The tilde key (~) is a handy shortcut for moving patterns within an object. You can use it to adjust the position and alignment of the pattern without affecting the object itself. To use this method, follow these steps:
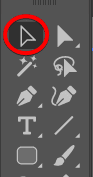
First, enable the Selection Tool (V) and then select the object with the pattern fill.
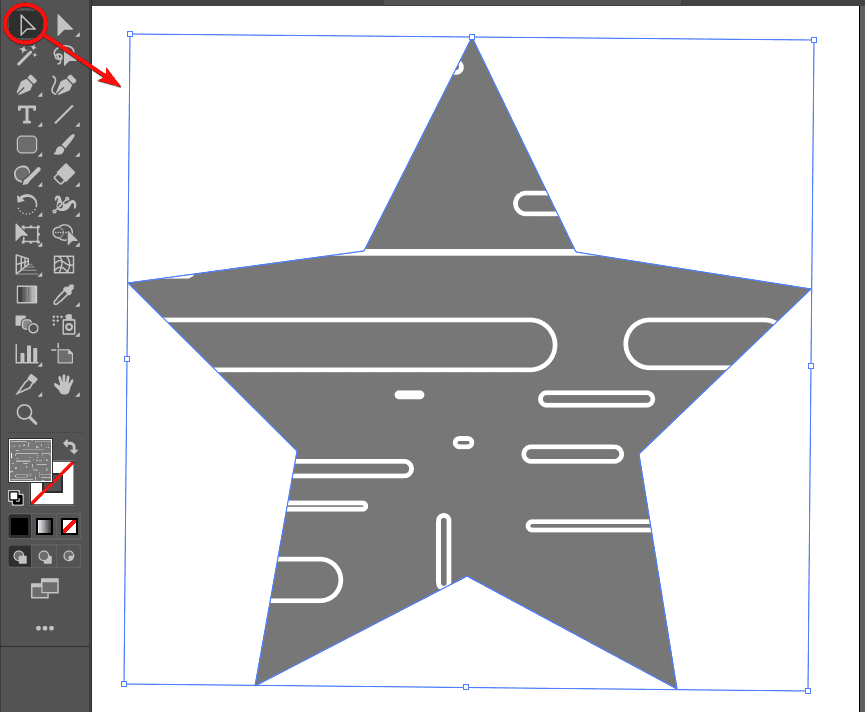
Hold down the Tilde key (~) and use the arrow keys to move the pattern in any direction. You will see the pattern moving within the object. Release the Tilde key (~) when you are happy with the new position of the pattern.

Method 2: Using the Transform Pattern Tiles Option
The Transform Pattern Tiles option is a valuable way to move patterns within an object using the Transform panel. You can use it to change the position, scale, and rotation of the pattern with precise values. To use this method, follow these steps:
Activate the Selection Tool (V) and select the object with the pattern fill inside.
Go to Window > Transform or press Shift + F8 to open the Transform panel. You will see various options for transforming the object and the pattern.
Click on the hamburger menu icon at the top of the panel and select Transform Pattern Only.
Use the Move inputs (X and Y boxes) to set the horizontal and vertical distance of the pattern from the object. You can type a value or use the up and down arrows to increase or decrease the distance.
You have now moved the pattern inside the object.
Method 3: Using the Move Tool
The Move tool is another way to move patterns within an object using a dialog box. You can use it to change the position and alignment of the pattern with specific values. To use this method, follow these steps:
Use the Selection Tool (V) from the Tool panel to select the object with the pattern inside.
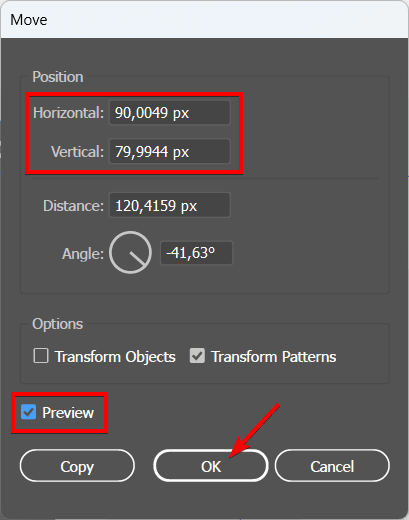
Double-click the Selection Tool in the Tools panel to open the Move dialog box. You will see various options for moving the object and the pattern.
Deselect the Transform Objects option and select the Transform Patterns option. This will allow you to move only the pattern within the object.
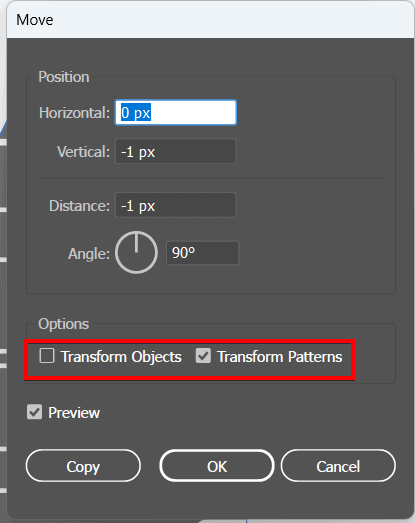
Use the Horizontal and Vertical inputs to set the distance of the pattern from the object. You can type a value or use the up and down arrows to increase or decrease the distance. Enable the Preview option to see the movement on the canvas. Click OK to apply the movement.
Your pattern will be moved inside the object.

👍 Support Us: Subscribe to our channel and help us continue providing these tutorials.
🌟 Regular Updates: We publish how-to videos for Adobe Illustrator regularly!
🔧 Expert Guidance: Learn Illustrator from our professionals and uncover exclusive tips!
