
There are three ways to Embed Images in Illustrator:
- You can use the Links Panel to see an overview of all the linked images in your design
- You can use the Embed button for the fastest embedding method
- You can use the Place Command to control the size of the image in the document
Once you have embedded an image, you can unembed the image at any point by clicking the unembed button in the Links Panel. You can also relink embedded images using the Relink button in the Links Panel if your pictures have moved location on your device.
Method 1: Using the Links Panel
- Go to File > Place to Add an Image to Your Artboard
- Open the Links Panel From the Properties Panel
- Open the Hamburger Menu and Select Embed Images(s)
- Hover Over the Image to Confirm It’s Embedded
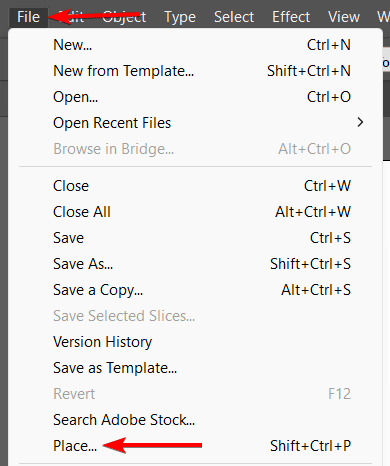
Go to File > Place to Add an Image to Your Artboard
Create a new document in Illustrator and place an external image on your artboard. You can do this by going to File > Place or pressing Shift + Control + P on Windows or Shift + Command + P on Mac and choosing an image file from your computer. Alternatively, you can drag and drop an image file from your desktop or a folder into your document.
Click and drag to add the image to the canvas where you want it.
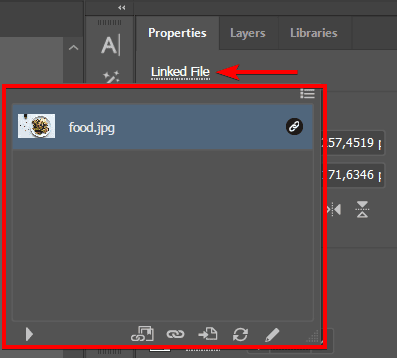
Open the Links Panel From the Properties Panel
Select the image and go to the Links Panel. You can access it from the Window menu or the Properties Panel. In the Links Panel, you will see the name, status, and options of your linked image.
Open the Hamburger Menu and Select Embed Images(s)
To embed the image, click the hamburger menu and select Embed Images(s) from the options.
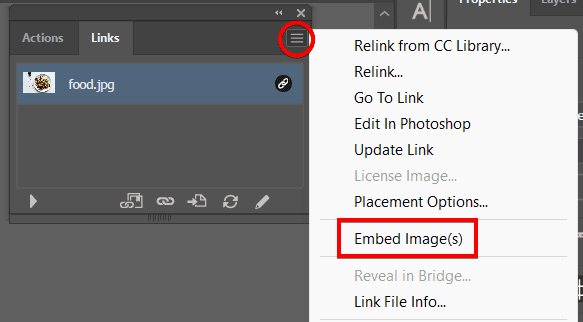
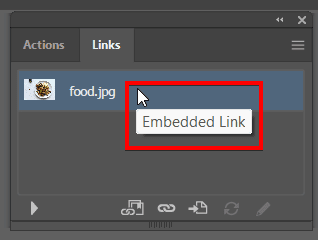
Hover Over the Image to Confirm It’s Embedded
To confirm that the image has been embedded, hover over the image name in the Links Panel, and you will see “Embedded Link” if it has worked correctly.
Method 2: Using the Embed Button
- Go to File > Place to Add an Image to the Artboard
- Click on the Embed Button in the Properties Panel
Go to File > Place to Add an Image to the Artboard
Create a new document in Illustrator and place an external image on your artboard. You can do this by going to File > Place or pressing Shift + Control + P on Windows or Shift + Command + P on Mac and choosing an image file from your computer. Alternatively, you can drag and drop an image file from your desktop or a folder into your document.
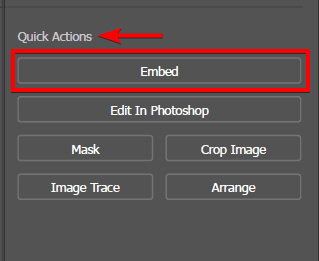
Click on the Embed Button in the Properties Panel
Select the image and go to the Properties Panel. You will see a set of options and Tools related to your image. If you don’t see the panel, go to Window > Properties to open it.
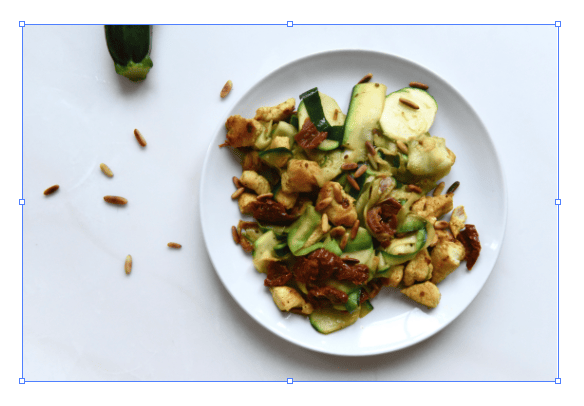
To embed the image, click the Embed button under the Quick Actions.
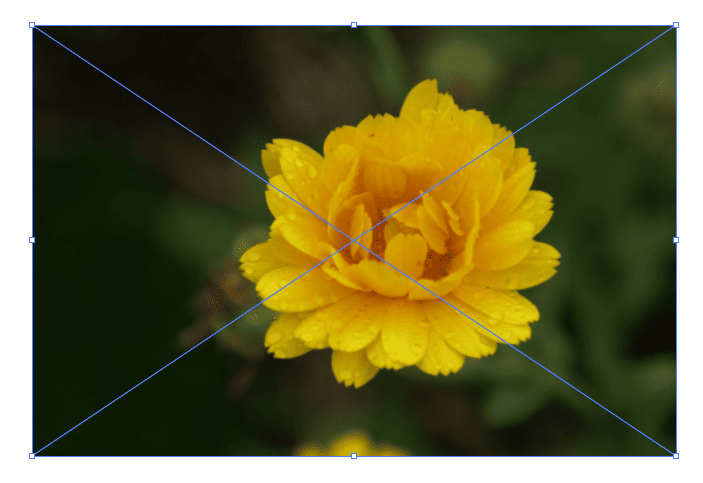
You will know your image is embedded when there are no longer light blue diagonal lines over the image.
Method 3: Using the Place Command
Go to File > Place to Select An Image From Your Device
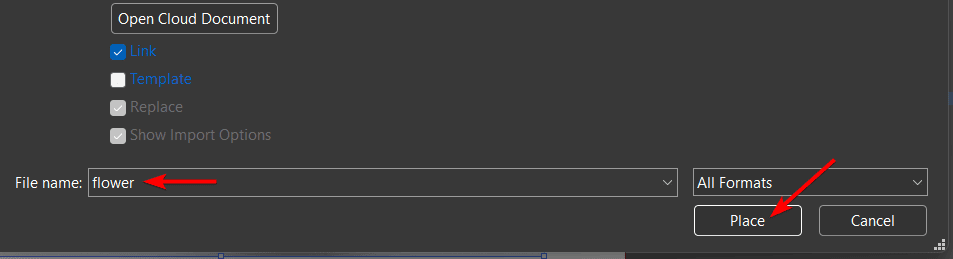
Create a new document in Illustrator and go to File > Place or pressing Shift + Control + P on Windows or Shift + Command + P on Mac. A dialog box will appear, where you can choose an image file from your computer.
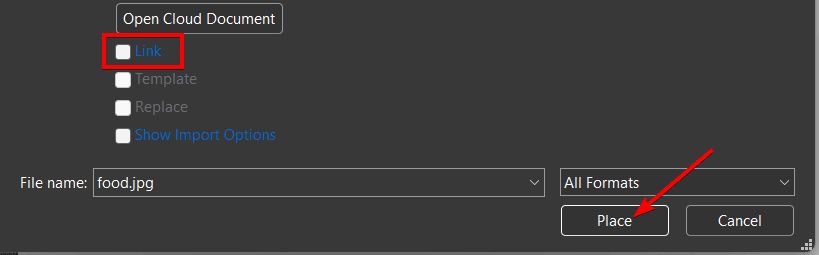
Disable the Link Option and Click Place
Before you click Place, disable the Link option at the bottom of the dialog box. This will ensure that the image is not linked but embedded in your document. Click Place and drag the image on your artboard to place it. You can also click once on the artboard to place the image at its original size and position.
How to Unembed Embedded Images
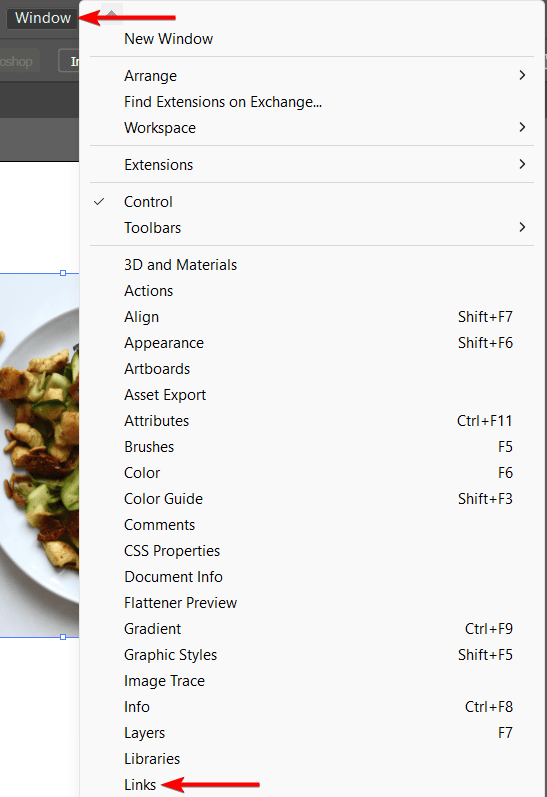
- Open the Links Panel by Going to Window > Links
- Select the Hamburger Menu and Select Unembed
- Choose a Save Location and Name and Click Save
Open the Links Panel by Going to Window > Links
Select the embedded image and open the Links Panel by going to Window > Links. You will see the name, status, and options of your embedded image.
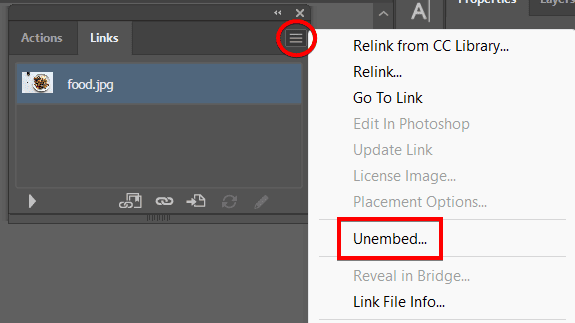
Select the Hamburger Menu and Select Unembed
To unembed the image, click on the Hamburger menu in the Links Panel, then select Unembed from the options.
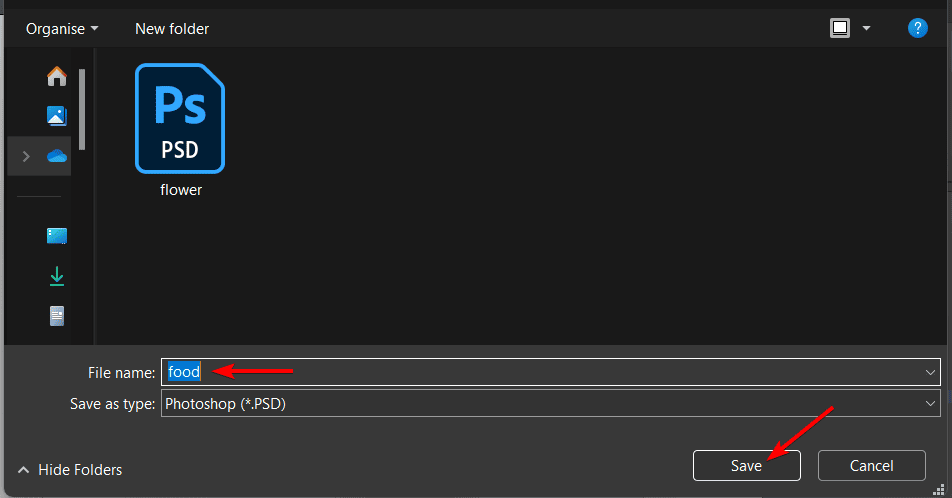
Choose a Save Location and Name and Click Save
A dialog box will appear asking where you want to save the image file. Choose a location and a name for your image file and click Save. You will see the linked icon next to the image name in the Links Panel, indicating that the image is now an external file linked to your document.
How to Relink Embedded Images
- Open the Links Panel and Click on the Relink Button
- Select the Image From Your Device and Click Place
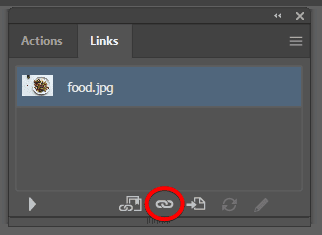
Open the Links Panel and Click on the Relink Button
To relink the image, click on the Relink button at the bottom of the Links Panel. It looks like a chain link. Alternatively, you can open the hamburger menu and choose Relink from the options.
Select the Image From Your Device and Click Place
A dialog box will appear, where you can choose a different image file from your computer. Select the image file you want to link to your document and click Place.
The new image will now be linked in the document. This is a good technique to use if the linked image is moved and the link is broken in Illustrator.
Embedding images can help you avoid missing or broken links, reduce file size, and improve performance. However, embedding images can also increase the complexity and size of your document and limit your editing options. Therefore, you should consider the pros and cons of embedding photos before you decide to do so.
👍 Support Us: Subscribe to our channel and help us continue providing these tutorials.
🌟 Regular Updates: We publish how-to videos for Adobe Illustrator regularly!
🔧 Expert Guidance: Learn Illustrator from our professionals and uncover exclusive tips!
