
To move text in GIMP, you can either use the Move Tool or the Text Tool, depending on which method works best for your workflow. It’s very unlikely that you’ll place your text in the exact position you need from the beginning, especially if you change the font type or size later in the project.
That’s why knowing these two simple yet useful methods is important to keep your project moving. The Text Tool method has a slight catch, as you need to hold in Alt/Option to activate the move function.
Here’s everything you need to know about moving text in GIMP.
Table of Contents
Two Ways to Move Text in GIMP
These two methods are equally efficient at moving text. However, the method you choose depends on your workflow. Use the second method if you are still working on the text and don’t want to switch between tools. If you have finished editing your text and are re-positioning different elements, then the Move Tool is the better option.
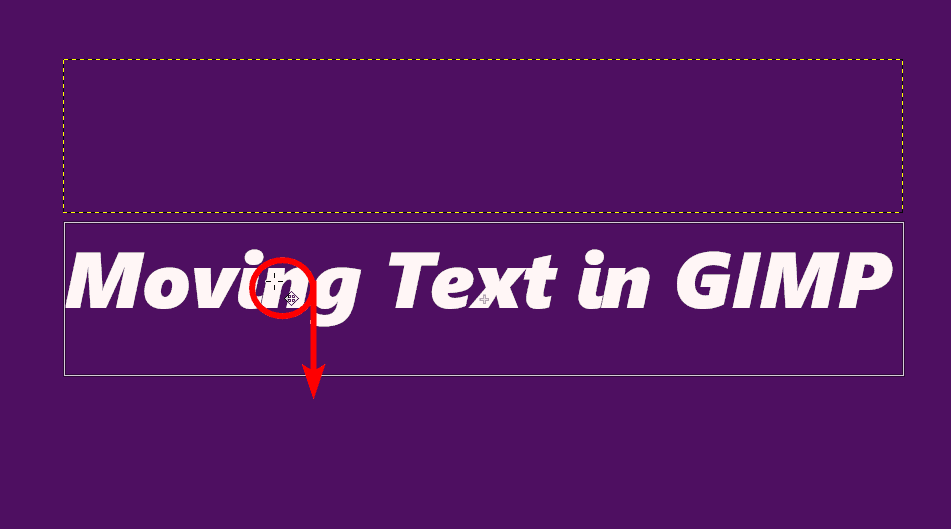
For both examples, I will move the following text further down the canvas so it’s closer to the center.
Method 1: Moving Text Using the Move Tool
The Move Tool in GIMP is an essential tool as you will need it at some point for every project you work on. You may be familiar with the tool from other editing programs, such as Photoshop. However, there are important differences to note.
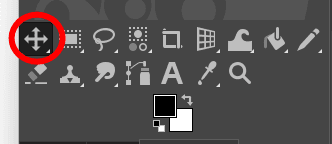
First, to select the Move Tool, click on it in the toolbar or press M to activate it.
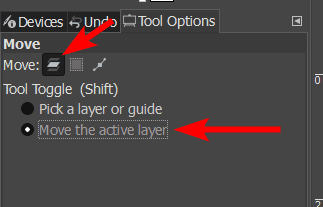
Unlike other programs, GIMP’s Move Tool has three modes to choose from, allowing you to move a layer, a selection, or a path. To move text, select the Layer option, the first icon in the Tool Options panel.
Then, you can choose to Pick a layer or guide, which means you will move whichever layer’s pixels you click on on the canvas, or you can Move the active layer, which is more accurate, and you won’t accidentally move the wrong layer. However, choose the method that works best for you.
Pro Tip: If you don’t see the Tool Options panel, go to Windows > Dockable Dialogs > Tool Options.
Once you have changed the settings as needed, move the text by clicking anywhere on the text in the workspace and dragging it to move the text to the new position.
Your text is now moved to the new position. You can select different layers to move other elements using the same process.
Method 2: Moving Text Using the Text Tool
If you are still editing your text and want to try it in different positions while changing the font size, type, and color, you can move it while the Text Tool is active. This method saves you from needing to switch between tools, which slows down your workflow.
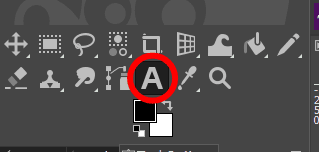
Ensure the Text Tool is active by selecting it from the toolbar or pressing T.
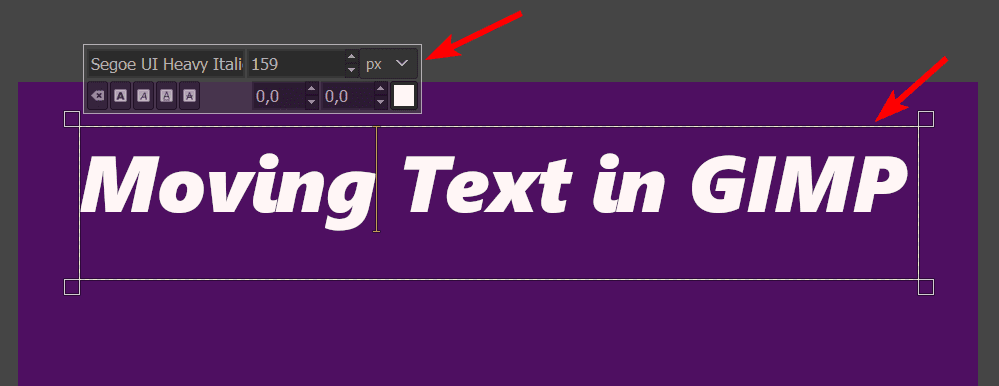
Then, ensure the text box you want to move is active. You will know which text box is selected by the handles around the text and the text options in the floating window above the text. This is important if you have multiple text boxes on the canvas. To activate a text box, click on it while the tool is active.
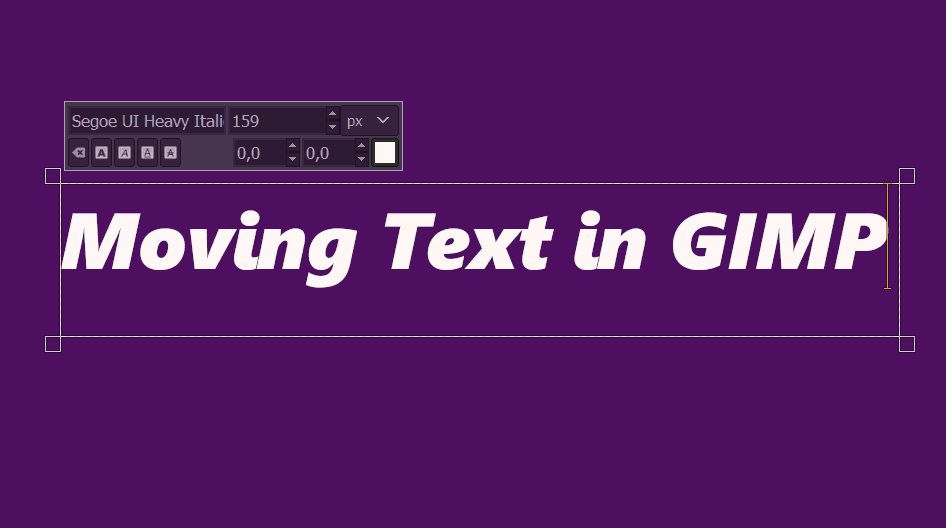
Then, to move the text, press and hold Alt on Windows or Option on Mac. While holding the Alt/Option key, click and drag the text to the new position on the canvas. When holding down Alt/Option, the cursor changes to a move tool icon.

You will now have moved your text to a new position on the canvas, and you can easily continue editing the text by changing the properties.
Moving text is quick and easy using one of the two methods above. The method you use depends on your workflow and which tool makes more sense with your next steps while working on your design. However, switching between tools in GIMP is always quick and easy when you use the keyboard shortcuts.
👍 Support Us: Subscribe to our channel and help us continue providing these tutorials.
🌟 Regular Updates: We publish how-to videos for GIMP regularly!
🔧 Expert Guidance: Learn GIMP from our professionals and uncover exclusive tips!