After adding text to your canvas in GIMP, you may want to rotate the text to add a unique touch to your project. Whether adding text to an image or creating a social media post, rotating the text can add to your design.
Working with text in GIMP isn’t as straightforward as you may hope, and often, a few simple processes need extra steps to achieve the goal. While rotating the text is relatively easy, the text may become blurry. Luckily, I have a solution to prevent this issue from happening.
Table of Contents
How to rotate Text in Gimp: Short Overview
- Select the Rotate Tool using Shift + R
- Activate the Text Layer
- Click and drag on the canvas to rotate the text
- Adjust the settings if needed
Note: Once you rotate text using the Rotate Tool, the text is no longer editable. You will need to create editable vertical text if you want to continue editing the text after rotating it.
Rotating Text in GIMP: Step by Step
Use the following steps to rotate the text to any degree you need for your project. You can also adjust various settings for more control over how much the text is rotated and what point it rotates around.
Add Text to the Canva
Once you have created the text on your page using the Text Tool (A), you can adjust it in various ways, such as by rotating it. Add the text to your canvas and follow these steps.
Select the Rotate Tool (Shift + R)
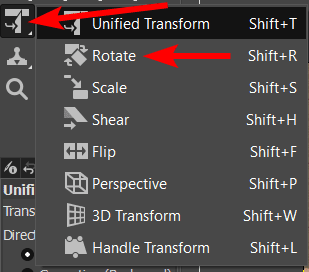
Once your text is added, select the Rotate Tool from the tools on the lefthand side of the program. You will find the tool by clicking and holding on the Unified Transform Tool until a pop-up appears with more tools. You can also use the shortcut Shift + R on Windows and Mac.
Select the Text Layer
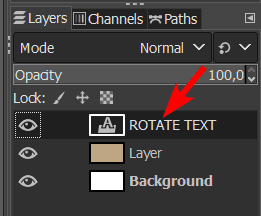
Next, ensure that the text layer is selected in the Layers docker by clicking on it. The tool will rotate whichever layer is active. The selected layer is slightly darker than the rest.
Rotate the Text
Now, use the tool to rotate the text by clicking and dragging on the canvas. Drag upward to rotate the text anti-clockwise or down to rotate the text clockwise. Click Enter to accept the rotation once you are happy with it.
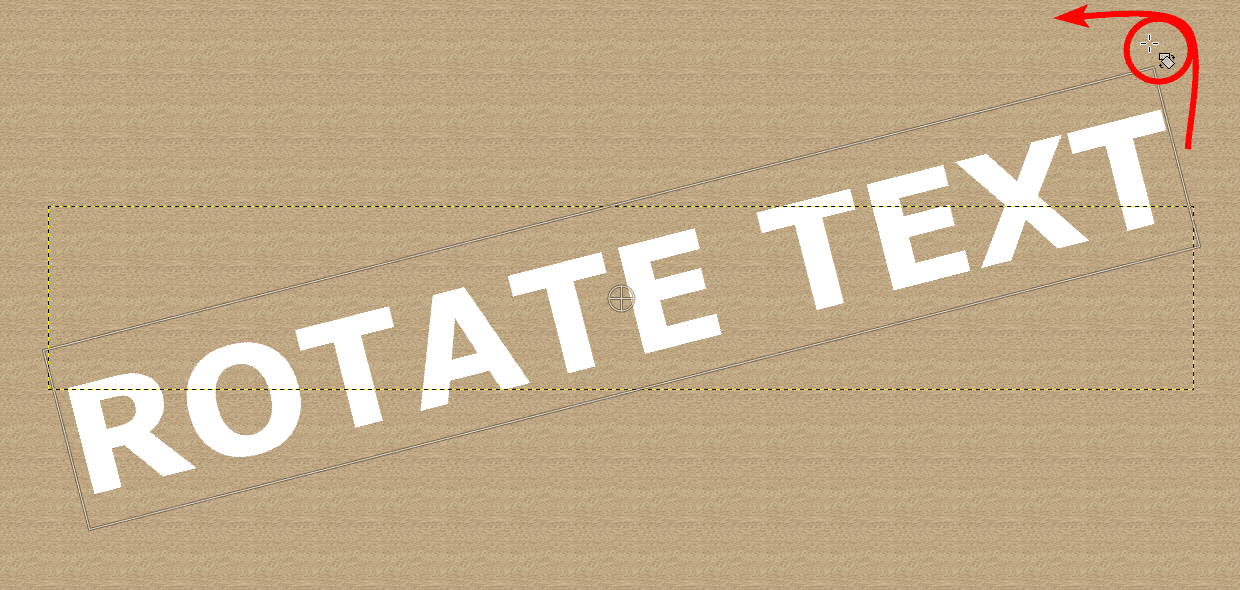
Anticlockwise
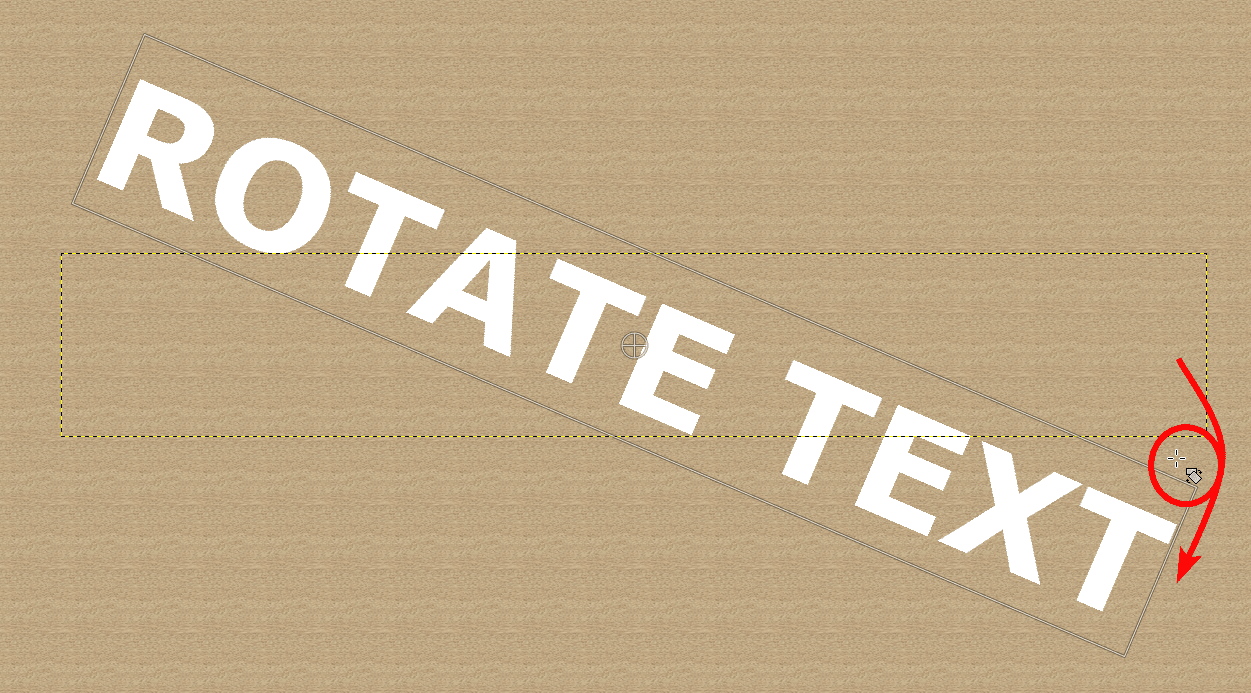
Clockwise
Rotate the Text Using 15 Degree Increments
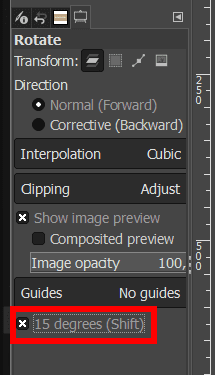
You can also set the text to rotate in 15-degree increments if you’d like. This helps you move the text between 0°, 15°, 30°, and so on.
To activate the set increments, check the box next to 15 degrees in the Tool Options docker, which should appear on the left-hand side of the screen. You can also hold in Shift while rotating the text to keep the set increments.
Adjust the Settings
You can adjust the other settings in the Tool Options Docker as needed. You can choose to transform the layer, a selection, or a path using the icons at the top. You can also add various guides to the page to help you line up elements and more.
Rotate to an Exact Angle
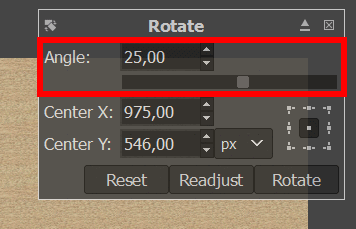
Another helpful feature is the Rotate box that appears as soon as you click on the canvas. You can use this box to rotate the text to a specific degree. To add the degree, type it into the Angle box in the window, or use the slider to set a degree.
The Rotate box appears at the top right of the canvas.
Change the Center Point of the Rotation
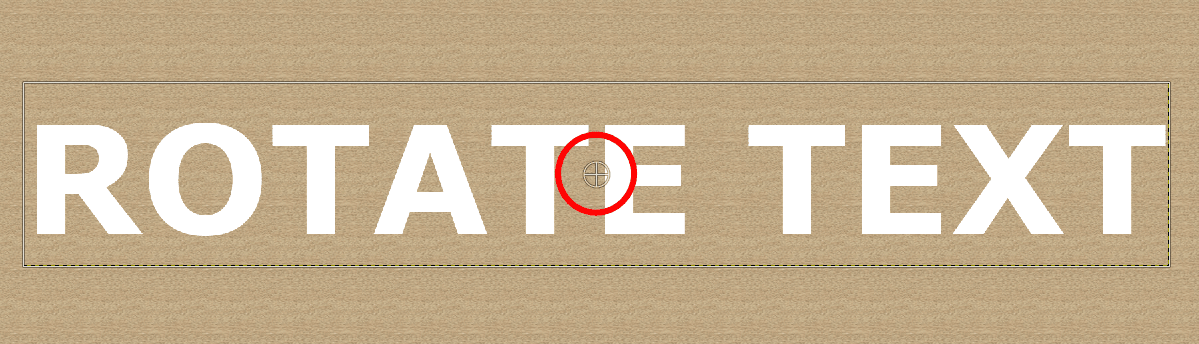
You can also change the center point of the rotation, which determines the point that the text rotates around. By default, the point is in the center of the text. You can see it by the crosshair icon when the Rotate tool is active.

You can move the center point by clicking on the crosshair icon and dragging it around the canvas.
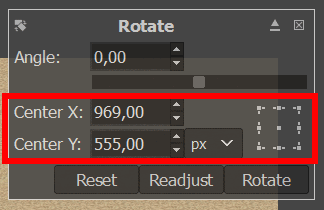
You can also change the center point using the Rotate box. Adjust the Center X and Center Y values to move the crosshair. You can also use the box icon to set the crosshair at the text box's middle or corner points.

The text will now rotate around the new point you set. Press Enter to accept the rotation.
Tools:
- GIMP
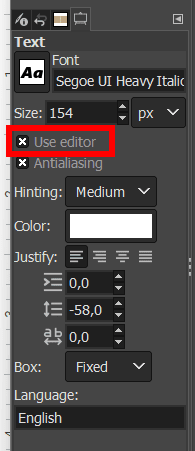
How to Create Editable Vertical Text
You must take a different approach if you want to edit the text after rotating. You can switch the text to a vertical orientation and still be able to edit it later. This only works for vertical text, so if you need the text at a specific angle, you must do all the editing before rotating.
To set the text to vertical, add the text to the canvas, then check the box next to Use Editor in the Tool Options Docker.
Select one of the vertical text icons in the Text Editor, depending on how you want the text to look. If you hover over the icon, it will tell you how the vertical text will look.
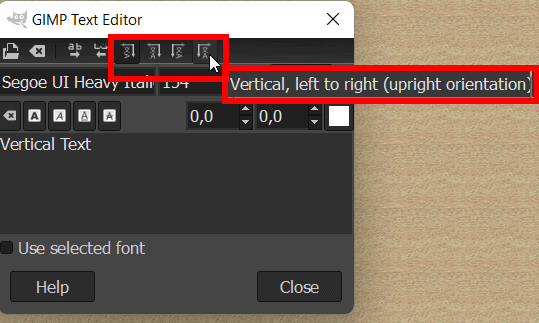
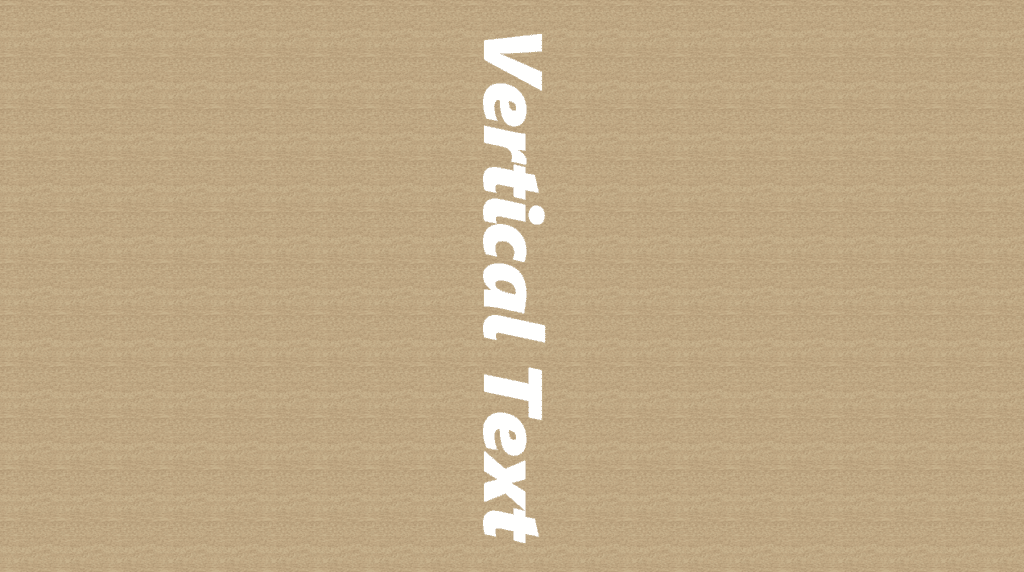
Select one of the options, and you will have editable vertical text on your canvas.
Avoid the Text From Becoming Blurry After Rotating
In some cases, once you’ve turned the text, it becomes blurry. This is likely because the text layer has been converted from a vector text layer to a raster layer.
This is an issue with the rendering of the text once it’s rotated. Since rotating text is a destructive edit, it may not always come out clearly.
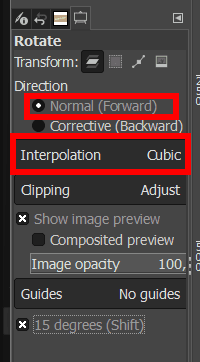
However, to reduce the blurriness, set the Direction to Normal (Forward) and the Interpolation to Cubic in the Tool Options Docker before rotating the text.
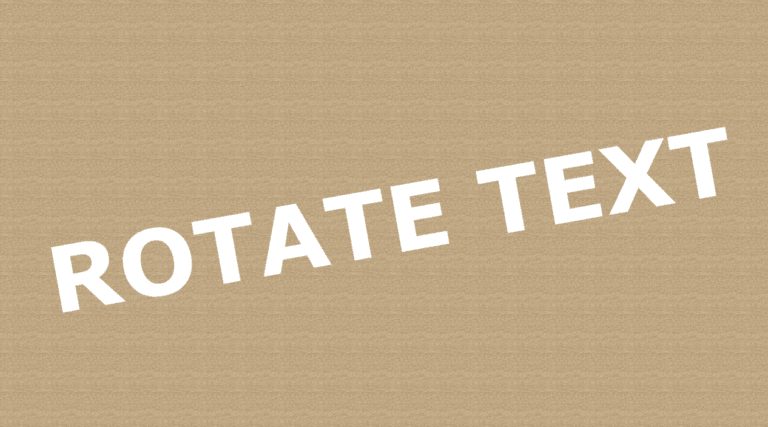
Text with Interpolation set to None.

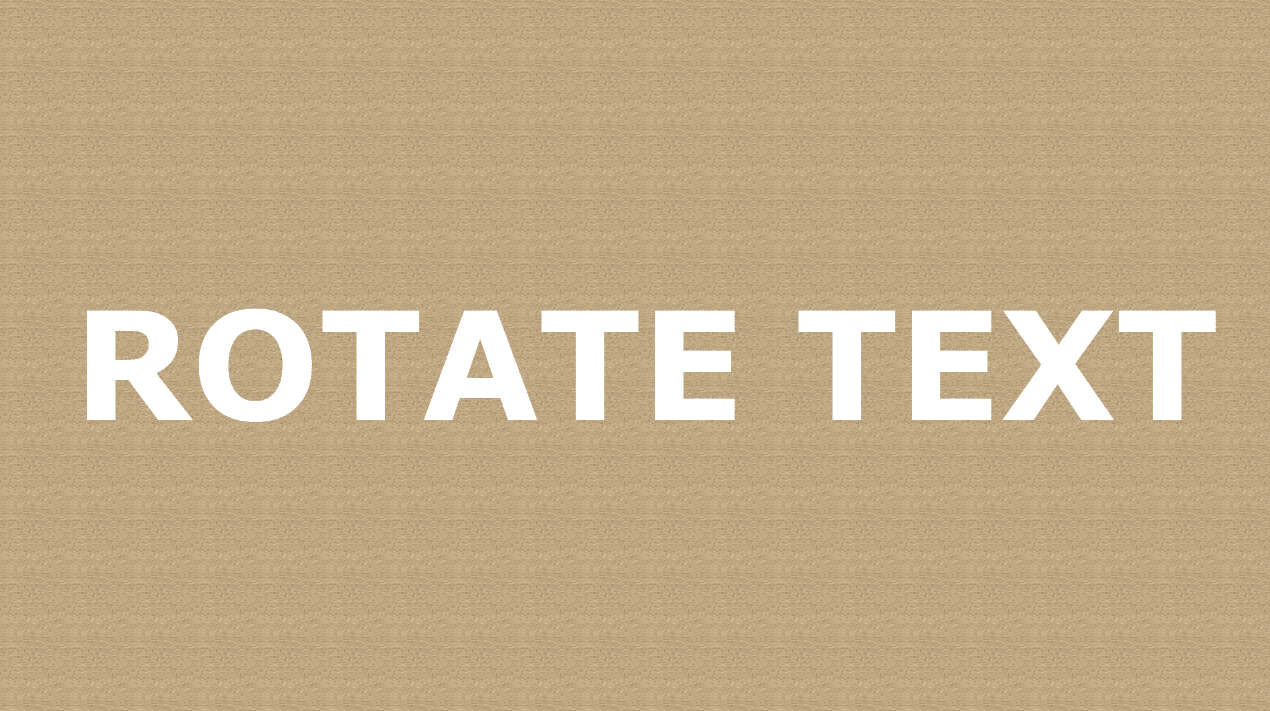
Text with Interpolation set to Cubic.

👍 Support Us: Subscribe to our channel and help us continue providing these tutorials.
🌟 Regular Updates: We publish how-to videos for GIMP regularly!
🔧 Expert Guidance: Learn GIMP from our professionals and uncover exclusive tips!