
Once you’ve created your drawing in Krita and added the colors, you might want to add some shading to the image to create a more realistic effect for your project, such as for shadow areas. Using these easy steps, you can easily add a basic shade to colors in Krita.
You must first add your drawing and the colors to the canvas before you can follow along. Make sure you keep your outline layer and color layers separate, and then you can get started.
Table of Contents
Shading Colors in Krita Step by Step
This process adds a basic shade to areas on your image. You can section off the area for the shade you need and then add the shade in various areas of your artwork.
Decide Where the Light Source Is
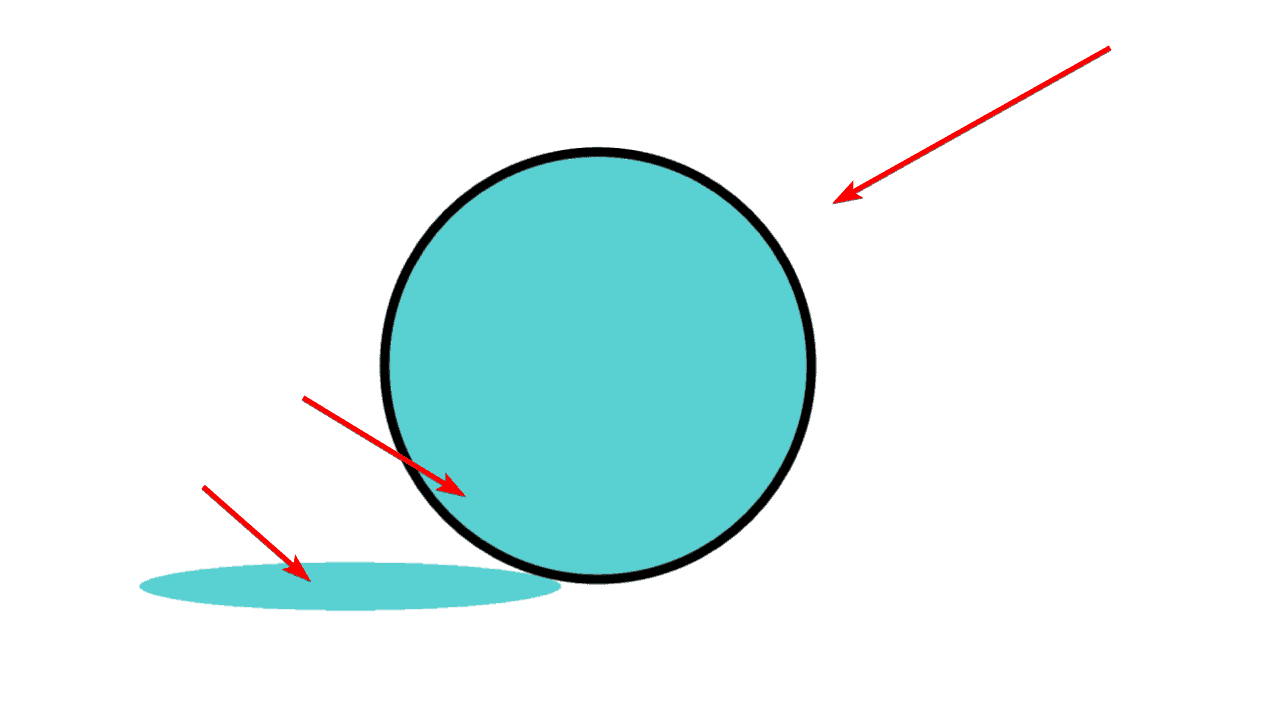
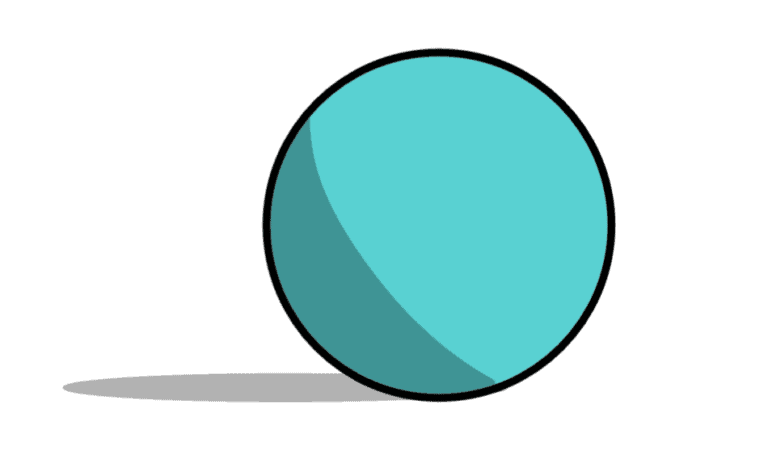
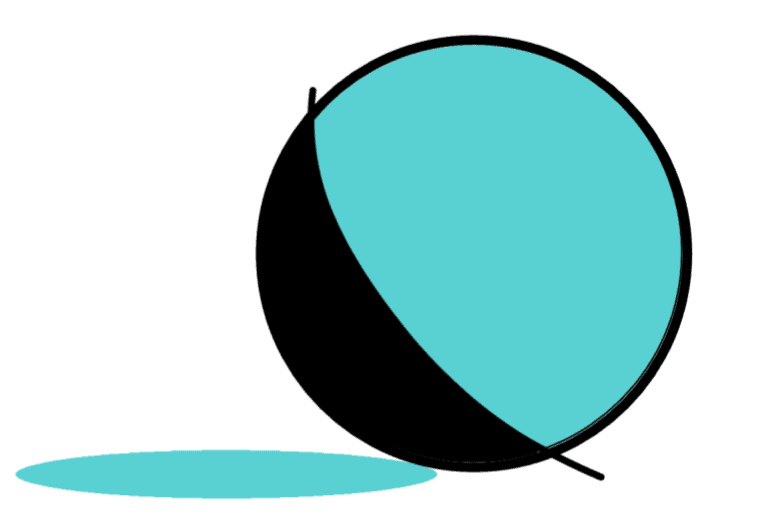
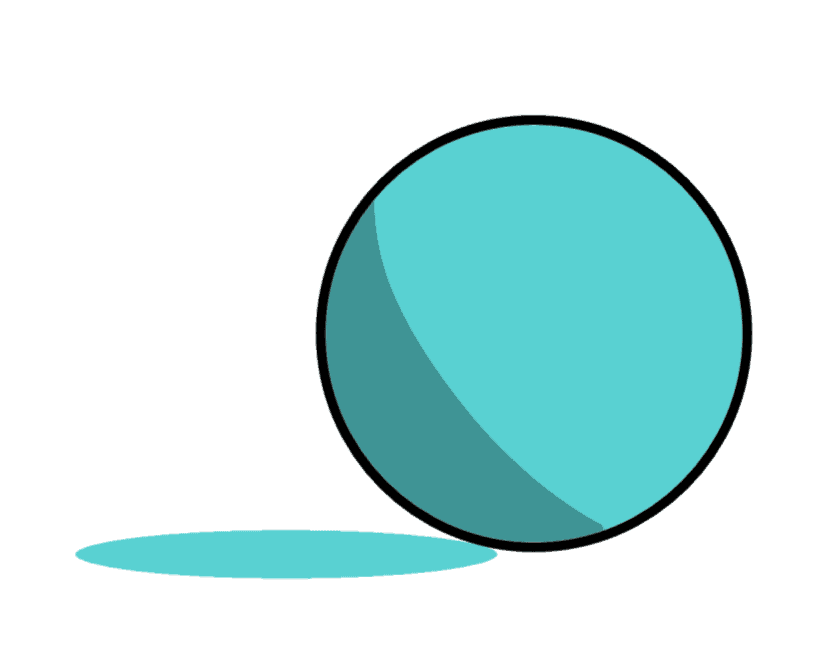
First, you need to determine where the light source is coming from. Then you will add the shadow on the opposite side of the shape or object.
For example, I have a circle, and the light source comes from the top right. So I need a shadow on the left side of the circle and the ground. I have drawn an oval on the ground for the shadow.
Section Off the Shaded Area
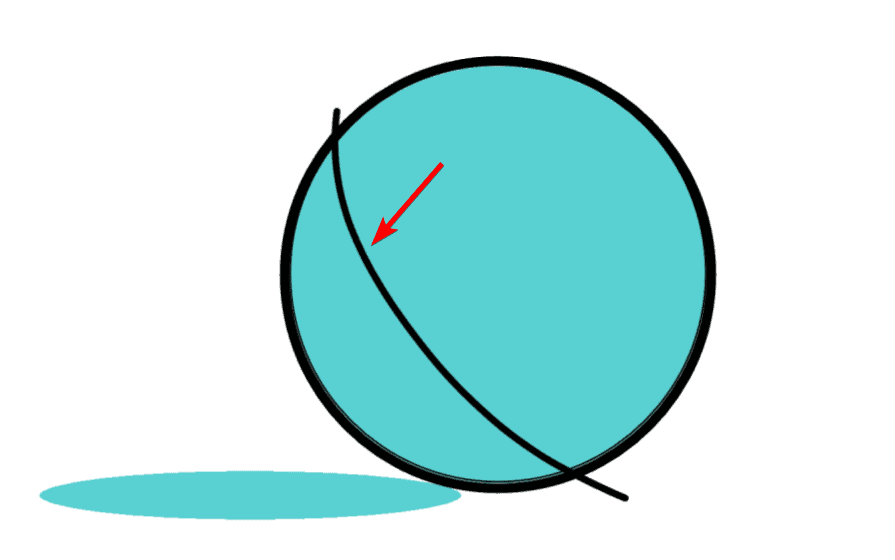
Next, you need to section off the area where you want to add the shading using a new layer. You can use any brush to draw the line. Increase the Sample Count and the Delay in the Tool Options docker to create a smooth line. Once your brush is ready, draw the line across the shape.
Select the Fill Tool from the Toolbar (F)
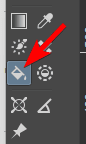
Now you can select the Fill Tool from the Toolbar or press F to activate the tool.
Set the foreground color to black
Set the foreground color to black in the top settings bar.
Change the Fill Settings
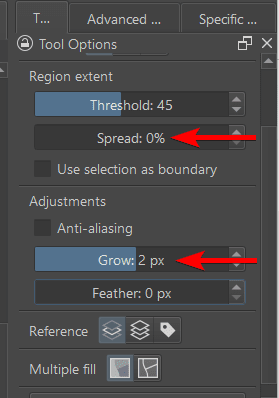
To correctly fill the shaded area, there are a few necessary settings to change in the Tool Options docker. First, set the Spread to 0%, then set the Growth to 2 px. The Growth setting prevents the fill from leaving an unfilled gap next to the outline.
Add a Black Fill to the Shade Area
Now, you can add the black fill to the area by clicking inside the sectioned-off area. This will fill the area with black.
Erase the Overlapping Lines
Once the area is filled, you can erase the overlapping lines using the Eraser brush.
Lower the Opacity of the Shade Layer
Now, if you want a bold shadow, as some animations need a completely black shadow, you can leave it as it is. However, if you want a more subtle shading, you can lower the opacity of the shade layer to blend it in better.
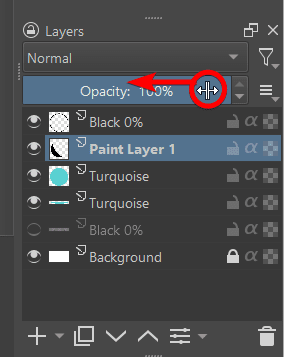
To change the opacity, go to the Layers docker and drag the Opacity slider to the left to decrease it.
Check the Canvas
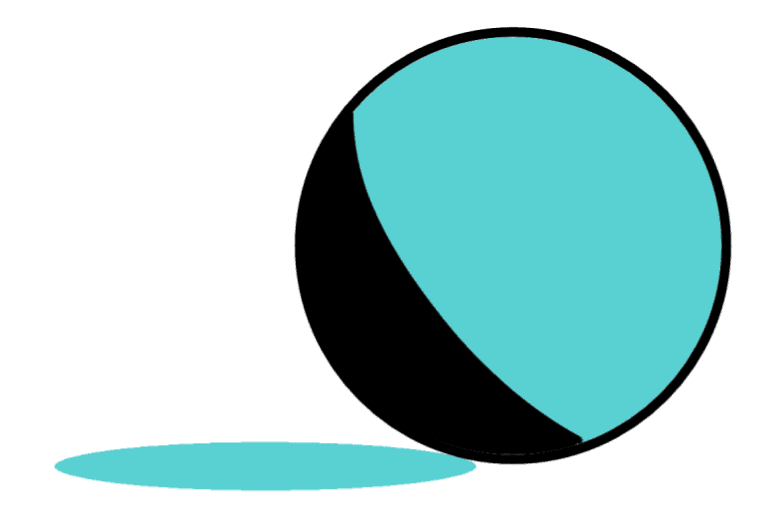
Once you drag the slider down as much as you need, you will have a shaded area on your object.
Add More Shading to the Canvas

You can now repeat the steps to add more shading to your project as needed. I repeated the steps to add shading on the ground for my image.
Tools:
- Krita
👍 Support Us: Subscribe to our channel and help us continue providing these tutorials.
🌟 Regular Updates: We publish how-to videos for Krita regularly!
🔧 Expert Guidance: Learn Krita from our professionals and uncover exclusive tips!
