
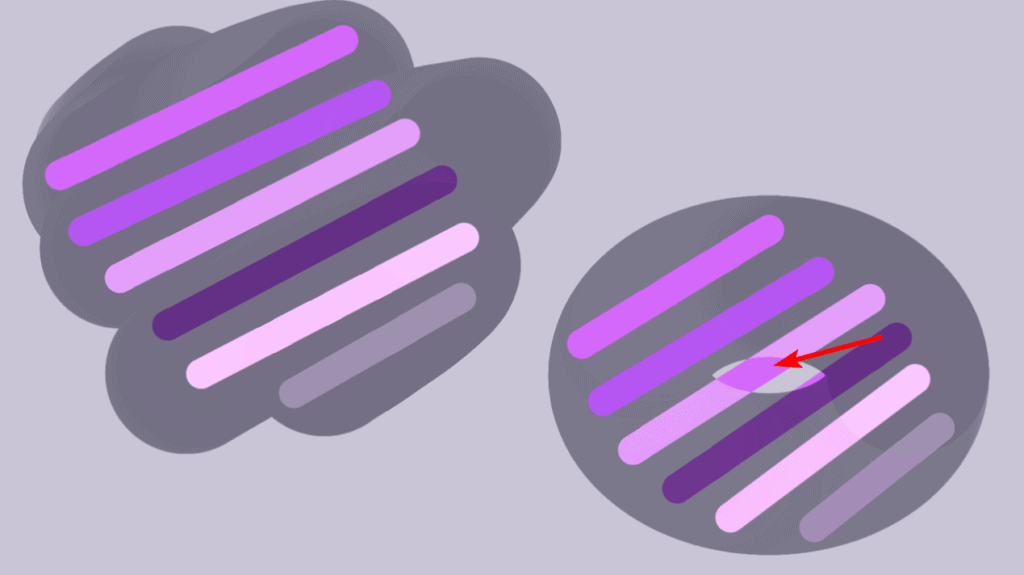
Blend modes are difficult to explain, and you may know of them if you’ve used Photoshop before. Blend modes tell Krita to combine two layers or elements, and the type of blending mode you use determines how the layers interact with each other.
For example, one blend mode will block out the highlights of the bottom layer, while another will block out the shadows.
Here is how to use blending modes in Krita for two separate layers and two brushstrokes on the same layer.
Table of Contents
How to Use the Blending Mode in Krita?
Blending modes in Krita serve two purposes. First, you can blend two layers by adding a blend mode to the top layer. This will then use specific parameters to blend the top layer into the bottom layer based on your selected blending mode. This is useful when creating effects on images or blending a brush stroke over your painting.
The other way to use blending modes is to blend two brush strokes, even when they are both on the same layer. In this case, the top brush stroke will blend into the bottom one based on the blending mode you choose. Here is how to use both methods, followed by an explanation of a few common blending modes.
How To Add A Blending Mode To A Layer
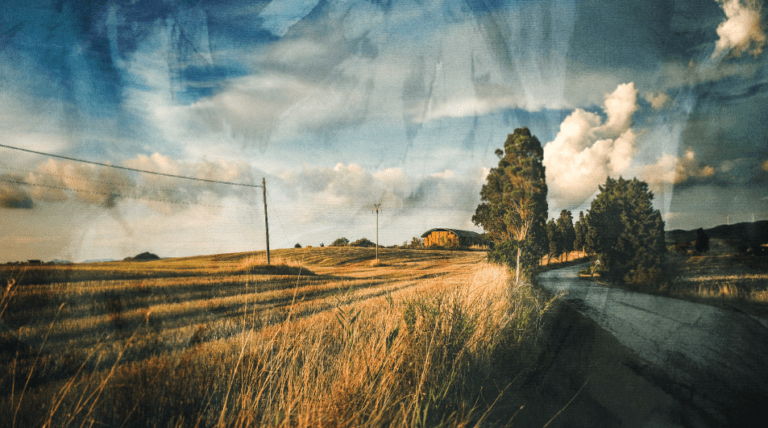
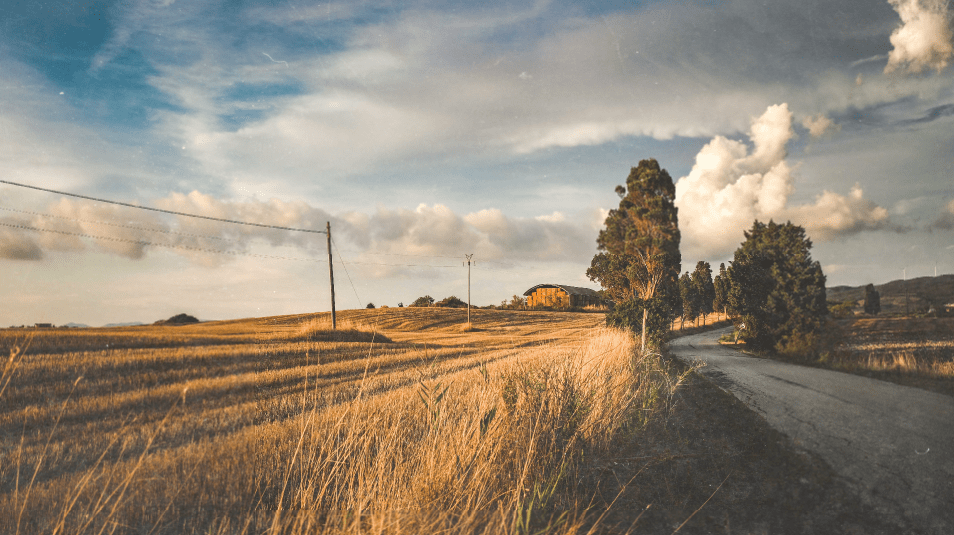
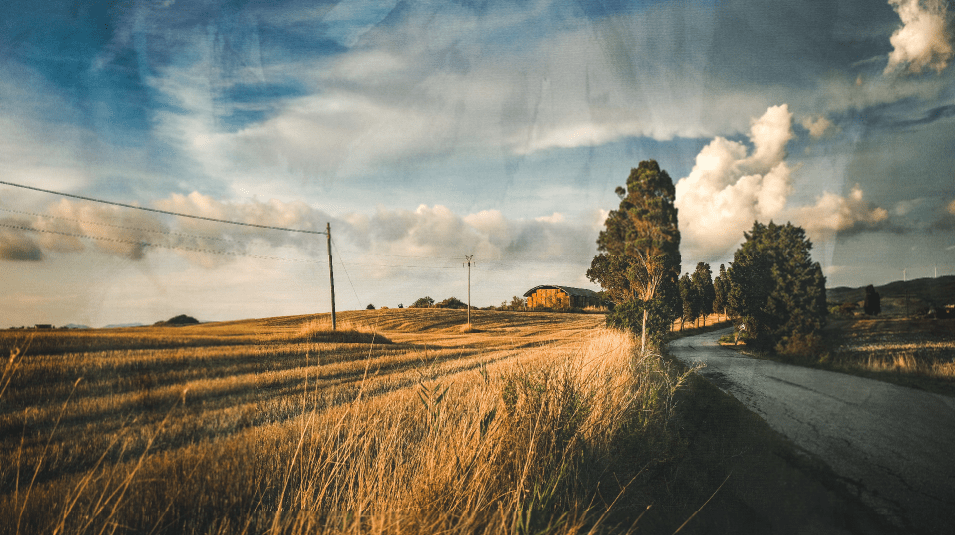
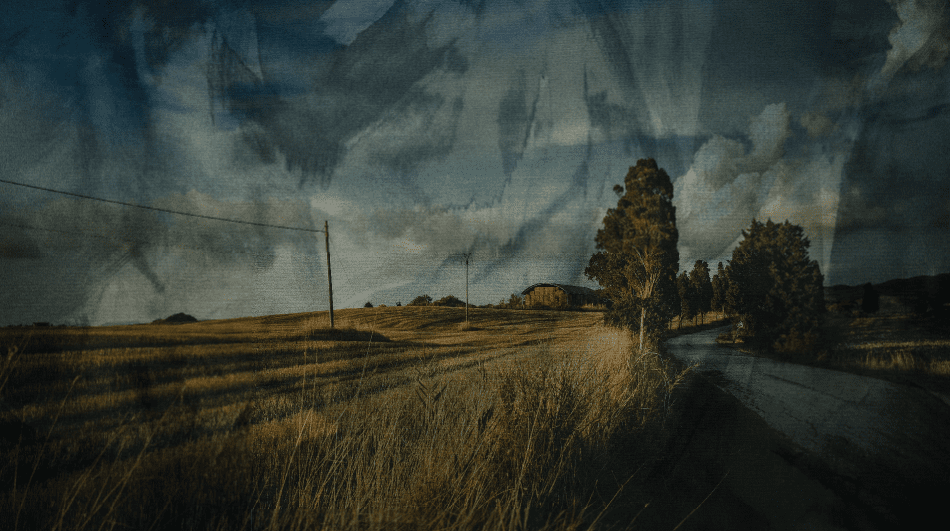
To add a blending mode to a layer, you need to have at least two layers that contain content in the Layers docker. You can use any layers, but for this example, I will use two image layers to show how you can blend photos to create unique effects. I will use these two images and blend the grainy image into the landscape scene.


Open both the image layers in your document and place the one you want to blend on top of the other. You can order the layers in the Layers docker. My landscape image is now covered on the canvas by the grainy texture.
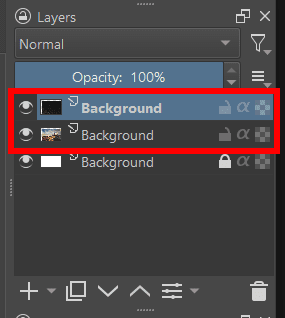
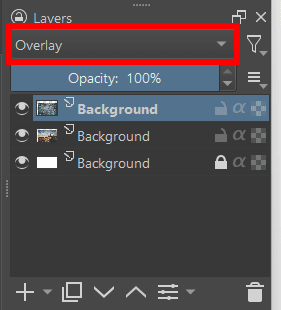
To blend the grain texture into the image, I can select the Blending Mode drop-down menu, which is set to Normal by default and located at the top of the Layers docker.
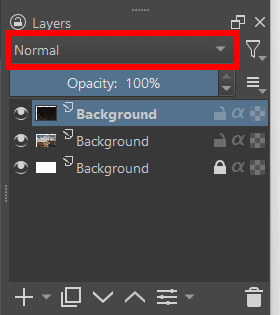
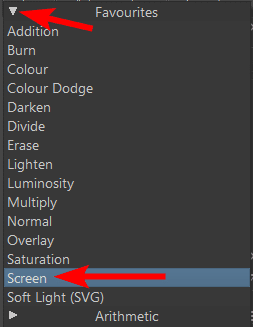
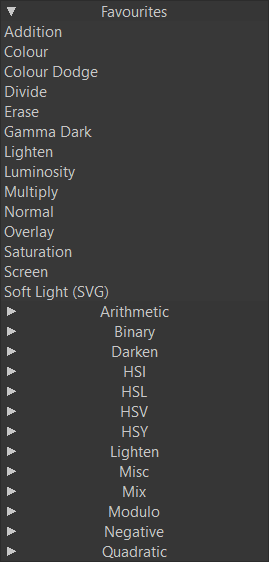
You can now choose the Blending Mode you want from the options. There are too many blending modes to explain each individually, but further down, I outline a few of the most popular ones.

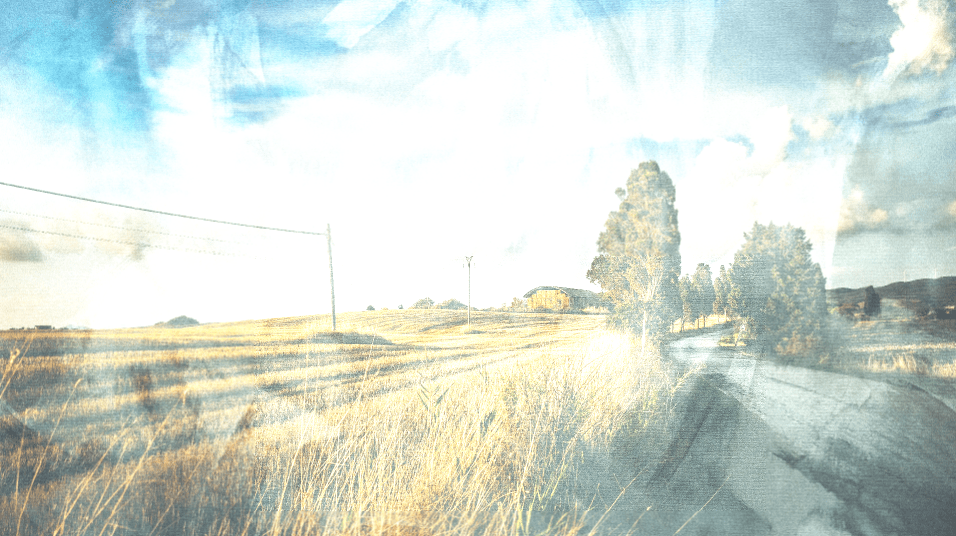
The Blending Modes are grouped into categories. I will select the Screen option under the Favorites tab for this example.
You can now see a slight grain texture over the image. You can try the different blend modes to find the right one for your layers.
For instance, I have another image layer that I want to try with the landscape photo. This is how it looks on top of the image layer.
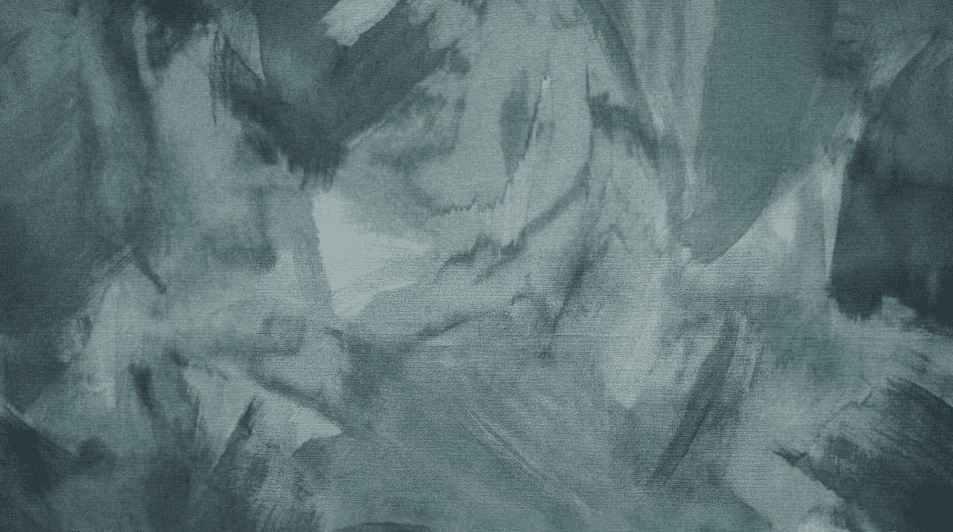
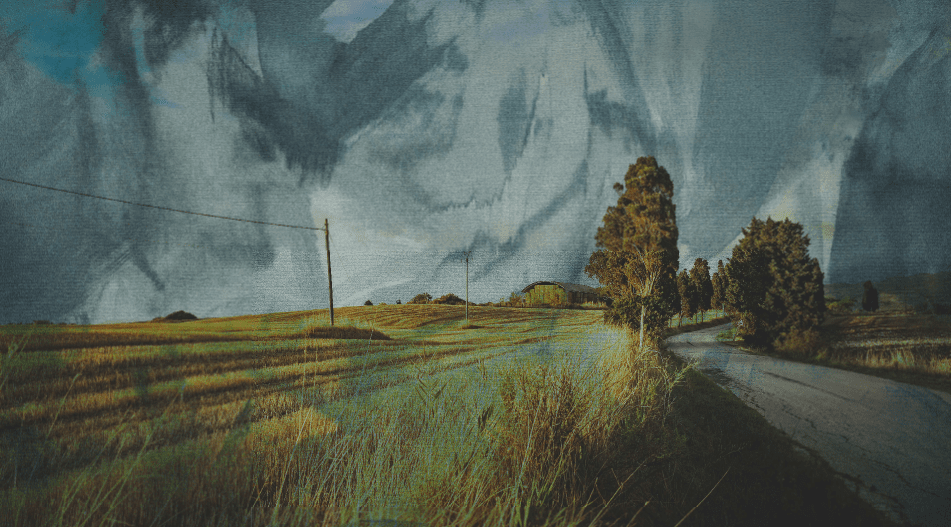
I will then set the Blending Mode to Overlay, which is also under the Favorites tab.
This image is more noticeable than the previous grainy image.

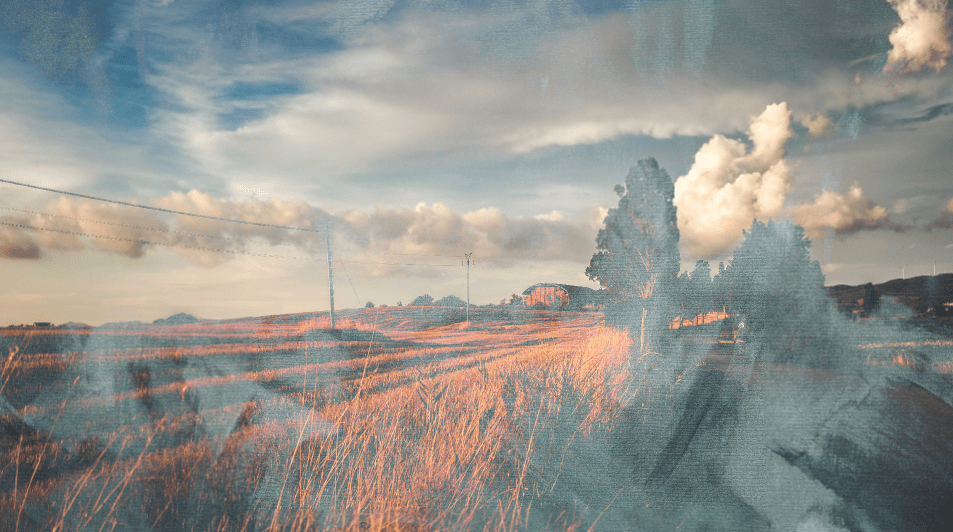
If the effect is too harsh, you can lower the Opacity in the Layers docker by moving the slider to the left.
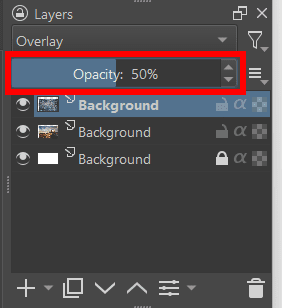
The effect is more subtle on the canvas.
How To Add A Blending Mode To A Brush Stroke
Using brush strokes, you can apply the same effect I showed you with two layers. This method is useful if you need to blend brush strokes over others to create shadows or darker areas in your painting.
For this, you can paint the brush strokes on the same layer, which works when painting over another brush stroke or a shape.
Start by adding the base painting or shapes to the canvas.
Once your base strokes or shapes are down, stay on the same layer and choose the new brush and color you want to use. To demonstrate, I will draw a line over the base paint with the blend set to Normal, which is the default blend mode.
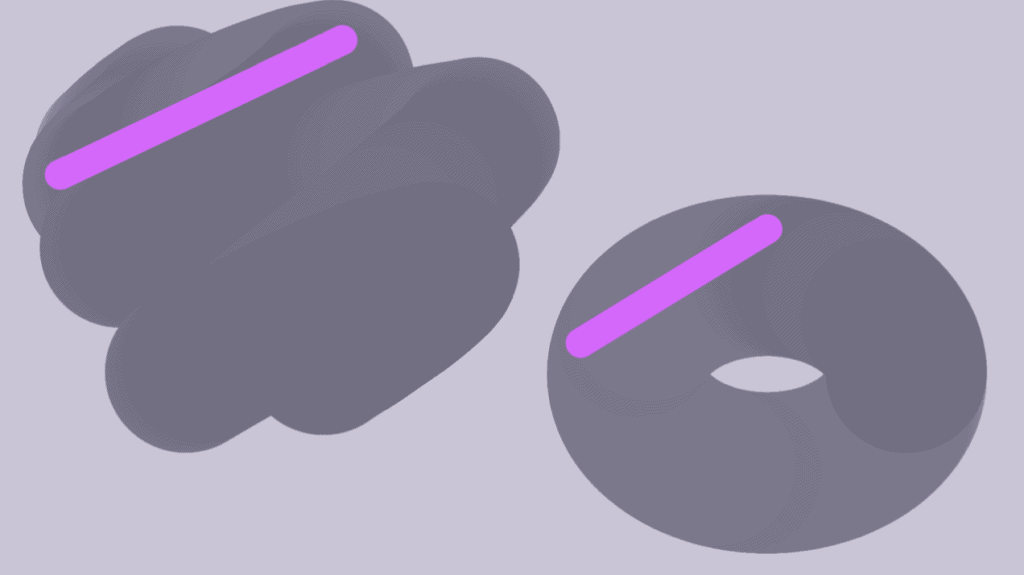
Then, change the brush's Blending Mode in the top settings bar. You have the same options that you do on the layer’s blend mode. Click on the drop-down menu next to Normal and choose the blending mode you want.

Then draw over the base paint and see the difference. I chose the Overlay Blending Mode.

I will draw a few more lines using different blend modes to show the differences. These lines are made using Screen, Multiple, Addition, and Luminosity.

You will notice how the blending mode only affects the paints on the same layer. The paint stroke appears normal on the color fill layer used as the background.
Common Blending Modes Explained
There are several Blending Modes available in Krita. While I can’t explain them all, here are a few of the most commonly used blend modes and how they interact with the layer or brush below.
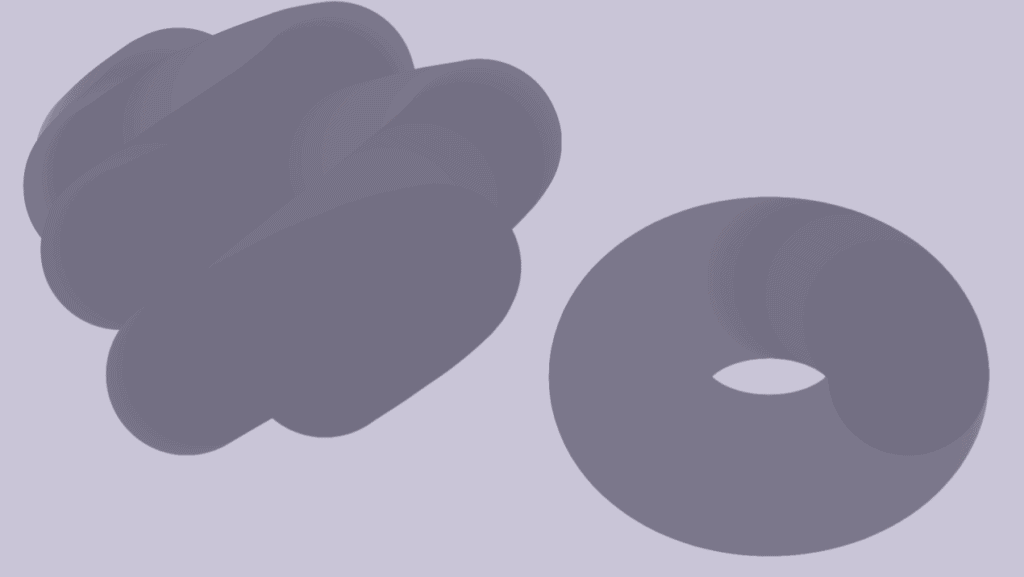
The examples are shown using these two images.
Addition
The Addition blend mode adds the numerical value of the two colors together to create a new color. For examples. Blue(0, 0, 1) + Yellow(1, 1, 0) = White(1, 1, 1). However, if the sum is higher than 1, then white is shown. This means that any white areas on either layer or brush stroke will remain white.
Darken
Only the colors that are darker on the upper layer will be shown, while any pixels lighter than the bottom layer are hidden. This means that only the lighter areas on the bottom layer will show through the top layer, while the darker areas are covered by the top layer.
Lighten
The Lighten Blending Mode is the opposite of the Darken Blend Mode. This means that only the colors that are lighter on the upper layer will show, and anything darker will be hidden by the underlying layer.
Multiply
The Multiply Blend Mode multiplies the color values from both layers to get a new color value. However, it won’t go past the upper level, which is black. This mode essentially darkens the layer or brush.
Overlay
The overlay Blend Mode is a mix between the Screen (which works the opposite to Multiply) and Multiply Blend Modes. If the color on the top layer has a lightness value above 0.5, then the Screen effect is added to that color. If the color value is below 0.5, then the Multiply effect is added to that area.
FAQ
How to turn off the blending mode?
Set the Blending Mode back to Normal to remove the blending mode you added to the layer or brush. There is always a blending mode set for layers and brushes, which is Normal by default, so you can’t turn the blend mode off.
However, switching it back to Normal mode removes the effects from the other blending mode and shows the image or brush stroke as it is.
How to change the blending mode?
To change the Blending Mode for a brush, use the drop-down menu next to Normal in the top settings bar.
To change the Blending Mode for an entire layer, use the drop-down menu found in the Layers docker next to Normal.
👍 Support Us: Subscribe to our channel and help us continue providing these tutorials.
🌟 Regular Updates: We publish how-to videos for Krita regularly!
🔧 Expert Guidance: Learn Krita from our professionals and uncover exclusive tips!
