
Adding drop shadows to objects is an easy design technique that adds depth to your designs and enhances the visual appeal. Whether you are new to Inkscape or just learning about the vast array of filters available, this tutorial will guide you through adding a drop shadow to any object.
I will show you how to create a shape on the canvas, add a drop shadow, and adjust the settings to place the shadow at the desired angle and intensity. I will also show you how to change the color of the shadow so that you can incorporate realism into your artwork and designs.
Table of Contents
Overview of Adding a Drop Shadow in Inkscape
- Add an object to the canvas
- Select the object with the Select Tool
- Go to Filters > Shadows and Glows > Drop Shadow
- Enable Live Preview
- Set the Blur Radius
- Set the Horizontal Offset
- Set the Vertical Offset
- Set the Shadow Type
- Set the Blur Color
- Click Apply and Close
Step-by-Step to Add a Drop Shadow in Inkscape

Drop shadows are often necessary to make an object seem real by placing a subtle shadow behind it. This technique is also useful to make text stand out from the background to make it more readable.
There are so many benefits to adding drop shadows to your work, and here is the simple process of adding one. This technique works the same on any object or text.
Add an Object to the Canvas
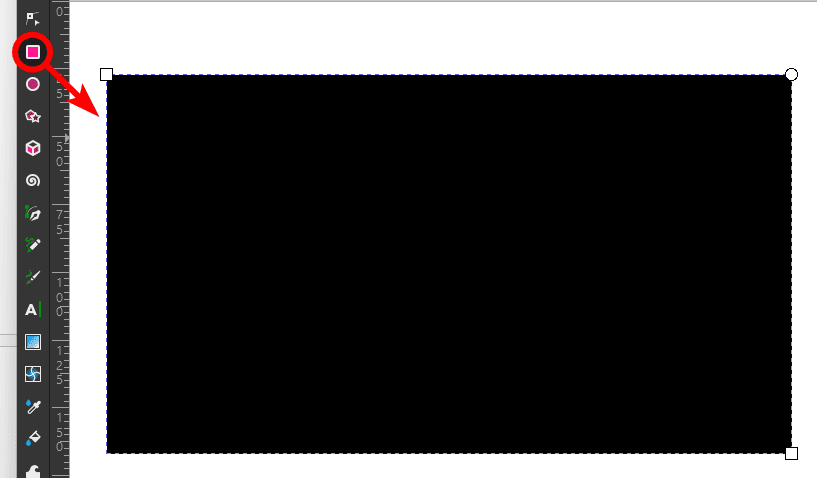
To add a drop shadow, you first need to have an object on the canvas to add it to. You can use this effect on objects and text.
I will add a rectangle to the page using the Rectangle tool for this example.
Select the Object With the Select Tool
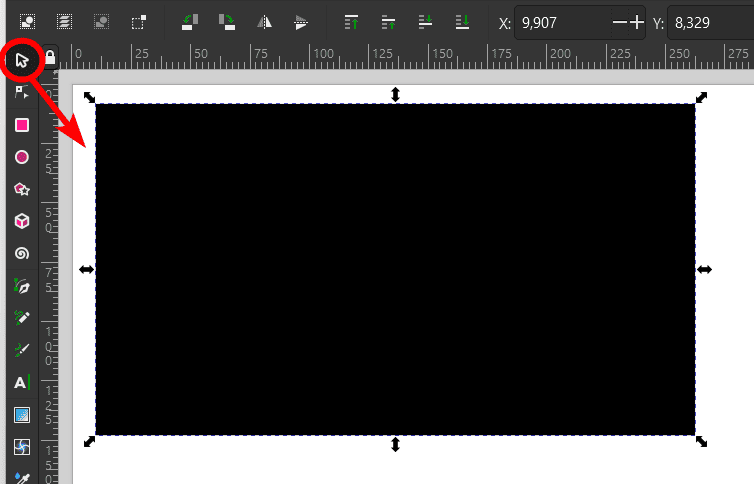
Next, you need to select the object using the Select and transform objects tool (S) to show the program which object you want to add the shadow to.
Go to Filters > Shadows and Glows > Drop Shadow
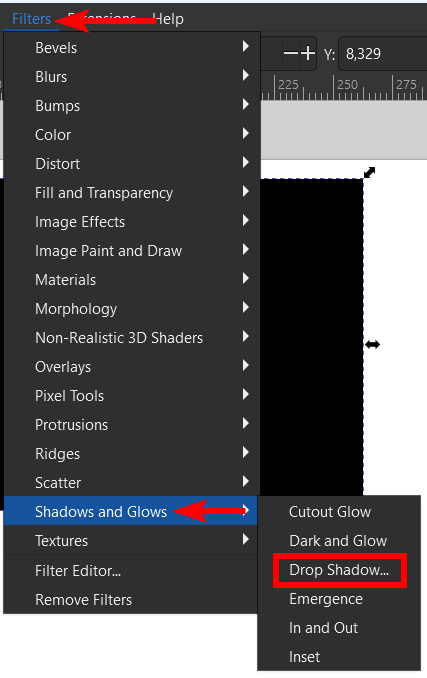
Once the correct object is selected, go to Filters > Shadows and Glows > Drop Shadow in the top menu bar.
Enable Live Preview
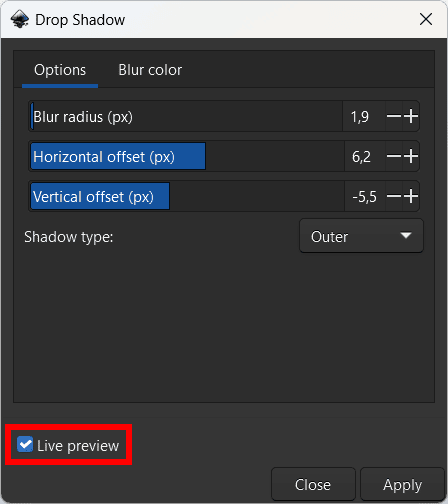
When the Drop Shadow panel opens, you can adjust various settings to create the type of drop shadow you want. However, I always recommend you enable the Live Preview setting by checking the box before you change anything.
The Live Preview shows the drop shadow and any changes you make on the canvas, so you can immediately see how the end result will look.
Set the Blur Radius
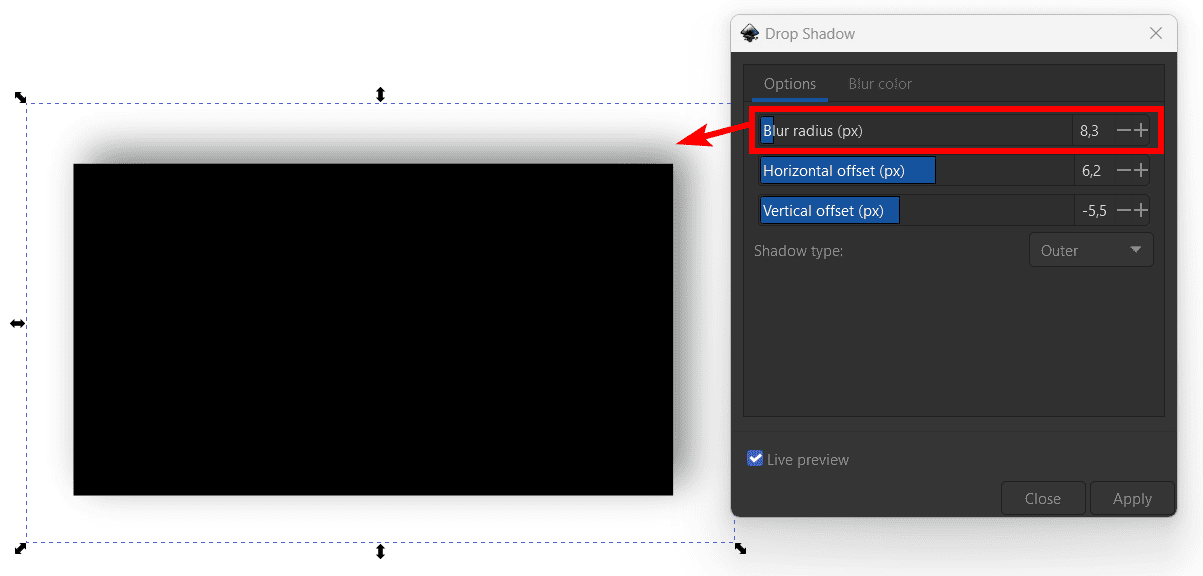
Once you can see the drop shadow on your object, you can change the settings to create the exact shadow you want. The first setting to adjust is the Blur Radius.
The Blur Radius determines how hard or soft the shadow’s edges are. A low radius will create a hard-edged shadow, while a higher radius will soften the shadow and create a subtle blurred shadow around the object.
Set the Horizontal Offset
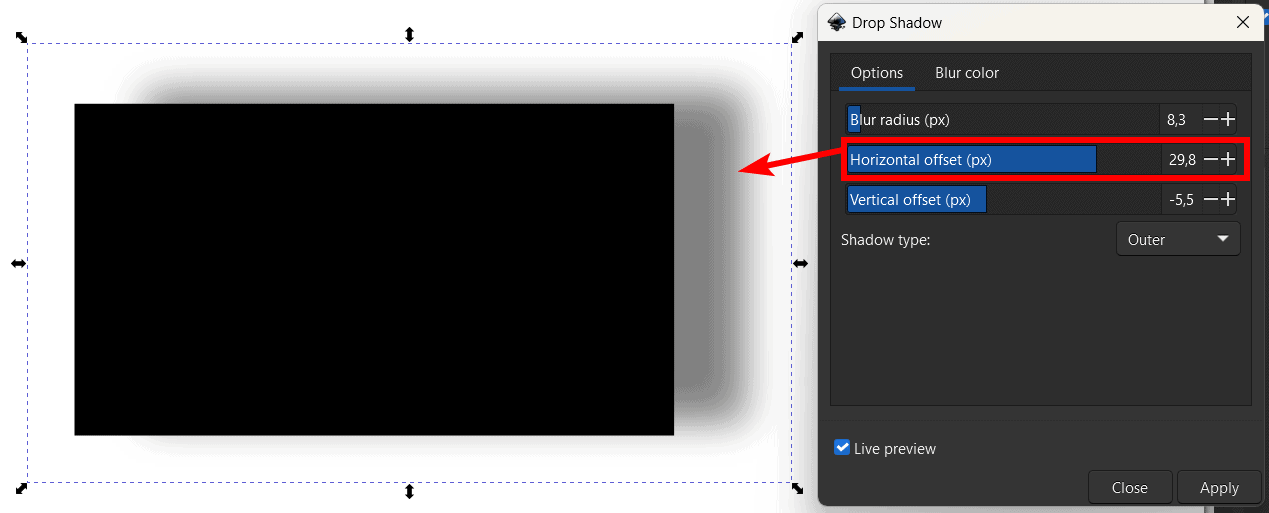
The Horizontal Offset determines the horizontal position of the shadow in relation to the object. Moving the slider to the left moves the shadow to the left of the object, and moving the shadow to the right moves the shadow to the right of the object.
Set the Vertical Offset
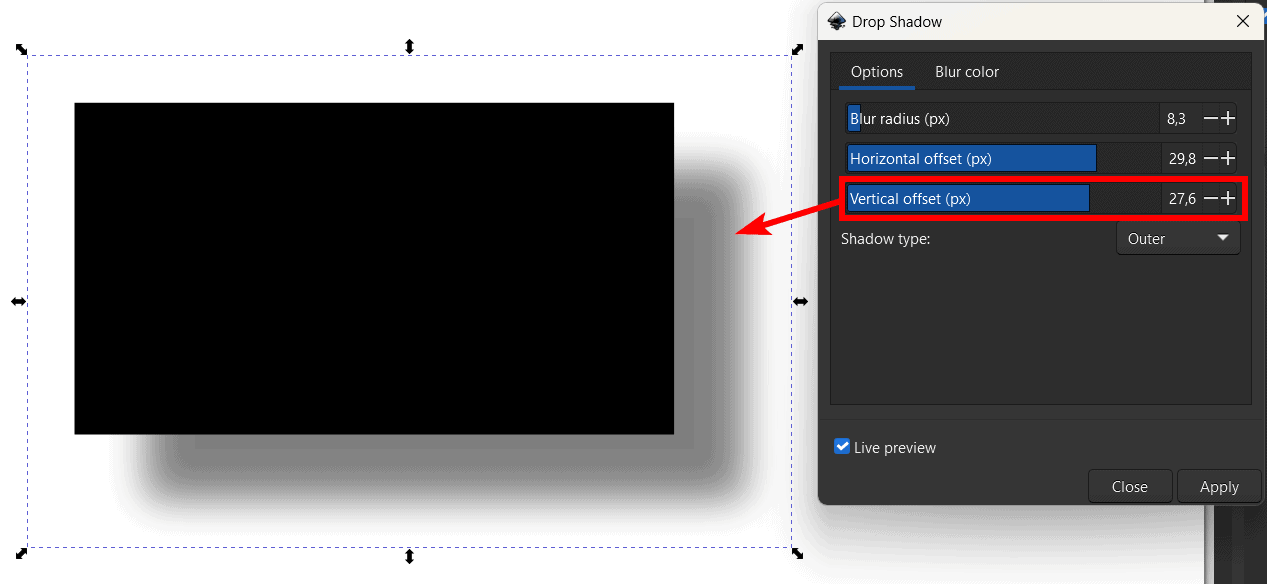
The Vertical Offset determines the vertical position of the shadow in relation to the object. Move the slider to the left to move the shadow upwards, or move the slider to the right to move the shadow down.
Set the Shadow Type
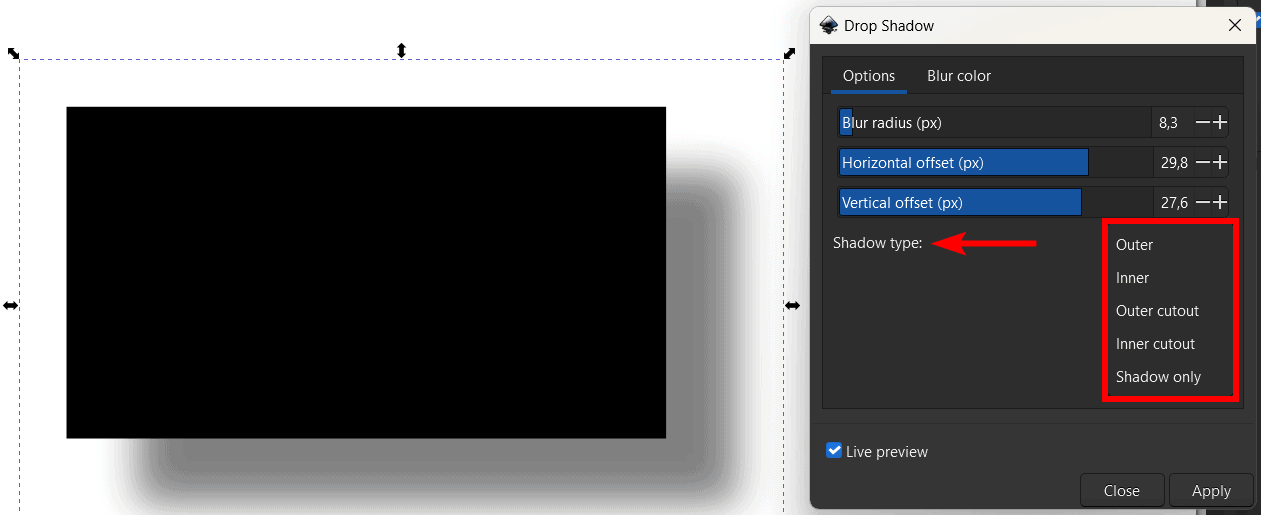
You can then choose the Shadow Type, but generally, you want an Outer Shadow for drop shadows.
Set the Blur Color
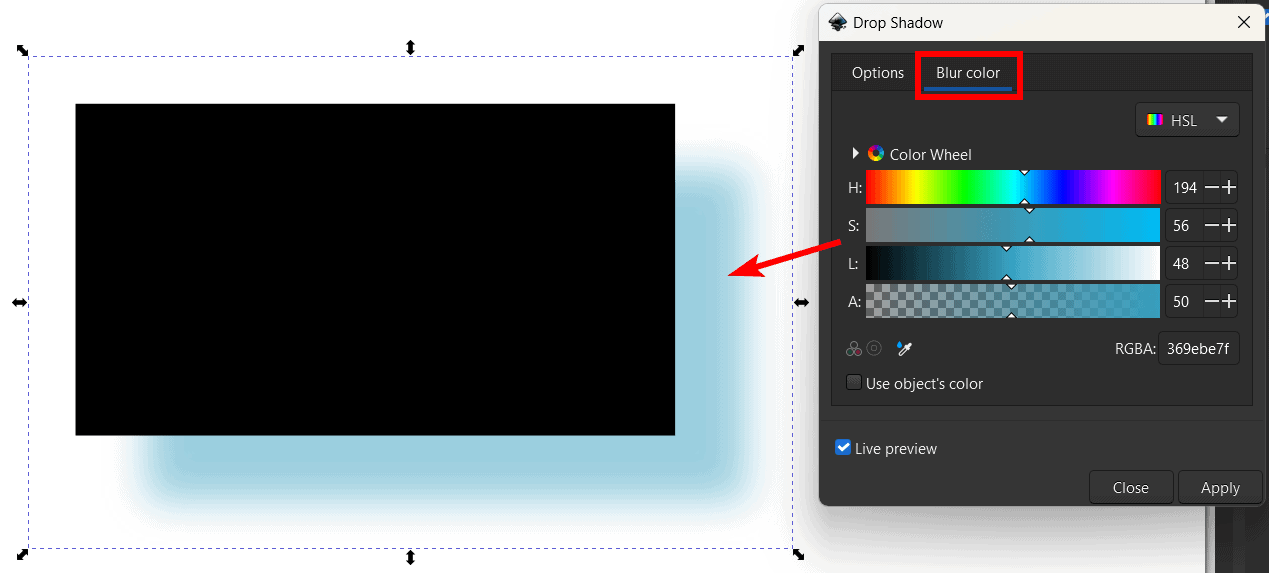
The last setting to adjust is the Blur Color, which is in a separate tab in the panel. Once you open the tab, you can select any color to make the shadow your chosen color. This works if you have a dark background where the default black shadow isn’t standing out enough.
Click Apply and Close
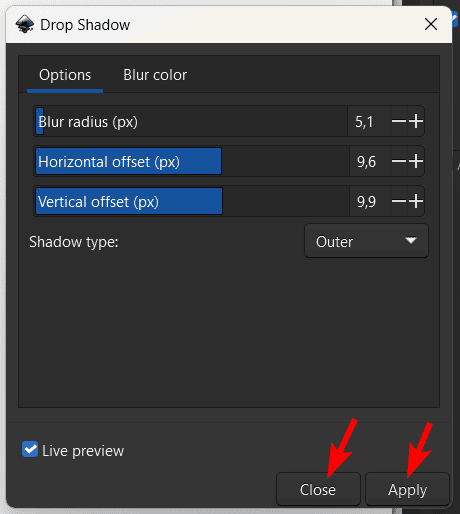
Once you have adjusted the settings and are happy with the result, click Apply and then click Close.
Check the Canvas
The drop shadow will now be added to the object.
Tools:
- Inkscape
👍 Support Us: Subscribe to our channel and help us continue providing these tutorials.
🌟 Regular Updates: We publish how-to videos for Inkscape regularly!
🔧 Expert Guidance: Learn Inkscape from our professionals and uncover exclusive tips!
