
When designing, the stroke width of a line or shape determines the shape’s visual impact and aesthetic appeal and defines the boundaries. This is why it’s essential to know how to change the stroke width in Inkscape.
Whether you're looking to create sleek logos, intricate illustrations, or stunning typography, mastering the art of changing stroke width in Inkscape will equip you with the tools you need to bring your creative visions to life.
Here is how to change the stroke width of your shapes on the canvas and an extra section on keeping the stroke size when scaling an object once you have your desired stroke width set.
Table of Contents
Overview of Changing Stroke Width in Inkscape
- Draw a shape or line on the canvas
- Open the Fill and Stroke Panel
- Set the Stroke Paint color
- Open the Stroke Style tab
- Adjust the Stroke Width
- Check the canvas
Step-by-Step to Change Stroke Width
You can use the following method to adjust the stroke width of any shape, including the rectangle, ellipse, and star tools. You can also use this method to change the stroke width of freehand and calligraphic lines and paths from the Bezier tool.
Draw a Shape or Line on the Canvas
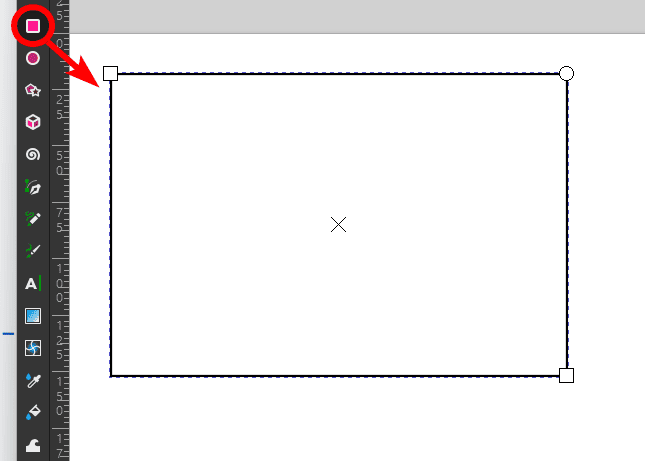
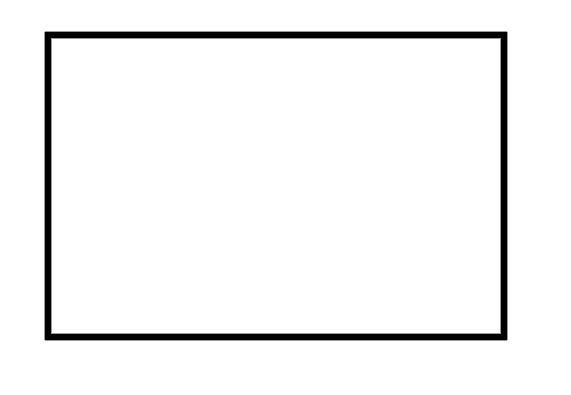
You can only adjust the stroke width after you have added the shape or line to the canvas. Select a shape or line tool and add it to the canvas. I will use the Rectangle tool to draw a rectangle on the page.
Depending on the previously used settings, the shape will use the last stroke width and may also have a fill color.
Open the Fill and Stroke Panel
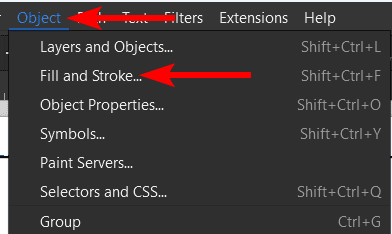
Once the shape or line has been added to the canvas, you can open the Fill and Stroke Panel. This panel allows you to edit the fill color, stroke style, and stroke color. To open the panel, go to Object > Fill and Stroke.
You can also use the shortcut Shift + Control + F on Windows or Shift + Command + F on Mac.
Set the Stroke Paint Color
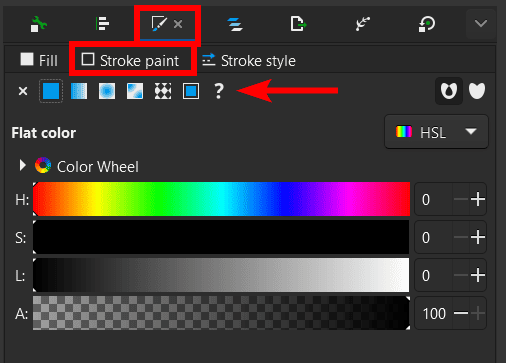
In the Stroke and Fill Panel, you can set the Stroke color in the Stroke Paint tab. You need to ensure that the stroke has a color, or else you can’t change the width if it’s not visible. You can choose a solid color, a gradient, or a pattern.
Use the icons at the top to choose the type of stroke paint you want, and then adjust the settings as needed.
Open the Stroke Style Tab
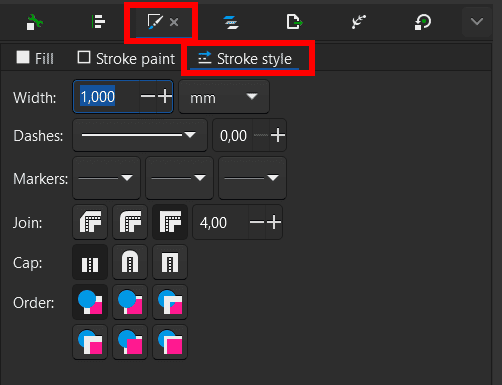
Once you have the stroke paint set, you can see how thick the current stroke is and adjust it to your desired size. To change the stroke width, you must open the Stroke Style Tab. You can adjust the stroke width, style, and endpoints in this tab.
Adjust the Stroke Width
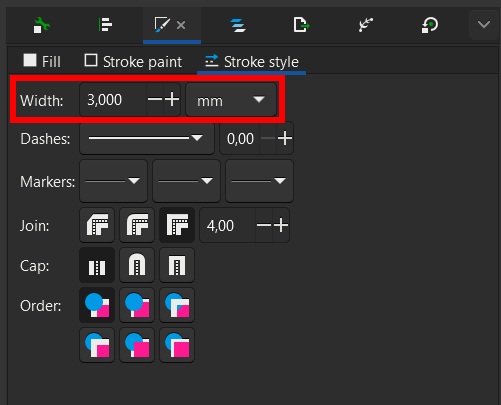
Use the plus and minus icons next to the Width box to adjust the stroke width. Click on the plus sign icon to increase the width and the minus sign icon to decrease the width. You can also type a number into the box to set a specific width.
You can also use the unit drop-down menu next to the width to set a new unit type.
Check the Canvas
You can check the canvas to see the new stroke width size.
Tools:
- Inkscape
How to Keep the Stroke Size When Scaling
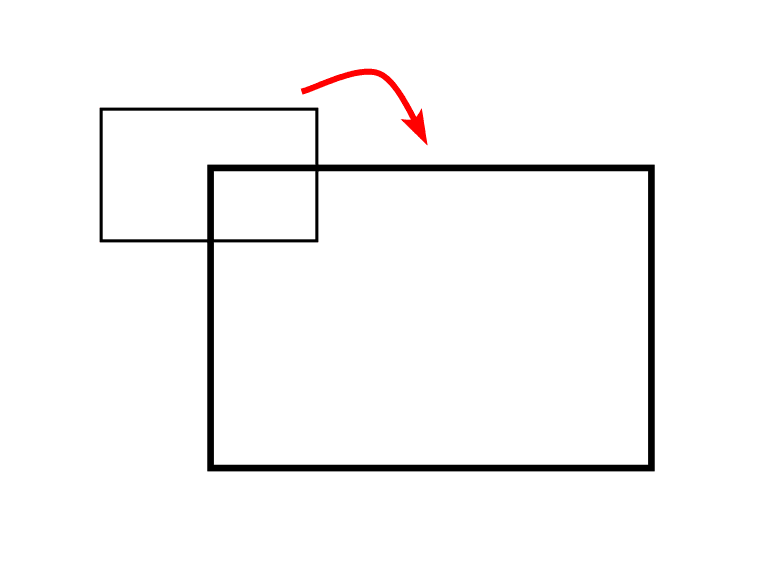
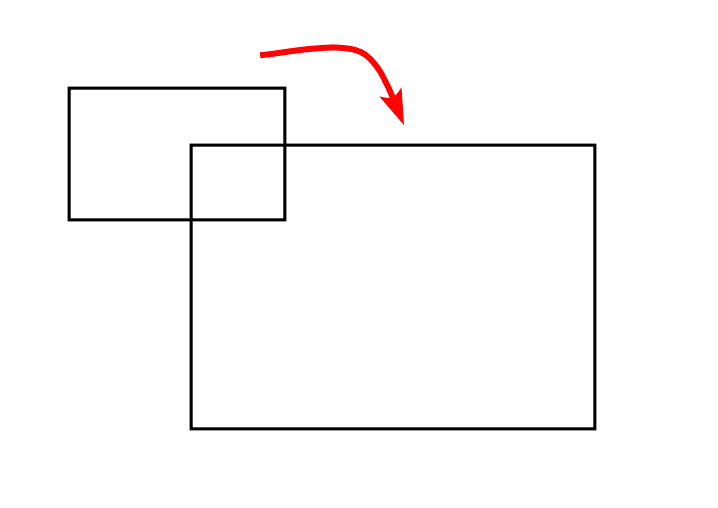
Once you have adjusted the stroke width, you may want to scale the shape size up or down, and when you scale the object, the stroke width will increase or decrease with the size. However, you may want the shape larger in some cases while the stroke size remains the same. By default, the stroke width changes with the scaling.
To keep the width the same, ensure that the Select and transform objects tool (S) is selected.
Then, turn off the When scaling objects, scale the stroke width by the same proportion setting in the top settings bar. This setting is the first icon of the four options on the right-hand side of the bar. The setting is turned off when the icon isn’t highlighted.

After you change the setting, when you scale an object, the object size will increase, but the stroke width will remain the same.
👍 Support Us: Subscribe to our channel and help us continue providing these tutorials.
🌟 Regular Updates: We publish how-to videos for Inkscape regularly!
🔧 Expert Guidance: Learn Inkscape from our professionals and uncover exclusive tips!
