
A common process when designing is selecting specific areas, colors, or shapes to selectively edit parts of the design. In popular editing software, such as Photoshop, users are generally familiar with the Magic Wand Tool, which enables users to select areas based on color.
However, Inkscape doesn’t have a Magic Wand Tool or anything similar to select colors easily. Luckily, there are workarounds to achieve the result you are looking for and to select objects of the same color or to remove the background of specific images.
Here are the best workarounds to achieving similar results to the Magic Wand Tool.
Table of Contents
What Is the Magic Wand Tool?
The Magic Wand Tool selects areas that are the same or similar in color to the area you click on. The tool is a quick and easy way to select areas of similar colors. The tool is often used to remove the background or to make selective edits on a color or color range.
The reason there is no Magic Wand Tool in Inkscape is likely because Inkscape is a vector editing tool rather than a raster-based program. As a result, Inkscape is not suitable for editing images at this level.
Although, there is a way to select vector objects of the same color or type, which is the closest to a Magic Wand that users will get with the software. The process is suited for working with vector objects and will likely help you achieve your desired results.
There is also a method to remove the background of images when the colors between the shape and the color vary enough, and the background isn’t complex. Here is how to use this function to select the same colored objects or to remove the background in some cases.
How to Select Vector Objects of the Same Color
If you are working with vector objects, such as shapes, and want to select all the shapes of the same color as you would using the Magic Wand Tool, you would use this method. Inkscape offers processes that choose objects with the same color, stroke, or style as the one you click on.
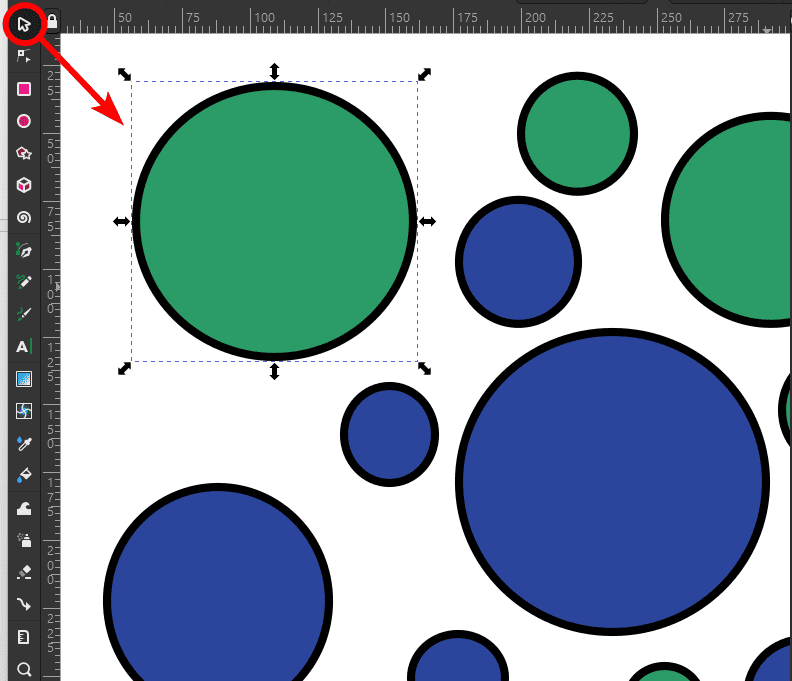
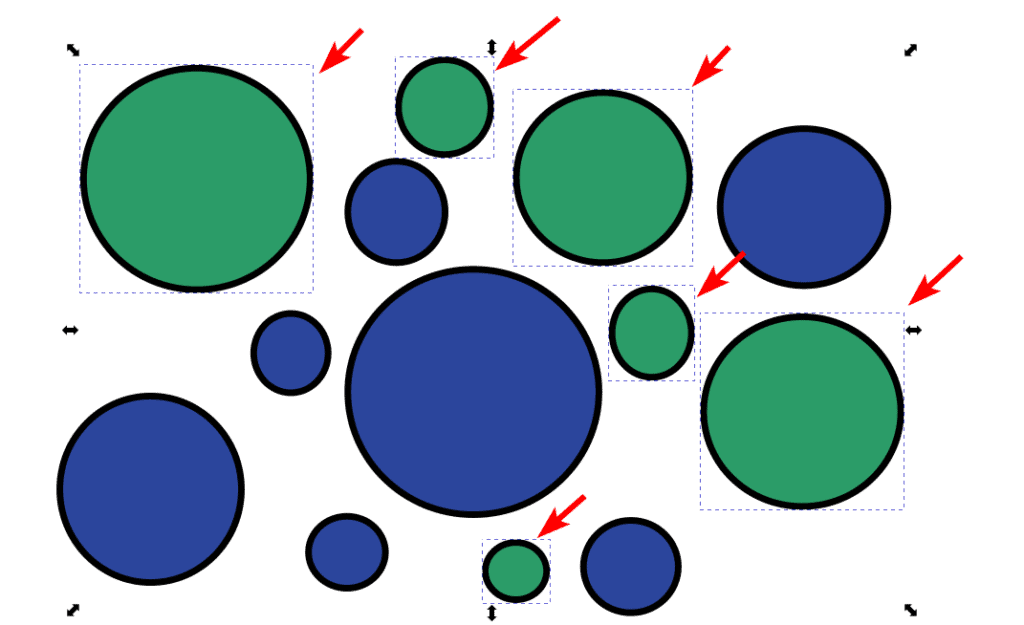
To select vector objects of the same color, you need objects with the same fill or stroke color on the canvas. Here I have multiple circles with different colors. I want to select all the green-colored circles and change them to a light blue color.

To select the circles, activate the Select and transform objects tool (S) and click on one object that has the color you want to be selected.
Once one object with the color is selected, go to Edit > Select Same.
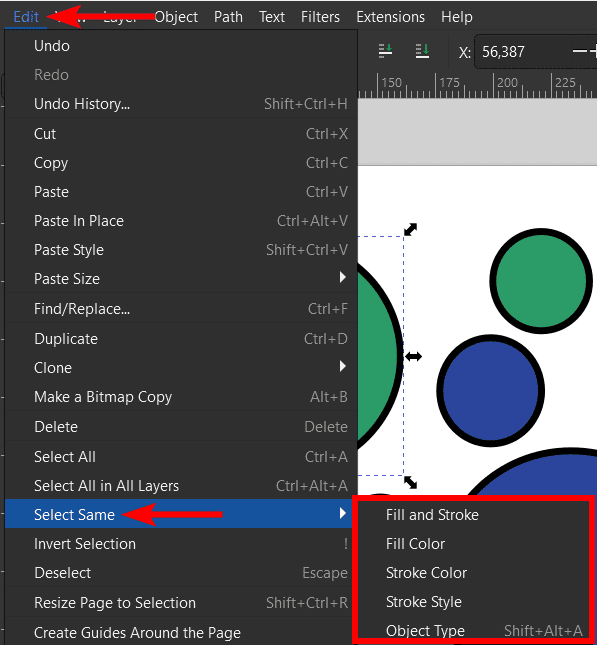
In the Select Same menu, you will find different options to select the rest of the objects. You can base the selection on the fill and stroke color, only the fill or only the stroke color, the stroke style, or the object type.
For my example, I want to select the Fill Color, so this will select all the objects with a green fill.
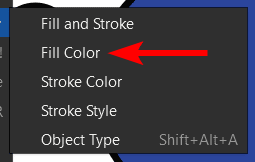
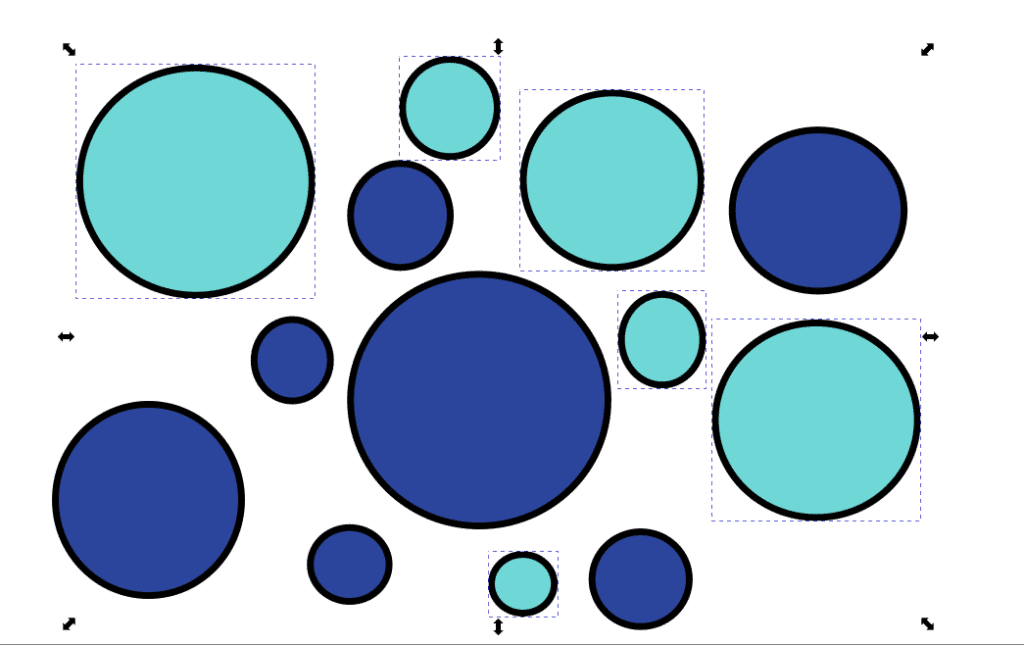
Once you select the option for your project, the objects with the same properties will be selected.
You can now change the color of the selected objects together.
How to Remove Simple Backgrounds Using the Fill Tool
The Fill bounded areas tool is the closest option to the Magic Wand tool when working on a raster image. The tool fills a sectioned-off area with a specific color. You can use this color to clip the image and remove the background while keeping the area with the color.
This method only works on simple images that have the same or similar colors on the object you want to keep.
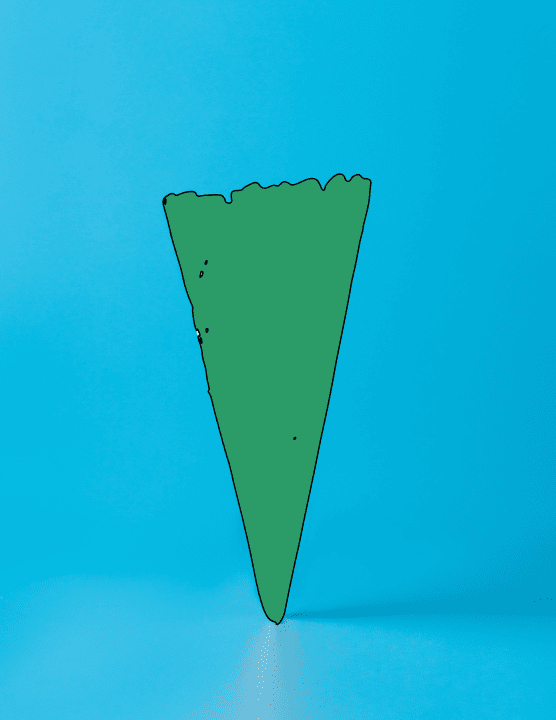
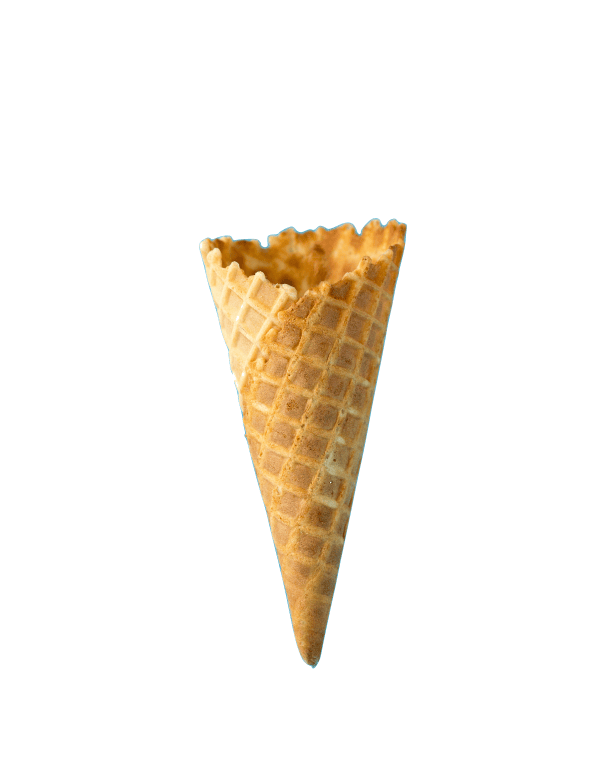
I want to remove the background from this Ice cream cone photo from Unsplash.

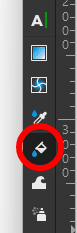
To remove the background, activate the Fill bounded areas tool (U).
Next, adjust the settings in the top bar. Set the Fill by to Visible Colors. Then, change the Threshold level. The higher the Threshold, the more colors are included in the selection. If you have a very low Threshold, only the exact color you click on will be selected. A high Threshold selects similar colors to the one you’ve selected.
You will need to test the Threshold based on your image. A Threshold of 49 works for my image.

Once you have the settings right, click on the color you want to be selected. Depending on the Threshold setting, the color and similar colors will be filled with the color you used last.
The area filled with color is now a new shape, and you can use this shape to clip out the background. To do this, activate the Select and transform objects tool (S) and select both the image and the new shape.

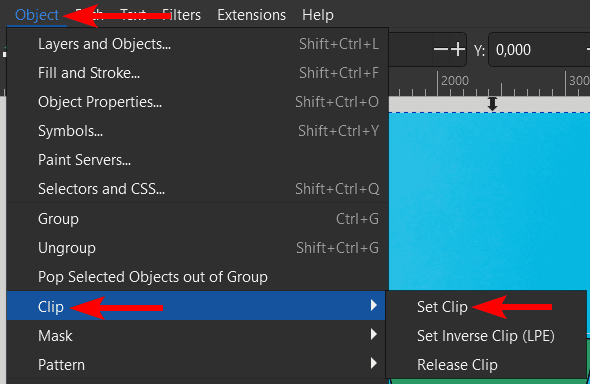
Once the two are selected, go to Object > Clip > Set Clip.
The object will remain while the background has disappeared, which means you have successfully removed the image's background.
👍 Support Us: Subscribe to our channel and help us continue providing these tutorials.
🌟 Regular Updates: We publish how-to videos for Inkscape regularly!
🔧 Expert Guidance: Learn Inkscape from our professionals and uncover exclusive tips!
