

When adding text to your designs, you may need to change the font color in Inkscape to match the layout. Luckily, changing the text color is simple and can be done in a few easy steps.
You can select an entire paragraph and change all the text together, or you can change the color of one word to make a more dynamic layout. Here I will show you how to change the fill color, which is the standard when changing the color of the text. I will also show you how to change the stroke color if you want a different outline on the text.
Table of Contents
Overview of How to Change Font Color
- Add text to the canvas using the Create Text Tool (T)
- Select the text you want to change
- Open the Fill and Stroke panel
- Change the Fill color
- Change the Stroke color (Optional)
Step-by-Step to Change Font Color in Inkscape

You can use the following method to change the font color of a single word or an entire paragraph. The only difference is when you select the text, ensure you only select the words you want to change the color of.
In this process, I also demonstrate how to change the stroke color of the text.
Add Text to the Canvas Using the Create Text Tool (T)

Before changing the text color, add some text to the canvas. The text will either be a default black or the color you last used on the text. You can also set the color before typing using the swatches at the bottom.
Select the Create and edit text objects tool from the toolbar or press T. Then drag a text box out on the canvas and add your desired text.
Select the Text You Want to Change
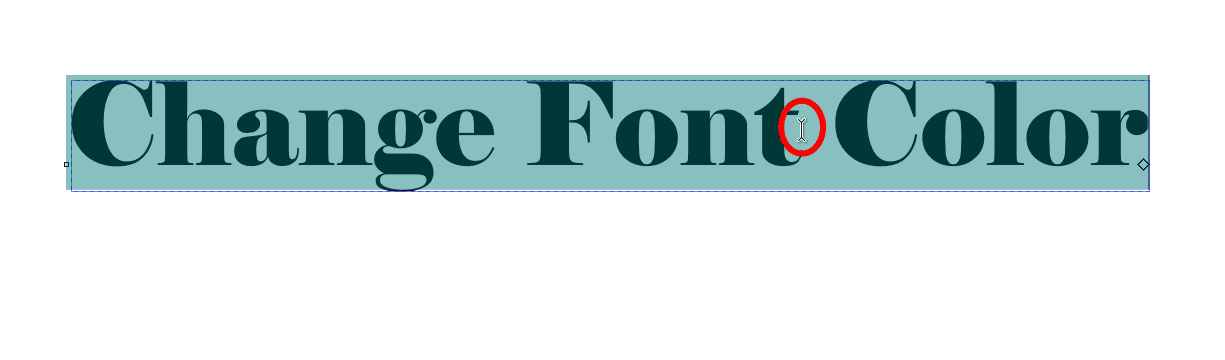
Once the text is on the canvas, whether you just added it or it’s text from an older project, you need to select the text you want to change the color. Here is where you can select how much of your text you want to change.
Ensure the Create and edit text objects tool is selected, and then click and drag over the text you want to change. You can select one word or the entire sentence or paragraph. If you want to select a lot of text at once, double-click on the text to select large proportions.
Open the Fill and Stroke Panel
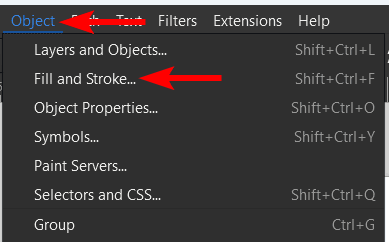
Next, you need to open the Fill and Stroke panel by going to Object > Fill and Stroke or using the shortcut Shift + Control + F on Windows or Shift + Command + F on Mac.
Change the Fill Color
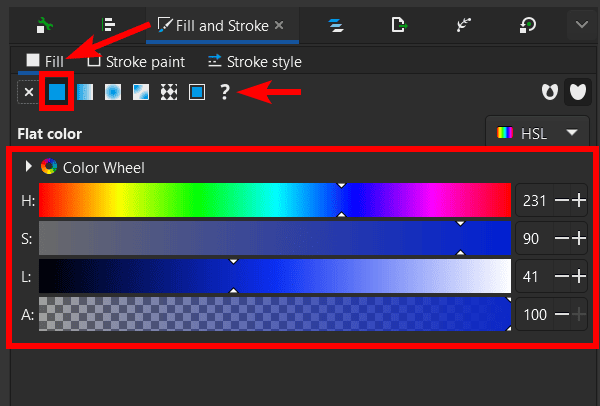
The Fill and Stroke panel will pop up on the right of the program. The main element of the text is the fill color. The panel should open in the Fill tab, but if it doesn’t, click on it to open.
Then, select the solid color icon from the top options and move the sliders to select your new color. You can use the other top options to add a gradient or pattern to the text. The x icon will remove the stroke color, which is useful if you only want an outline on the text. Then, you can use the last step to change the stroke color.
Check the Canvas
You will see the font fill color has been changed on the canvas.
Change the Stroke Color (Optional)
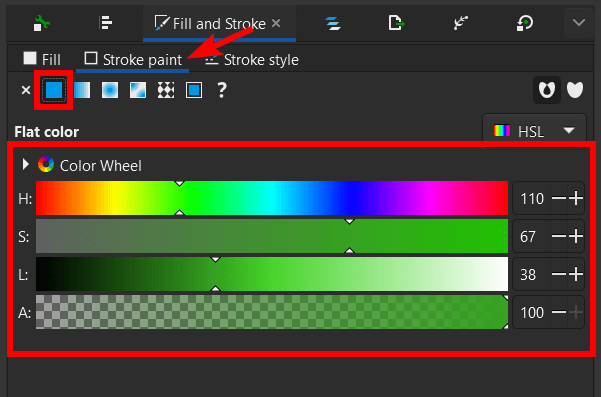
If you want to change the stroke color to create an outline around the text, you can easily do this. Follow all the steps above, but in the Fill and Stroke panel, open the Stroke Paint tab. In the stroke tab, select the solid color option at the top and then adjust the color as desired.
Check the Canvas

You will see the new stroke color on the text on the canvas.
Tools:
- Inkscape
👍 Support Us: Subscribe to our channel and help us continue providing these tutorials.
🌟 Regular Updates: We publish how-to videos for Inkscape regularly!
🔧 Expert Guidance: Learn Inkscape from our professionals and uncover exclusive tips!
