
Inkscape offers various ways to draw lines, depending on whether you need a simple, fancy, or straight line.
Here are the best ways you can draw simple freehand lines, freehand lines with a bit more flair, and three different ways to draw straight lines, depending on how you plan on using the line.
Table of Contents
Two Ways to Draw a Freehand Line in Inkscape
When drawing a freehand line in Inkscape, there are two main tools you can use. The first method creates a simple line, while the second method offers a calligraphic-styled line. Use the option that best suits your end goal.
Method 1: Using the Draw Freehand Lines Tool
Whether you are using a laptop and a mouse or a drawing pad with a stylus, you can easily create freehand lines. To do this, first, select the Draw freehand lines tool from the toolbar or press P.
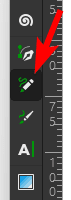
Once the tool is selected, you can click and drag on the canvas to create the line.
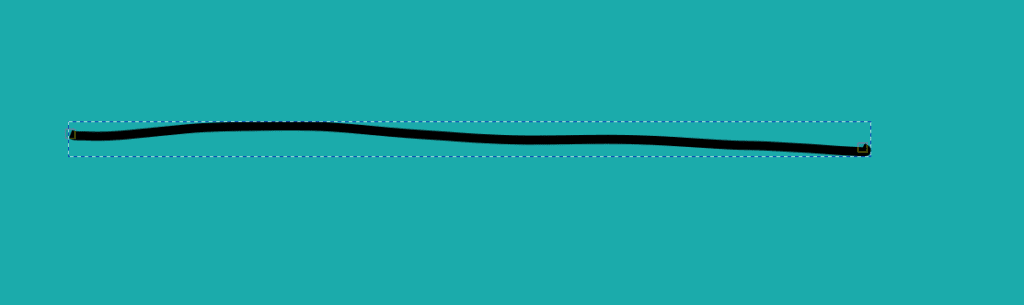
The line will be drawn using the previous stroke and fill settings you used in Inkscape. You can easily change the stroke or fill color, and you likely want there to be no fill and only a stroke color.
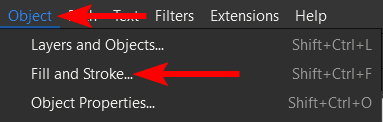
To do this, open the Fill and Stroke panel by going to Object > Fill and Stroke or pressing Shift + Control + F on Windows or Shift + Command + F on Mac.
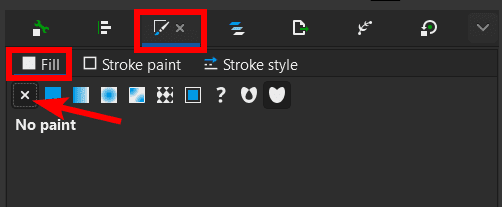
When the panel opens on the right, you can select the Fill tab and choose the no paint option.
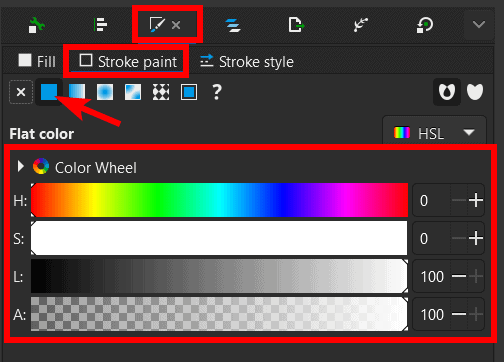
Then, you can select the Stroke Paint tab and choose a color for the line.
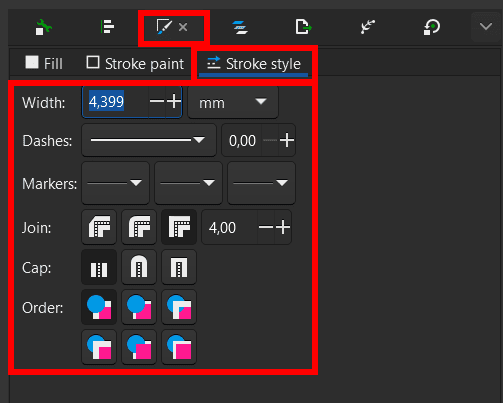
You can also select the Stroke style tab to adjust the line weight or style, such as drawing an arrow.
Once you’ve made the above customizations, any new lines you draw will be the same color, stroke, and style. Another thing you can control when creating these lines is how smoothly the line is drawn.
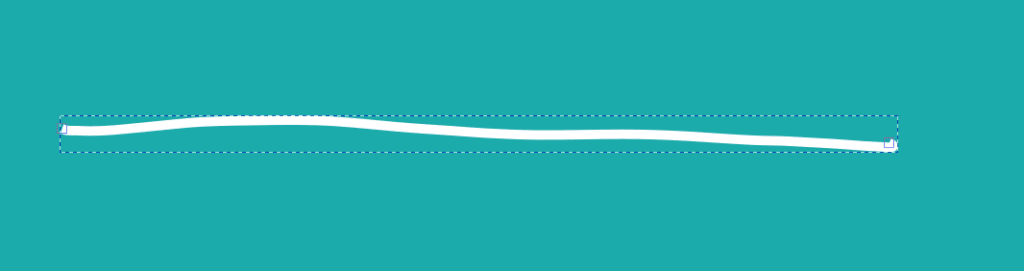
You can see the first line I drew is wobbly and doesn’t look too smooth.
To fix this, locate the Smoothing slider option for the tool in the top settings bar.

Increase the Smoothing, depending on how smooth you want your line to be. I’ll set mine to 90.

Now, when you draw the line, Inkscape will automatically smooth it out for you.
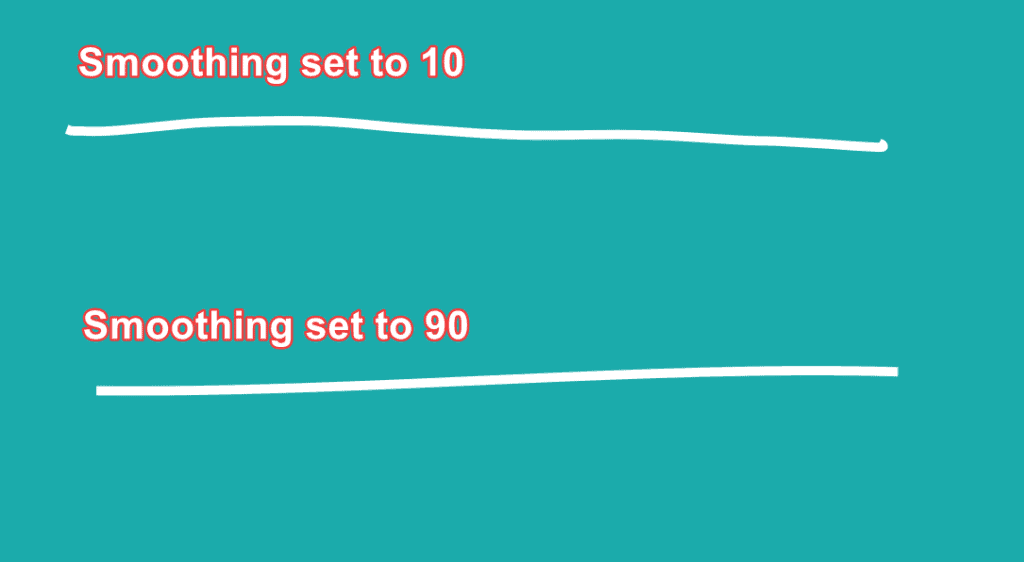
While the result is closer to a straight line, it’s still not perfectly straight. You can create a straight line with this tool, which I’ll explain in the second section.
Method 2: Using the Draw Calligraphic or Brush Strokes Tool
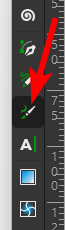
The second method to draw freehand lines is with the calligraphic-styled tool. This method creates fancier lines than the first method. First, select the Draw calligraphic or brush strokes tool from the toolbar or press C.
You can then click and drag on the canvas to draw a line. You will notice the line thickness varies along the line.

You can change the fill and stroke color using the same process as the first method. However, you can’t customize the stroke style too much for this tool.
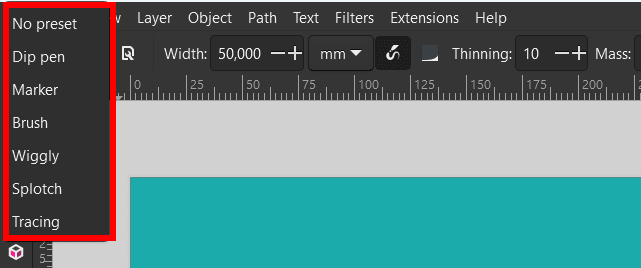
The settings to focus on that affect the style of the line are located in the top settings bar.

Here you can select the brush type, such as the dip pen (which I used in the above demonstration), a brush, marker, or tracing pen.
You can go through the rest of the settings to change the width, thinning, mass settings, and more. You can’t draw a perfectly straight line with this tool.
How to Draw a Straight Line in Inkscape
If you want to draw a perfectly straight line in Inkscape, here are the three best methods you can use. Choose the method that works with your project since they are all easy to use and customizable.
Method 1: Using the Draw Freehand Lines Tool
Firstly, you can draw a straight line using the Draw freehand lines tool. First, select the tool from the toolbar or press P.
Then, click once on the canvas to start drawing the line.

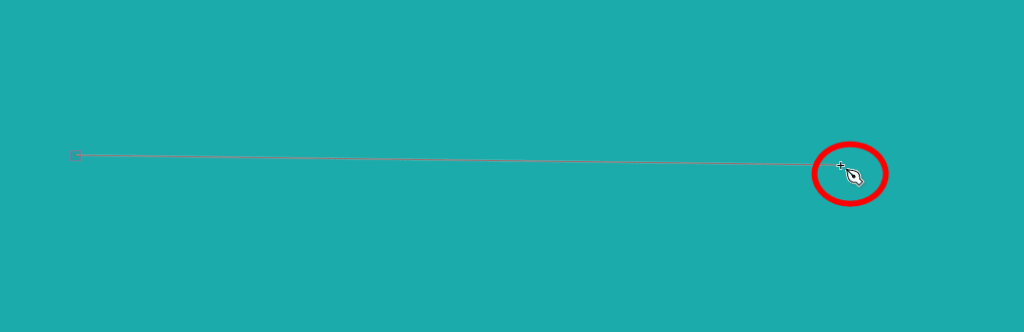
Next, let go of the mouse or lift your stylus and move the cursor to where you want the line to end. You will see a straight red line showing you where the line will sit. Click to create a straight line.
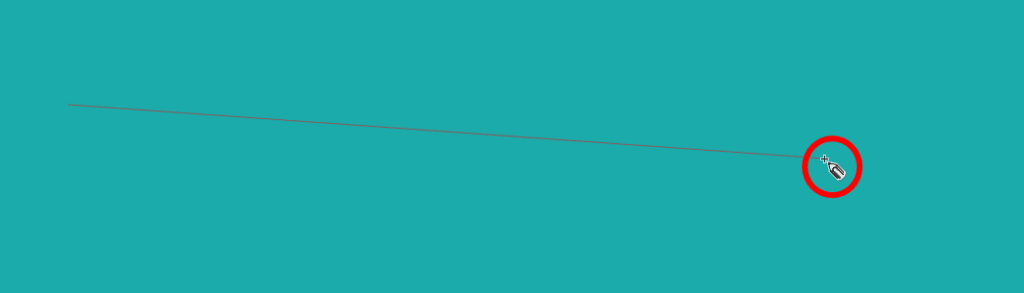
You can see how different the straight line is from one you’ve drawn freehand.
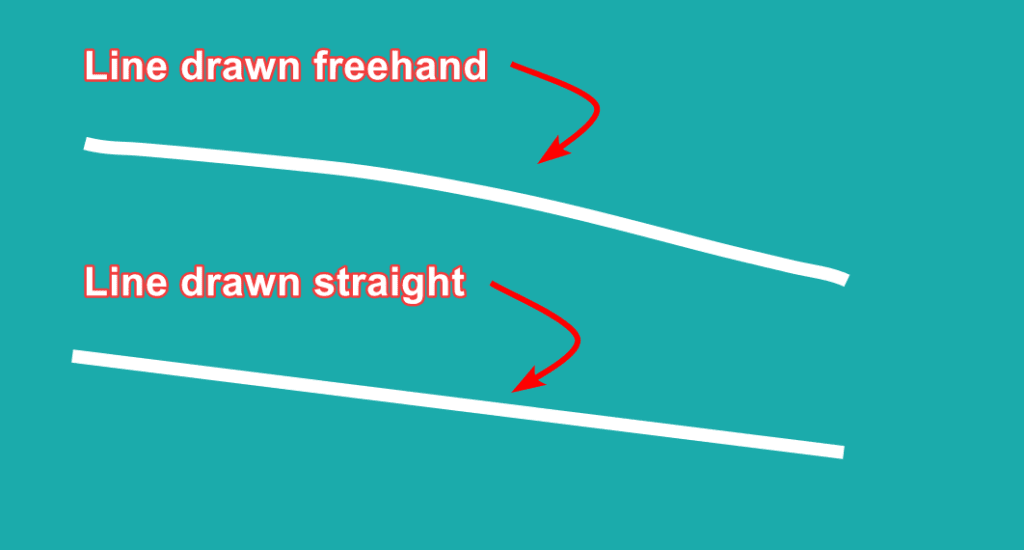
You can change the color and style in the same way as I demonstrated in the first section. This technique doesn’t keep the line perfectly horizontal or vertical, meaning the line may tilt slightly.
Use the same method to draw a horizontal or vertical straight line, but hold in Control on Windows or Command on Mac to keep the line within 45-degree increments.

Method 2: Using the Draw Bezier Curves and Straight Lines Tool
The second method to draw a straight line is using the Bezier tool, which is similar to the Pen Tool you find in Adobe Photoshop.
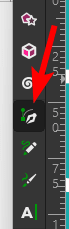
To use this tool, select the Draw bezier curves and straight lines tool from the toolbar or press B to activate it.
This method is very similar to the process when using the draw freehand lines tool. Click once on the canvas to add the line’s starting point.

Then move the mouse to where you want the line to end, hold in Control / Command if you want the line perfectly vertical or horizontal, then click to add another node. You can continue the line by adding more nodes, or if you want to end the line, double-click or press Enter.
You can customize the line in the same way as mentioned in the first section with the draw freehand lines tool.

Method 3: Using the Create Rectangles and Squares Tool
The last method is not a usual way to create a straight line. However, it does the job and allows you to make a large fill area if you want a different fill color.
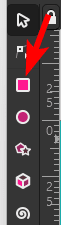
To use this method, select the Create rectangles and squares tool from the toolbar or press R to activate it.
Next, click and drag to create a thin rectangle on the canvas, which mimics a straight line.

You can open the rectangle up slightly to add a different color fill inside. You can customize the fill and stroke color in the Fill and Stroke panel, as shown in the previous examples.
👍 Support Us: Subscribe to our channel and help us continue providing these tutorials.
🌟 Regular Updates: We publish how-to videos for Inkscape regularly!
🔧 Expert Guidance: Learn Inkscape from our professionals and uncover exclusive tips!
