
When creating layouts and graphic design elements in Inkscape, you usually need to set the canvas to a specific size for the final artwork. You can change the canvas size in Inkscape at any point during the project.
You can set the size to pixels, inches, centimeters, and more. There are also preset sizes you can choose from, such as A4, US Envelope, Banner, and more. You can also set a custom size or resize the canvas to fit a selection.
Here is all you need to know about resizing a canvas.
Table of Contents
Overview of Steps
- Go to File > Document Properties
- Open the Display tab
- Set the Format
- Set the Units
- Input the Width and Height values
- Select the Orientation
- Resize to Content (optional)
- Close the Document Properties window
When you are ready to resize the canvas, you can easily change it as needed. You can resize the canvas as many times as you’d like, and here is how to do it.
Check the Current Canvas
Before you resize the canvas, ensure you know what size you’d like it to be and that your content will fit within the new size. For instance, my current canvas is 1920 x 1080 pixels.
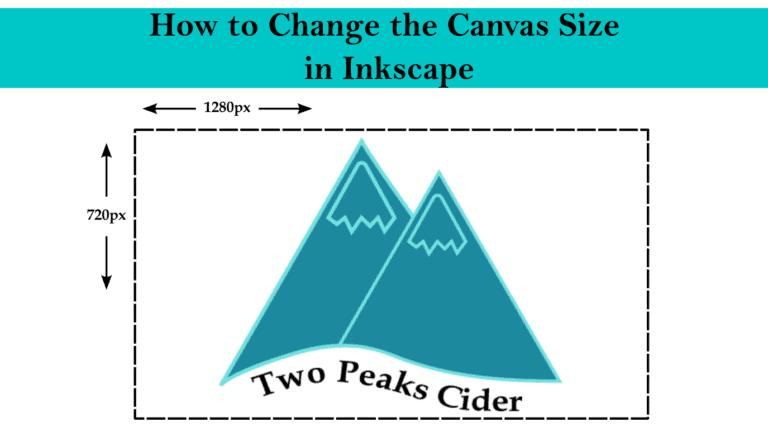
I want to resize my canvas to fit the logo to a 1280 x 720-pixel canvas. I have drawn the box and the pixel values as a guide for this example.
Go to File > Document Properties
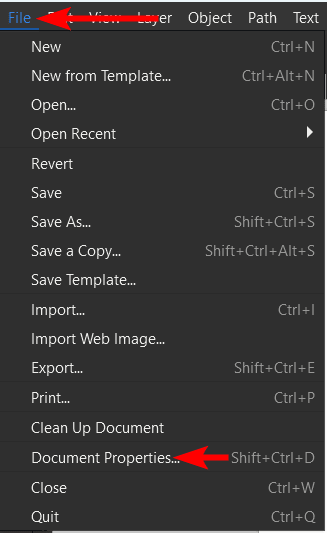
Once you are ready to resize the canvas, open the Document Properties window by going to File > Document Properties or using the shortcut Shift + Control + D on Windows or Shift + Command + D on Mac.
Open the Display Tab
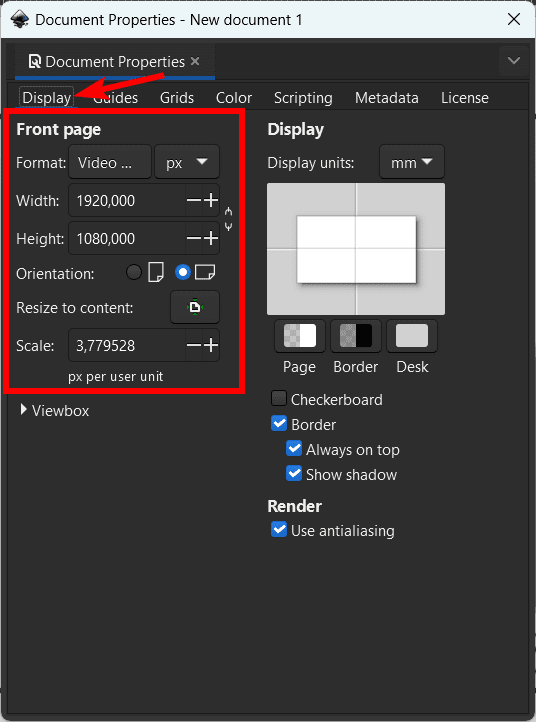
You should be in the Display tab when the Document properties window opens. If not, open the Display tab at the top. Here you will find the current canvas size information, such as the units, width and height values, and orientation.
Set the Template Format
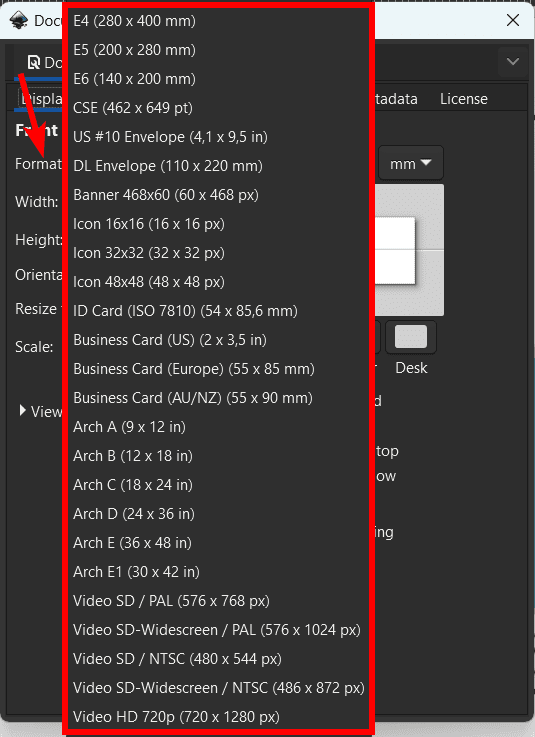
You can now set the Format or unit value. The Format drop-down menu contains several template sizes you can choose from to select a specific size quickly. You can choose from a paper size, such as A4, a business card size, or web sizes, such as HD video.
Selecting one of these formats will automatically size the paper to the template size, so you won’t need to add custom width and height values. If you don’t see the size you need in the options and want to set a custom size, you can by following the next steps.
Set the Units

If you choose a template from the format list, the units will be set automatically. However, if you want to select a custom size, ensure the units are set correctly using the drop-down menu. You can choose between the following units.
Centimeters (cm)
Inches (inches)
Points (pt)
Picas (pc)
Millimeters (mm)
Pixels (px)
I will select px for pixels.
Input the Width and Height Values
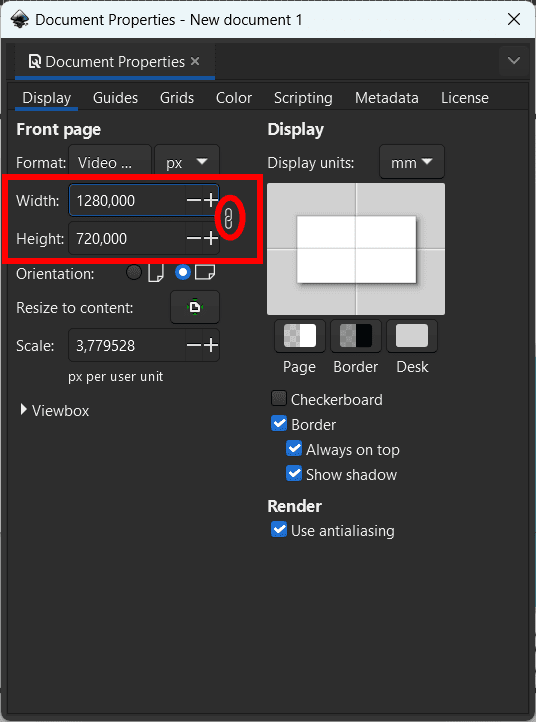
You can add your custom width and height values to the boxes. I will change the width to 1280 pixels and the height to 720 pixels.
If you want to keep your current document's aspect ratio, you can turn on the link icon next to the values. Then when you add in a width value, the height will adjust automatically to keep the aspect ratio and vice versa.
If you want a new aspect ratio, uncheck the link icon and enter different values into the boxes.
Select the Orientation
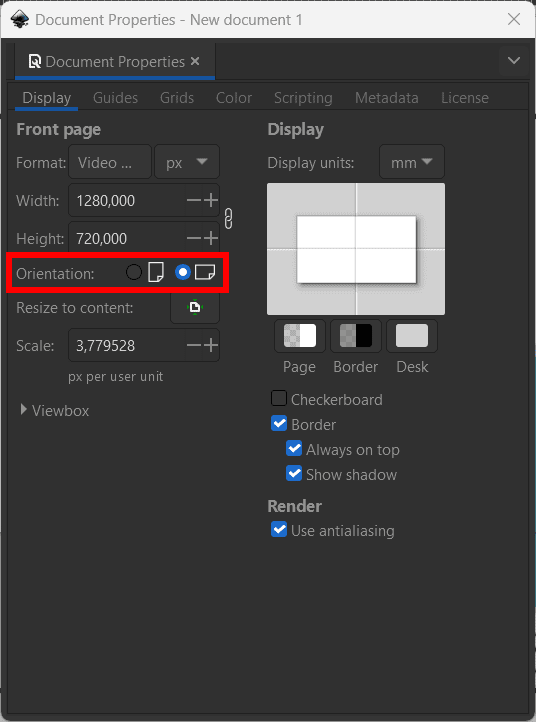
You can also set the orientation by clicking on a circle next to the portrait or landscape icon. If your values are set to a landscape orientation, and you check the portrait option, the values will switch around in the width and height boxes.
Resize to Content (Optional)
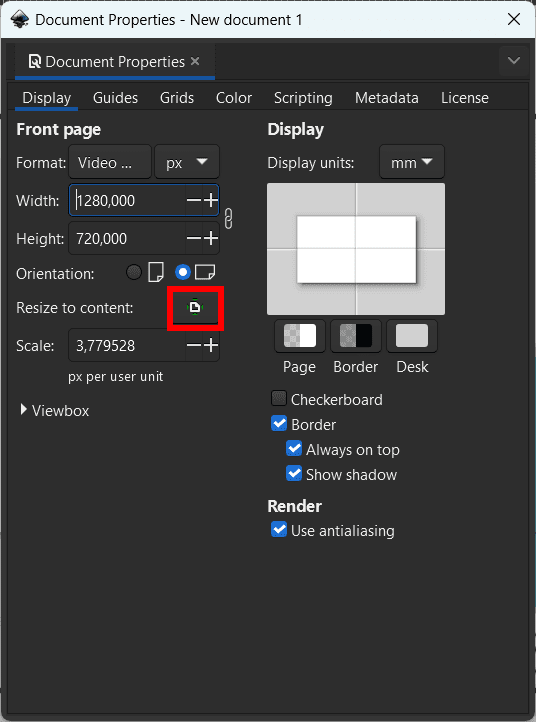
Lastly, if you don’t want the document to be a specific size but rather to fit all the contents you have added, you can click the Resize to content button. This will automatically resize the canvas to fit right around all the objects on and off the canvas. Or to fit a selection if you made a selection before resizing.
Close the Document Properties Window
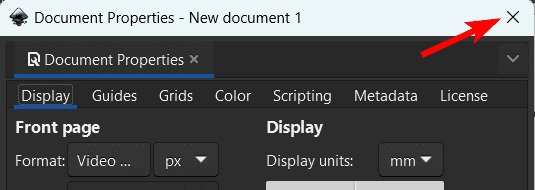
Once you have added the correct values and information, click the X icon to close the Document Properties window.
Check the Canvas
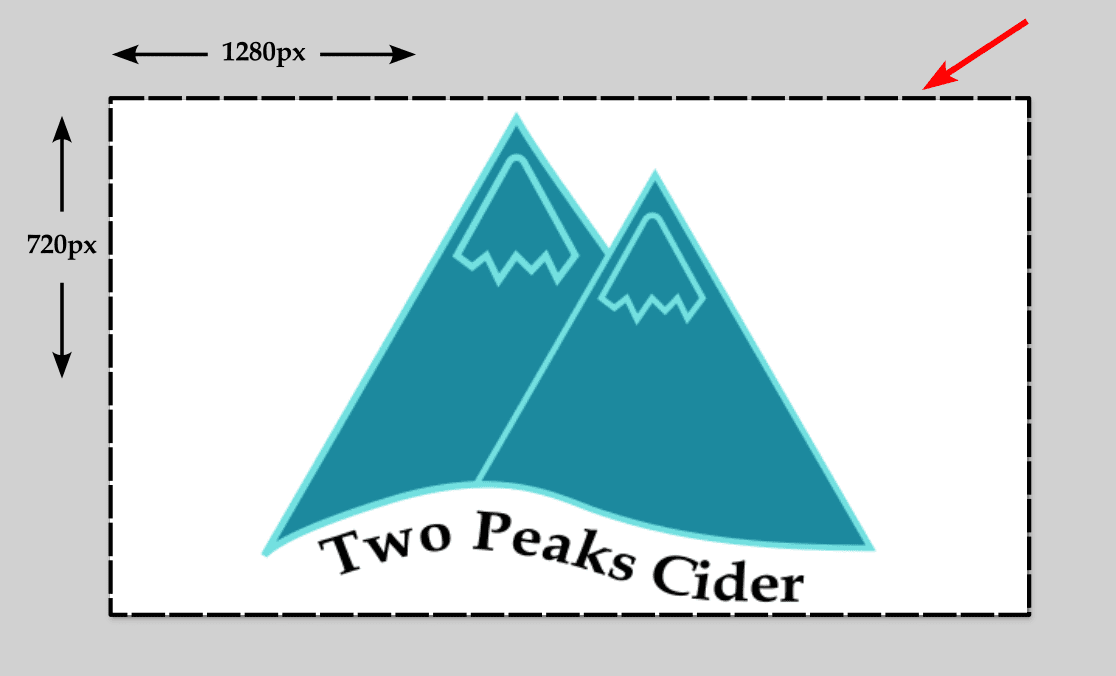
Now, you can check the canvas. If you added a custom value, your content might have shifted off the page. You can select all the objects by pressing Control + A on Windows or Command + A on Mac, activate the Select and transform objects tool by pressing S, and then click and drag to reposition your content onto the new canvas size.
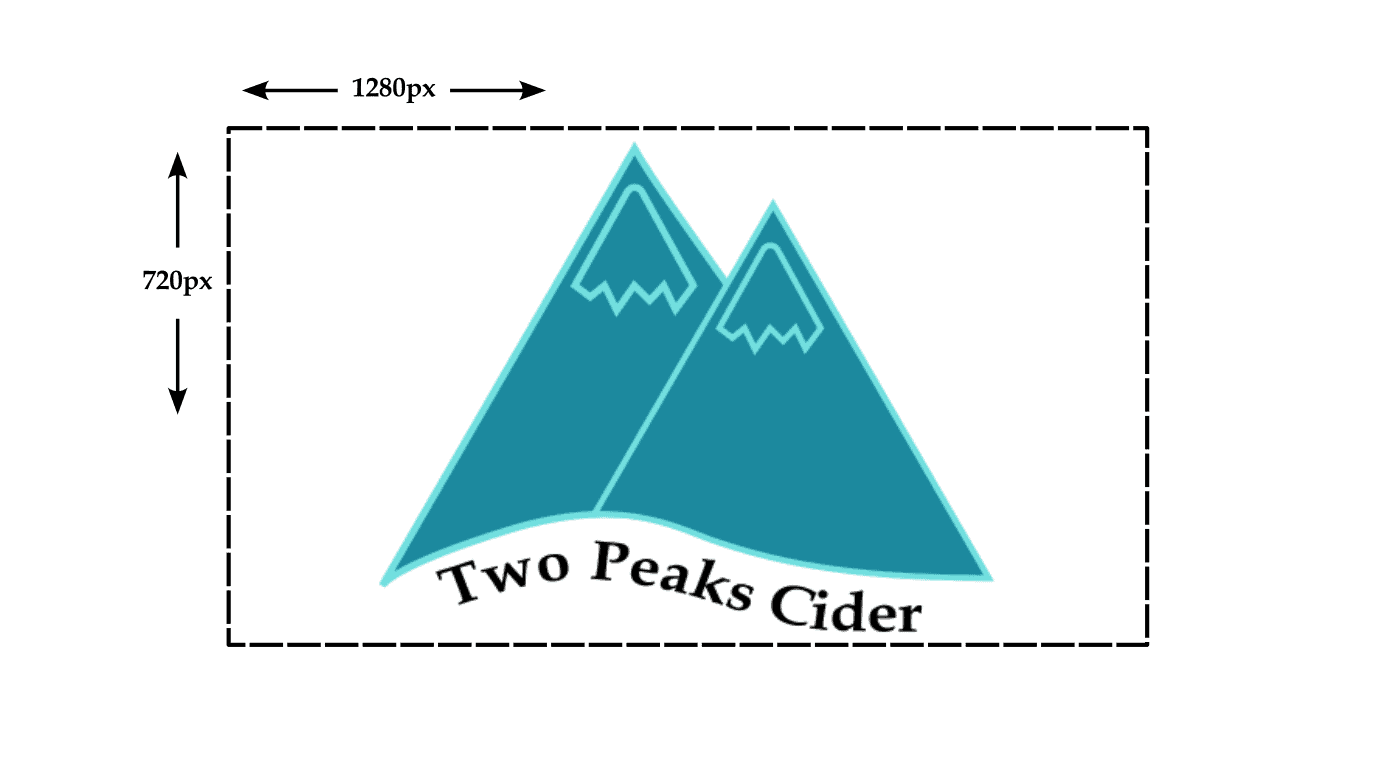
You can see my example fits the frame I made at 1280 x 720 pixels with the logo fitting inside.
Tools:
- Inkscape
How to Set a New Page Size as the Default in Inkscape
If you have a standard size you often use in Inkscape, and it isn’t in the format options, you can save your new canvas size as a template and even make it your default template if you’d like.
Once you have resized your document, you can save the size as a template, but you must ensure the canvas is empty. Any objects, text, or other elements on the canvas will be saved in the template.
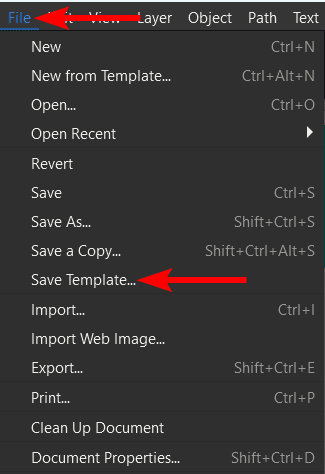
It’s best to resize a new empty document to save it as a template. When you have your blank canvas at the correct size, go to File > Save Template.
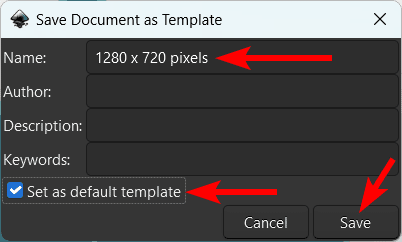
You can then enter a template name to find the template easily. You can also include an author, description, and keywords if you’d like, but it’s not necessary.
If you want this canvas size to automatically open whenever you open Inkscape, check the box next to Set as default template.
Click Save when you have included at least the template name. If you didn’t save it as the default, you would find it in the Format drop-down menu in the Document Properties window when needed.
👍 Support Us: Subscribe to our channel and help us continue providing these tutorials.
🌟 Regular Updates: We publish how-to videos for Inkscape regularly!
🔧 Expert Guidance: Learn Inkscape from our professionals and uncover exclusive tips!
