

When you add new text in Krita, you have the Edit Text window open, giving you all the basic tools to customize the text, such as choosing a font, setting the text size, and typing the text.
Once you save these settings, you may be confused about how to re-access the window to change the text if you change your mind.
Table of Contents
Changing the Font in Krita's Text Tool
If you’ve added text to your project, it doesn’t matter how long ago you added it. You can change the font at any time.

There are two ways to change the font. First, you can re-open the Edit Text window by selecting the Text Tool, then double-clicking on the text on the canvas or selecting the text and pressing Enter.
Once the Edit Text window is open, select the font drop-down menu to view the list of available fonts.
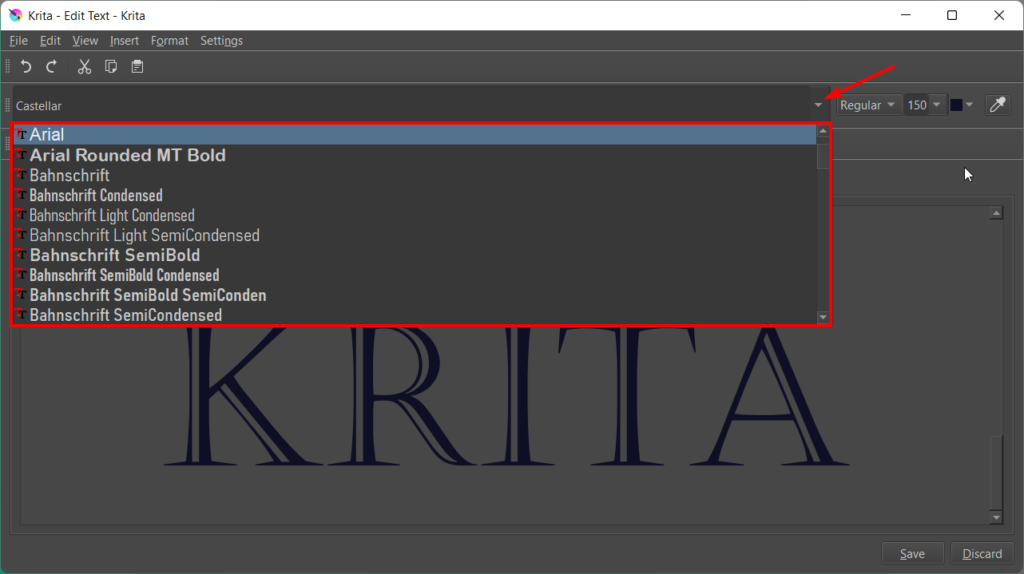
Select the new font you want, and you will see a preview of the new font in the Edit Text panel. Then click Save to confirm the change, and then you can exit the Edit Text window with the cross icon in the top right corner.
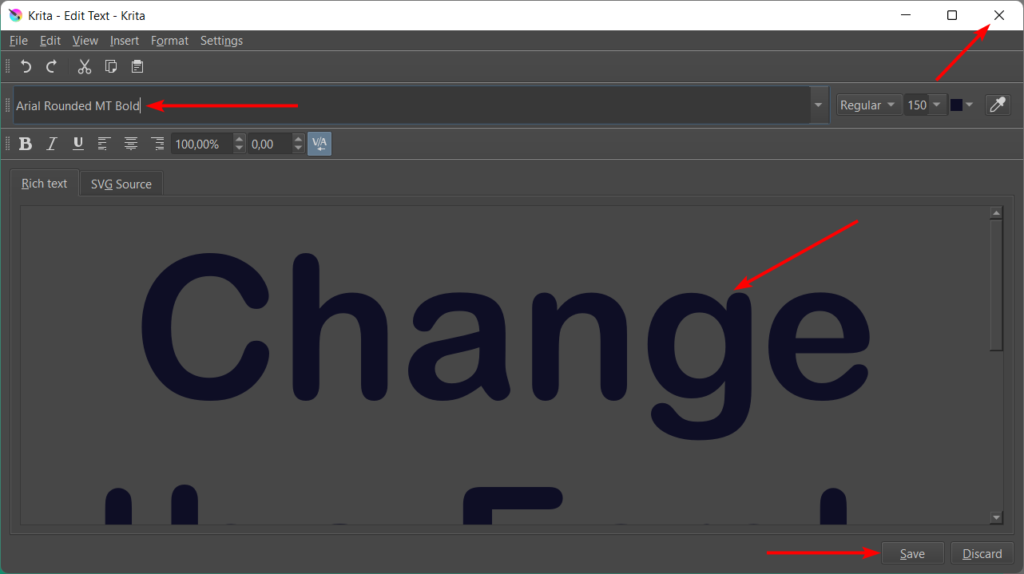
The font is now changed on the canvas as well.

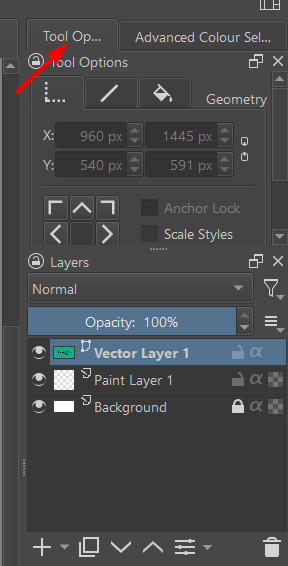
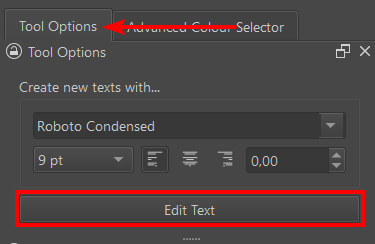
The second method is using the Tool Options panel. Once you’ve added the text to your canvas, you can locate the Tool Options panel by looking at the dockers on the right. The panel should be here.
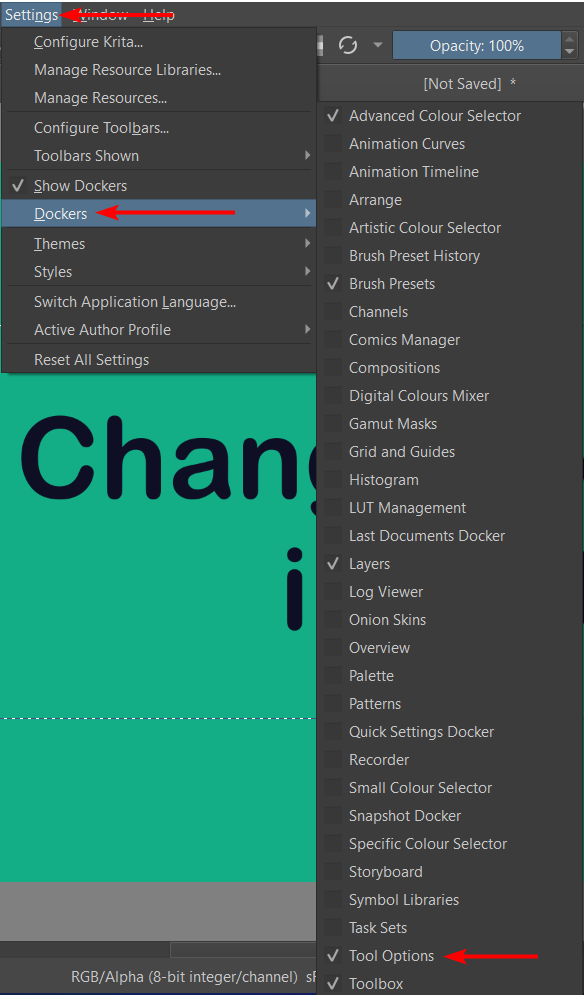
If the Tool Options panel isn’t visible, go to Settings > Dockers > Tool Options. When there is a checkmark next to the panel name, it will be visible in your workspace.
Click the Edit Text button to open the Edit Text window, and follow the steps above to change the font.
Adding Another Font to Krita
Krita uses the system fonts available on your computer, so if you want to add another font to Krita, you need to install it on your computer first. First, find the new font you want to add. There are plenty of free fonts available online from websites such as dafont.com.
Once you have found and downloaded your font, locate the file you downloaded of the font, which should be in a zipped folder. Then, follow the instructions based on your operating system.
On Windows
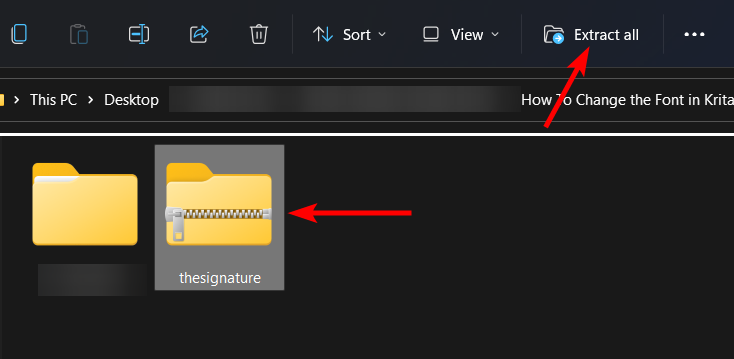
On Windows, extract the folder by selecting it and then clicking on Extract All in the top options bar.
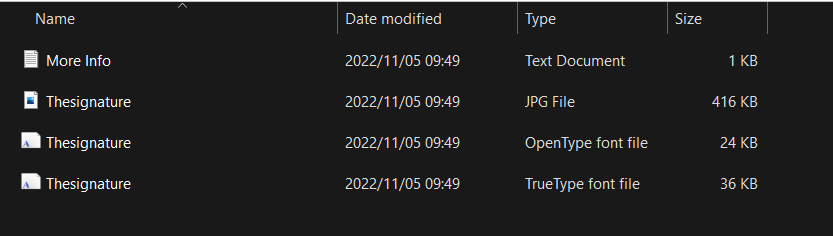
Once you have extracted the folder, you should see a few files. One is the license agreement, which you must read to ensure you can use the font for your specific project. Then there is usually a JPEG or PNG file to show the font. Lastly, you’ll see the font file(s). In some cases, there is an OpenType and a TrueType font file.
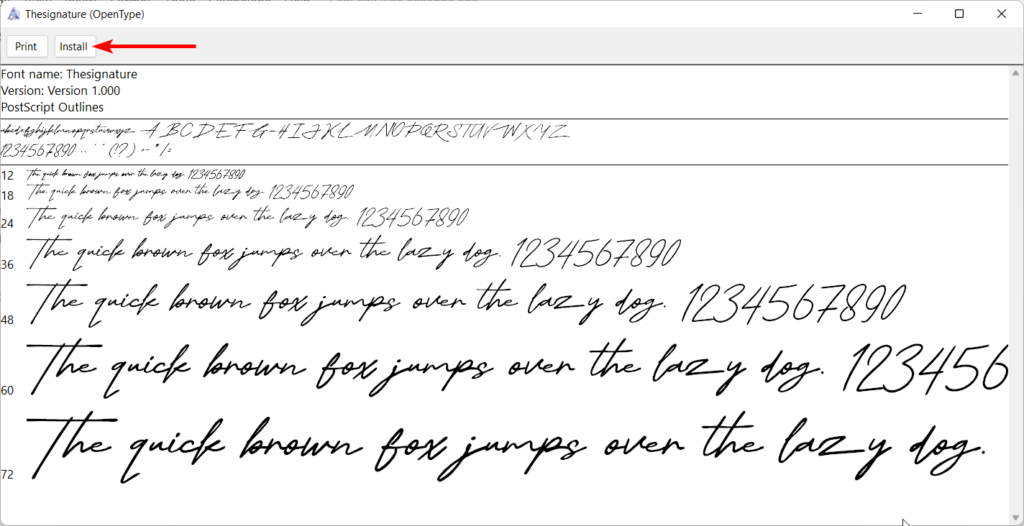
Double-click on the font type you want to use, either OpenType or TrueType and click Install in the window that opens.
On Mac
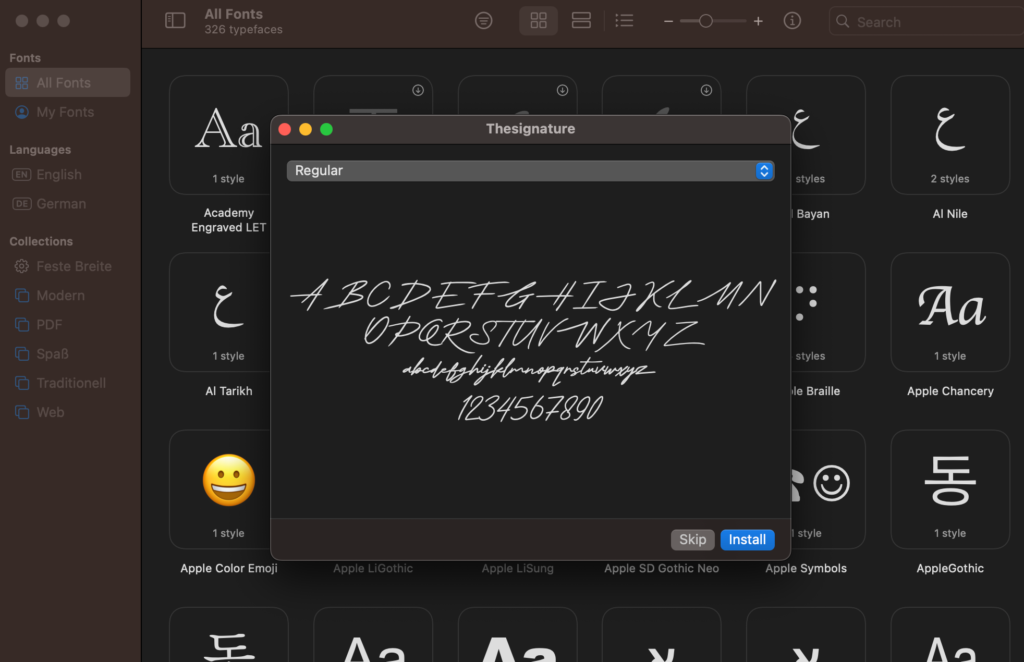
If you are on a Mac OS, unzip the folder by double-clicking on it. Then double-click on the font file you want to use, OpenType or TrueType, and click on Install in the preview window that opens.
Using the new Font in Krita
Once you have installed the font on either operating system, it is automatically available in supported programs, such as Krita. When you change the font, you can look for the new font you’ve downloaded and use it as you wish.
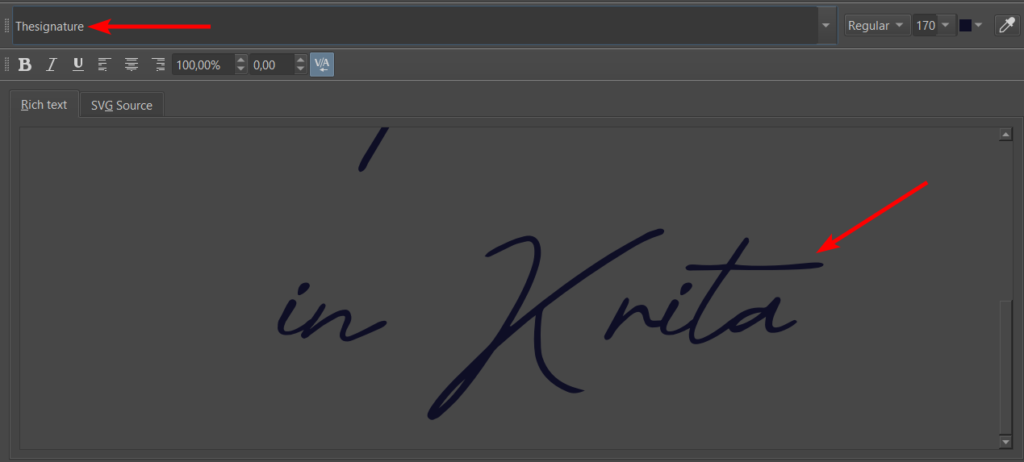
You have now changed your text to your newly downloaded font.

👍 Support Us: Subscribe to our channel and help us continue providing these tutorials.
🌟 Regular Updates: We publish how-to videos for Krita regularly!
🔧 Expert Guidance: Learn Krita from our professionals and uncover exclusive tips!
