
Whether you want to convert the color mode of the image to grayscale or add a filter over the image to change the image’s color only, you can do so in a few simple steps.
Remember that changing the color mode affects the entire document and controls the output colors of the project. If you add a filter, you can control which layers are affected by the color change and leave other layers unaffected.
Table of Contents
How to Make an Image Black and White in Krita
- Select the Image Layer
- Add a New Filter Layer
- Select Desaturate From the Filters Menu
- Set the Desaturation Method
- Try Different Saturation Methods
- Accept the Desaturation Method
- Check the Canvas
- Add a New Color Layer
- Paint Over the Image
- Toggle the Desaturate Filter On and Off
There are a few ways to make an image black and white in Krita, and the method you use depends on what you want to achieve. You can add a filter that only affects the image layer or a filter that affects all the layers below it that you can turn on and off. Here is how to do both methods.
Select the Image Layer
Ensure your image layer is selected in the Layers docker because Krita will add any new layers directly above the selected layer.
Add a New Filter Layer
Place a new filter layer above the image layer by clicking on the arrow next to the new layer icon, then select Add Filter Layer from the options.

Select Desaturate From the Filters Menu
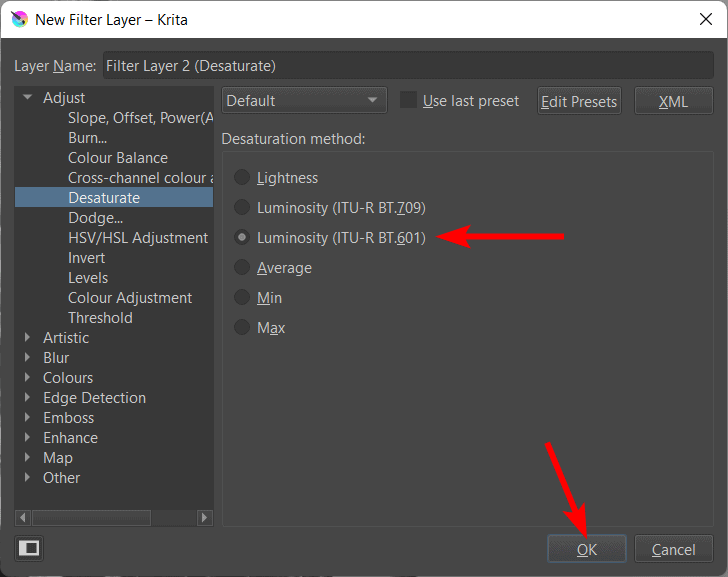
The New Filter Layer window appears, allowing you to choose the type of filter you want to add to the project. Open the Adjust tab in the lefthand panel and select Desaturate.
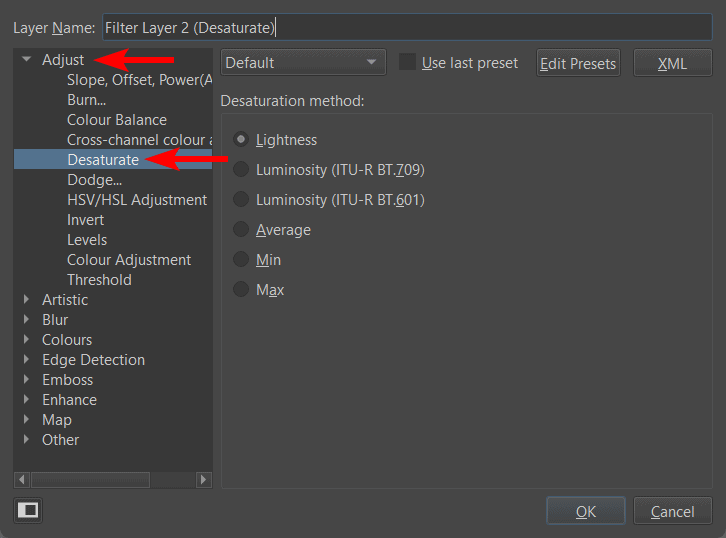
Set the Desaturation Method
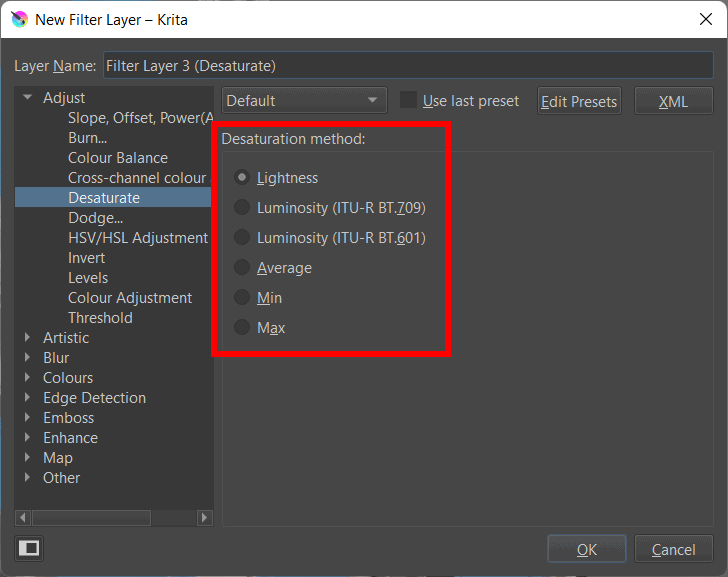
You can now choose the desaturation method you’d like for your image from the options in the middle of the window. The different options alter your photo as follows:
Lightness: This method turns colors gray based on the HSL color model.
Luminosity (ITU-R BT.709): This option turns the image colors gray using an appropriate amount of weighting per channel based on ITU-R BT.709.
Luminosity (ITU-R BT.601): This method turns the colors to varying shades of gray using an appropriate amount of weighting per channel based on ITU-R BT.601.
Average: This mode creates an average based on all color channels to determine the gray values for the image.
Min: Subtracts all colors from the others to find a gray value.
Max: Adds all the channels to determine a gray value
Try Different Saturation Methods
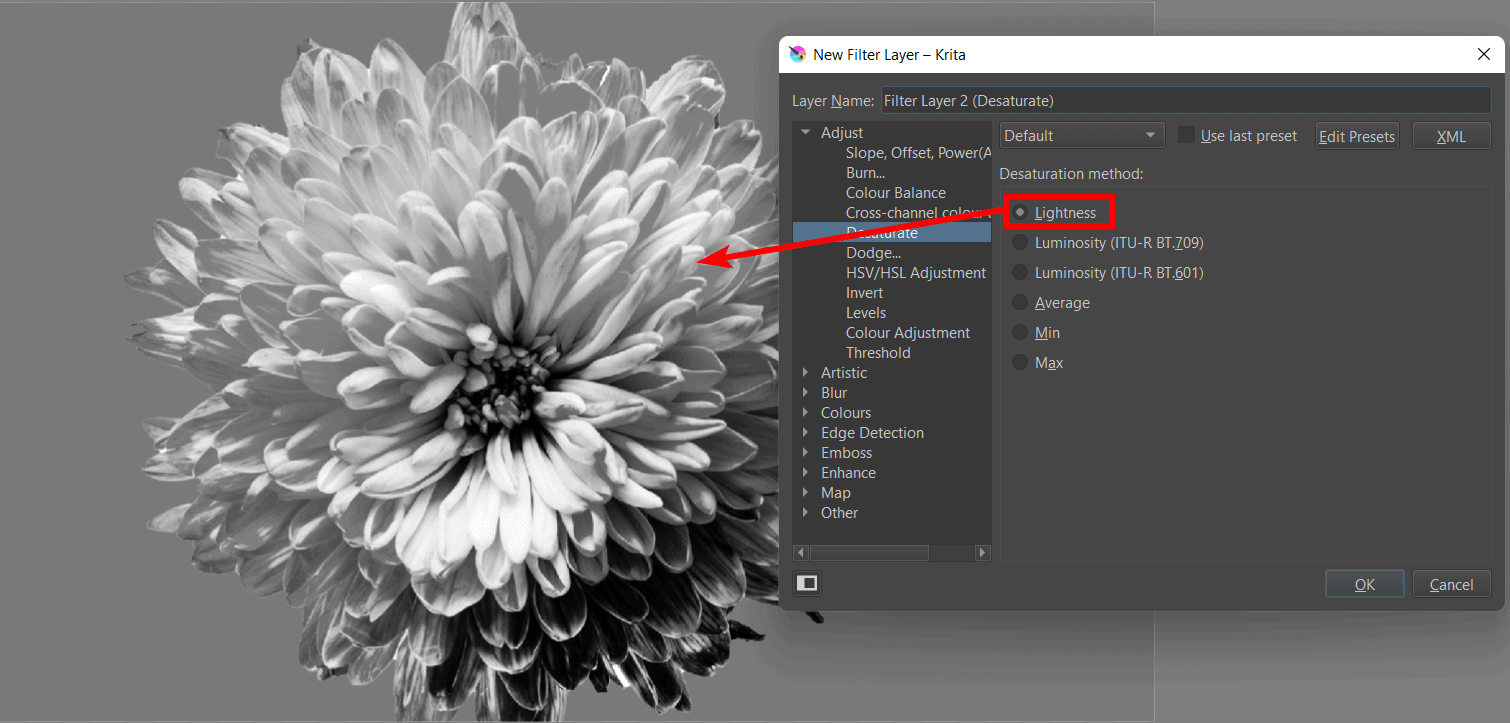
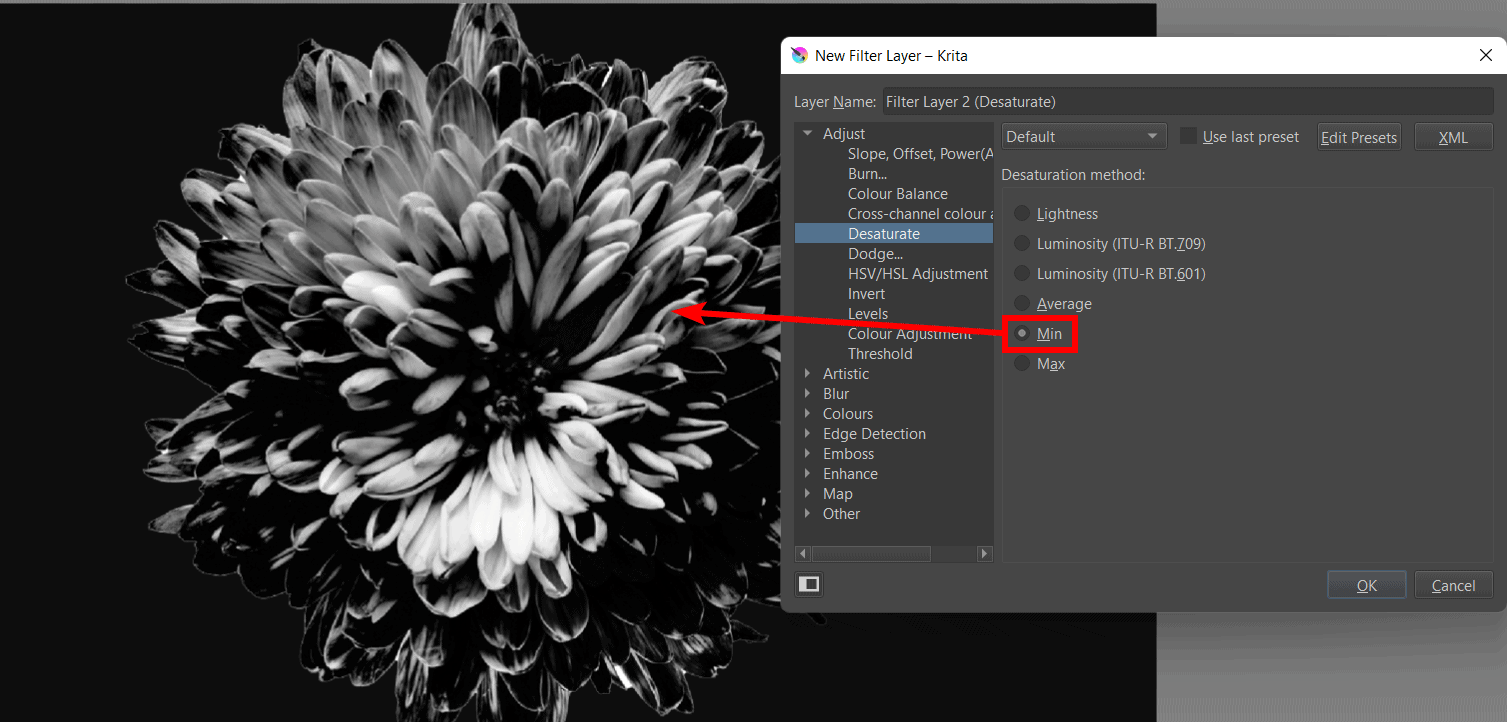
If you’re unsure how the desaturation method will work on your image, try a few to see the differences. When you select a process in the window, it automatically changes the image in the background.
Lightness Desaturation Method
Min Desaturation Method
Accept the Desaturation Method
Once you have selected the correct desaturation method that works on your image, click OK to accept the filter and add it to your image.
Check the Canvas
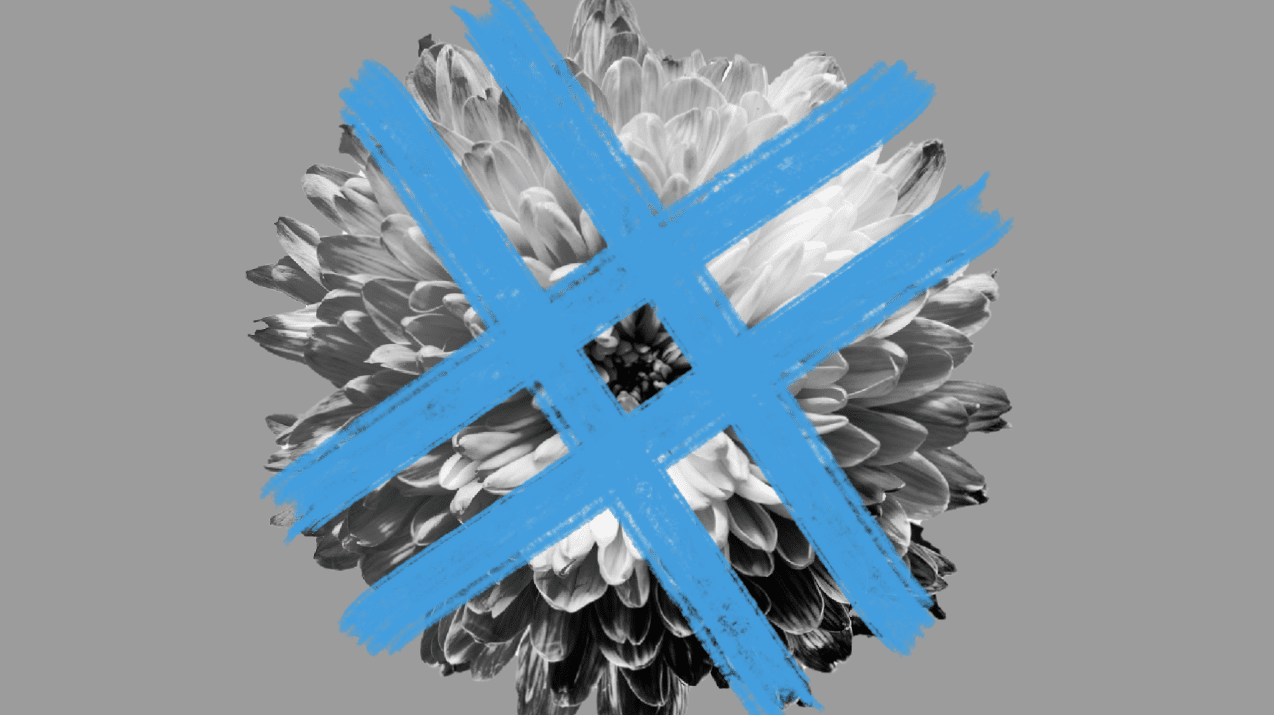
Your image layer and any layers below it will now be converted to black and white.

Add a New Color Layer
Any layers you add above the filter layer won’t be affected by the filter and will remain in full color. Try adding a paint layer in the layers docker.

Paint Over the Image
When you use any brush to paint or draw over the image, the color will show over the black-and-white image.
Toggle the Desaturate Filter On and Off
If you want to hide the filter layer to see the image in color again, you can toggle the filter layer visibility on and off by clicking on the Eye icon in the Layers docker.

Can You Convert an Image Layer to Black and White Independently?
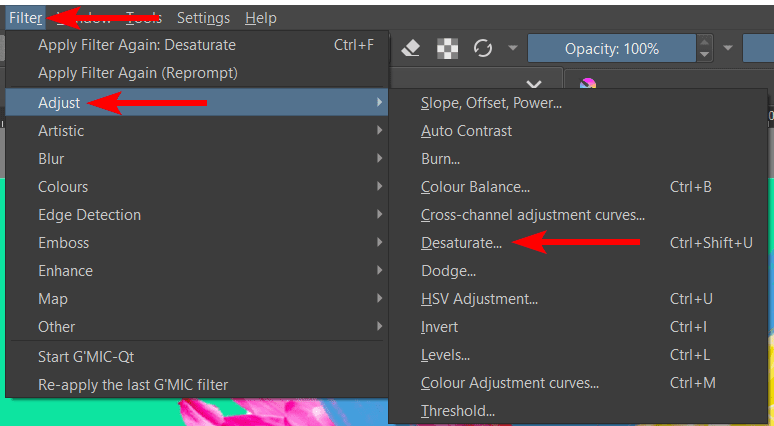
If you only want to change the image layer’s color to black and white, you can do this without affecting the layers below the image layer. To only change the image layer, select it in the Layers docker.

Then, add a filter to the layer by going to Filter > Adjust > Desaturate. You can also use the shortcut Shift + Control + U on Windows or Shift + Command + U on Mac.
Follow the previous section to determine the right Desaturate Method for your image, and click OK.
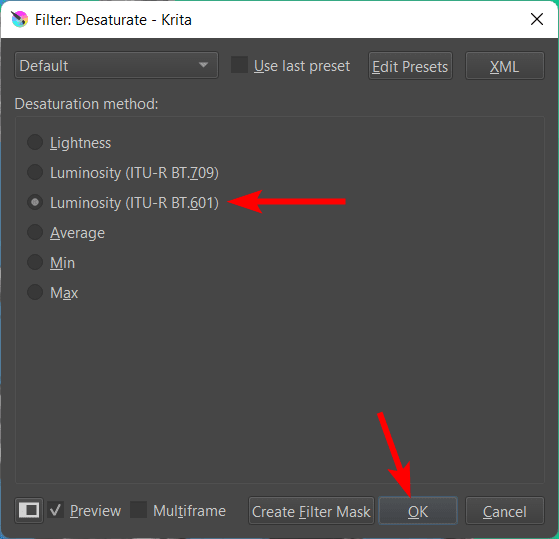
Your image is now converted to black and white without affecting the layers below or above. However, the edit is destructive, and you can’t toggle the filter on and off as in the previous method.
How to Change the Color Mode of a Project to Grayscale
If you want to change the color mode of the entire project to grayscale, you can change the document's color mode. You can change the color mode at the end of the process once you have created the project using a full-color mode such as RGB.
To change the color mode to grayscale, go to Image > Convert Image Color Space.

In the Convert All Layers window, open the drop-down menu next to Model.
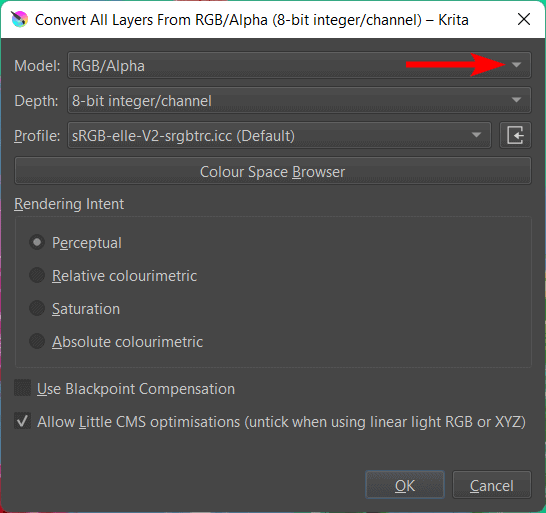
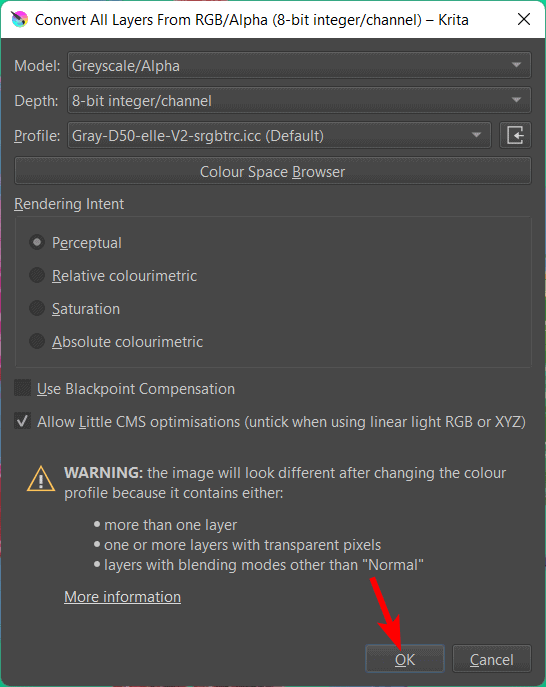
Then, select Grayscale/Alpha from the list of options.

You can change the other settings if you have a specific color profile to which you need to convert the project, such as changing the Depth or Profile. Click OK when you have adjusted the settings.
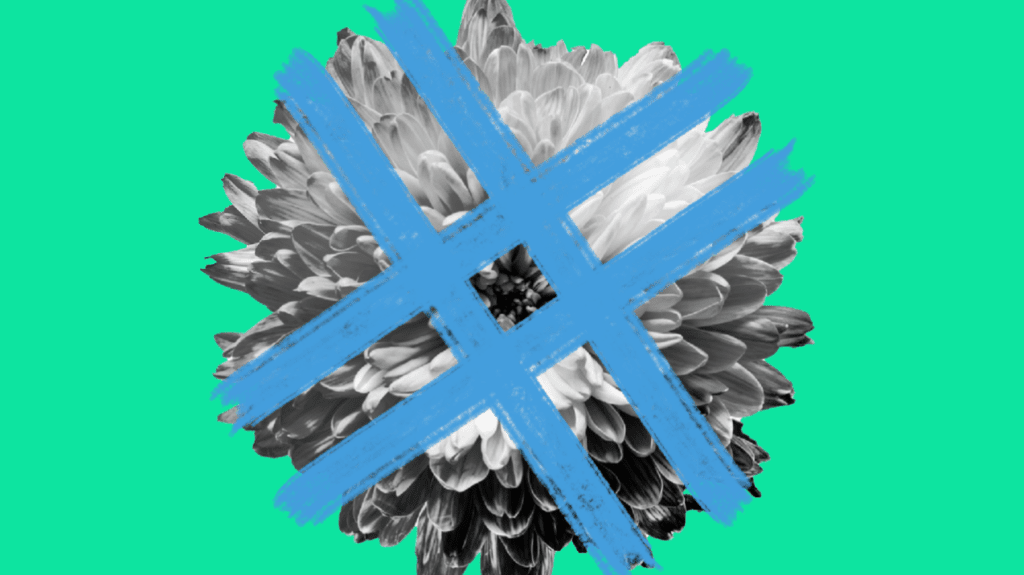
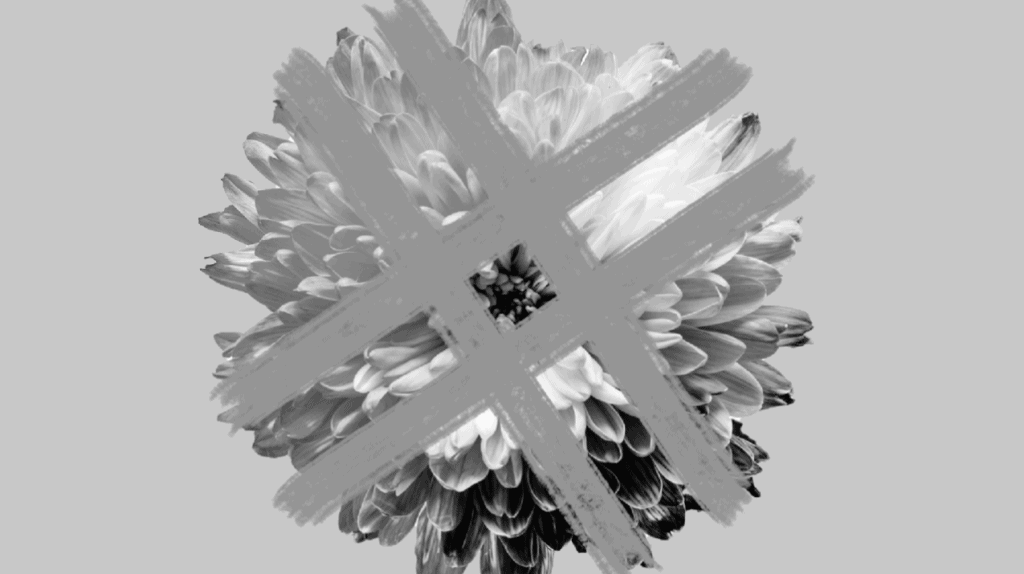
Your entire project is now converted to grayscale.
👍 Support Us: Subscribe to our channel and help us continue providing these tutorials.
🌟 Regular Updates: We publish how-to videos for Krita regularly!
🔧 Expert Guidance: Learn Krita from our professionals and uncover exclusive tips!
