
Adding gradients to your digital designs or artwork is a great way to add a unique touch to your work. You can easily create a gradient in Inkscape and customize it to suit your project. Gradients are typically used aesthetically and work best on digital designs because they don’t print as well as they look on a screen.
When working with gradients in Inkscape, you can add the gradient to any shape or text, add the gradient to the stroke or fill, and then adjust the colors and the gradient’s fade. This allows you to create a color-to-transparent gradient or to use two or more colors in a gradient.
Here is how to add a gradient to your canvas and customize it.
Table of Contents
Overview to Create a Gradient
- Select an object to add the gradient
- Activate the Create and edit gradients tool (G)
- Select the gradient type
- Click and drag to create the gradient line
- Adjust the gradient direction
- Open the Fill and Stroke panel
- Change a stop’s color
- Add a new color to the gradient
- Adjust the color stops’ positions
How to Create a Gradient Step-By-Step
You can add two types of gradients to your design, either a linear or radial gradient. The method is similar, although the gradient line looks slightly different. You can also add a gradient to the stroke or the fill of an object or text.
Select an Object to Add the Gradient
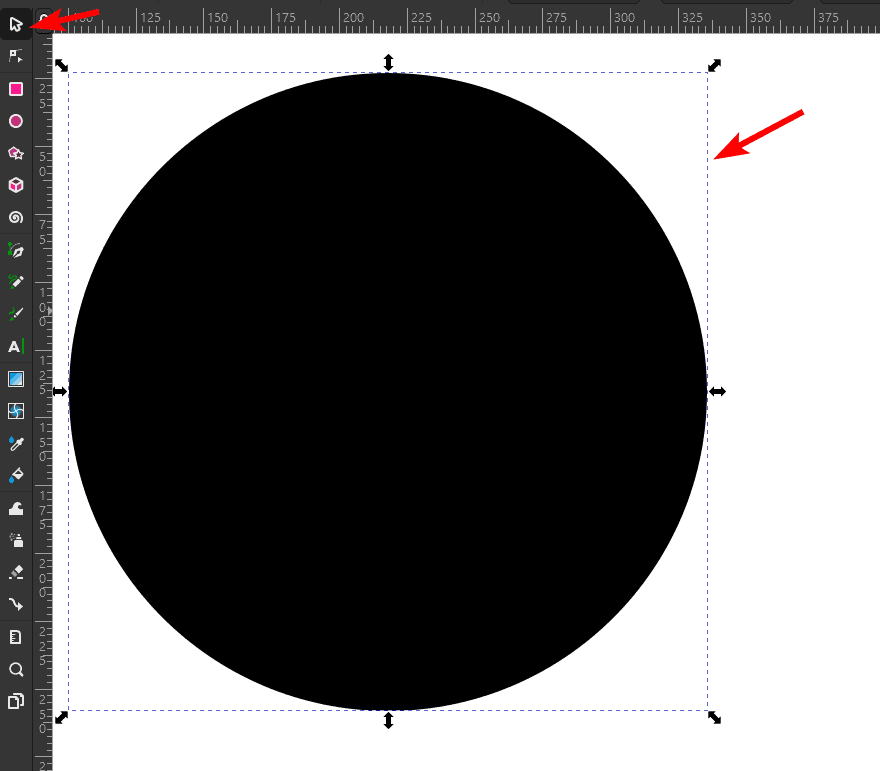
Before you add a gradient to the canvas, you need to select the object you want to add the gradient to. This can be a shape, text, or a path you created yourself. Activate the Select and transform objects tool by pressing S, then click on the object on the canvas.
Activate the Create and Edit Gradients Tool (G)
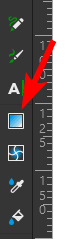
Next, activate the Create and edit gradients tool by selecting it from the toolbar or pressing G.
Select the Gradient Type
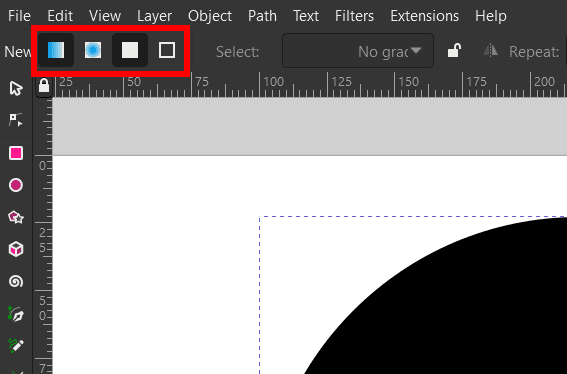
Once you have selected the gradient tool, you can choose the gradient type. Use the icons in the top settings bar to select a linear gradient (first icon) or a radial gradient (second icon). You can also select the third icon to add the gradient to the object’s fill and the fourth icon to add it to the object’s stroke.
Click and Drag to Create the Gradient Line
When you have chosen the gradient type, click inside the object and drag in the direction you want to add the gradient. The point you click on will keep the opaque color, and the point where you stop dragging and release the mouse is where the gradient will be transparent. You will see the gradient appear as you drag.
Adjust the Gradient Direction
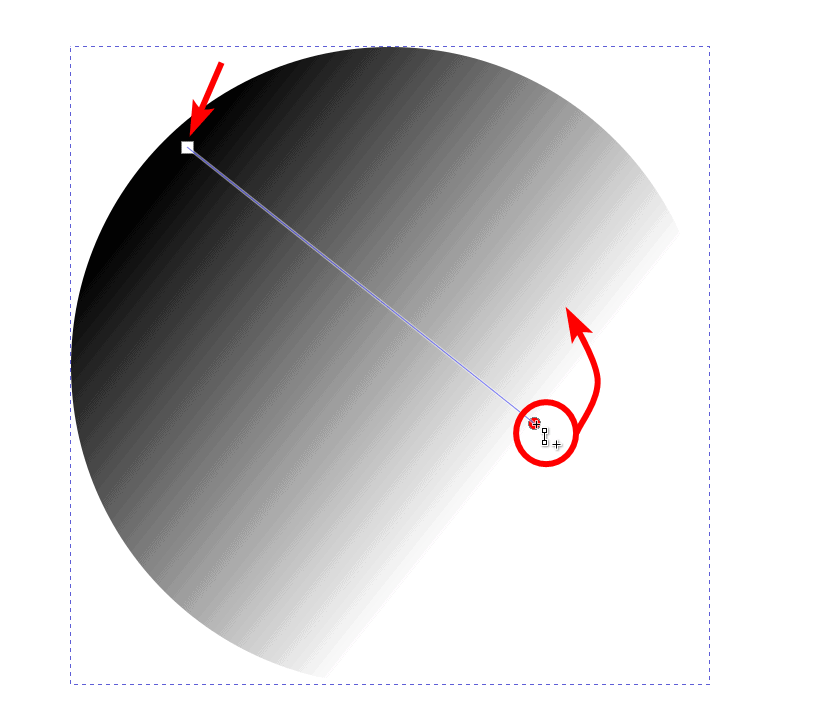
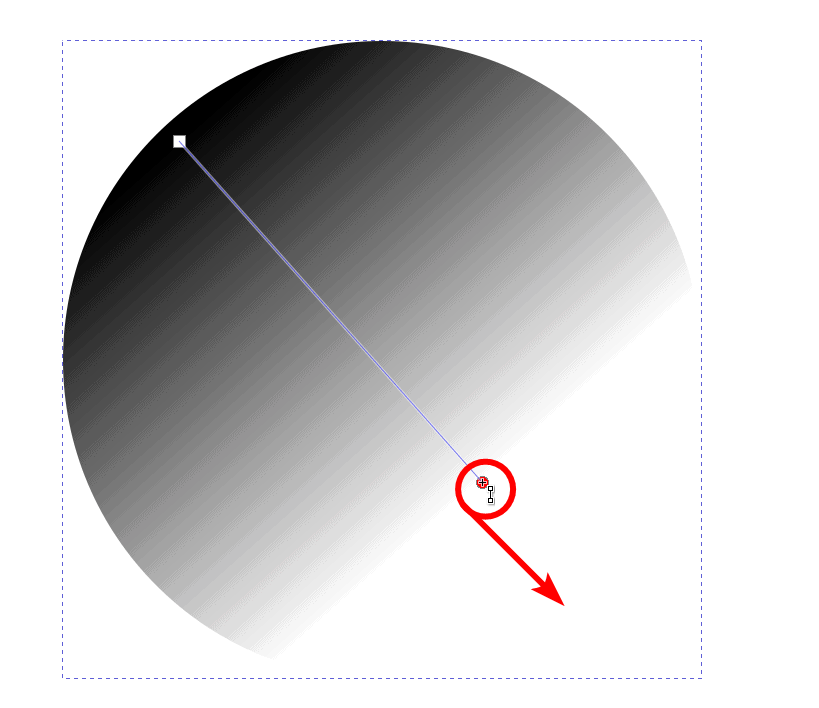
When you have added the gradient, the starting point will have a square block, and a circle icon will show the endpoint. You can use these two to adjust the gradient.
To change the gradient direction, click the circle and drag it to a new position. You can also drag the square to change the gradient’s starting point.
Open the Fill and Stroke Panel
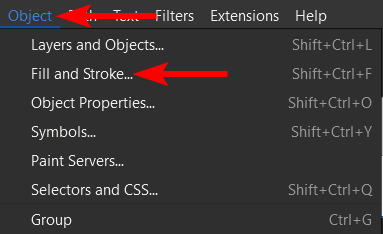
To change the gradient's color, you must first open the Fill and Stroke panel. Go to Object > Fill and Stroke to open the panel or use the shortcut Shift + Control + F on Windows or Shift + Command + F on Mac.
Change a Stop’s Color
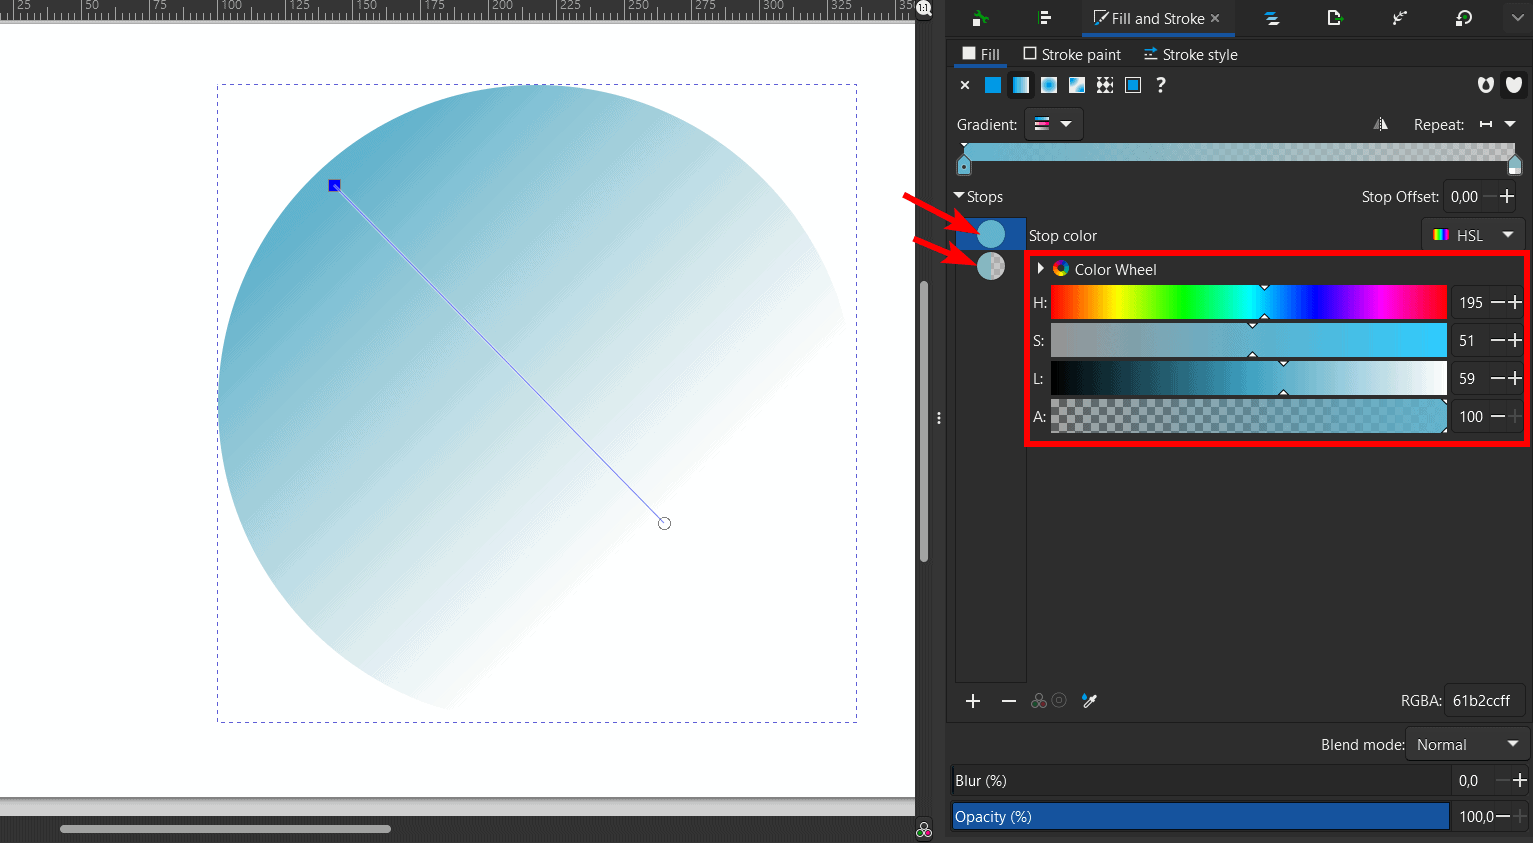
Once the panel is open on the righthand side, you can edit some aspects of the gradient, such as changing the gradient’s color. You will notice there are two color stops in the panel. A color stop indicates a color within the gradient. By default, two stops are added; one is usually half filled with color and half transparent.
To change a stop’s color, select it and then adjust the Hue, Saturation, and Luminance values to choose your new color.
Add a New Color to the Gradient

If you want to add more colors to the gradient, click on the Insert new stop button (the plus icon) at the bottom of the Fill and Stroke panel or double-click on the gradient line where you want the new stop to appear.
You can change the stop’s color as you did with the first two. You can add as many stops (and colors) as you’d like.
Adjust the Color Stops’ Positions

Once you have added multiple stops, you can re-position them along the gradient line by clicking and dragging the blocks on the canvas or using the Gradient editor in the Fill and Stroke panel.
Click on a stop and drag it to reposition the stop. Depending on where you move it, this will show more or less of the color.
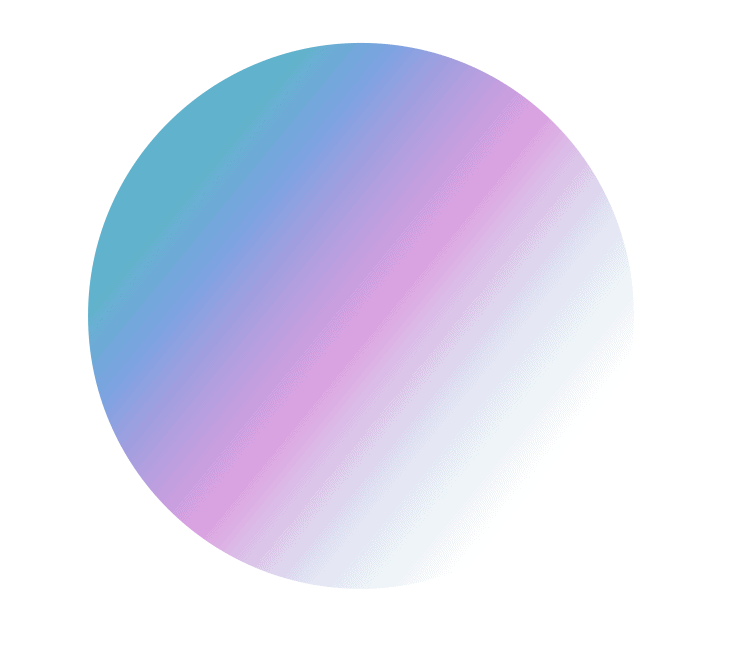
Check the Canvas
Once you have edited the gradient as needed, you can click off the canvas, and you will have successfully added a gradient to your object.
Tools:
- Inkscape
👍 Support Us: Subscribe to our channel and help us continue providing these tutorials.
🌟 Regular Updates: We publish how-to videos for Inkscape regularly!
🔧 Expert Guidance: Learn Inkscape from our professionals and uncover exclusive tips!
