
When working with PDFs, you can easily edit some aspects of the layout or design in Inkscape. This is useful if you need to make changes to a PDF created in Adobe Illustrator, for example. Being able to edit PDFs also lets you send designs to collaborators who can download Inkscape for free and make changes if necessary.
While you can do several functions with a PDF in Inkscape, such as opening the PDF, adding or deleting text and objects, and exporting the design as a separate PDF, you may find there are certain limitations.
I will detail what you can achieve in Inkscape with a few of the limitations.
Table of Contents
How to Open a PDF in Inkscape
Before editing a PDF in Inkscape, you need to open the file. You can open a PDF as you would with any other file in Inkscape, although there is an extra step. Once the program is open, go to File > Open or use the shortcut Control + O on Windows or Command + O on Mac.

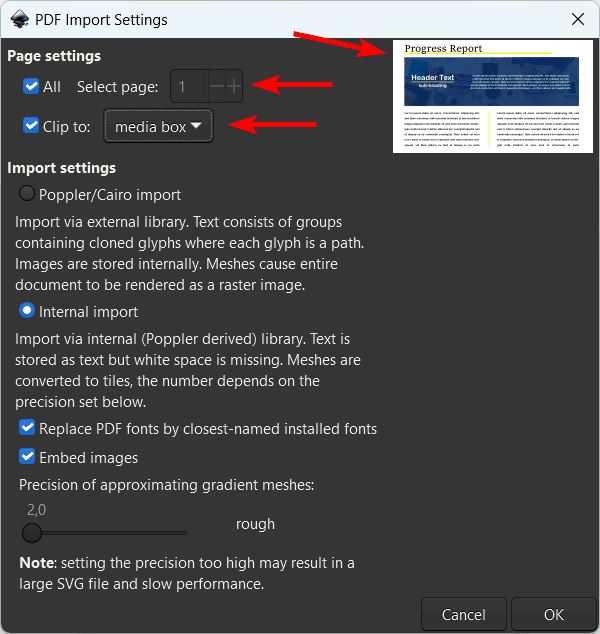
Once you locate the PDF file from your Windows Explorer or Finder and click Open, you will see an Import Settings dialog box open. Here you can choose the various settings for the PDF to open with.
You will see a preview of the PDF document on the right-hand side.
You can select which pages to open if you have a multi-page document or open all the pages. The pages will open on separate documents.
You can also choose to clip the document to a specific element, such as the media or bleed boxes.
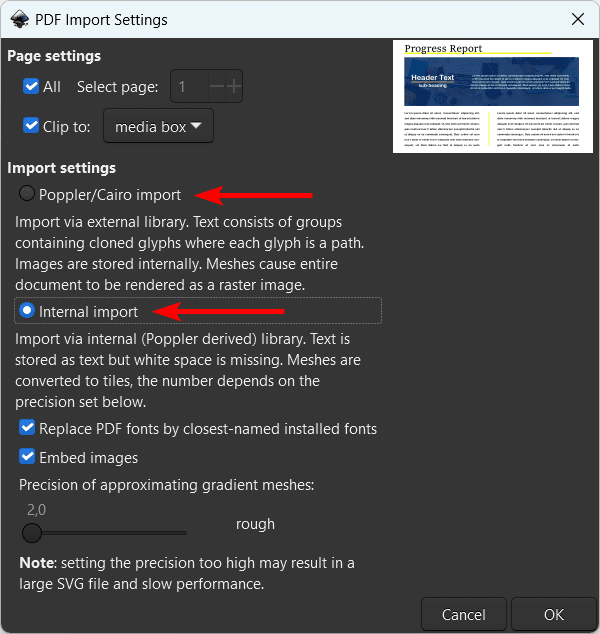
Then, you can choose between a Poppler/Cairo Import or an Internal Import. The full descriptions of these options are in the window. However, the first option turns the text into paths, so you can’t edit it.
The second option doesn’t regard white spaces in the text, so both options are problematic if you need to edit text.
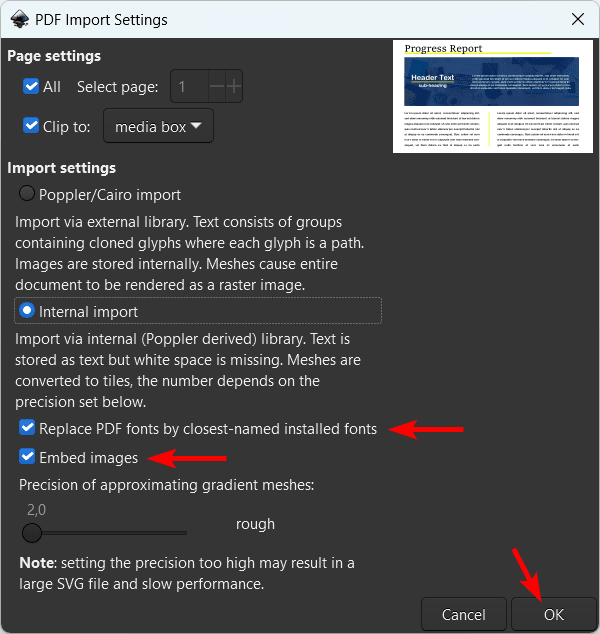
Lastly, you can choose to replace the fonts will the closest replacement if the exact font isn’t installed on the device. Then, you can choose to embed images or not.
Click OK once you have chosen your desired settings.
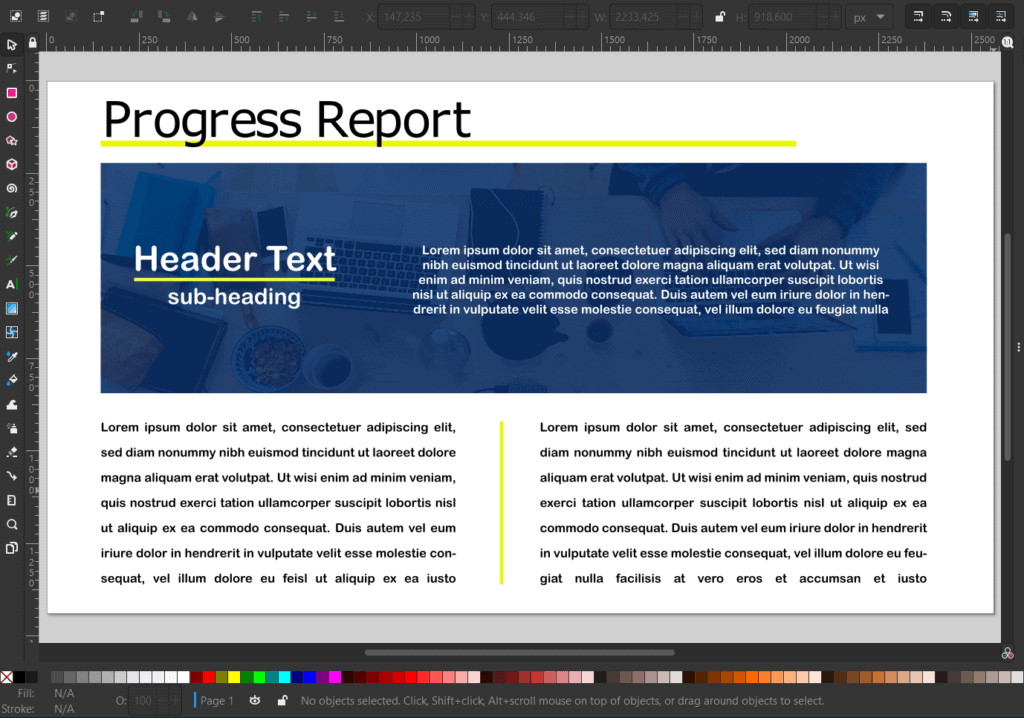
Once you click OK, your PDF will open in Inkscape.
How to Edit a PDF Using Inkscape
You can edit some aspects of the document when you have imported the PDF into Inkscape. However, you will notice limitations, especially with text elements.
Remove Objects From the PDF
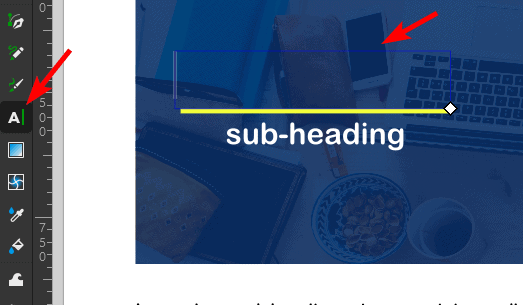
You can easily delete objects from the PDF in Inkscape. You can do this by activating the Select and transform objects tool from the toolbar or press S.
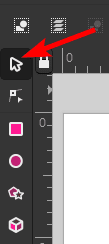
Then, click on the object you want to delete. You will notice arrows appear around the corners to show that the object is selected.
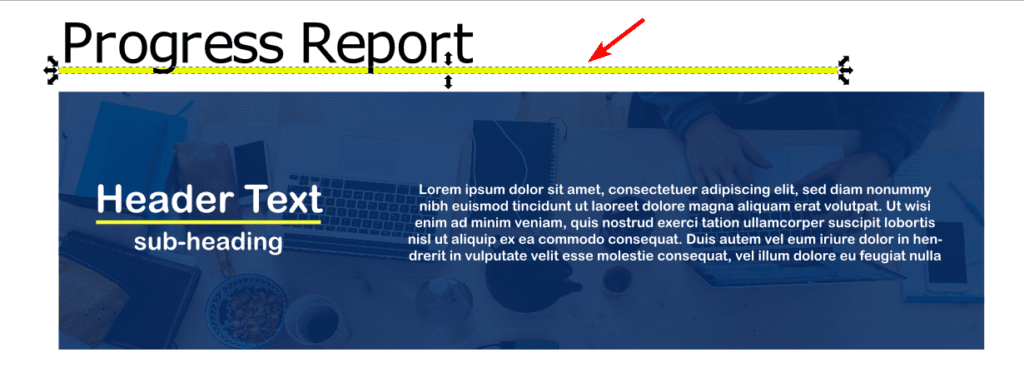
You can then press Delete on your keyboard to remove the object.

Edit Existing Text on the PDF
Unfortunately, there are limitations when editing text on a PDF in Inkscape. You will have chosen one of the import options when opening the document, and if you chose the Poppler/Cairo option, the text would appear as paths, which you can’t edit.
If you choose the Internal import option, as I did in this example, you still won’t have full editing capabilities with the text.
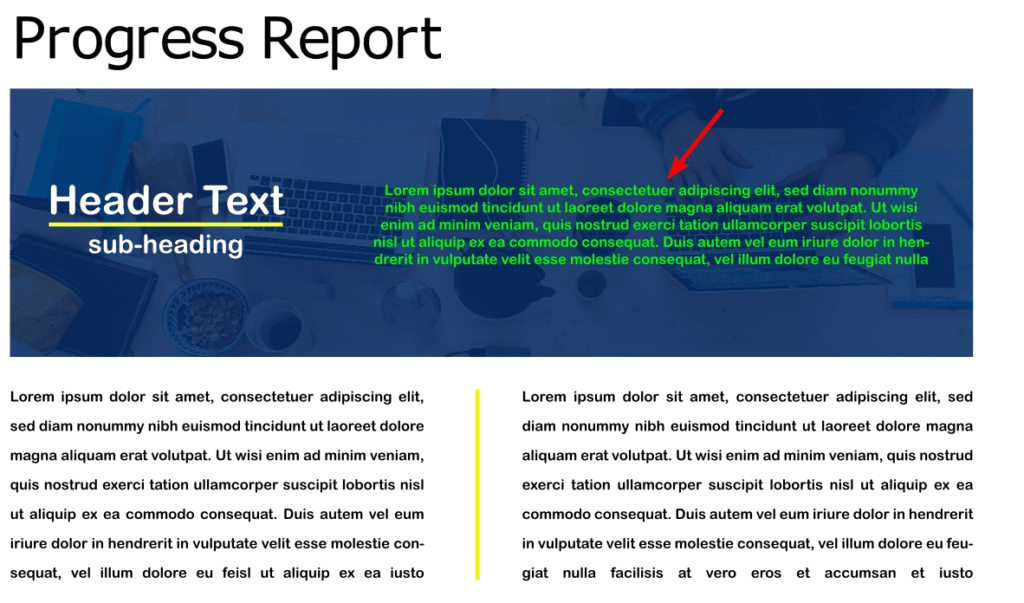
You can select text and change the color. You can double-click on the text and highlight the text you want to change the color.
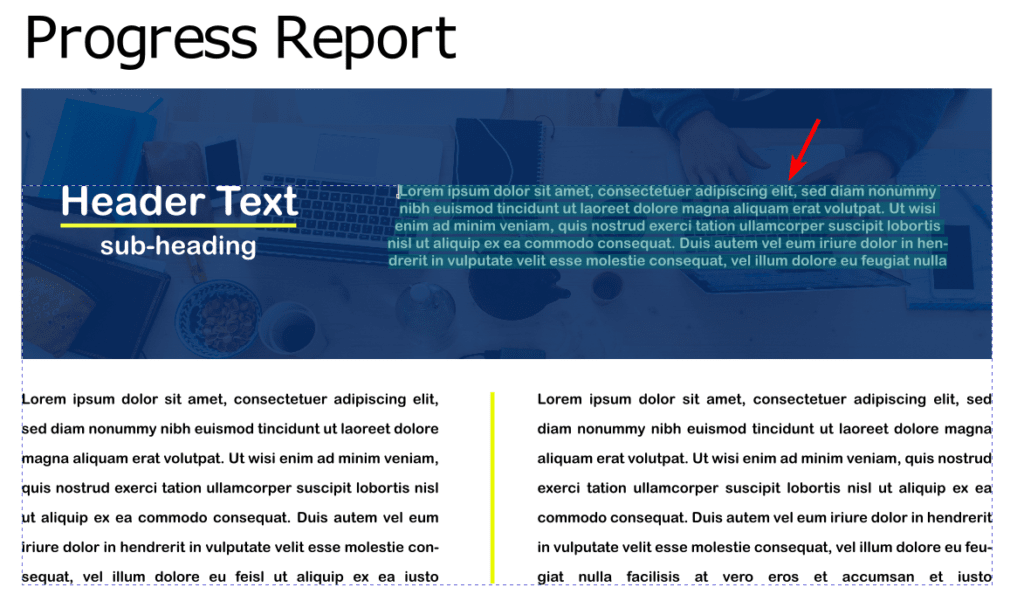
You can then use the color swatches at the bottom to change the color.
However, you will notice an issue if you want to edit the text by deleting words or paragraphs. Since Inkscape doesn’t register the spaces between the text, you will end up with a blank space when deleting bits of text.
To avoid this issue, you must delete the entire block of text and add new text to the document.
Add New Text to the PDF
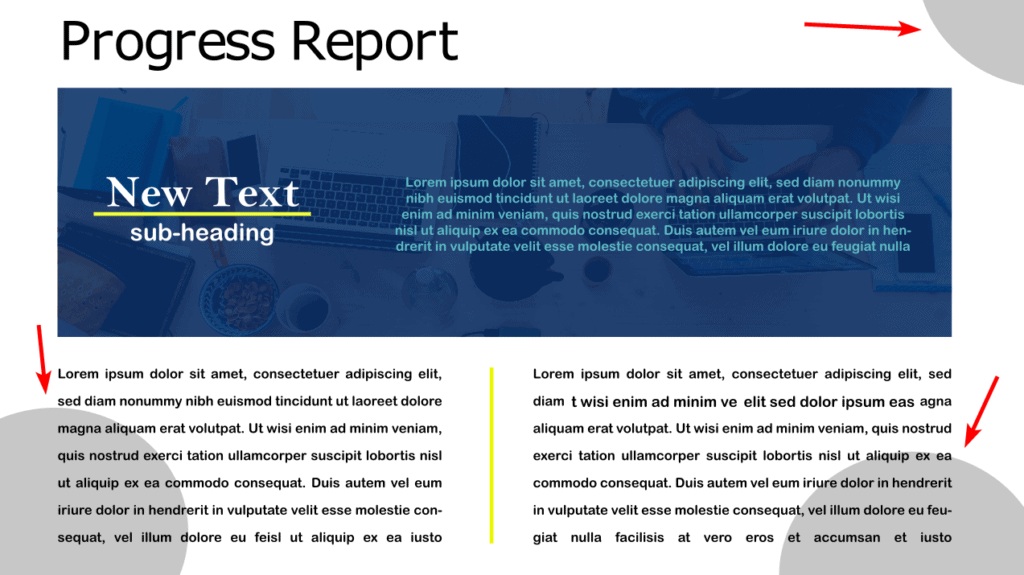
You can easily delete text and paragraphs and add new text if you’d like. Delete the text as you would with an object.

Then, select the Create and edit text objects tool (T) and click and drag to create a text box.
You can then use the options in the top settings bar to format your text and type it in.

Add New Objects to the PDF
You can add as many new objects to the document as you’d like including shapes, gradients, images, and more.
How to Export Your Project as a PDF
Once you have finished editing the PDF, you must save it as a PDF again. For best results, you should save your document as an SVG using the standard Inkscape format to make changes later easily.
Then, save a copy of the file in PDF format. To save the file, go to File > Save a Copy or use the shortcut Shift + Control + Alt + S on Windows or Shift + Command + Option + S on Mac.
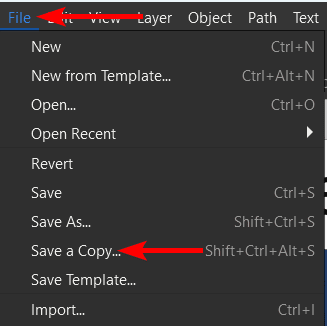
Then add a name, choose a file location in the Windows Explorer or Finder pop-ups, and select PDF from the Save as type drop-down menu. Click Save when you have made the selection.

👍 Support Us: Subscribe to our channel and help us continue providing these tutorials.
🌟 Regular Updates: We publish how-to videos for Inkscape regularly!
🔧 Expert Guidance: Learn Inkscape from our professionals and uncover exclusive tips!
