
Whether creating artwork, working on a layout, or editing an image using Krita, you will likely need to erase pixels at some point. There are several ways to Erase in Krita, depending on what you are erasing and why.
You may need to erase parts of your drawing if you made a mistake or want to clean up the rough draft. You also might want to erase pixels from an image for a creative effect. Here is how the erase function works and five different ways to erase elements to get the result you are looking for.
Table of Contents
How Does the Erase Function Work in Krita?
Like other programs, such as Adobe Photoshop, Krita doesn’t have a separate tool for erasing pixels. Instead, it is a blending mode that deletes the pixels. This means that you can’t select a tool and begin erasing elements. However, it does offer creative ways to erase pixels.
To use the erase function, you can use the erase mode when working with a brush preset, select an eraser brush preset, or use a shape, selection, or gradient to erase pixels.
When you erase something, you will see the pixels from the layer below in that area. If there is no layer below the one you are working on, you will see gray and white blocks, indicating the area is transparent.
The method you use to erase will depend on what you’re working on and how you want the erased area to look.
5 Ways to Erase Pixels in Krita
Here I will demonstrate the five different ways to erase in Krita. You can erase paint elements, such as brush strokes and pixels from images. You can’t erase vector elements, such as shapes.
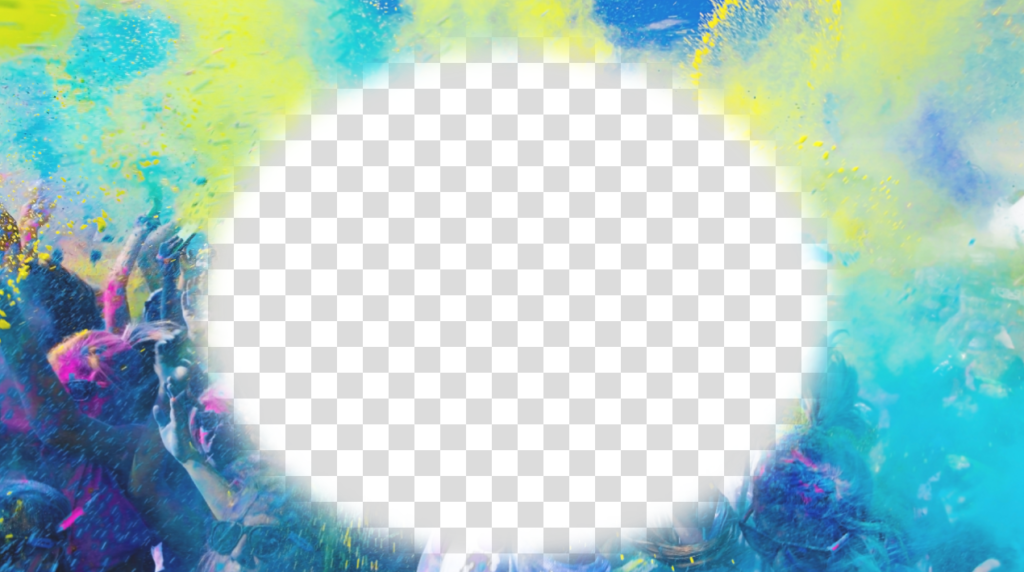
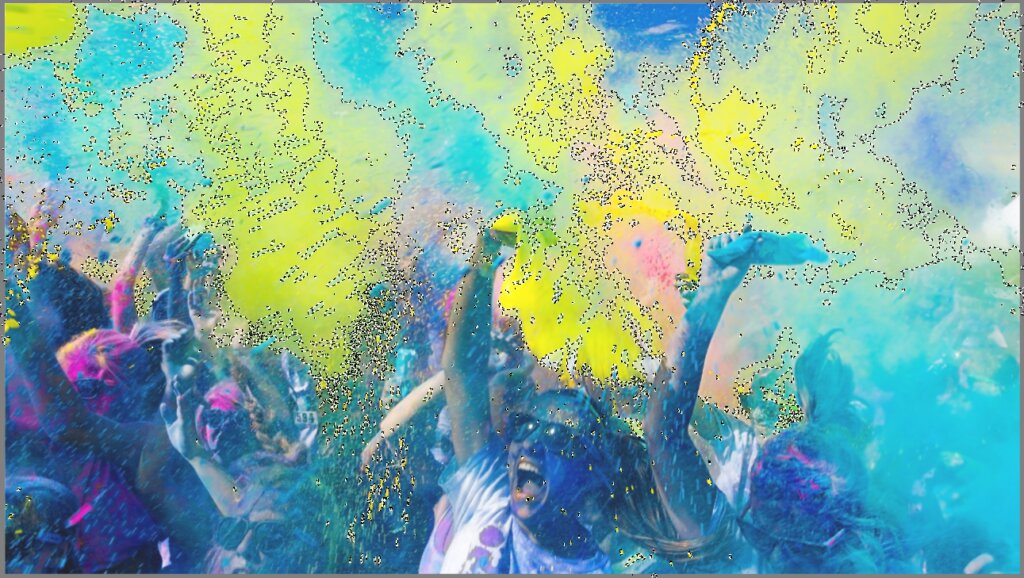
I will use this Picture of people enjoying powder paint image from Unsplash for the examples.

1. Erase Using a Brush and the Eraser Mode
The most common way to erase is to use the Eraser Mode while working with a brush. This method uses the properties of the active brush preset for the eraser. So your eraser strokes will mimic the brush strokes but delete pixels rather than add paint.
To use this method, activate the Freehand Brush Tool by selecting it from the toolbar. You can also press B as a shortcut to activate it.
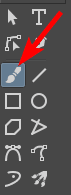
You can then use the Brush Presets Docker on the right-hand side of the workspace to select your brush type. You can choose any brush that works for your project.

If you set the brush size, color, and other characteristics, you will paint color onto the canvas when you draw a brushstroke over the canvas.
If you want to erase the pixels instead of adding color to the image, you need to turn on Eraser Mode. First, undo the brushstrokes by pressing Control + Z on Windows or Command + Z on Mac.
Then, turn on Eraser Mode using the icon in the top settings bar. The icon will turn a blue color when it’s active. You can also turn the mode on and off using the E key.
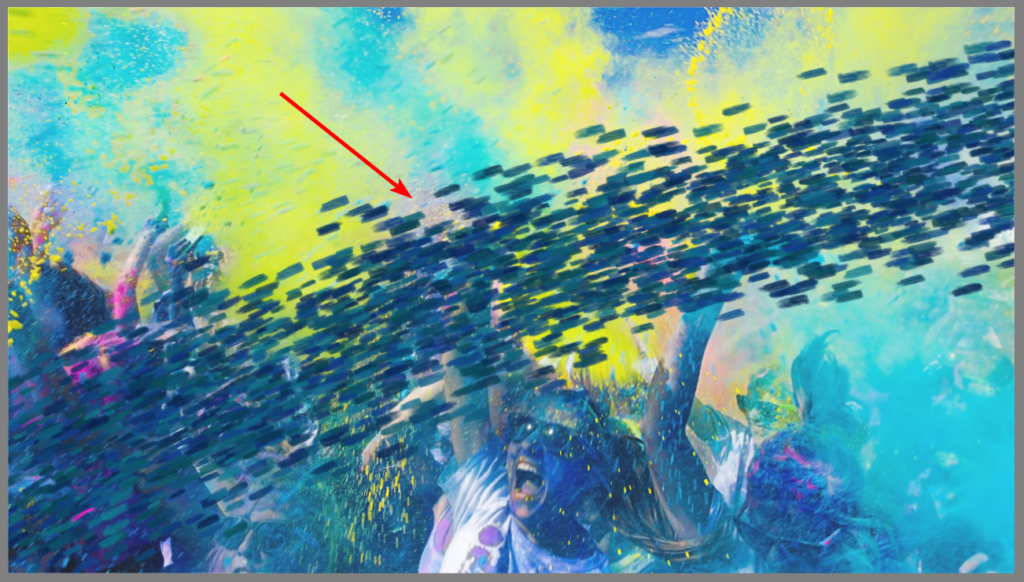
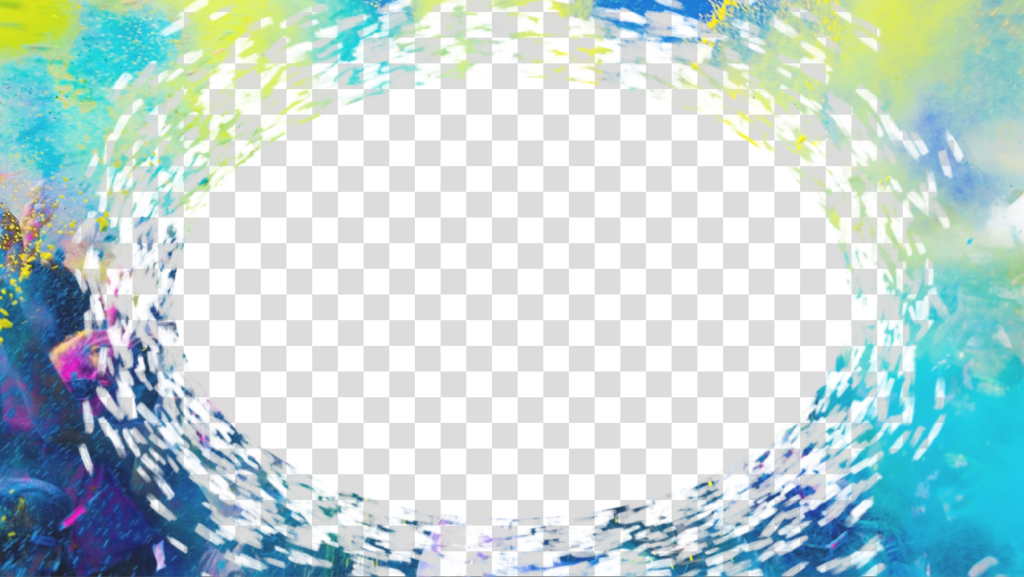
Now, you can brush over the image to erase pixels. The brush will remain set to the size, texture, and other properties as it was with the color.

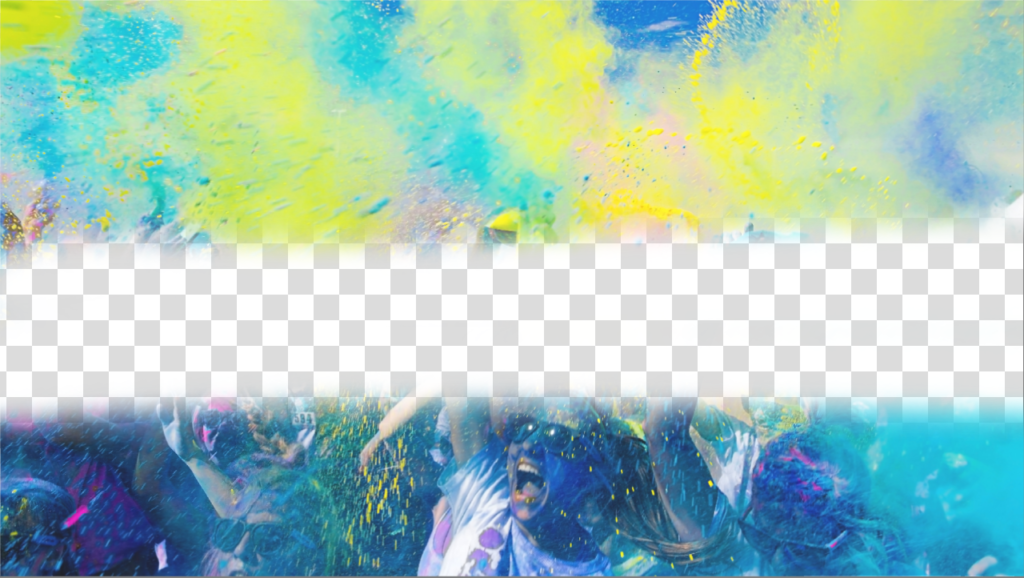
You can see the stroke remains the same and adds a creative effect. Since there is no layer below the image, there are transparent areas where the brush set to eraser mode was applied.
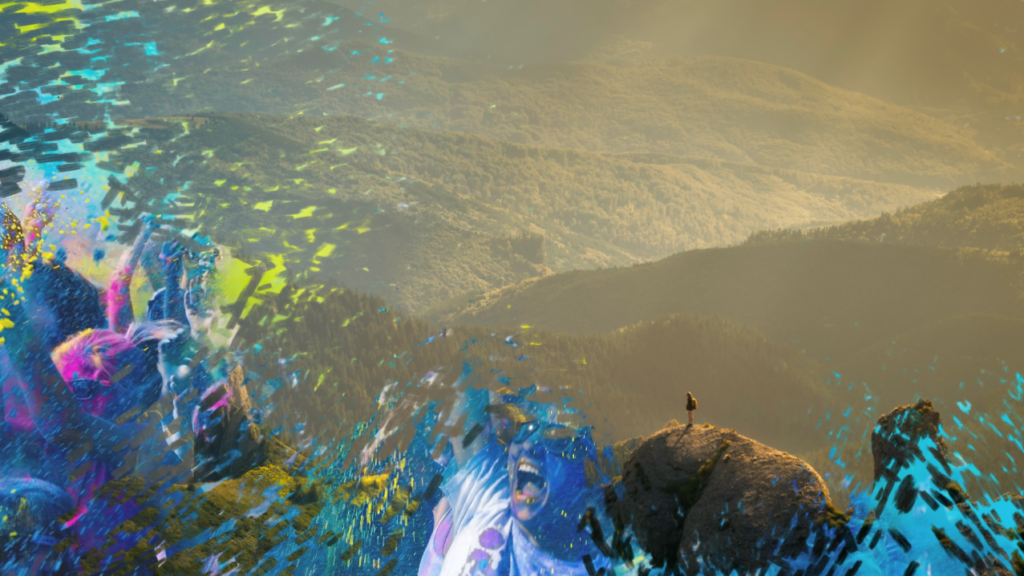
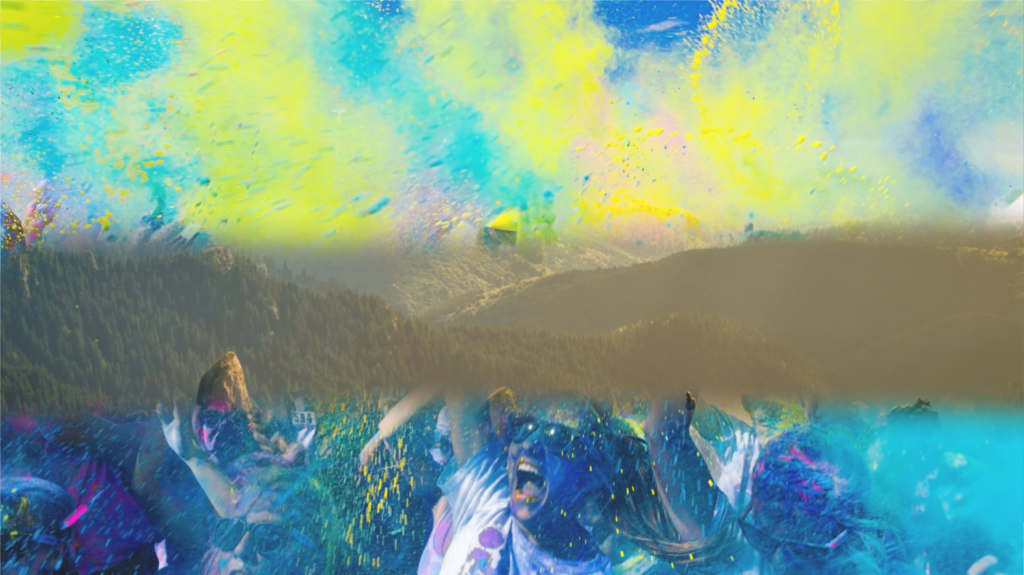
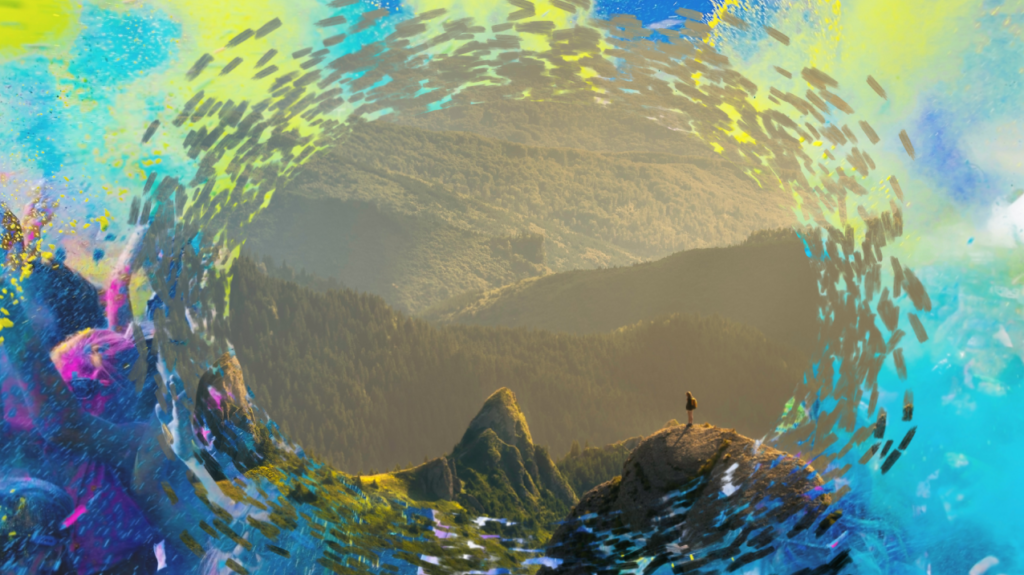
You can adjust the brush size and add another picture below to create a creative composition. Such as I have done using this image, Alone in the unspoilt wilderness, from Unsplash.
If you create a drawing and switch between a color brush and the eraser mode, you may need to use different brush sizes for each mode. To avoid changing the brush size each time, click on the Edit Brush Settings icon in the top settings bar.

Check the box next to Eraser switch size at the bottom of the Brush Settings window. This will change the brush size when you switch modes, allowing you to set a different size for each mode.

2. Erase Using an Eraser Brush Preset
Another similar way to erase pixels is by using an Eraser brush preset. This method uses an Eraser brush to delete pixels. Krita has a few Eraser brush presets that you can choose from.
To use this method, activate the Freehand Brush Tool from the toolbar or press B.
Then, look at the first few options in the Brush Presets Docker and select one of the Eraser Brush presets.
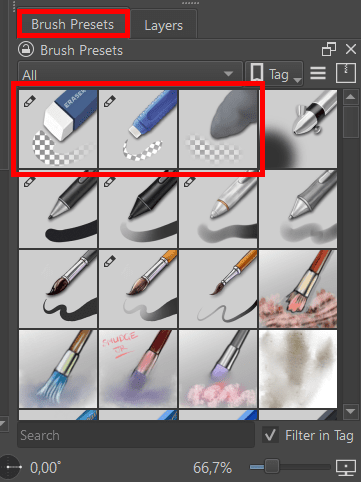
You can adjust the brush size, but you only have the option of the three textures. The first brush is a standard circle brush, the second is a small eraser, which creates a curve, and the third is a soft eraser, which makes a feathered effect. I will select the Soft Eraser and brush over the image.
You will notice the brush has a slightly feathered effect that is easier to see if I add another picture below.
3. Erase Using a Shape
You can also use a shape as an eraser to remove pixels in that specific shape. This is also useful for designing creative layouts.
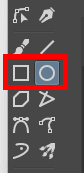
You can erase a section with a shape using either of the first two methods. First, you need to select a shape tool. You can choose the Rectangle or Circle shape tool.
Once the shape tool is selected, you can choose any brush preset. I have chosen the same preset I used for the first method. Then activate the Eraser Mode (E) in the top settings bar.
Now, you can click and drag on the image to create the shape.

The erased area will take on the shape you created and the brush properties, so mine has the splashed effect from the brush.
You can add any layers below the image layer to show through.
Alternatively, once you’ve selected your shape, you can choose any of the Eraser brush presets, such as the Soft Eraser Preset.
Then, click and drag to form the circle on your canvas, and the area will be erased in the shape with the Eraser brush properties, such as a feathered edge.
You can once again add any layers below for a creative effect.

4. Erase Pixels Using a Selection Tool
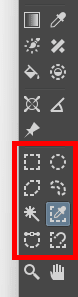
Another method to erase pixels is using a selection tool. This option is helpful if you want to remove a specific area from your design. First, you can choose any selection tool to use.
You can then make a selection by clicking and dragging on the canvas. In my case, I chose the Similar Color Selection Tool, so I just need to click on a color, and it will select all the similar colored pixels.
Once you’ve made the selection, click Delete on your keyboard. All the selected pixels will be removed. You can then press Shift + Control + A on Windows or Shift + Command + A on Mac to deselect the areas.
5. Erase With the Gradient Tool
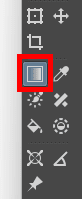
The last method is to use the Gradient tool, which creates a feathered effect when erasing pixels. First, select the Gradient Tool from the left-hand toolbar or press G.
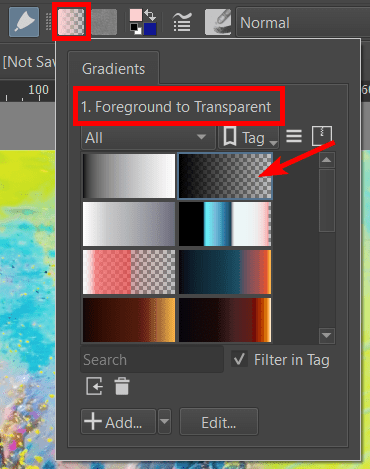
Then, click the Gradient Settings in the top settings bar and set it to Foreground to Transparent.
Next, turn on the Eraser Mode (E) in the top settings bar.

Now, you can click and drag to create the gradient on your image. The pixels at the point you start the line will be deleted and slowly fade into the pixels that aren’t affected at the end of the line.
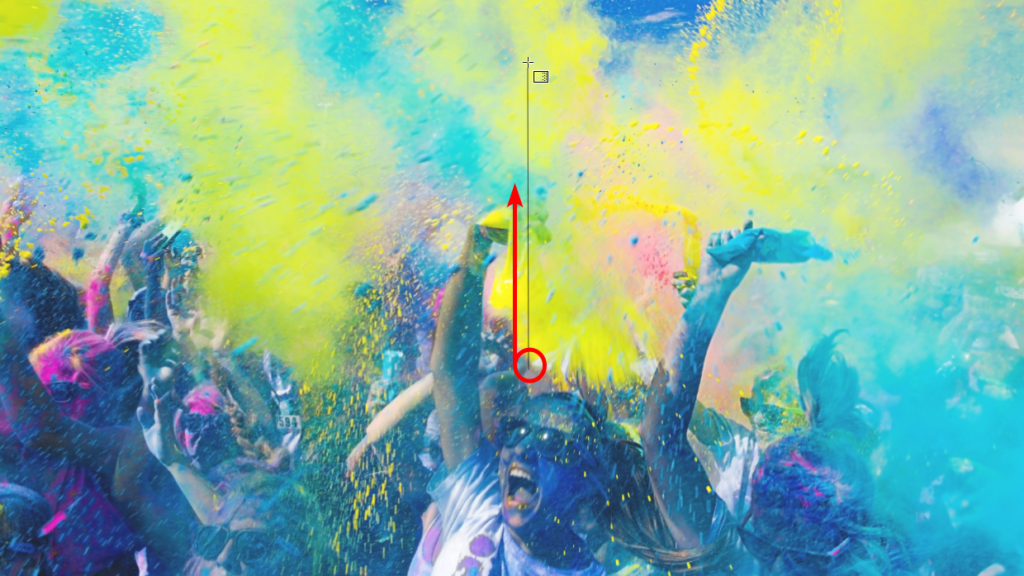
You will have erased the pixels with a feathered effect.
Add any image or layers below to finish your design.
👍 Support Us: Subscribe to our channel and help us continue providing these tutorials.
🌟 Regular Updates: We publish how-to videos for Krita regularly!
🔧 Expert Guidance: Learn Krita from our professionals and uncover exclusive tips!
