
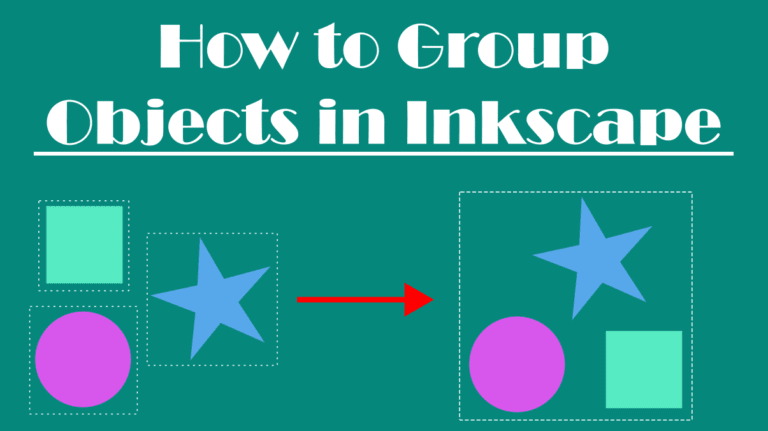
You can temporarily group objects if you want to move them quickly before editing them individually, or you can group them permanently for the rest of your project. However, you can ungroup objects anytime using a menu path or a shortcut.
Here is how to group (and ungroup) objects in Inkscape with quick shortcuts.
Table of Contents
How to Group Multiple Objects in Inkscape
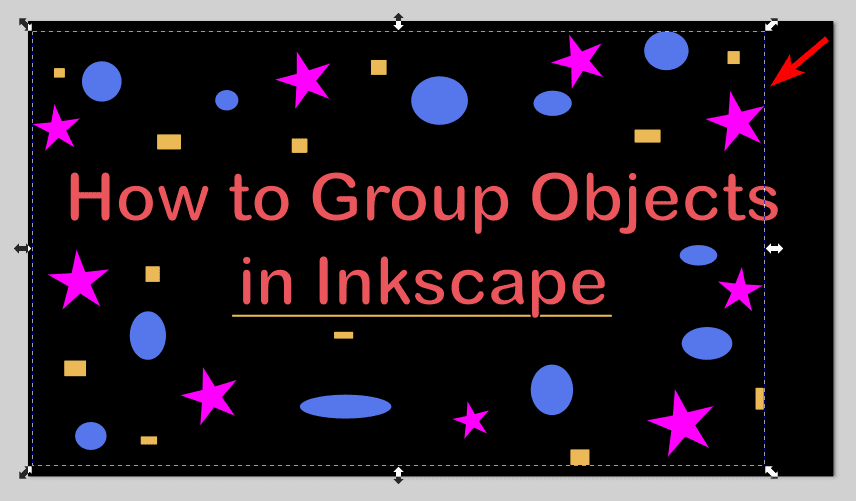
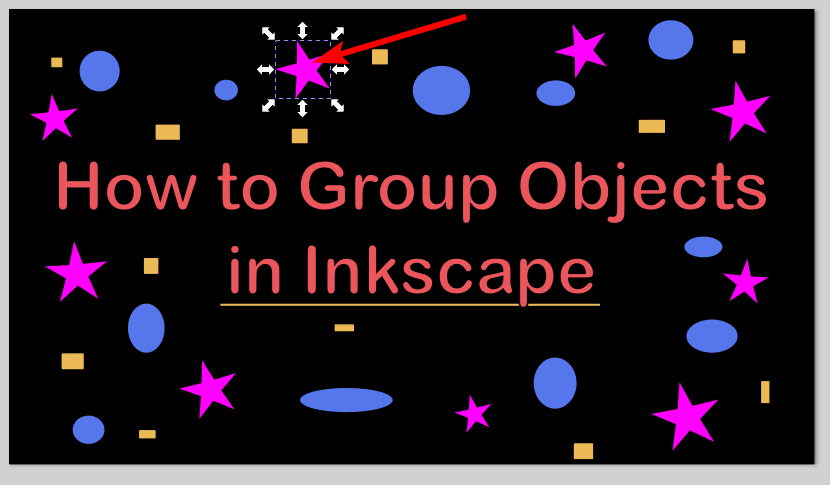
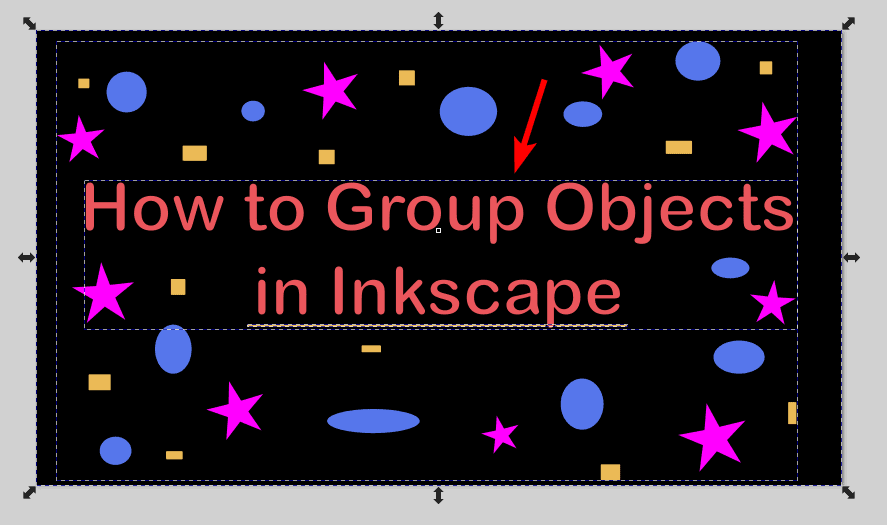
To group multiple objects in Inkscape, you first need to select the objects you want to group. For instance, if I want to group all the small shapes on my document, I must select them first.

Hold in Shift while you click on each object to select multiple objects.
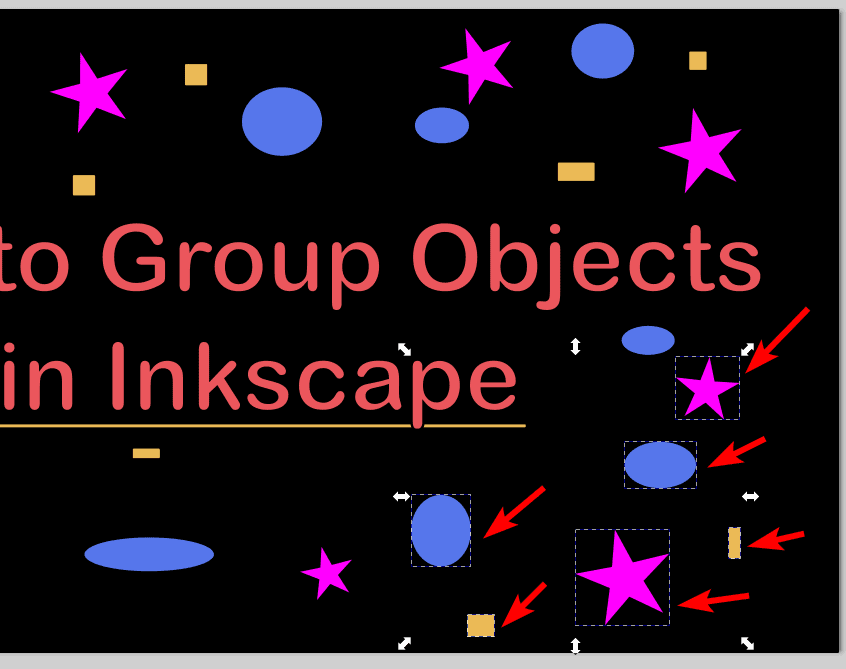
Since I have more shapes than other elements on the page, I can select them much quicker by clicking and dragging over the entire document, then holding in Shift and clicking on the text, line, and background to deselect them. Now I have all my shapes selected.
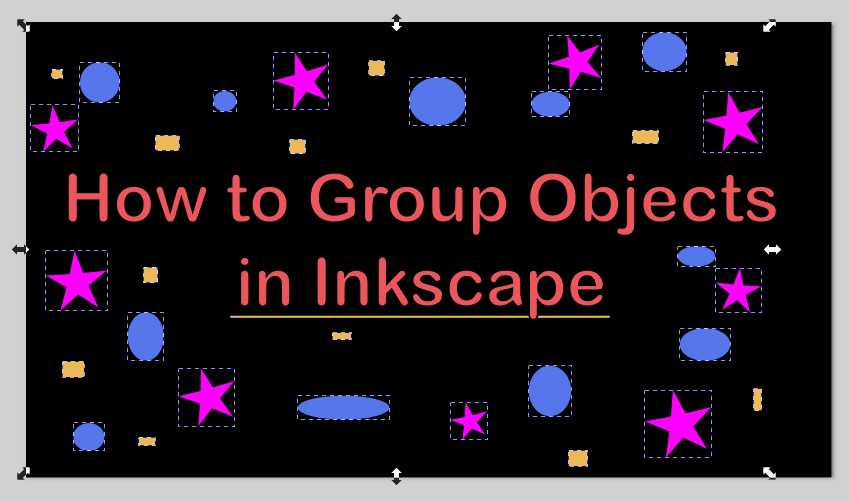
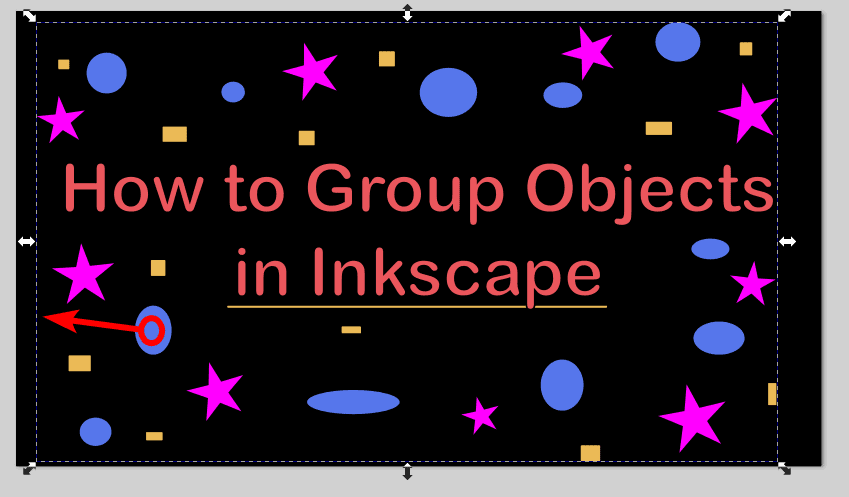
Your objects are currently grouped together in the selection. You can move, resize, or edit these elements as a temporary group. This works well if you only want to modify the objects together once and leave them ungrouped. Once you click off the objects, you will ungroup them.
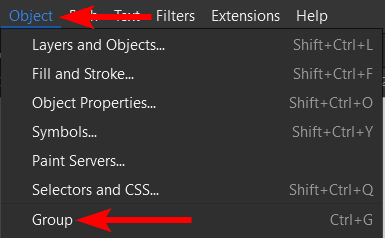
However, if you want a more permanent grouping, once you have your objects selected, there are three ways to group them.
Firstly, you can use the shortcut Control + G on Windows or Command + G on Mac to group the objects.
Secondly, you can right-click or Control + click on one of the selected objects and select Group from the menu options.
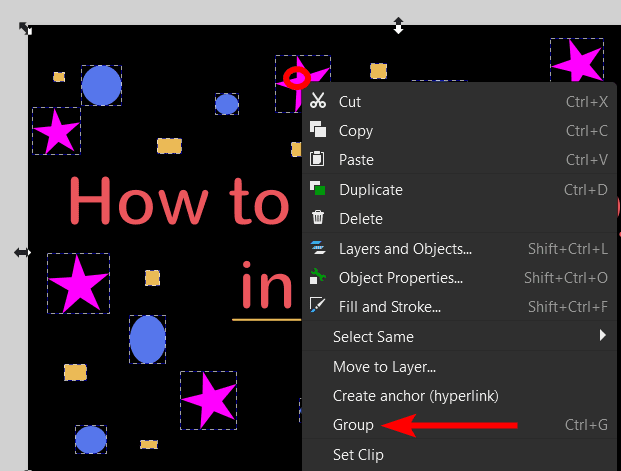
Thirdly, you can use the menu path to group the elements by going to Object > Group.
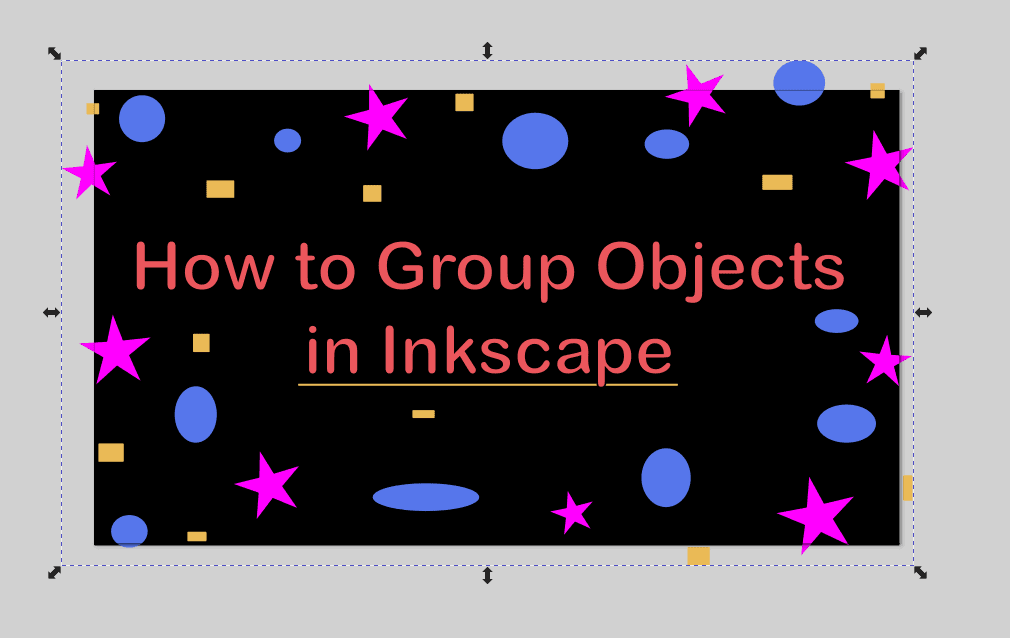
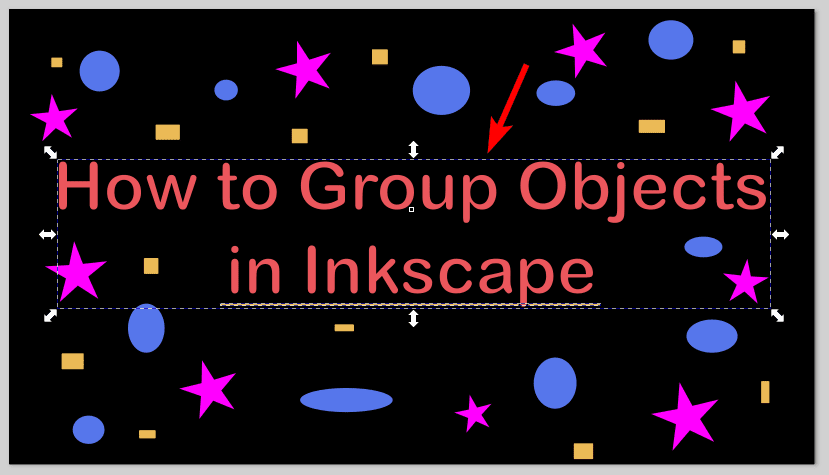
Once you group the objects, you will notice the selection box is only surrounding all the objects as one rather than individually.
You can now modify the elements as you’d like, such as resizing them as one or moving them.
You can also change the color of all the objects at once. You can only change them all to the same color when grouped. You must separate the objects into different groups to add multiple colors.

If you deselect the objects, you can quickly select the entire group again by clicking on one object.
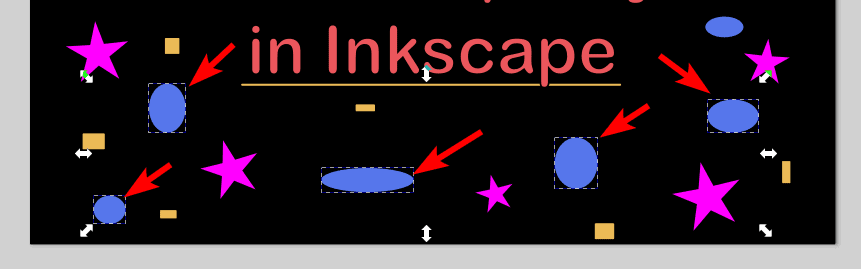
Suppose you want to edit one of the elements within the group without ungrouping or entering the group. In that case, you can select individual objects by holding in Control on Windows or Command on Mac and clicking on the object. It will be selected on its own, and you can edit it separately.

If you want to quickly edit more than one object without ungrouping, you can hold in Shift + Control on Windows or Shift + Command on Mac and select the objects to edit.
How to Enter a Group and Remove Individual Objects From a Group
You can enter a group if you want to edit the individual objects within the group without affecting the rest of the group or ungrouping the objects.
Once you have created a group, select it, then right-click or Control + click and click on Enter Group.
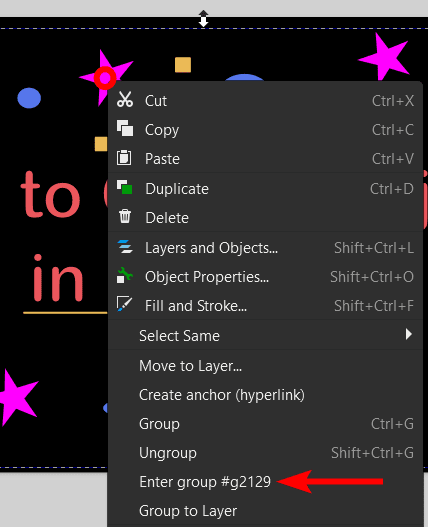
Once you’ve entered the group, you can select one object without selecting the others and edit as needed.
You can exit the group by double-clicking on the empty canvas or workspace.
If you want to remove selected objects from the group, you can pop them out of the group while keeping the rest of the objects grouped. For instance, if I accidentally added the text and the line to the group, I can enter the group and select the two elements while holding Shift.
Then, right-click or Control + click and click on Pop selection out of group.
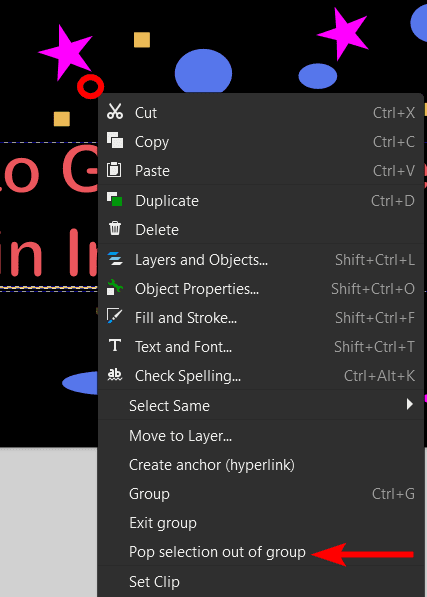
The selected objects will now be ungrouped while the rest of the elements remain grouped.
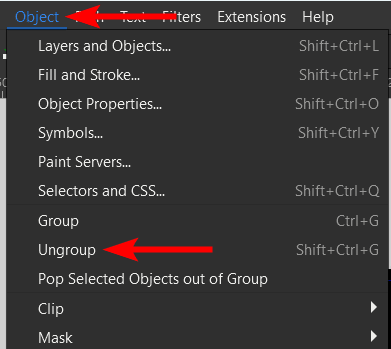
How to Ungroup Objects in Inkscape
When you have objects grouped together, it’s useful for specific functions but can also restrict you if you want to add different edits to the objects. For instance, I don’t want all the shapes to be the same color. I will need to ungroup them to edit them individually.
To ungroup objects, select the group by clicking on any of the objects within the group.
You can now ungroup the objects using the same three methods as before. First, you can use the shortcut Shift + Control + G on Windows or Shift + Command + G on Mac.
Secondly, you can right-click or Control + click and select Ungroup from the options.
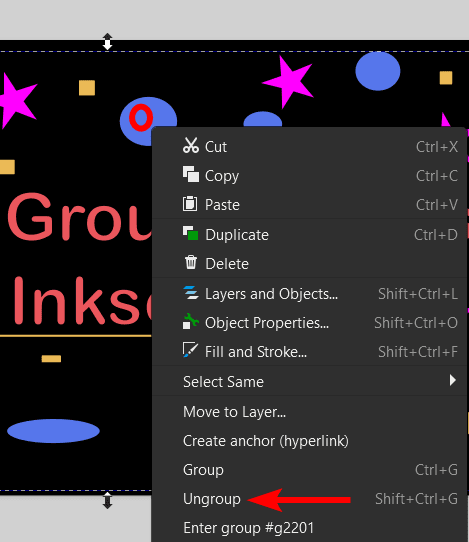
Thirdly, you can use the menu path by going to Object > Ungroup.
Now that the objects are ungrouped, you can create new groups if you’d like and edit the elements in different groupings, such as changing the color of the different shapes to create a varied layout.

👍 Support Us: Subscribe to our channel and help us continue providing these tutorials.
🌟 Regular Updates: We publish how-to videos for Inkscape regularly!
🔧 Expert Guidance: Learn Inkscape from our professionals and uncover exclusive tips!
