
Inverting colors in Inkscape is quick and easy, and you only need to add one filter and adjust a few settings to achieve the desired results. When you invert colors, it changes the color to the opposite of the current color. You can also choose to invert the lightness and transparency of the colors.
When inverting colors in Inkscape, the results will differ whether you are inverting the colors within an image or the colors of vector shapes you have added.
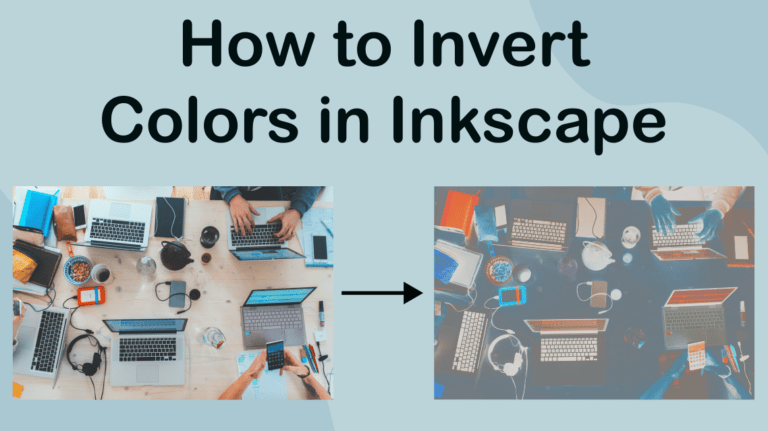
Here I will detail the quick steps to invert colors and show you the final result after inverting the colors within an image.
Table of Contents
Overview of How to Invert Colors in Inkscape
- Select the object(s) using the select tool (S)
- Go to Filters > Color > Invert
- Turn on Live Preview
- Select the channel(s) to invert
- Select whether to invert the Hue, Lightness, and Transparency
- Adjust the Light Transparency
- Check your canvas
Step-by-Step to Invert Colors in Inkscape

You can invert the colors of any object in Inkscape, whether you have placed an image in your document or added shapes and other elements. I will be inverting the colors within a picture, but I have also placed color blocks next to the image to show the color changes on fully opaque shapes.
Select the Object(s) Using the Select Tool (S)

To invert the colors, you must first activate the Select and transform objects tool from the toolbar, or press S. Then select the image or objects you want to invert the colors of. You can select multiple objects by holding in Shift while clicking on them.
Go to Filters > Color > Invert
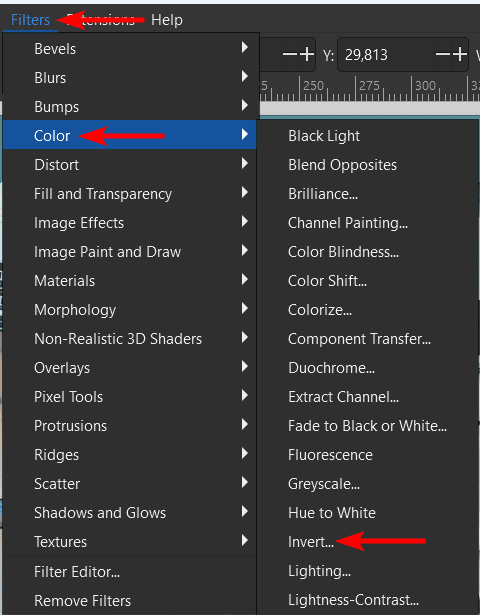
Once you have selected the objects you want to invert, open the Filters menu and go to Color > Invert.
Turn on Live Preview
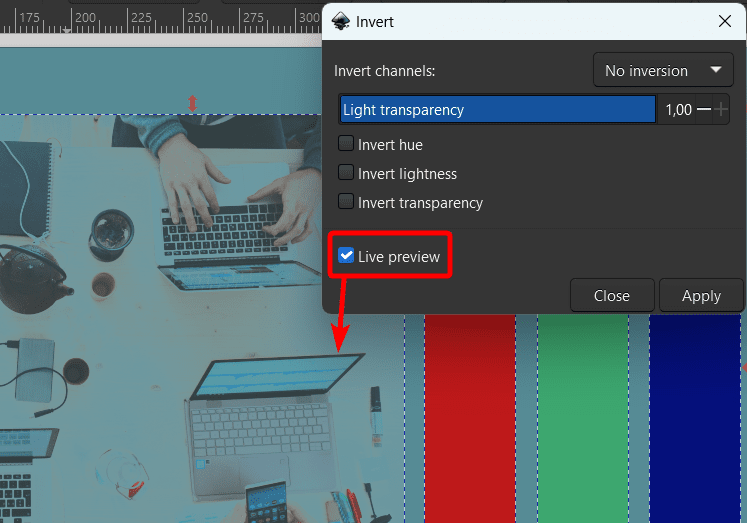
When the Invert filter window opens, check on the Live Preview option, so you can see the effects on your canvas as you adjust the settings.
Select the Channel(s) to Invert
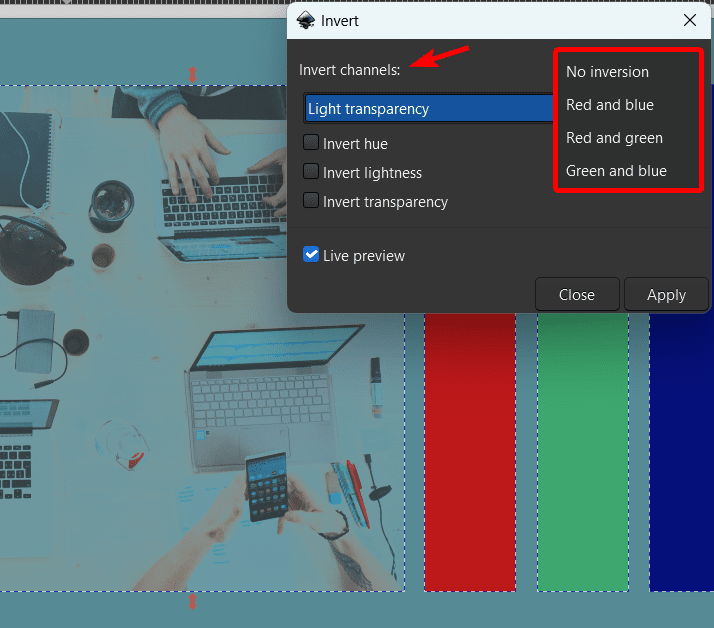
First, you can select which channel or channels you want to convert. You can choose No Inversion, which doesn’t mean the colors aren’t inverted, but instead, it doesn’t select specific channels to invert.
You can also choose between the color channels: Red and Blue, Red and Green, or Green and Blue. Each one will cause a different effect as it targets the specified color channels.
Select Whether to Invert the Hue, Lightness, and Transparency
You can then choose whether to invert the Hue (which is the colors), the Lightness (which is how dark or light the colors are), and the Transparency (which is how opaque or see-through a color is). Depending on your desired outcome, you can select one, two, or all three options.
Adjust the Light Transparency
You can also adjust the Light Transparency slider, which controls the effect's intensity. Move the slider to the left to decrease the intensity and to the right to increase the intensity.
Once you have adjusted the settings, click Apply, then Close to add the effect to the canvas and close the window.
Check Your Canvas
After closing the window, you will see the inverted effect on your canvas on the image and any other objects you selected.
Tools:
- Inkscape
👍 Support Us: Subscribe to our channel and help us continue providing these tutorials.
🌟 Regular Updates: We publish how-to videos for Inkscape regularly!
🔧 Expert Guidance: Learn Inkscape from our professionals and uncover exclusive tips!
