
There are two types of grids you can use in Inkscape, depending on what you want to achieve with the grid.
You can add guidelines to the page, which help you line up and space out elements on the page and won’t show in the final design. Alternatively, you can make a table grid for calendar or weekly planner designs, which will remain visible in the final artwork. You can also get creative with table grids by creating them inside shapes.
Whichever type of grid you are looking for, here is how you can create one and customize it to your needs.
Tip: You can also quickly add a grid with our free online tool.
Table of Contents
Overview of How to Make a Grid in Inkscape
How to create a temporary guideline grid
- Go to File > Document Properties
- Open the Grids tab
- Choose your grid type and click New
- Customize the grid
How to create a permanent table grid
- Go to Extensions > Render > Grids
- Select your grid type
- Customize the grid
- Click Apply to add the grid to the page
How to Create a Temporary Guideline Grid in Inkscape
A temporary guideline grid is the best way to keep your alignment and dimensions correct while creating drawings or layouts in Inkscape. This grid is only visible on the canvas once you activate it, and it won’t be added to the final design when you export it.
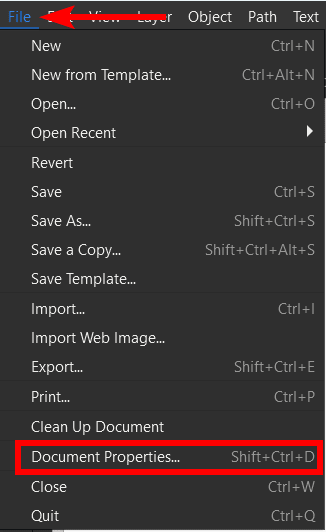
Go to File > Document Properties
To add the grid, open the document settings by going to File > Document roperties. You can also use the shortcut Shift + Control + D on Windows or Shift + Command + D on Mac.
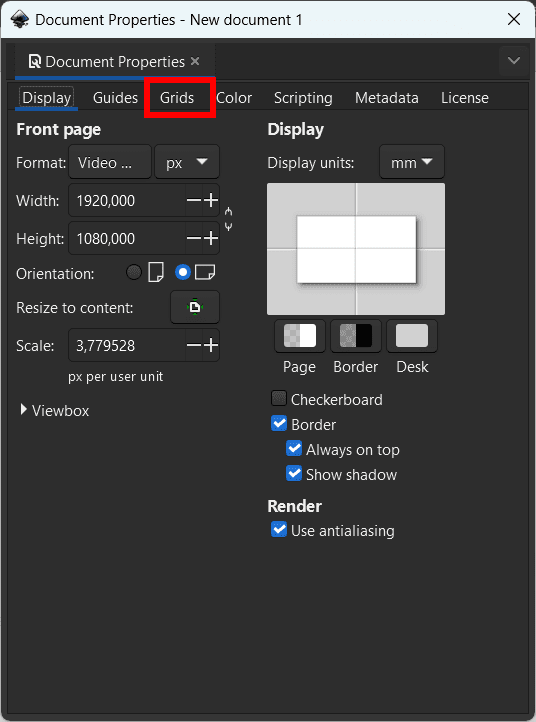
Open the Grids Tab
Once the document settings are visible, open the Grids tab at the top of the settings.
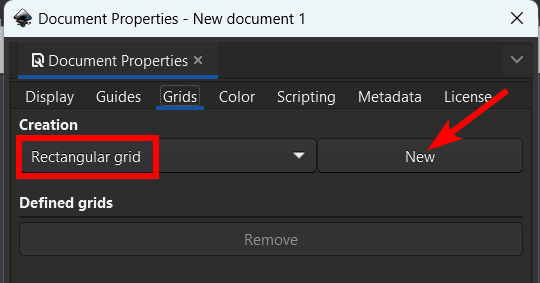
Choose Your Grid Type and Click New
There are two grid types to choose from when adding the guidelines to the page. You can select a rectangular grid or an axonometric grid.
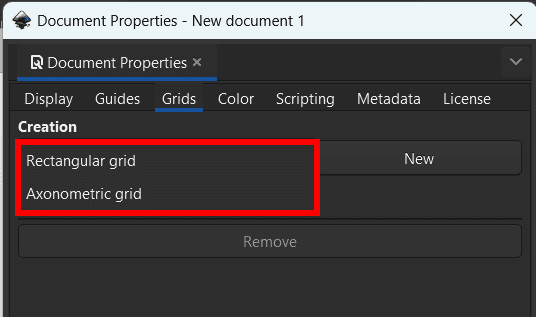
The rectangular grid creates a standard grid with horizontal and vertical rows and columns across the page.
The axonometric grid creates diagonal guidelines across the page, which is useful when designing 3D elements in your project.

Once you have selected the grid type from the drop-down menu, click New to add the grid guidelines to the document.
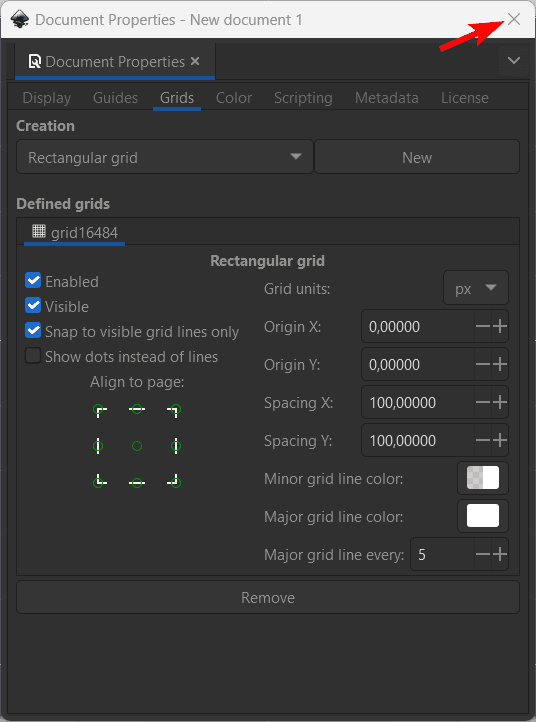
Customize the Grid
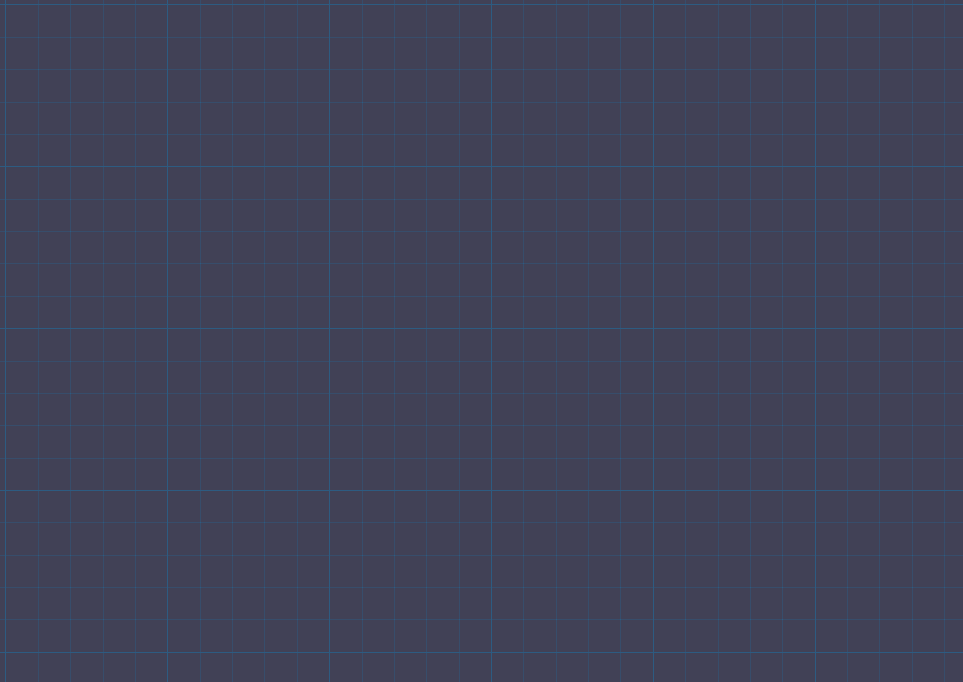
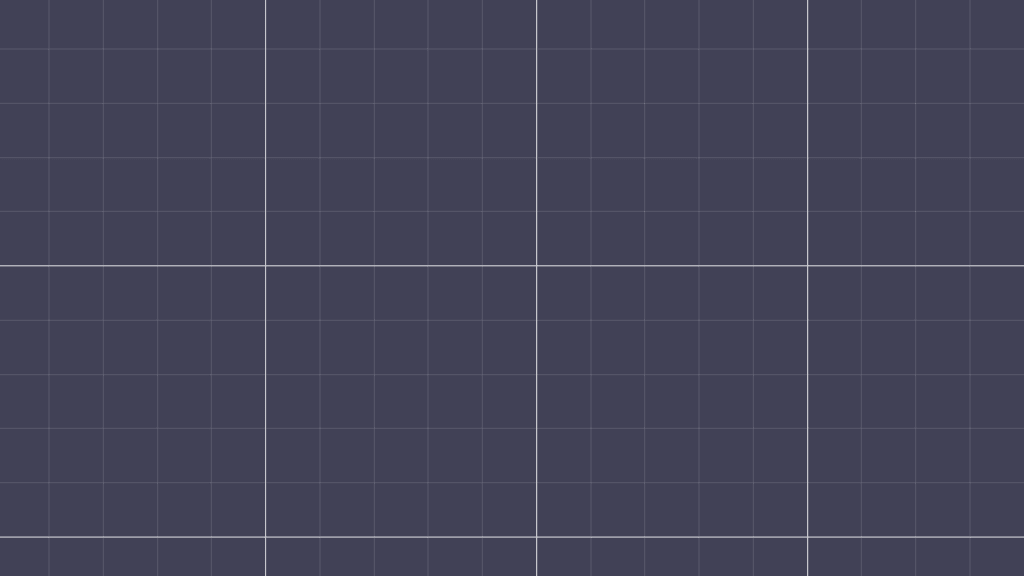
Once you click New, the guidelines are automatically added to the canvas, and various settings appear in the document properties tab, which remains open.
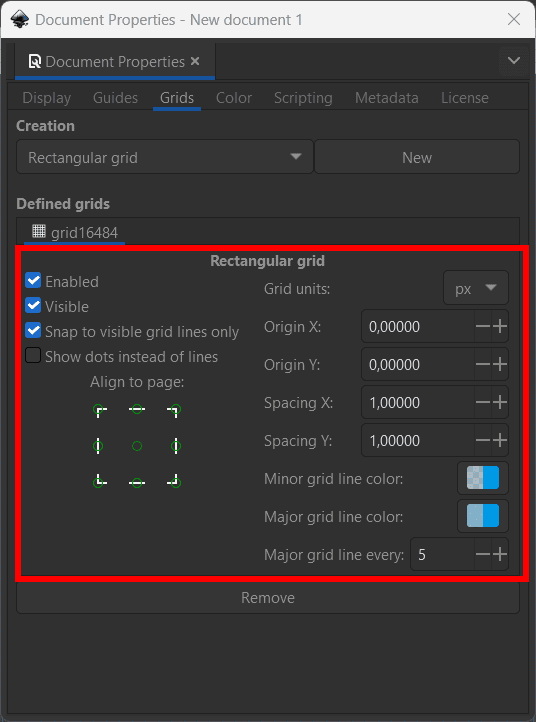
You can adjust the settings to create the guideline layout you need for your project. If you want the grid block to be larger on the canvas, increase the Spacing X and Spacing Y values. Keep the values the same to create square blocks, or add different values to create rectangular blocks.
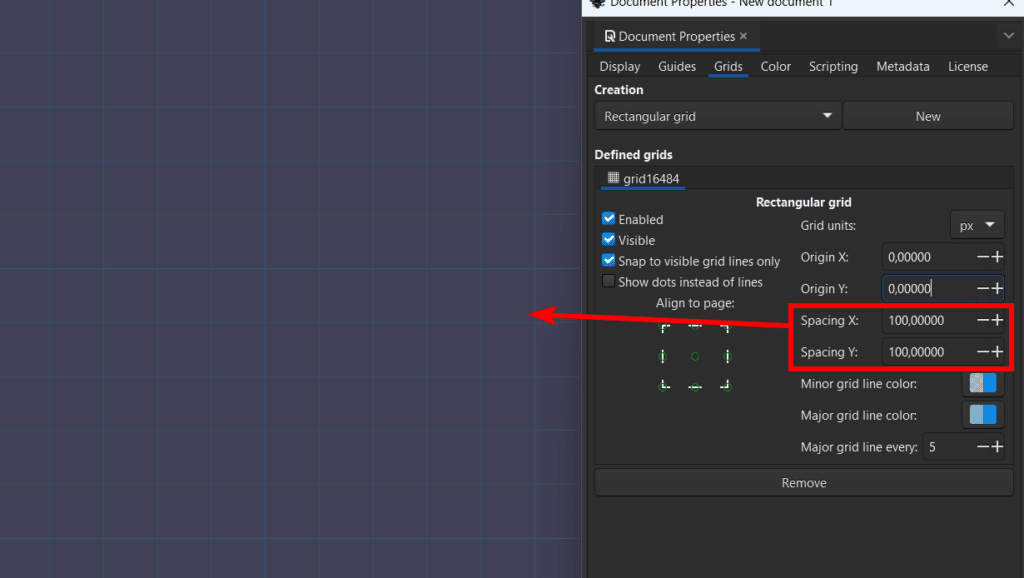
You can also change the colors for the Minor and Major guidelines to see them better on your background color. You can also select how often the Major guidelines appear if you want them visible at all.

Once you have adjusted the settings as needed, click X to close the document properties window.
You will now have the guidelines on your document to create elements while keeping alignment, spacing, and dimensions in order.
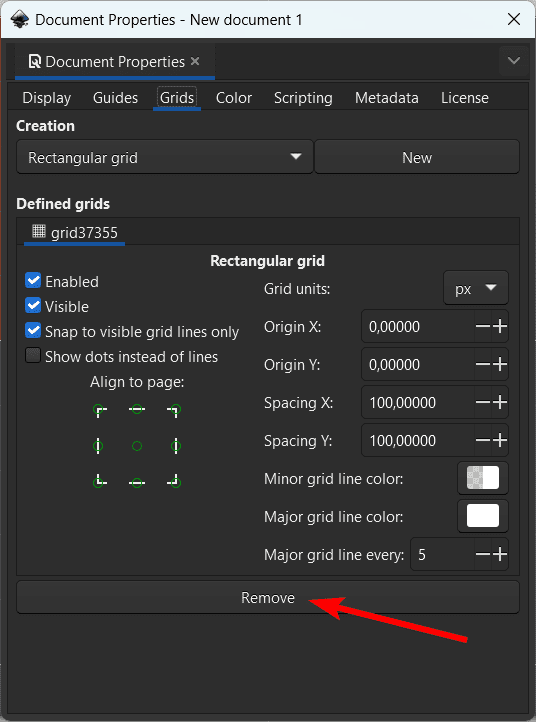
Remove the Guidelines From the Canvas
When you export your project, the guidelines won’t be added to the document as they are only visible in the program while working on the project.
However, if you want to remove them to see how the design looks without the guidelines, re-open the Document Properties window and the Grids tab, then click Remove at the bottom.
How to Create a Permanent Table Grid in Inkscape
If you want to add a permanent grid to your project to create a table or similar design element, you can add permanent grids. These grids will display on your canvas even when you export your file, as they are an actual design element and not guidelines.
There are several ways to customize these grids.
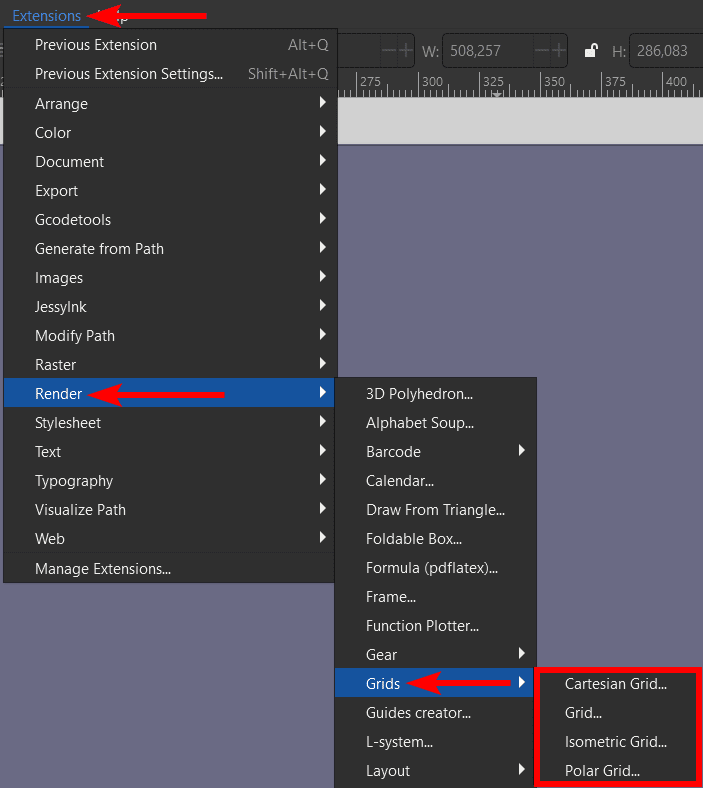
Go to Extensions > Render > Grids
To add a permanent grid to your canvas, go to Extensions > Render > Grids. You will see a few different grid options you can choose.
Select Your Grid Type
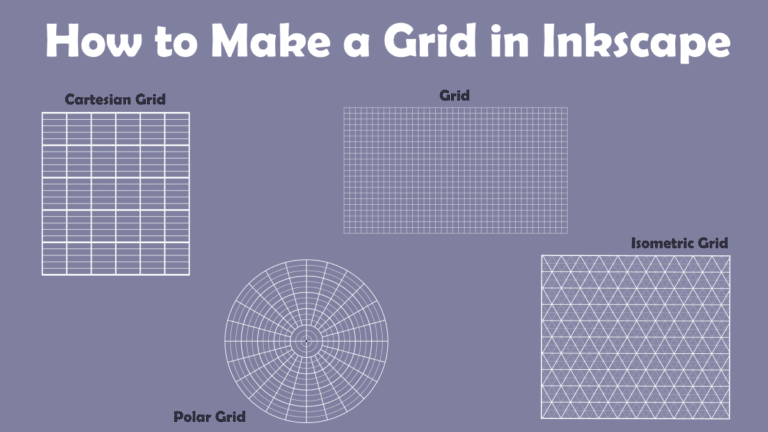
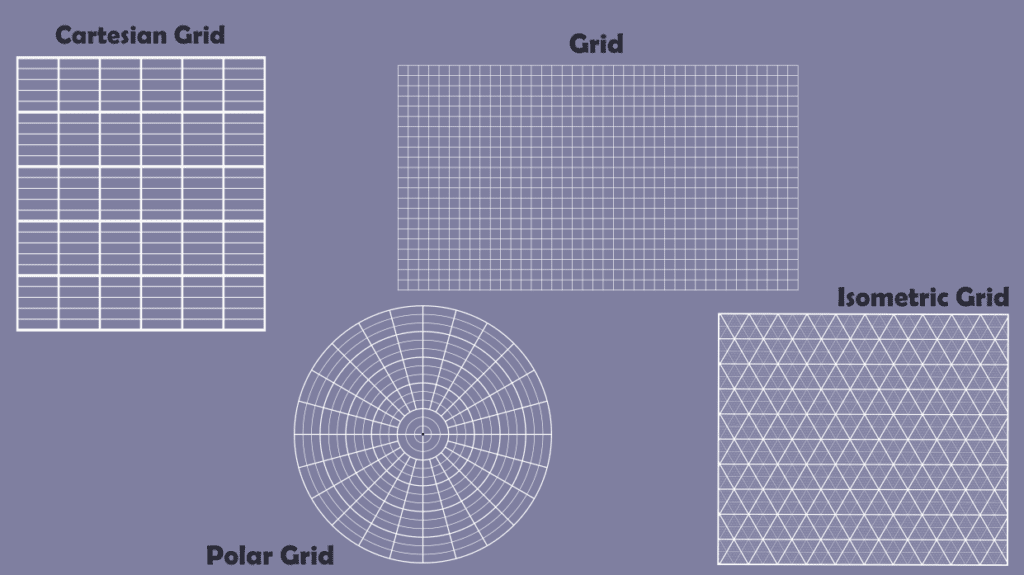
You can select the type of grid you want to add to your project from the menu path. You can choose a cartesian, standard, isometric, or polar grid. Each grid offers a different style with customization options.
Here are the four different grid types you can choose.
Customize the Grid
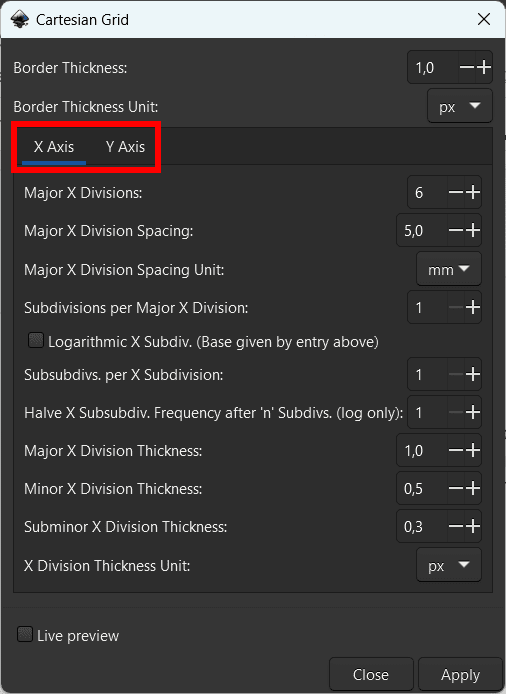
Once you have selected your grid type, a window appears with various customizable options. The options vary based on the type of grid you choose. I will select the Cartesian grid as an example.
There are several options to adjust to create the type of grid you want. You can change the Border Thickness, the major and minor divisions, and the thickness for both the x and y-axis. Click on the X or Y axis tab to adjust the settings for the columns and rows within the table.
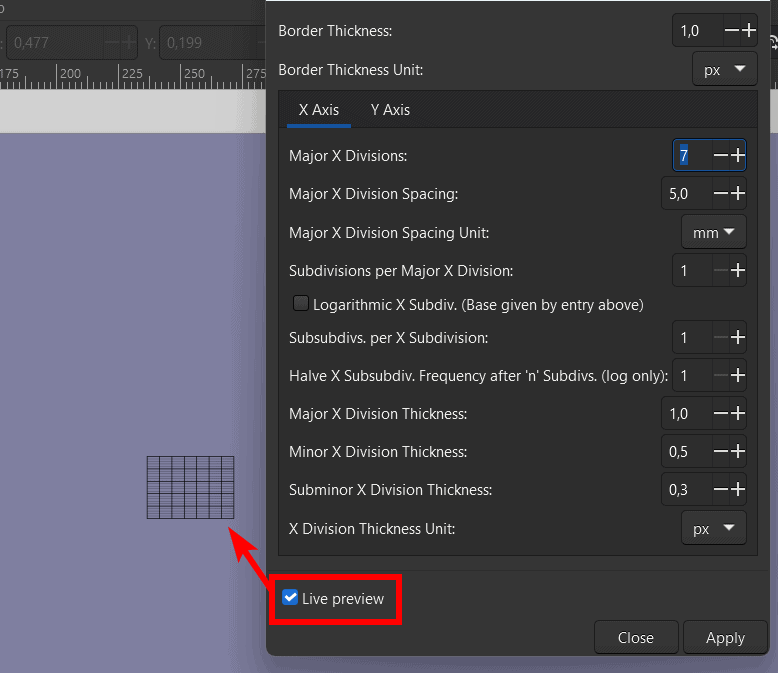
The most important setting I recommend you use is the Live Preview. Check the box next to Live Preview to see an example of the grid on your canvas while you change the settings.
Click Apply to Add the Grid to the Page
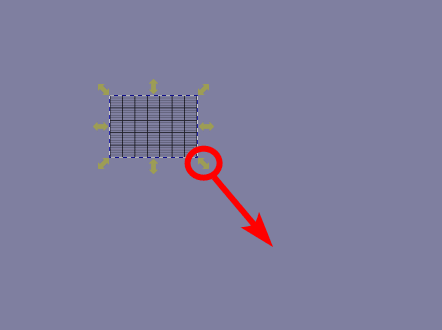
Once you are happy with the table's settings, click Apply and then Close.

You can then click on the table on the canvas and use the arrows to resize it. Hold in Control on Windows or Command on Mac to preserve the table dimensions.
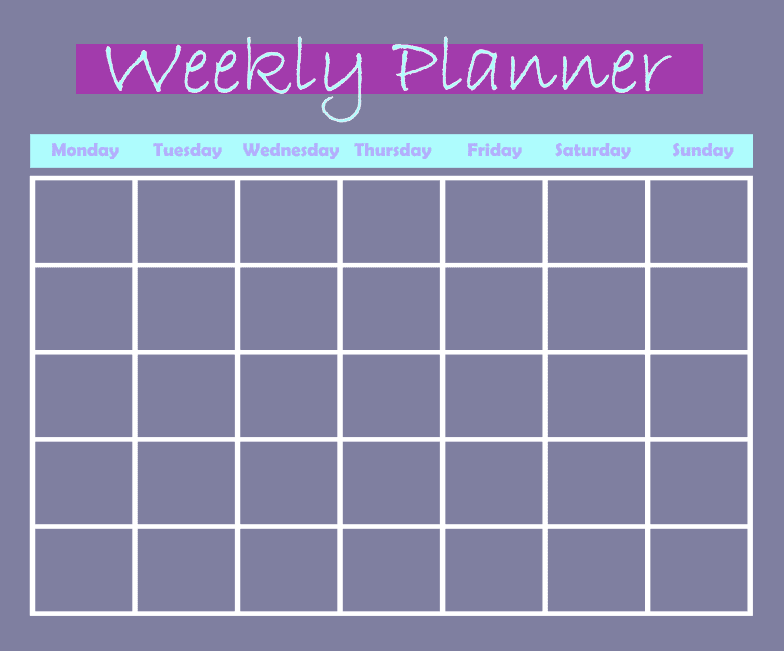
You can then add other elements to complete your design, such as text and shapes. You can also change the stroke colors of the table. You can design all types of layouts, such as this quick weekly planner I made. I used different settings when creating the table to have no minor divisions in the table.
Get Creative By Adding Grids Into Shapes
If you want to get even more creative, you can add grids into shapes. This gives you more customization options when working with grids and allows you to create uniquely shaped grids. These grids are permanent and will remain on your design when exported.
To add a grid into a shape in Inkscape, you first need to make a shape on your canvas. Select one of the shape tools, either the Rectangular, Circle, Star, or Polygon shape tool.
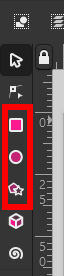
Once you’ve selected your shape, click and drag it to add it to your canvas. Ensure the shape has a stroke color set but no fill color.
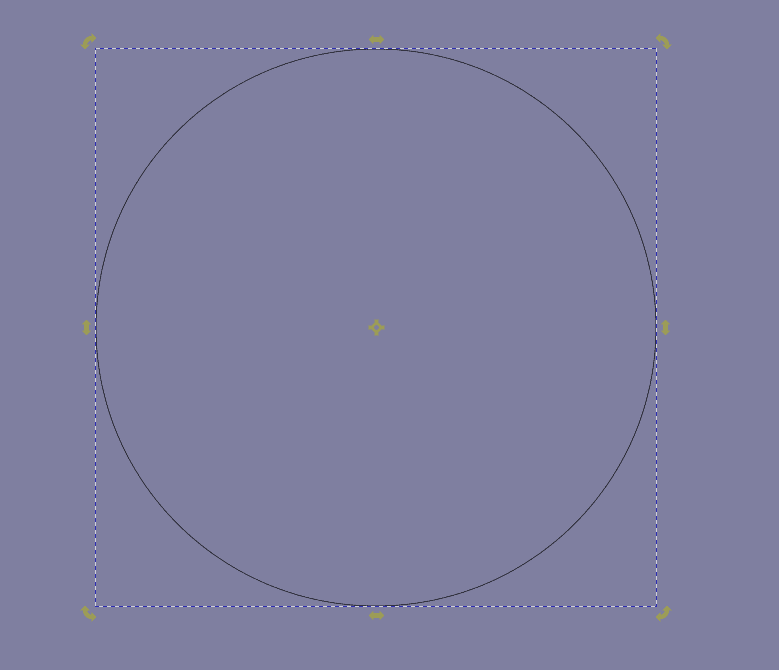
Keep the shape selected, and go to Path > Path Effects.
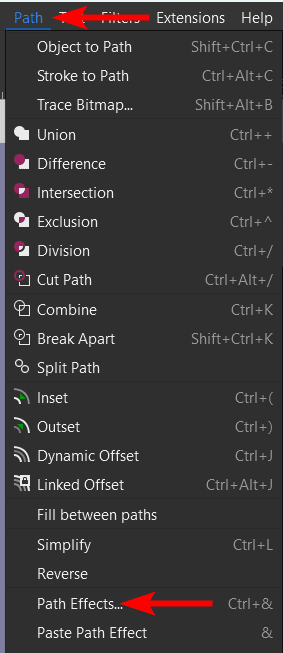
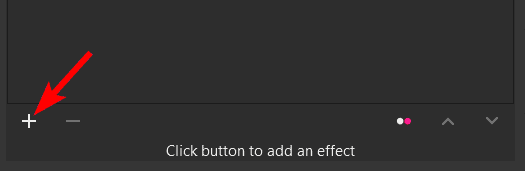
Click on the Add Path Effects button, which is the plus sign at the bottom of the Path Effects settings panel to the right of the workspace.
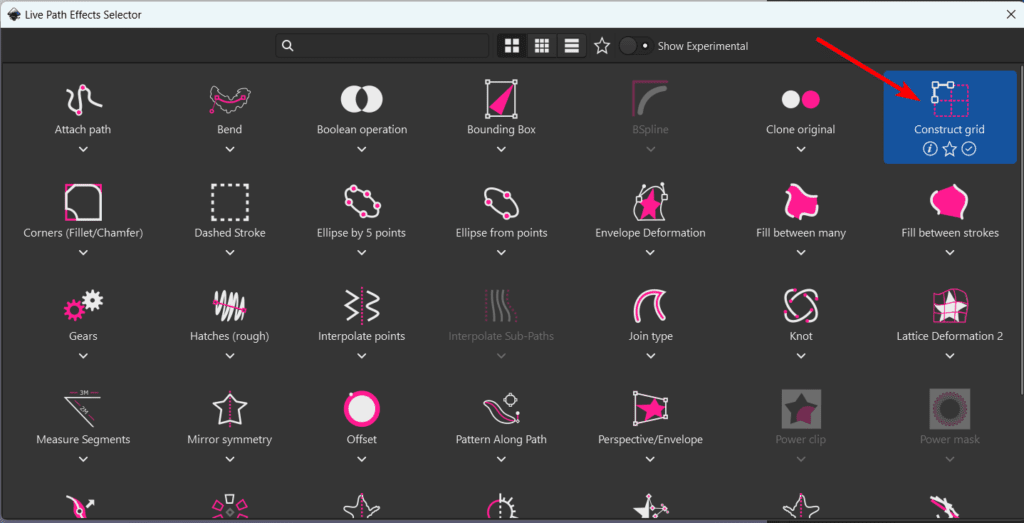
Then, select Construct Grid from the options.
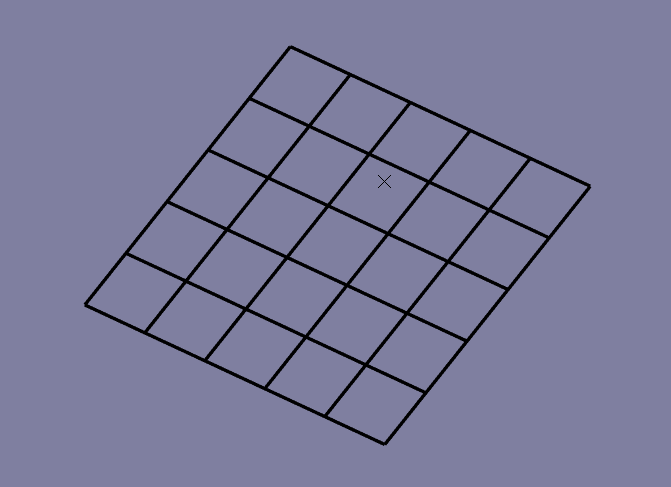
Once you add the effect, you will have a unique grid on your canvas. You can use the arrows to resize the grid.
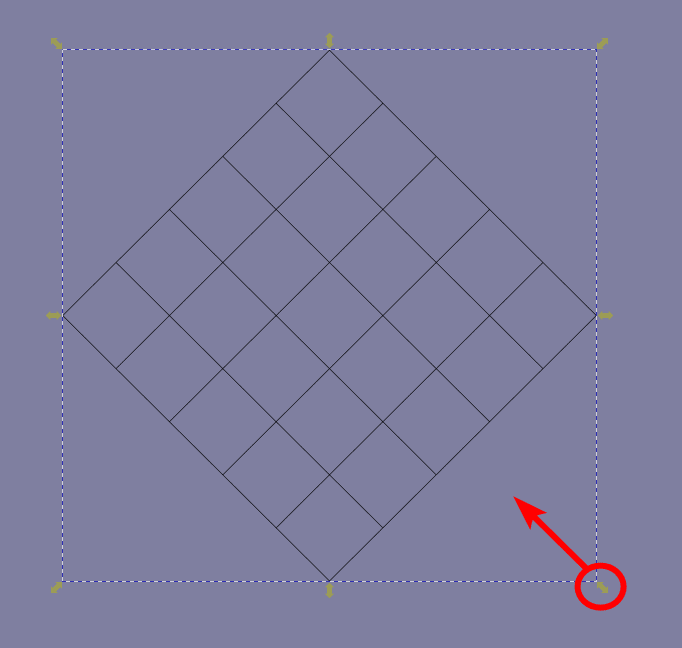
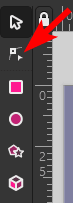
You can also change the stroke color and width of the grid. To change the angle of the grid, select the Edit paths by nodes tool (N).
Then, use the circle anchor to adjust the angle of the grid.
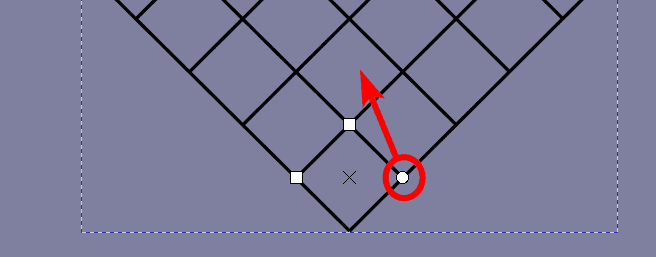
Dragging the circle anchor up tilts the grid to give it a 3D look. You can get creative and make all types of grids using this technique.
👍 Support Us: Subscribe to our channel and help us continue providing these tutorials.
🌟 Regular Updates: We publish how-to videos for Inkscape regularly!
🔧 Expert Guidance: Learn Inkscape from our professionals and uncover exclusive tips!
