
Unfortunately, Krita doesn’t allow you to print directly from the program, but luckily there are workarounds to ensure you can fully enjoy your creation.
While exporting and printing your project from Krita is relatively straightforward, there are other things to consider. The image you see on your computer when creating art in Krita may be perfect for digital screens, but it won’t always look the same when you print it out on paper.
When printing, you need to consider the color mode, margins, and more. Fortunately, with Soft Proofing, you can be sure your printed artwork will look as good as it does on the screen after following this guide.
Table of Contents
Why Can't You Print Directly From Krita?
Previous versions of Krita allowed you to print your artwork and projects directly from the program to a printer connected to your computer. However, in the more recent versions of the program, there is no option to print using Krita directly.
Developers state that you can’t print directly from Krita because the feature wasn’t working correctly, and they decided to remove the option from newer versions.
Another reason developers removed the printing option in Krita is that the program is designed for drawing and digital artwork and doesn’t contain the necessary features for printing. Developers also didn’t have the time to focus on printing features and fixing the problems that kept occurring in the program.
Dedicated programs designed for printing will produce far better results than Krita, which only had printing as an add-on task without the full features needed for quality printing. You can export your artwork as a PNG or TIFF file and use any printing program you have or use Scribus for more complex printing.
Scribus can open and manipulate various files for printing and can convert your file's color mode if you haven't converted it in Krita before exporting.
Export Your Art as a PNG or TIFF File
When you are ready to print your artwork, you should save the file as a PNG, as this is a suitable file type to preserve the quality of the painting while keeping the file size relatively small. Alternatively, if you can handle a larger file size, save the artwork as a TIFF to preserve the most quality.
Typically a PDF file is the better option when printing artwork, but Krita no longer supports exporting artwork as a PDF.
However, before you export your art, you should check whether the colors will print out how you’d like them to. It’s recommended that you always work in RGB mode in Krita, even when designing work for print.
You should work in RGB color mode because a CMYK color mode doesn’t guarantee that the colors will print as they look on the screen since each printer has slightly different interpretations of the colors, and the blending modes don’t work as well in CMYK as they do in RGB.
Instead of using CMYK, you should create the project in the RGB space and then use Soft Proofing to determine how the artwork will look once printed and adjust the colors accordingly.
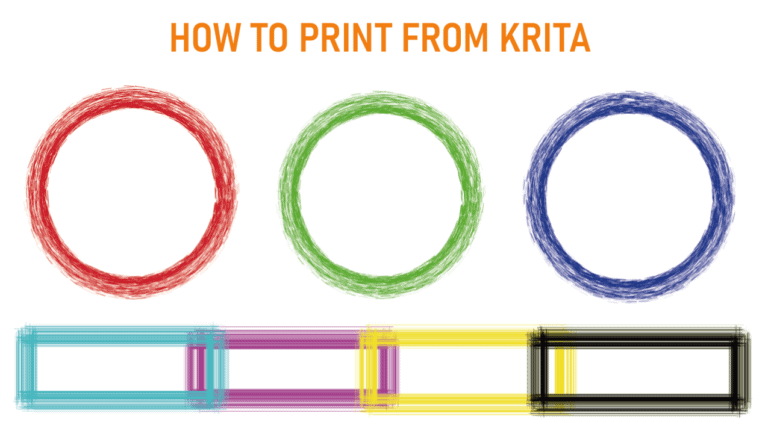
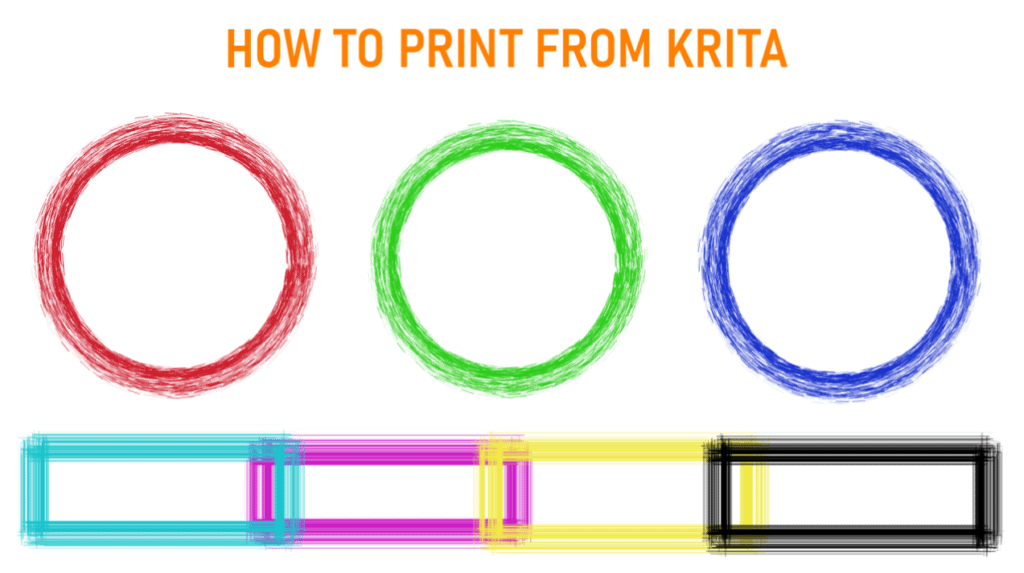
It’s essential to check the different color modes as RGB colors are best suited for screens, while CMYK is better for printing. This means that there are slight differences in the colors depending on the mode, such as some colors being lighter and others darker.
Here is the difference between an RGB image and a CMYK one.

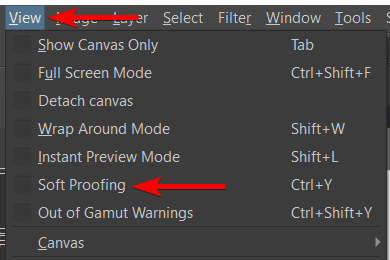
If you want to quickly check how the colors will look while working in Krita, go to Image > Soft Proofing or use the shortcut Control + Y on Windows or Command + Y on Mac to toggle the soft proofing on and off.
If you want to change the proofing settings, go to Image > Properties.
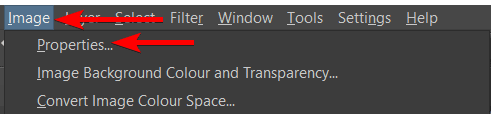
Then, open the Soft Proofing tab. You can then adjust the settings to match the output of the printer you will be using. Use the Gamut Warning to see whether you have included any colors that standard printers won’t recognize.

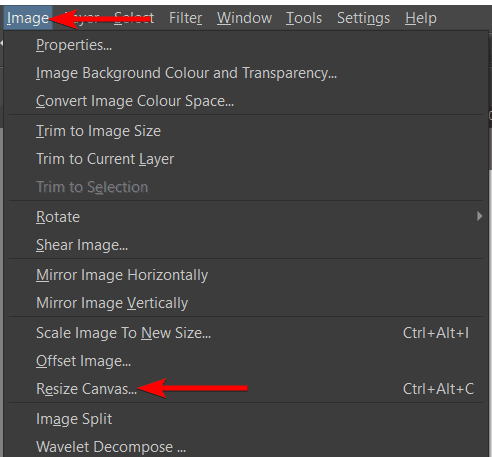
You should also check if you have added a bleed to the canvas. You can add a bleed, which will be cut off after printing, by simply increasing the size of the canvas to larger than what you need the print to be.
You can do this after creating the artwork by going to Image > Resize Canvas. You can also use the shortcut Control + Alt + C on Windows or Command + Option + C on Mac.
Once your project is correctly colored, and you have added bleed, if needed, you can export the artwork as a PNG or TIFF to have it ready for print.
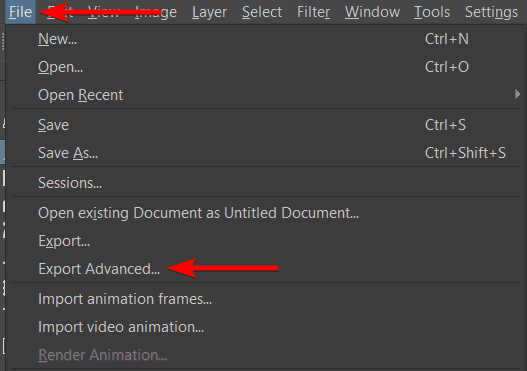
To export the artwork, go to File > Export Advanced.
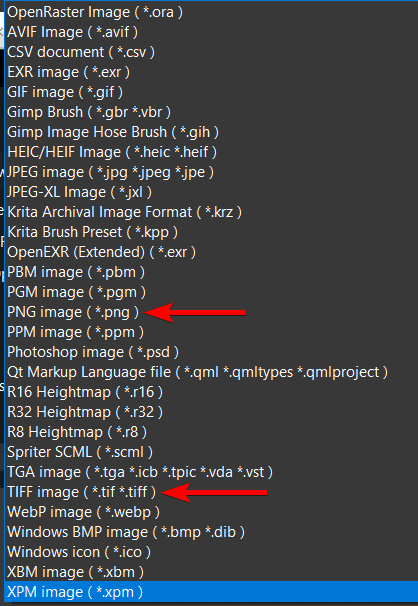
Then, use the drop-down menu to select either PNG or TIFF from the file type options.

You can then change the export options, such as the compression type, and resize the canvas if needed. Then click OK when you are ready to export the file.

You can now print your artwork as needed using your preferred printing software.
Print Your PNG
You can now print your PNG or TIFF file by sending it to the commercial printer or using your printer at home. You can use typical printing software on your computer, including the built-in printing option. However, I recommend you use a dedicated program for printing or convert the TIFF file to a PDF first using a program like Scribus.
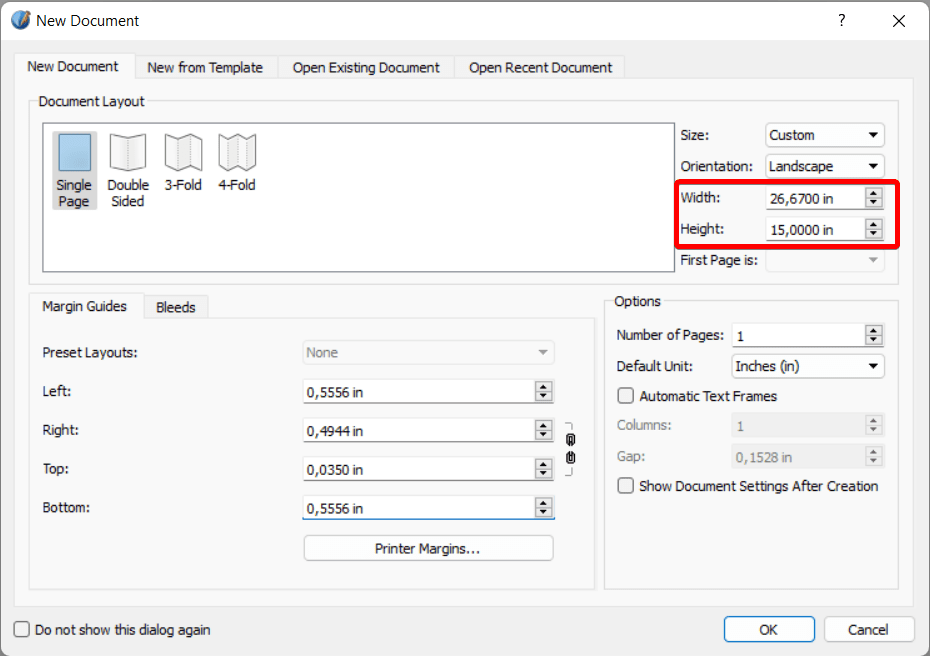
Programs like Scribus offer several options to correctly set the color mode and the canvas size while creating a PDF ready for printing. Once you have Scribus installed, create a new document the same size as your artwork file.
You can also set any margin guides and the bleed as needed. Remember to ensure that vital information is kept from the edges of the document in case the printing needs to be more aligned.
The margins should show where the critical information is placed, and nothing too important should be outside the margins.
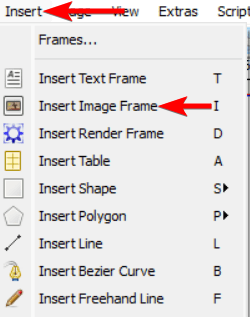
Then go to Insert > Insert Image Frame or press I to create the frame.
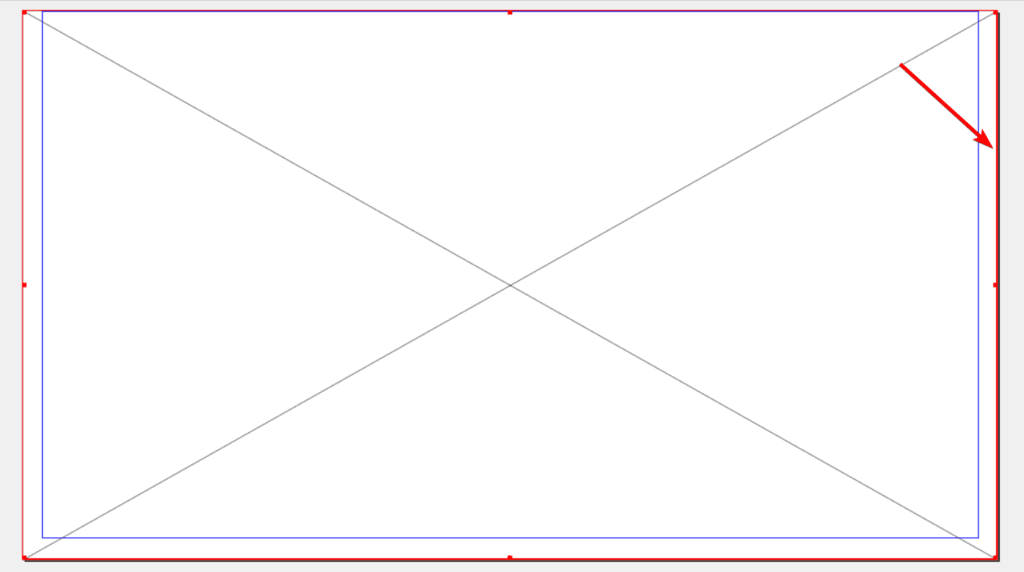
Click and drag over the entire page to create the image frame.
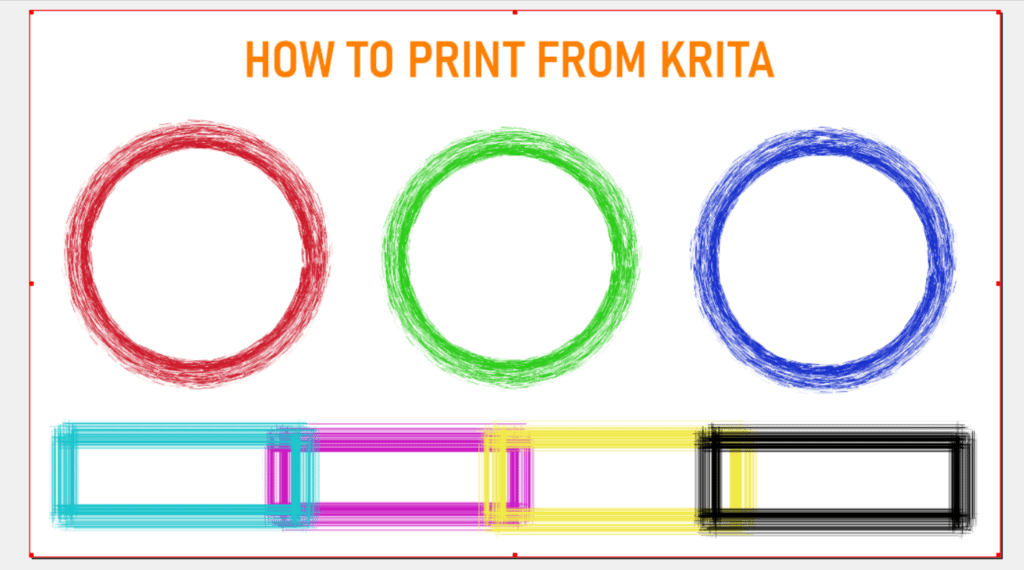
Then, double-click on the image frame, locate the file on your computer, and add it to the frame.
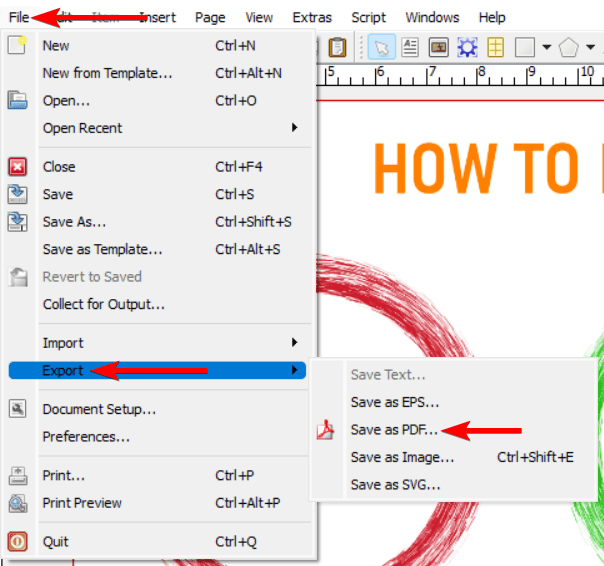
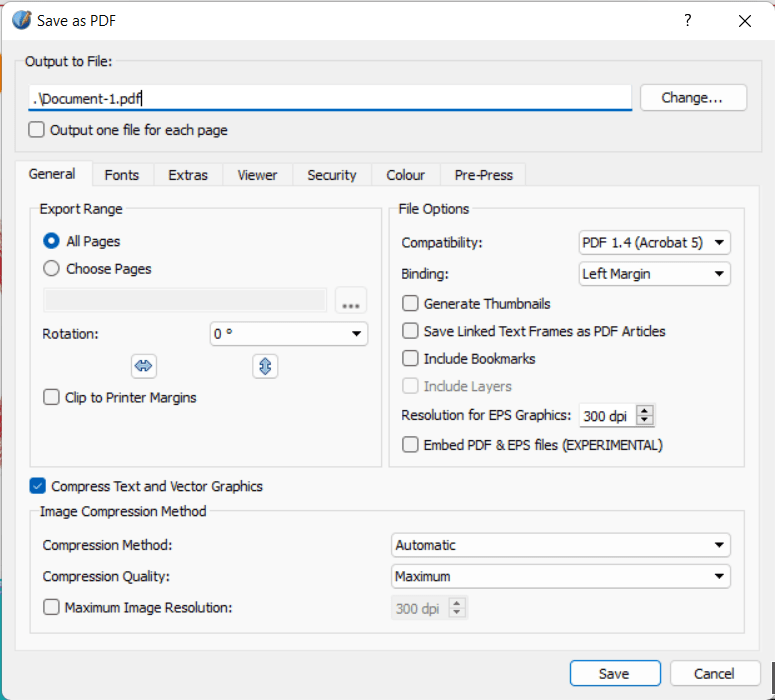
You can adjust the color mode as needed or check your margins and bleed. When ready, export the image as a PDF by going to File > Export > Save as PDF.
Now, you can adjust the various options to create the PDF you need and save the file. You’ll now have a high-quality PDF file you can send to print containing your artwork.
👍 Support Us: Subscribe to our channel and help us continue providing these tutorials.
🌟 Regular Updates: We publish how-to videos for Krita regularly!
🔧 Expert Guidance: Learn Krita from our professionals and uncover exclusive tips!
