
It can be frustrating when a design program, such as Inkscape, is not opening in Windows, especially when you are working on a vital drawing, artwork, or project. Since you can’t even get the program to open, finding out what is causing the issue is challenging.
Here are a few common solutions that may help when the program won’t open and you don’t know why. These are general fixes and may not solve your issue, depending on how bad the problem is.
If you try all these solutions and Inkscape still won’t open, you can search through the bugs reported to the Inkscape developers, or if you can’t find your issue there, report a new bug to the developers.
Table of Contents
Solution 1: Restart Your Computer
The first solution may seem simple, but in so many cases, a simple restart of your computer helps fix the problem. In some cases, your computer may have background processes running that interfere with the programs you are working on.
In other cases, a file from the Inkscape directory could be corrupt and cause issues on your system.
In both these cases, restarting your computer will reset everything and hopefully solve the problem by eliminating the problem processes or files.
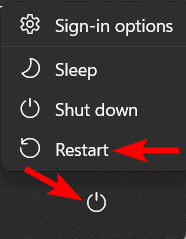
To restart your device, click on the windows button in your taskbar at the button of the screen, then click on the on/off button and select Restart.
Solution 2: Close and Uninstall Other Design Programs
If a complete system restart doesn’t help the situation, you may have a problem with other design programs on your computer. In some cases, specific programs can interfere with Inkscape and prevent it from starting. This isn’t too common and doesn’t necessarily mean that you can’t have all of the programs on your computer at the same time.
To find out if your other programs are interfering with Inkscape, uninstall the programs and try to open Inkscape. Programs noted to cause problems include Ghostscript, Adobe Dreamweaver, and Scribus. Restart your computer after uninstalling the programs.
If Inkscape does open after the restart, then you know it’s one of the other programs. You can then reinstall Inkscape, too, just to clear the program files, reinstall all the programs again, and see if the issue is resolved.
Solution 3: Update Inkscape
Inkscape may not open on your computer if you are running an old version of the program. Incompatibility issues with your operating system or the outdated program may cause this. An easy fix is to uninstall your current Inkscape and download and install the latest version.
You can simply download and install the latest version over the previous one. However, I recommend you delete the current version to clear your program files before installing the latest version.
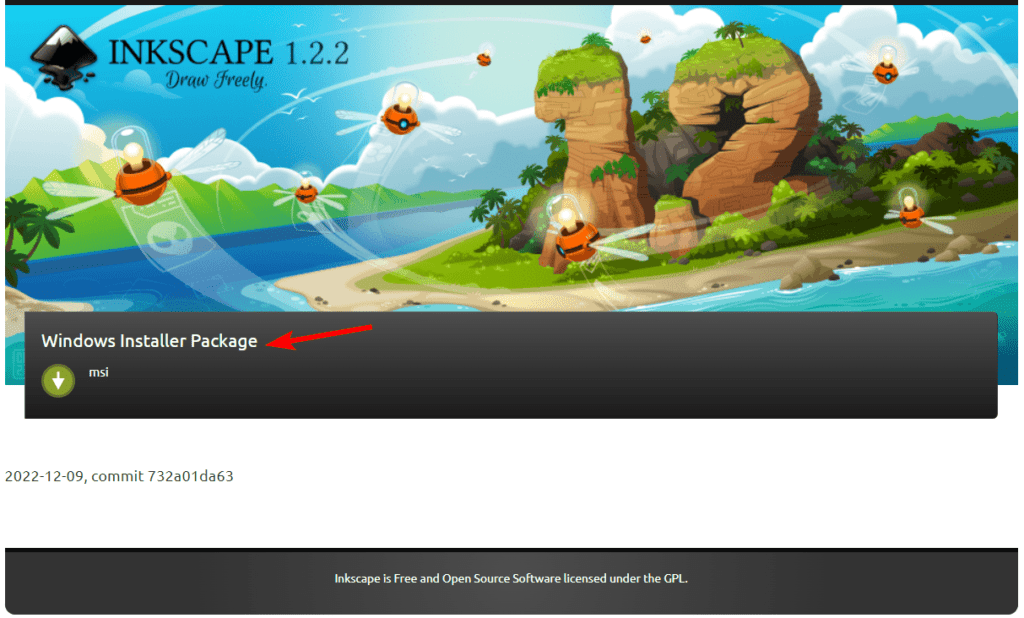
Always download Inkscape from the official website to prevent viruses and malware on your computer. You can download the latest Inkscape version for Windows from the Inkscape download page.
Once you have downloaded the latest version of Inkscape, restart your computer before trying to open it.
Solution 4: Update Windows
Another common issue that will cause more problems on your device than Inkscape not opening is that your system is outdated and needs an update. Generally, Windows notifies you when you need to update it, but you may miss this notification.
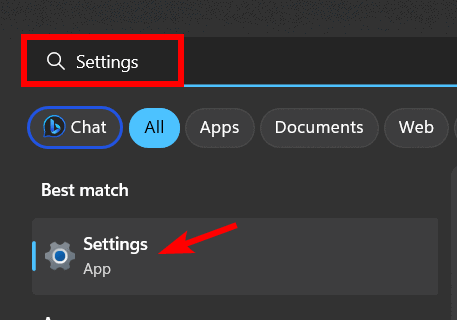
To check whether your system needs an update and to run the update, click on the Search bar in the taskbar.

Then type Settings in the search bar and open the Settings app when it appears.
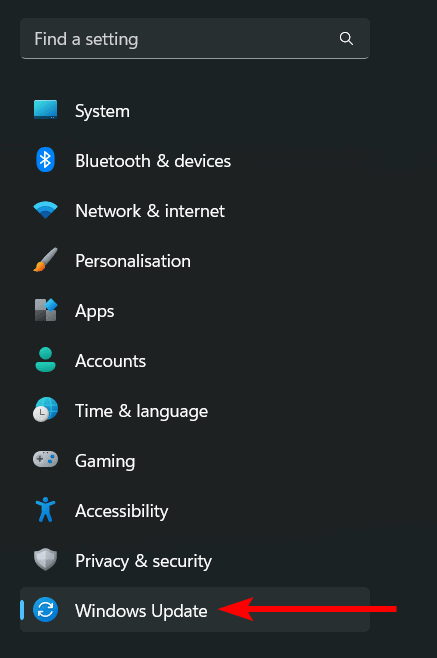
In the Settings app, click on the Windows Update tab at the bottom of the options on the left.
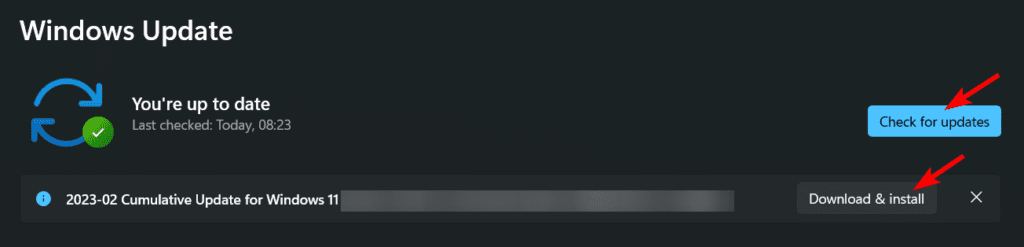
Now, you can click on the Check for Updates button at the top right and wait to see if any updates need to be installed. If updates are waiting for you, you will see the update and can click on Download & Install.
Let the update process run, and restart your computer once the update is complete. Then, try to open Inkscape and see if the problem is resolved.
Solution 5: Reduce the File Size
If you can open Inkscape but start noticing problems while working on a design, you may be faced with a large file size slowing the program down. A file that is too large will cause lags, certain tools not working correctly, and can cause the program to crash.
While Inkscape has no minimum system requirements to run the program, the program isn’t as robust as Photoshop and other paid design programs. This means that some file sizes will challenge the program’s resources and possibly your system’s resources.
There are many elements in Inkscape that can increase the file size and lead to issues within the program. These include but are not limited to
- Editing raster images (depending on how much your system can handle, even one large image can cause problems)
- A graphic with over one hundred nodes
- Several filters added to one document
- Several gradients on one document
- Using combinations of the above elements in one document
There are a few actions to solve this problem. Here are the main solutions, but you can find the complete list on the Inkscape website.
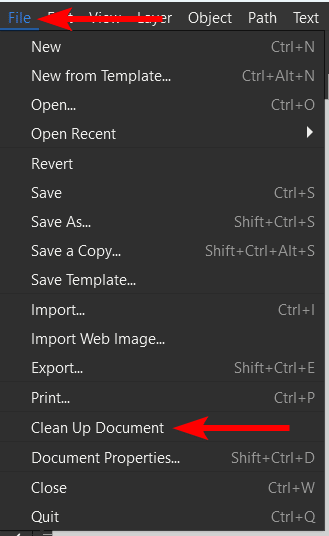
When you start to notice issues in the document, the first thing you should do is clean up the document. Instead of manually deleting unused elements, you can let Inkscape do it for you. Go to File > Clean Up Document.
An easy trick is also to hide layers you aren’t currently using if you don’t need to view the content at the moment. To hide a layer, click on the eye icon that appears when you hover over a layer in the settings window on the right.
You can turn a layer’s visibility on and off during the project to keep the resources low.
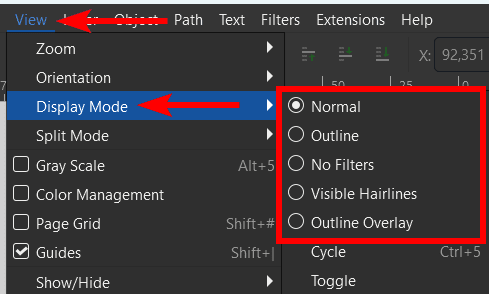
You can also adjust the display mode to hide some aspects while you work. When certain elements, such as Filters, are visible, they take up resources. You can also set the document to Outline mode, which lets you work while only viewing the outlines of the project.
To change the display mode, go to View > Display Mode, then select Outline or No Filters.
Lastly, if there are several nodes on your graphic that are slowing down your system, you can simplify the illustration to remove unnecessary nodes. Luckily, you don’t have to delete nodes to reduce the number manually.
First, select the graphic with the Edit path by nodes tool so that the nodes are visible on the canvas.

Then, go to Path > Simplify. You can also use the shortcut Control + L.

This will reduce the number of nodes in the selected path. However, it may change the shape too drastically. In this case, press Control + Z to undo it. This method will only work in some cases.

👍 Support Us: Subscribe to our channel and help us continue providing these tutorials.
🌟 Regular Updates: We publish how-to videos for Inkscape regularly!
🔧 Expert Guidance: Learn Inkscape from our professionals and uncover exclusive tips!
