

Inkscape is a free vector-based editing program that has many useful functions. While the main features of the program don’t deal with raster-based images, there are helpful processes you can use on raster images, such as the bitmap trace feature.
Whether you want to convert a bitmap to a vector to use as a graphic for a logo, to create vector textures, or if you need to create artwork ready for vinyl or laser cutting, you can easily use Inkscape to achieve this in a few simple steps.
Table of Contents
What Are Raster Images Vs Vector Graphics
Raster images, also known as bitmap files, include popular file formats such as PNG, JPEG, and TIFF files. All these files are made up of small blocks of color known as pixels. When working with pixel-based images, you can extensively edit and manipulate these files in programs such as Photoshop.
Vector-based graphics are made up of paths, which are lines, curves, and shapes that are formed by mathematical equations. These graphics don’t have the same editing possibilities as raster images. However, vector graphics can be scaled to large or small sizes without losing quality, which is desired for logos, icons, and other design elements.
Overview of How to Trace Bitmap in Inkscape
- Open your image in Inkscape
- Select the image using the Select and Transform Objects Tool (S)
- Go to Path > Trace Bitmap
- Adjust the necessary settings
- Move, hide, or delete the original image
- Export the file as an SVG
How to Trace Bitmap in Inkscape Step by Step
You have two options when creating a vector graphic from an image in Inkscape. You can manually trace the image using the Bezier Tool (B), which is similar to the Pen Tool in Photoshop. This tool creates a path of straight and curved lines, but it is a tedious process.
A much easier method to trace an image is using the Trace Bitmap function, which automatically traces the image. You don’t give up complete control when using this method, and you still have several settings to adjust to control the outcome. Here is how to do it with the Trace Bitmap feature.
Open Your Image in Inkscape
To begin the bitmap tracing process, you need to open an image in Inkscape. You can open an image using the Load button on the start screen when you open Inkscape or by going to File > Open or using the shortcut Control + O on Windows or Command + O on Mac.
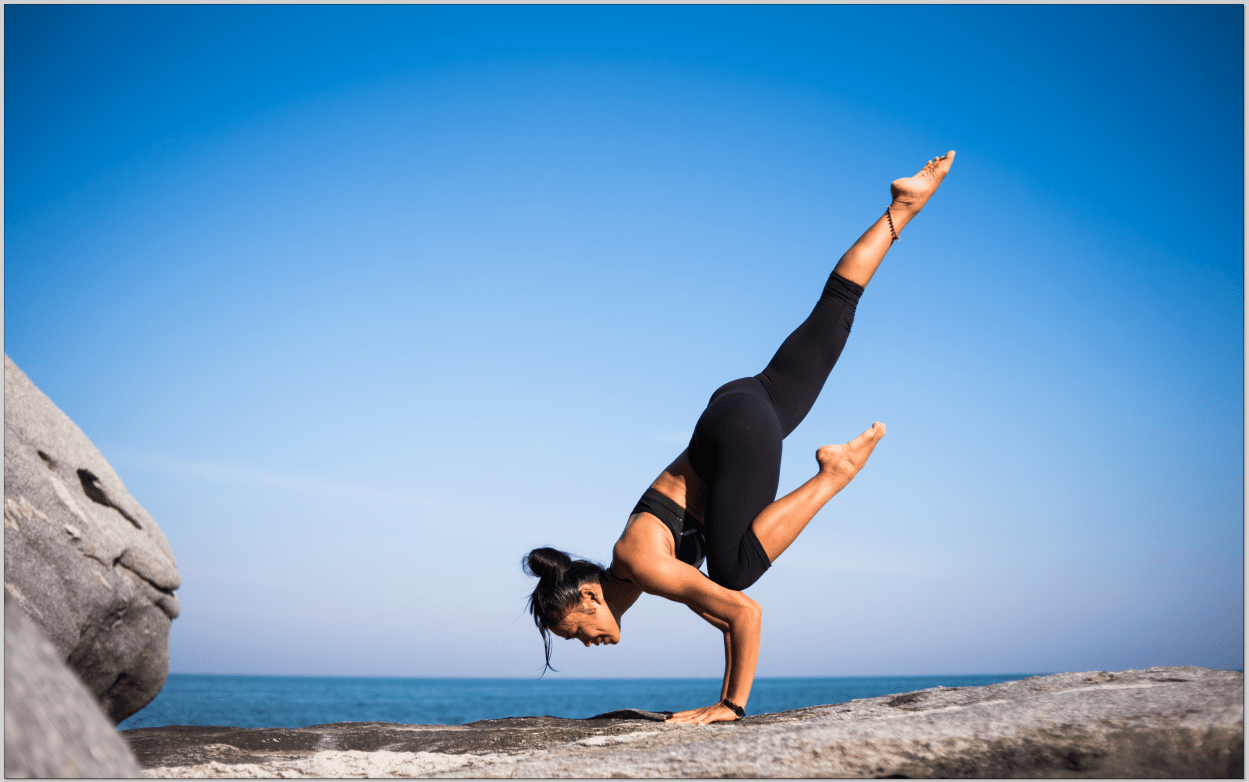
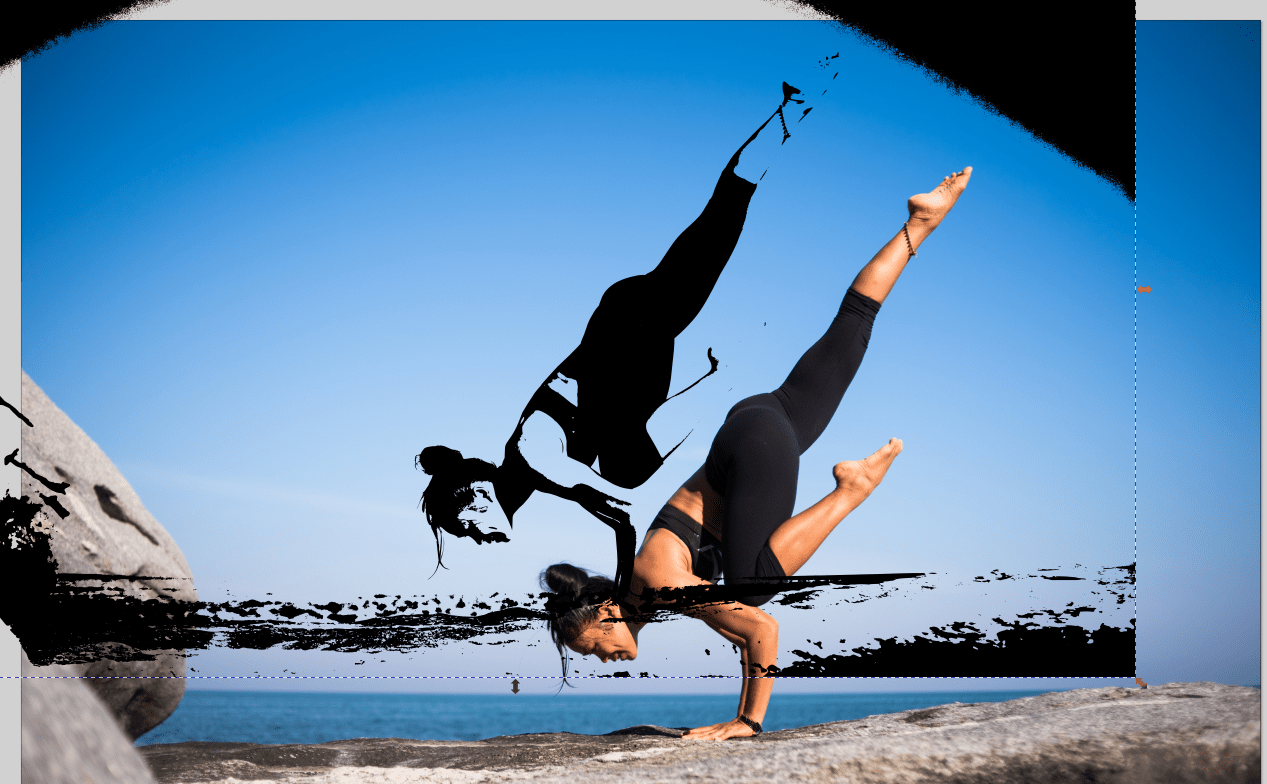
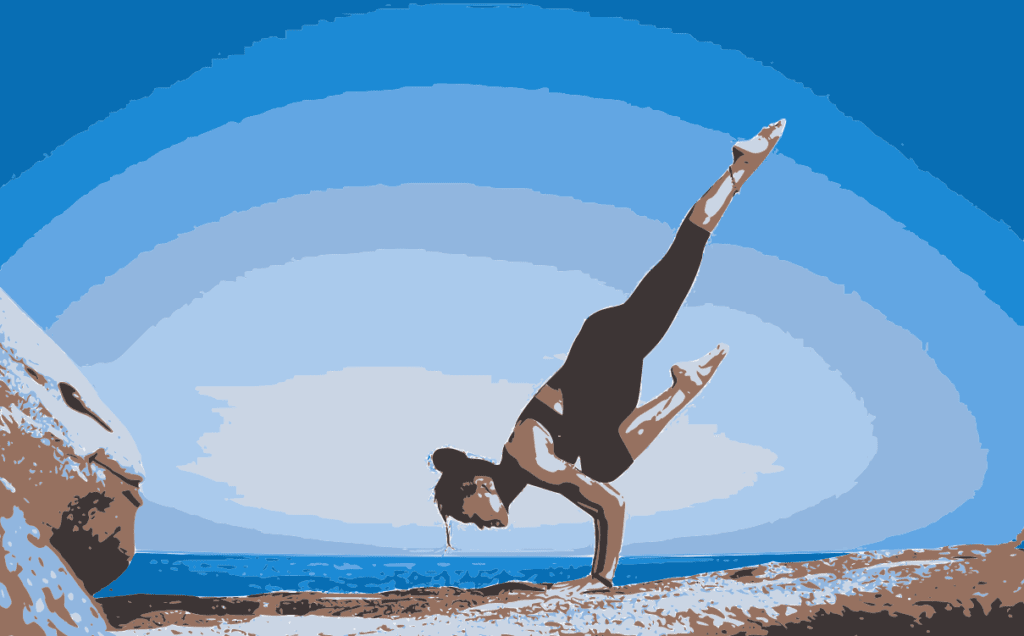
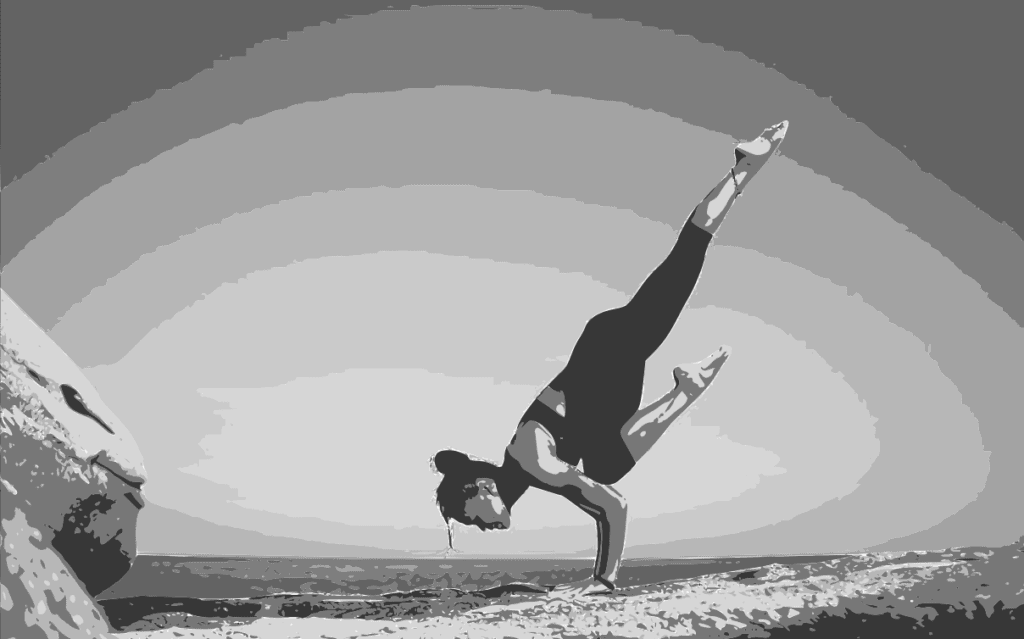
I will use this Low Angle View of Woman Relaxing on Beach Against Blue Sky image I sourced from Pexels.
Select the Image Using the Select and Transform Objects Tool (S)
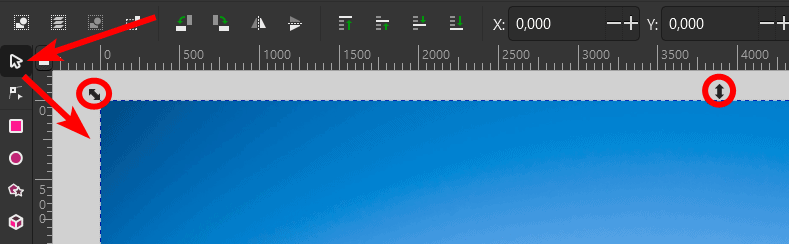
Once your image is open in the program, you must select it to tell Inkscape what you want traced. To select the image, click on the Select and Transform Objects Tool from the toolbar or press S, then click on the image. You will see arrows around the picture indicating that it’s selected.
Go to Path > Trace Bitmap
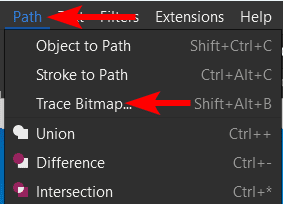
When your image is selected, go to Path > Trace Bitmap. You can also use the shortcut Shift + Alt + B on Windows or Shift + Option + B on Mac. This will open a panel on the right-hand side of your screen.
Adjust the Necessary Settings

In the panel on the right, you can adjust various settings to create the type of vector trace you want. You can move between the Single scan, Multicolor, and Pixel art tabs at the top and adjust the various settings underneath each tab.
I will explore some of the settings in the next section if you want a guide through those options. Otherwise, play around and choose the settings that work for your image. Click Apply at the bottom when you’re happy with the settings.
Move, Hide, or Delete the Original Image
Inkscape will take a few moments to apply the bitmap effect, so wait until you see the effect applied to your image. The bitmap trace is added as a separate layer on top of your image layer. So click and drag on the top trace layer to move it up and see the original layer below it.
You can then move the original layer off the canvas, hide the layer visibility in the layers panel, or delete the layer so you are only left with the vector trace layer.
Check the Traced Layer
Once you are left with only the traced image on your canvas, you can edit it using the Edit paths by nodes Tool (N) or leave it as is and save it for the project in which you will be using it.
Export the File as an SVG
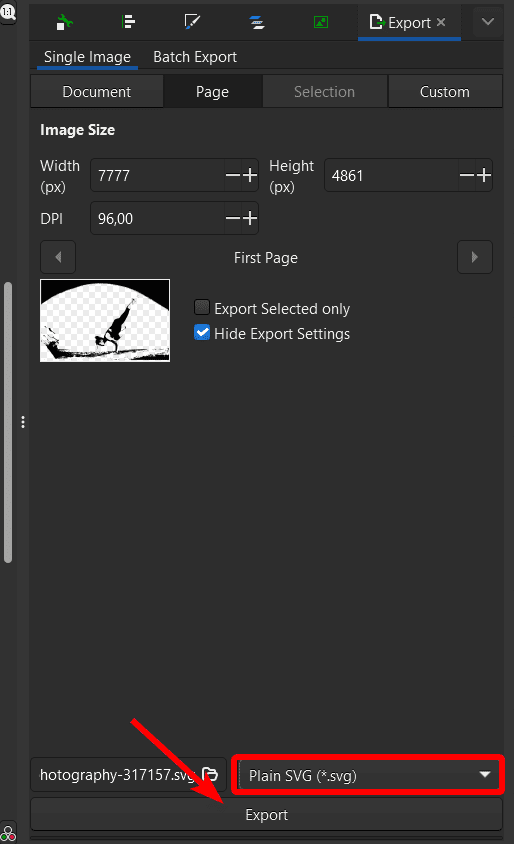
Once your traced image is ready, export it in the correct format. You should export it to a format matching the project for which you will use the traced image. However, if you don’t have a specific format required, I recommend you save it as an SVG file.
To export the file, go to File > Export or use the shortcut Shift + Control + E on Windows or Shift + Command + E on Mac. Then, use the panel on the right to select SVG from the format options available at the bottom and click Export.
Tools:
- Inkscape
How to Trace Bitmap Settings Explained
When tracing a bitmap image to create a vector graphic, you are faced with several settings to adjust. Here is a quick breakdown to explain these settings. However, you will probably still need to play around with them on your image to see what works best.
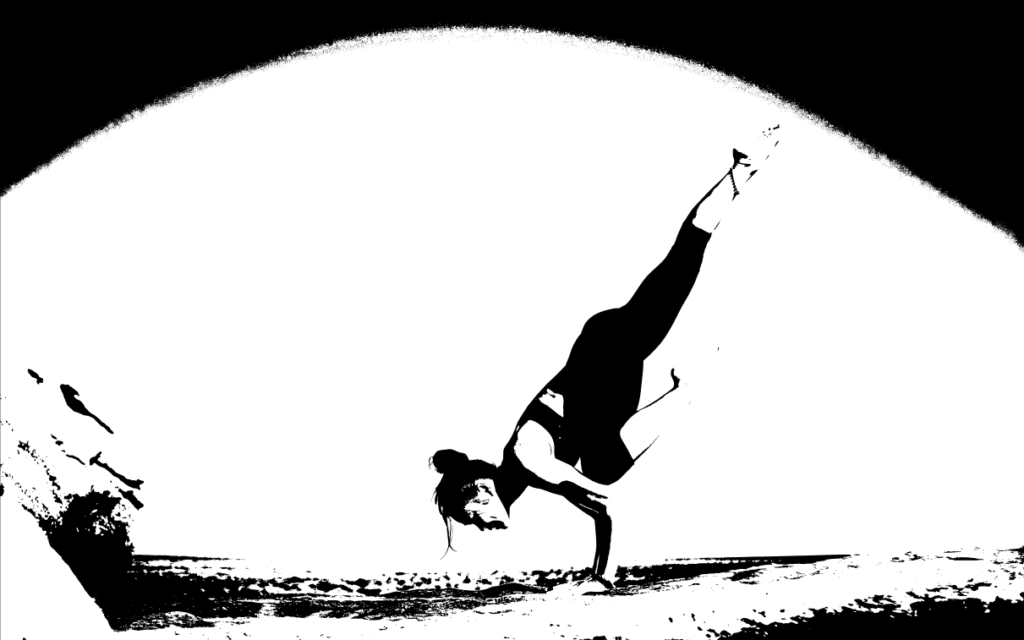
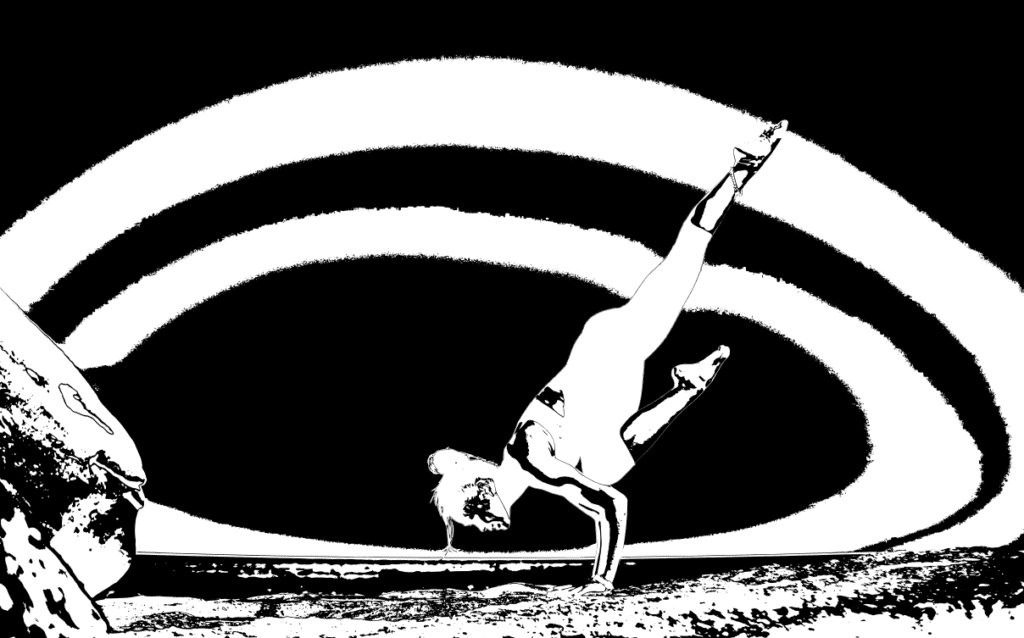
The first tab is the Single scan option, which converts the image to a black-and-white vector. Under this tab, you first need to select the Detection Mode. You have the choice between the following options:
- Brightness cutoff: This setting uses the sum of the colors present in the image to determine what is considered black and white for the final effect. You can adjust the threshold to ensure that fewer pixels are considered white.
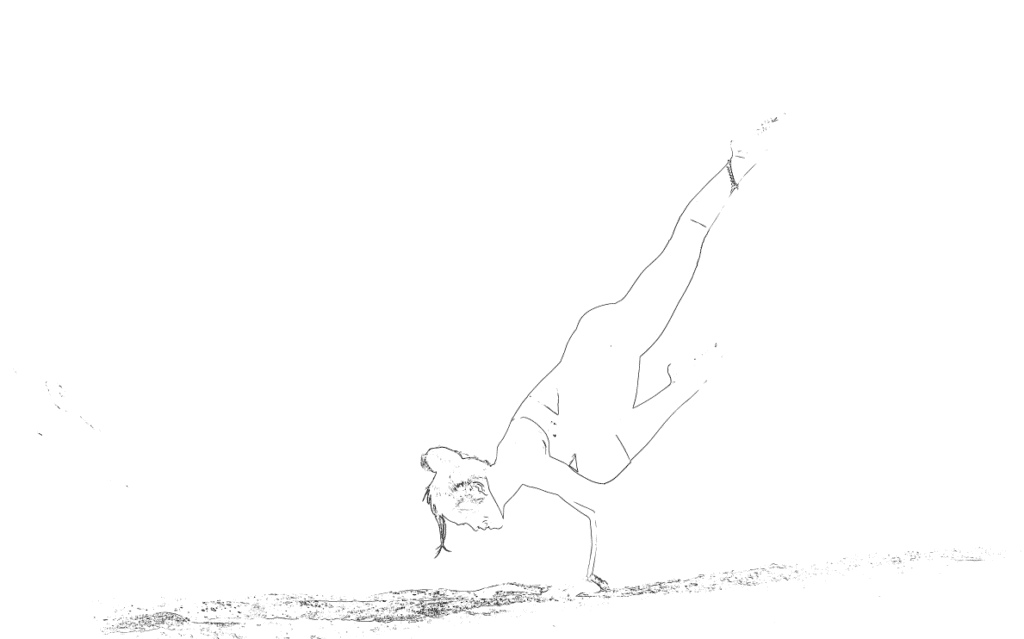
- Edge detection: This mode looks for areas of similar contrast and results in a vector trace that looks less like the original than the brightness cutoff. However, it improves the curves within the vector.
- Color quantization: This mode detects areas where colors change, whether it’s the hue, brightness, or contrast. You can adjust how many colors should be included when determining the black-and-white areas.
- Autotrace: This option automatically traces the image using a technique similar to brightness cutoff.
- Centerline tracing (autotrace): The last mode creates the trace with an open path and is best used for line drawing and handwritten text.
You can then adjust the settings that appear below each mode to refine the trace.
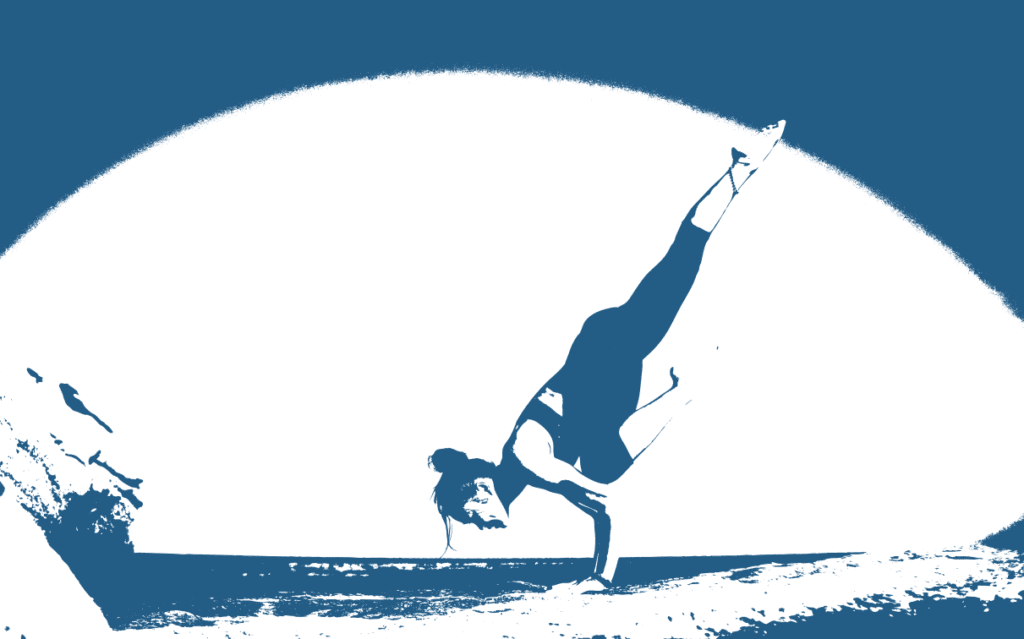
The second tab is the Multicolor option, an excellent choice to keep some color in the trace. Once you open the tab, you can choose from the following Detection modes:
- Brightness steps: This mode scans the image to determine different shades of light and dark. You will then end up with multiple scans of white, black, and gray.
- Colors: This mode is the same as the brightness scan, although you will have multiple colors in your image.
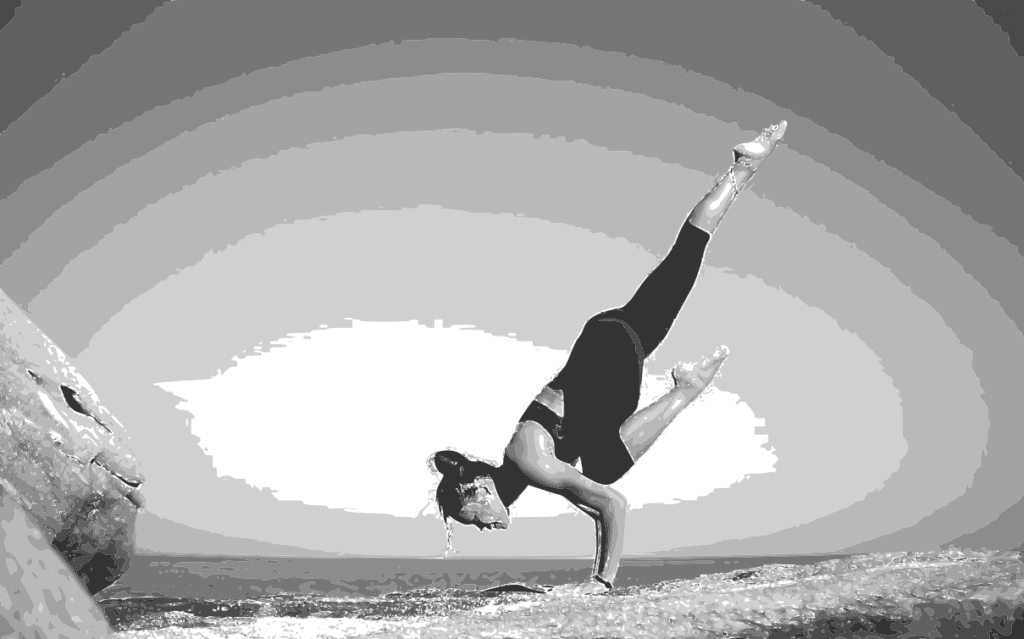
- Grays: The grays mode is the same as the above two, but the result is shown in multiple shades of gray, resulting in a grayscale image trace.
- Autotrace (slower): This autotrace option automatically traces your image but lags a lot and often leads to the program crashing.
You can adjust the various settings under each mode as you did with the Single scan modes.
The last tab is the Pixel art mode, which is a more advanced method of bitmap image tracing. You can use the first two tabs to create a vector graphic of any image and alter it to suit your needs.
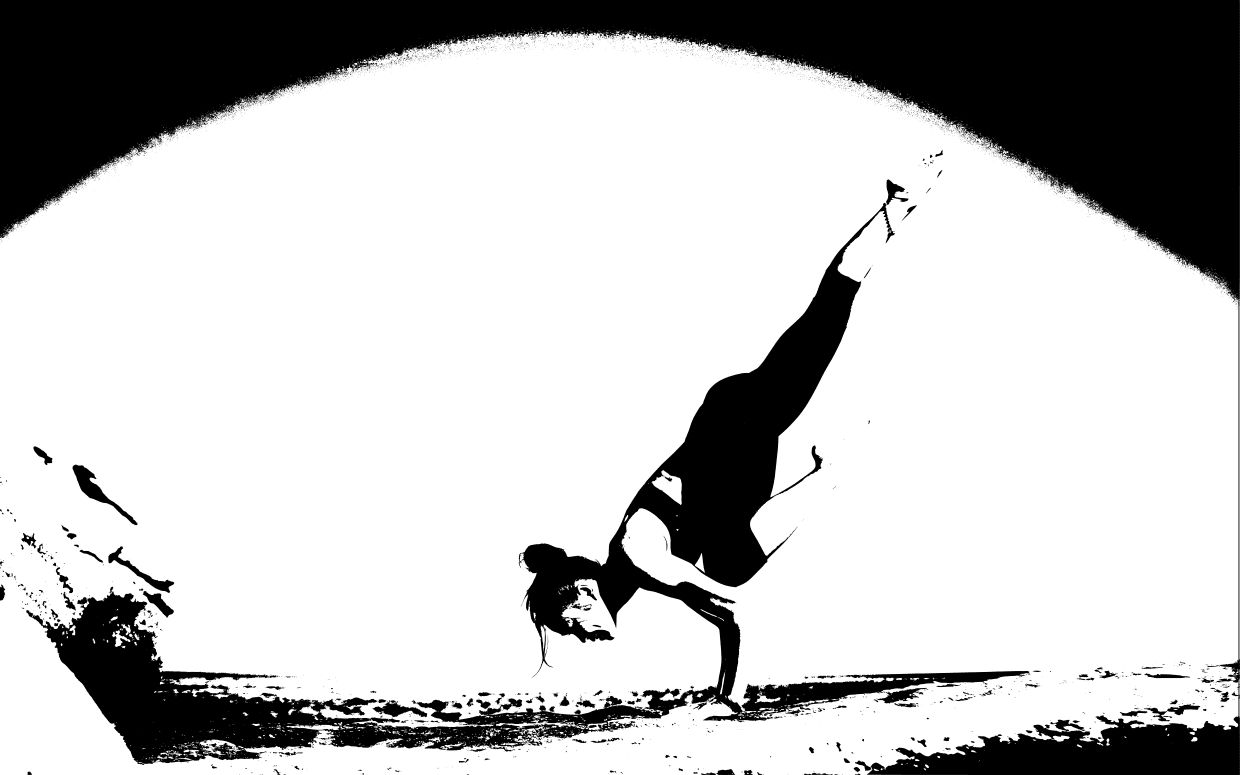
The bitmap trace feature in Inkscape is valuable when creating logos, icons, silhouettes, and other vector graphics, especially when you don’t have time to trace an image manually.
👍 Support Us: Subscribe to our channel and help us continue providing these tutorials.
🌟 Regular Updates: We publish how-to videos for Inkscape regularly!
🔧 Expert Guidance: Learn Inkscape from our professionals and uncover exclusive tips!
